disturbed13,
Is the perimeter a regular hexagon?
You indicate that the roof profile is 4' high, but the other dimensions you provided are unclear (as to which entities they apply.)
-Taff
disturbed13,
Is the perimeter a regular hexagon?
You indicate that the roof profile is 4' high, but the other dimensions you provided are unclear (as to which entities they apply.)
-Taff
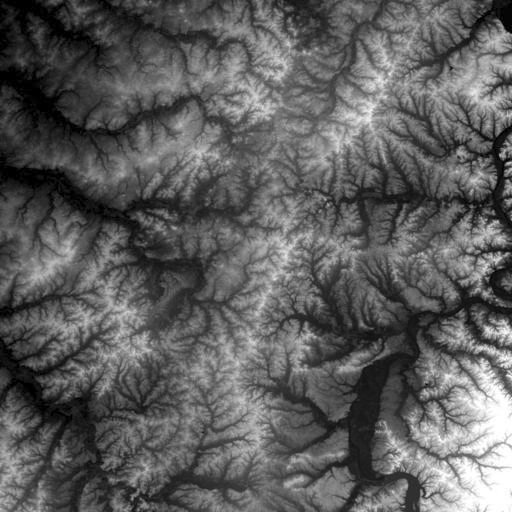
I can attest to the "recommendation" to keep the image/bitmap SMALL!
You would, generally, think that 512x512 pixels is "small." It is NOT !
It will take many hours, or (if you don't have enough memory) it will choke SketchUp.
Pay heed to the advice. This 512x512 DEM image, for example, is NOT SMALL:
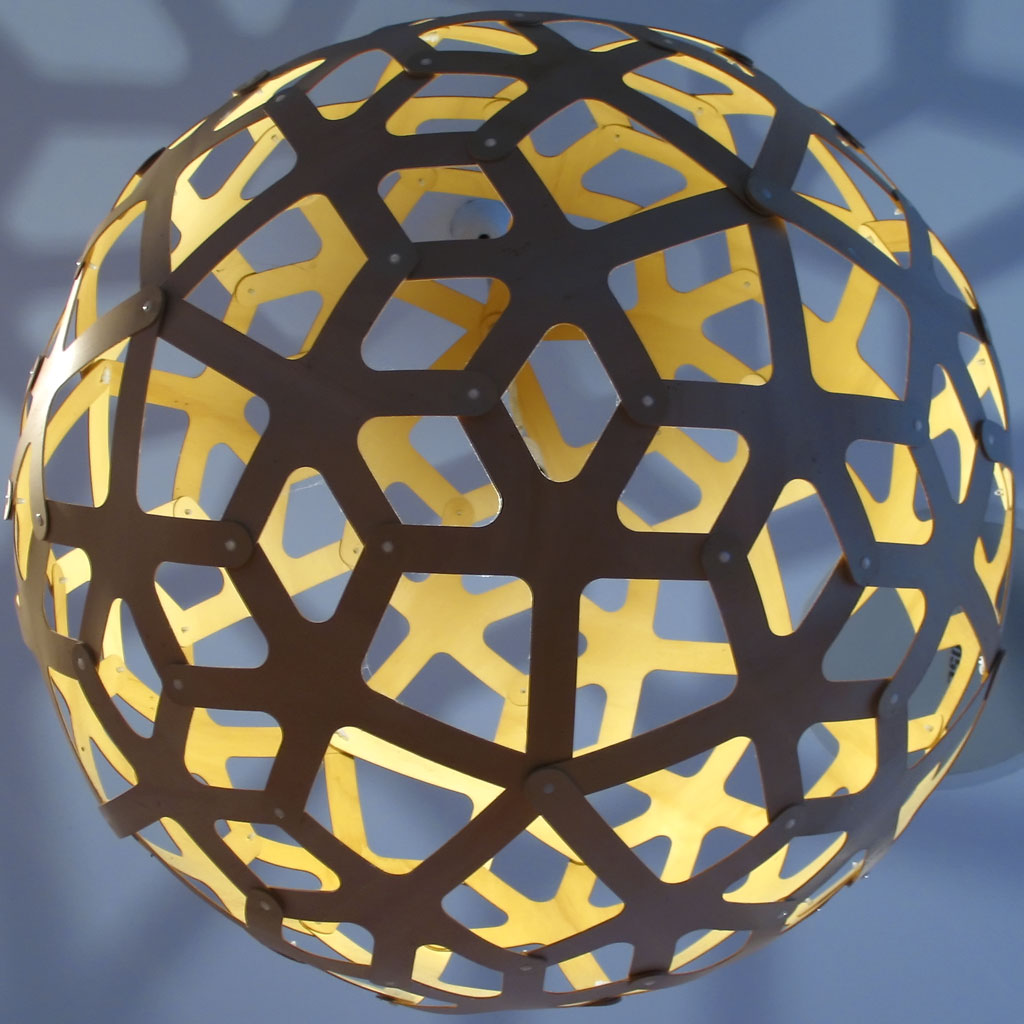
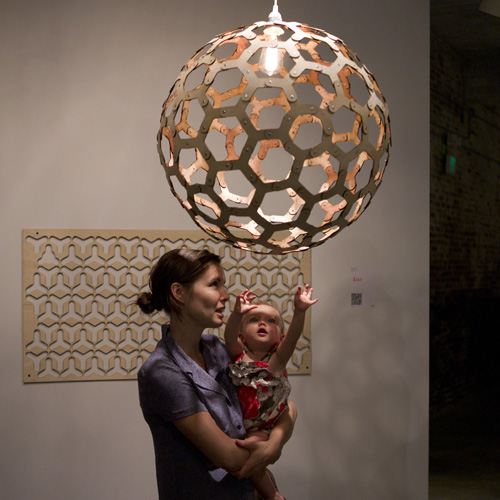
Geodesic-based lamp spheres have, seemingly, been popular, over the past few years.
Here's a sampling for your SketchUp modeling exercises:
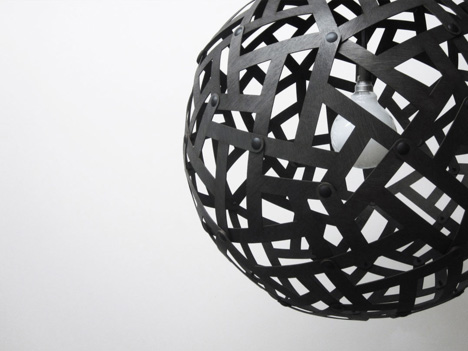
I produced the curved-arm portions, simply by radially-copying rectangles along an arc between the geodesic vertices.
Here's a detail, showing "hidden geometry" (lines.)
-Taff
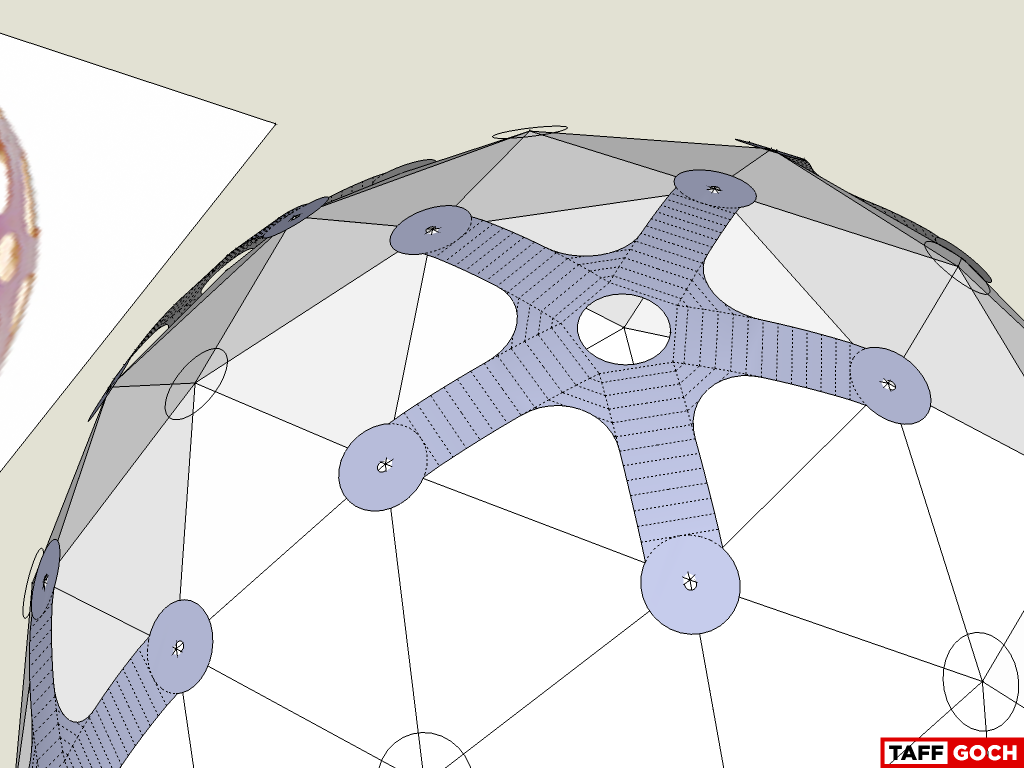
Good examples, above...
I've (thus far) modeled the basic geometry of the pentagonal components.
The pendant lamp geometry is based on a 3v, class-I geodesic sphere.
(Contributors have been quick to jump on this question. I almost missed seeing it, while lurking.) 
-Taff
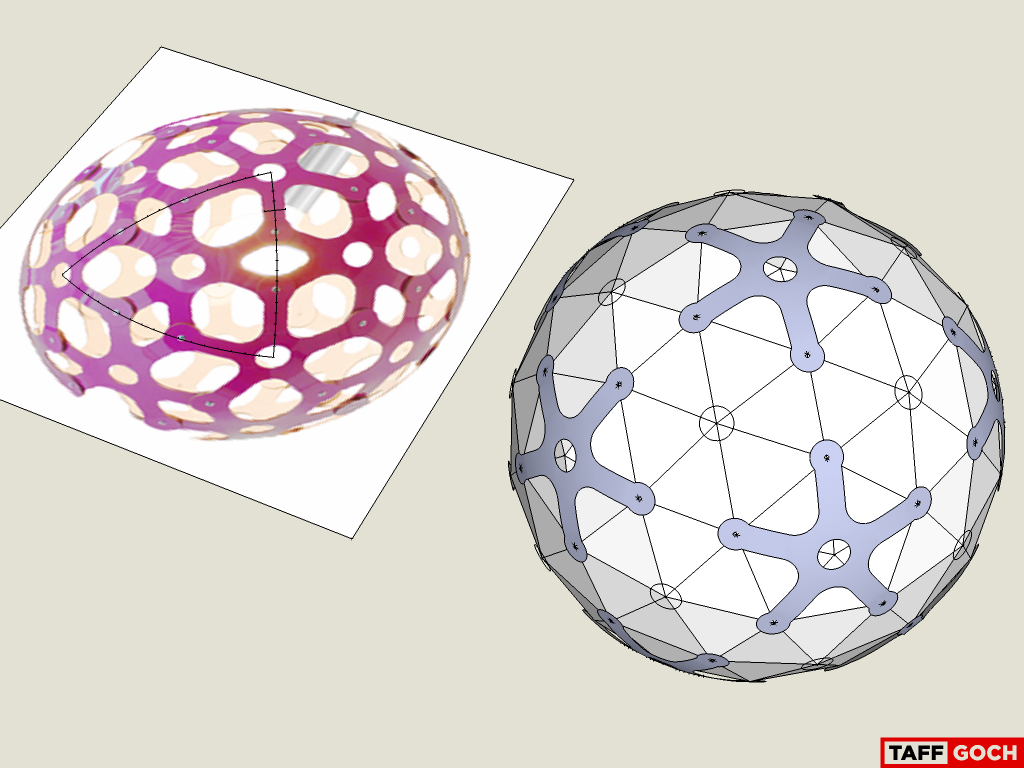
Shomit,
In the Geodesic collection, to which Pilou linked, there are both detailed and basic-wireframe models. Here's a revised link, which displays 50 models at a time:
The Class-I "catalog" model will likely be of interest to you, as it provides frequencies from 1-to-9. Here's a link to the basic geometry models:
You can use these models, as the basic geometric "skeletons," upon which you can build your own, more-complex models. (That's what I do, myself.)
If you have any geodesic questions, you can visit the "Geodesic Help Google Group," to review past discussions, or to ask specific questions that haven't already been addressed:
http://groups.google.com/group/GeodesicHelp?hl=en
(Thanks, Pilou, you're always quick with a response!)
-Taff
@andybot said:
Yay! I came upon a huge doh moment, thanks to Taff ...
...and long story short, I found that by holding down the "primary mouse button" while using the rotate (protractor) tool, it will inference to the perpendicular of a line. Simply Brilliant!! I've always wondered how to rotate about an axis without constructing a bunch of lines and faces
My primary tip, for any beginning (and, it seems, experienced) SketchUp user!
-Taff
@brookefox said:
Thanks to Taff, who likes to make you learn a bit...
And that's a good thing,...
...right? 
-Taff
cotty,
Great suggestion!
There is a heightfield generator plugin for SketchUp, that can take a greyscale height image, and produce a relief mesh. It may be suitable for the job, comparable to that which you describe.
Didier Bur's heightfield gen v6
-Taff
Hussel,
I made an animated avatar, of a silver eagle, several years ago, using SketchUp.
The obverse and reverse are merely texture images, as is the reeding on the edge. I produced 8 frames for the animation, rotating the model 45° for each frame.
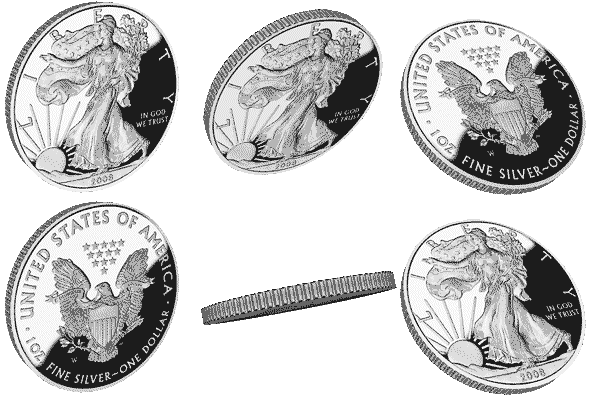
For just about any coin, the relief is slight (compared to diameter,) so you should be able to generate a reasonable facsimile, using texture images alone.
-Taff
Since you are dealing with polyhedra that employ identical faces, you can reduce the workload by using components.
For the icosahedron, make each face a component, then rotate copies around the polyhedral axes.
For the 2v icosahedron, you have an equilateral triangle and an isosceles triangle making up each icosahedron face, as you note. Make each icosahedron face "cluster" a component. Within that component, make the equilateral triangle a component, and rotate/copy it into the isosceles triangle position. Scale that copy along its "height" axis, to make it isosceles. Rotate the isosceles copy equally (120°) around the center of the equilateral component; twice.
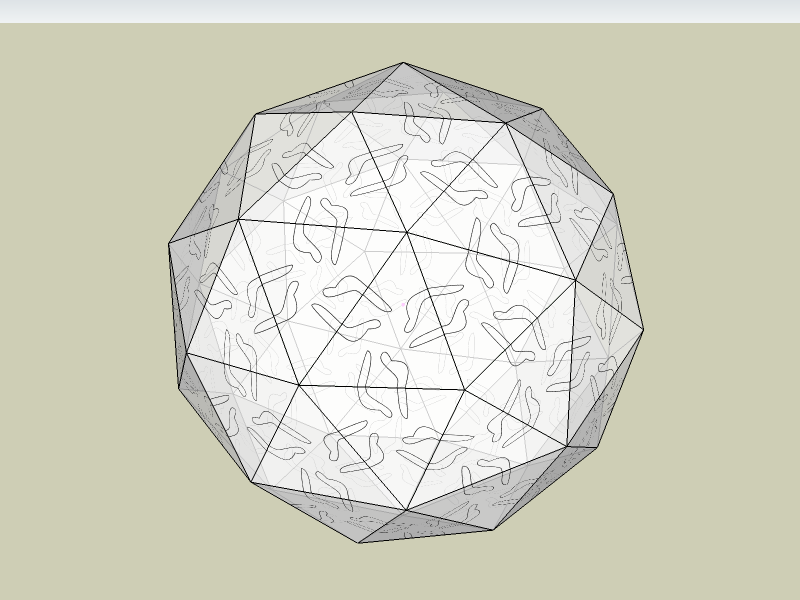
Of course, none of this is automatic, nor ruby-scripted. The methodology merely takes advantage of the similarities inherent to the polyhedra. When complete, you can change the texture for 1 component, and all of the copies will replicate your changes -- thereby, reducing your workload.
If what I wrote doesn't make sense (yet,) examine the attached model, to see if it helps. You should be able to replicate the steps, AS LONG AS you know how to (1) rotate around any axis (by mouse-cursor dragging) and (2) can change the axes of a component so that the trianglular face is the primary face of the component. (This allows easy scaling of the equilateral into an iscosceles triangle.)
-Taff
My apologies,
This is one of my oldest SketchUp models, which I built while learning SketchUp. As such, there are slight inaccuracies, regarding alignment of the groups and guidepoints. So, your rotation alignment problems were caused by my inaccuracies in placing the central guidepoints.
I have updated the model, to properly-align. I have also included an icosahedron, to depict and help visualize the rotation symmetries. I rotated the truss component, to the more-prevalent orientation, of a primary vertex pointing upwards (rather than a face.)
Update in 3D Warehouse: Geodesic Dome Truss
-Taff
Tonttu,
You can understand why I always teach that rotation technique first, to a new user.
I couldn't model without it!
Tonttu,
I see now what you're doing wrong!
You are not using the "drag" technique, to specify the endpoints of the rotation axis.
You are, wrongly, rotating in some other plane; perhaps, the "blue" plane.
-Taff
Tonttu,
If you have guides visible (View > Guides), you should see the central guidepoint.
Use
(1) that guidepoint and
(2) one of the primary corners of the truss, as
(3) the endpoints of the rotation axis,
(4) rotate by 72°
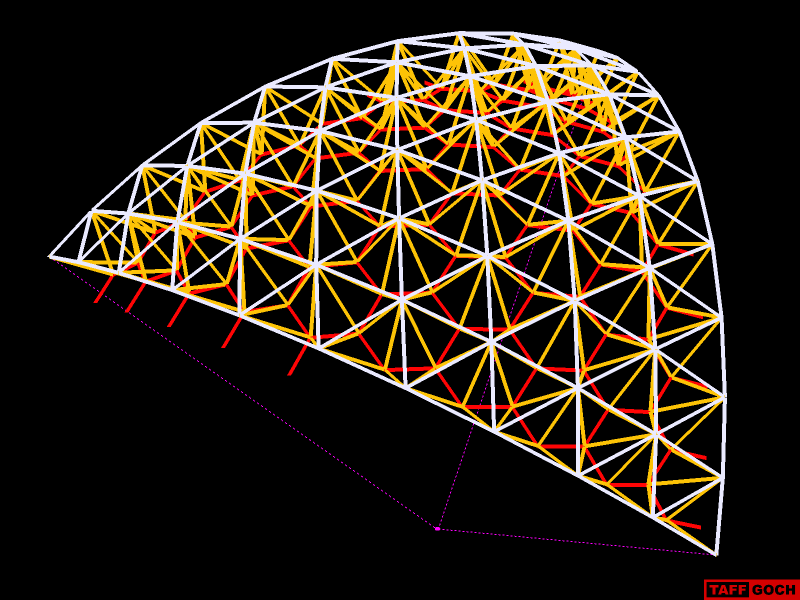 I have revised the model to show, more-clearly, the rotation axes. (The guidepoint was already there. I added only the guidelines.)
-Taff
Tonttu,
I don't think that Frenchy's suggestion will work (unless Chris Fulmer modified his plugin, to autorotate & scale-to-fit.)
That particular truss will only produce a sphere if 20 copies are used, rotated around the correct axes, by the correct angles. I did exactly that, in less than a minute:
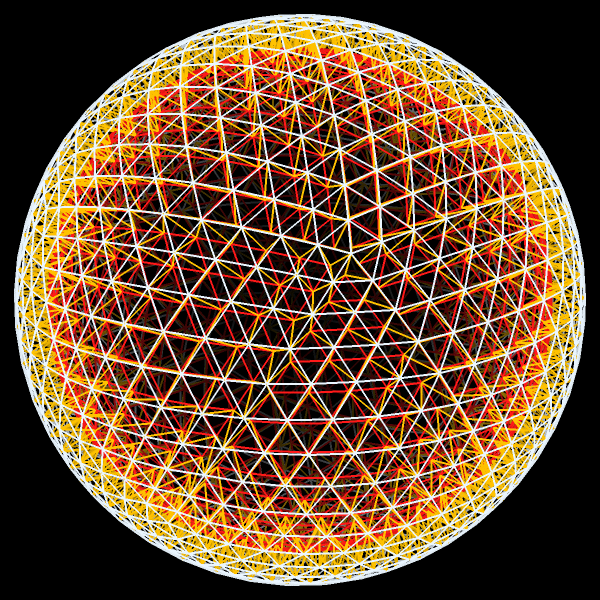
The angles are not troublesome (72°), but the axis-of-rotation might cause a SketchUp novice some problems.
Do you already know how to rotate entities around any axis of choice?
SketchUp permits you to select the endpoints of the rotate axis-line.( SketchUp Sage - Rotate Tool )
Using the Sketchup "any axis" technique, choose the origin as one endpoint, and a corner of the truss as the other end. A 72° rotation will butt the edges of the two trusses against each other. (Beforehand, you should make that truss a group or component, to make selection easier.)
-Taff
As usual, I probably engaged in over-thinking the geometry. I don't have a tennis ball in front of me, but images online depict arcs that are not parallel.
If the diametrically-opposed arcs are NOT parallel (but are angled, as in a baseball,) then the intersection geometry needs a slight adjustment.
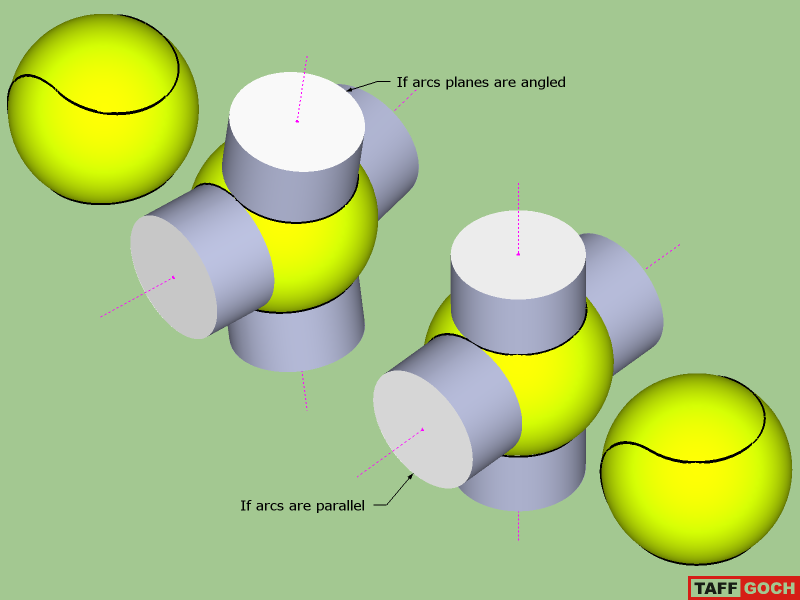
My SketchUp modeling demonstrates how I would build the two options. I originally worked this out while trying to model a baseball, a couple of years ago.


-Taff
Thanks, Simon,
I've long admired La Géode, from photos I've seen online.
It would be great to visit (adding to a long list of other geodesic-architecture landmarks.)
-Taff
I'm gratified that you folks are liking this.
I've decided to embark upon striving to learn Adobe Flash. As my first production, I converted this particular animated-gif into an animated-flash (adding sound, as "lagniappe.")
I am, right away, impressed with Flash. The SWF-animation has much-higher color resolution (24-bit), yet the jpeg-compression can be adjusted to produce a file no bigger than the animated-GIF. 'Looking forward to learning more about Flash.
-Taff