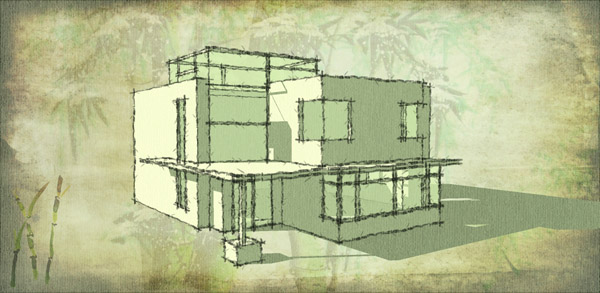
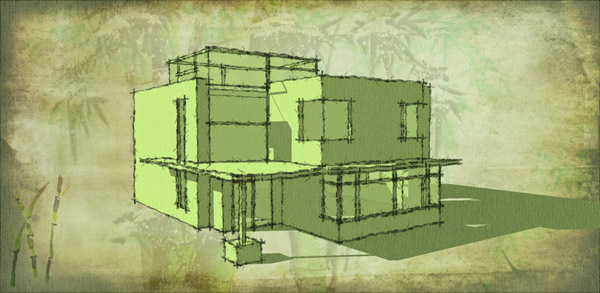
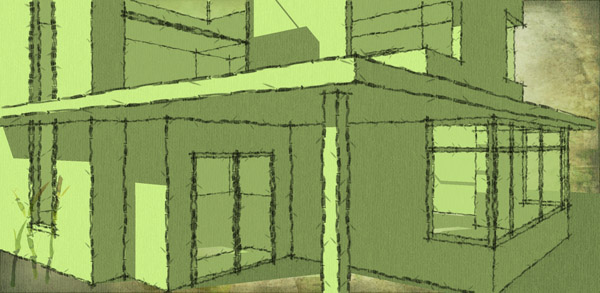
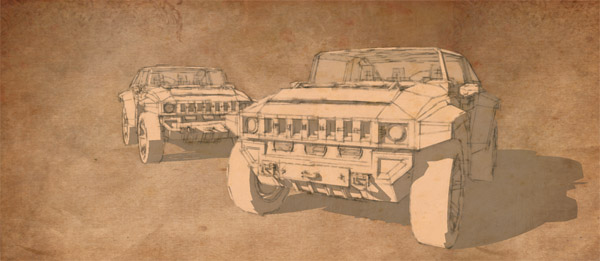
OH!!! i am really sorry Chris..just for you my friend...
http://www.hitlabnz.org/wiki/BuildAR
http://formbureauet.com/wordpress/arive/
And plus here is youtube video as a tutorial...
- Download the BuildAR and the ARive program
- Install both the BuildAR as the ARive program
- Start Sketchup
- Create/open a model or download a model via the Google Warehouse
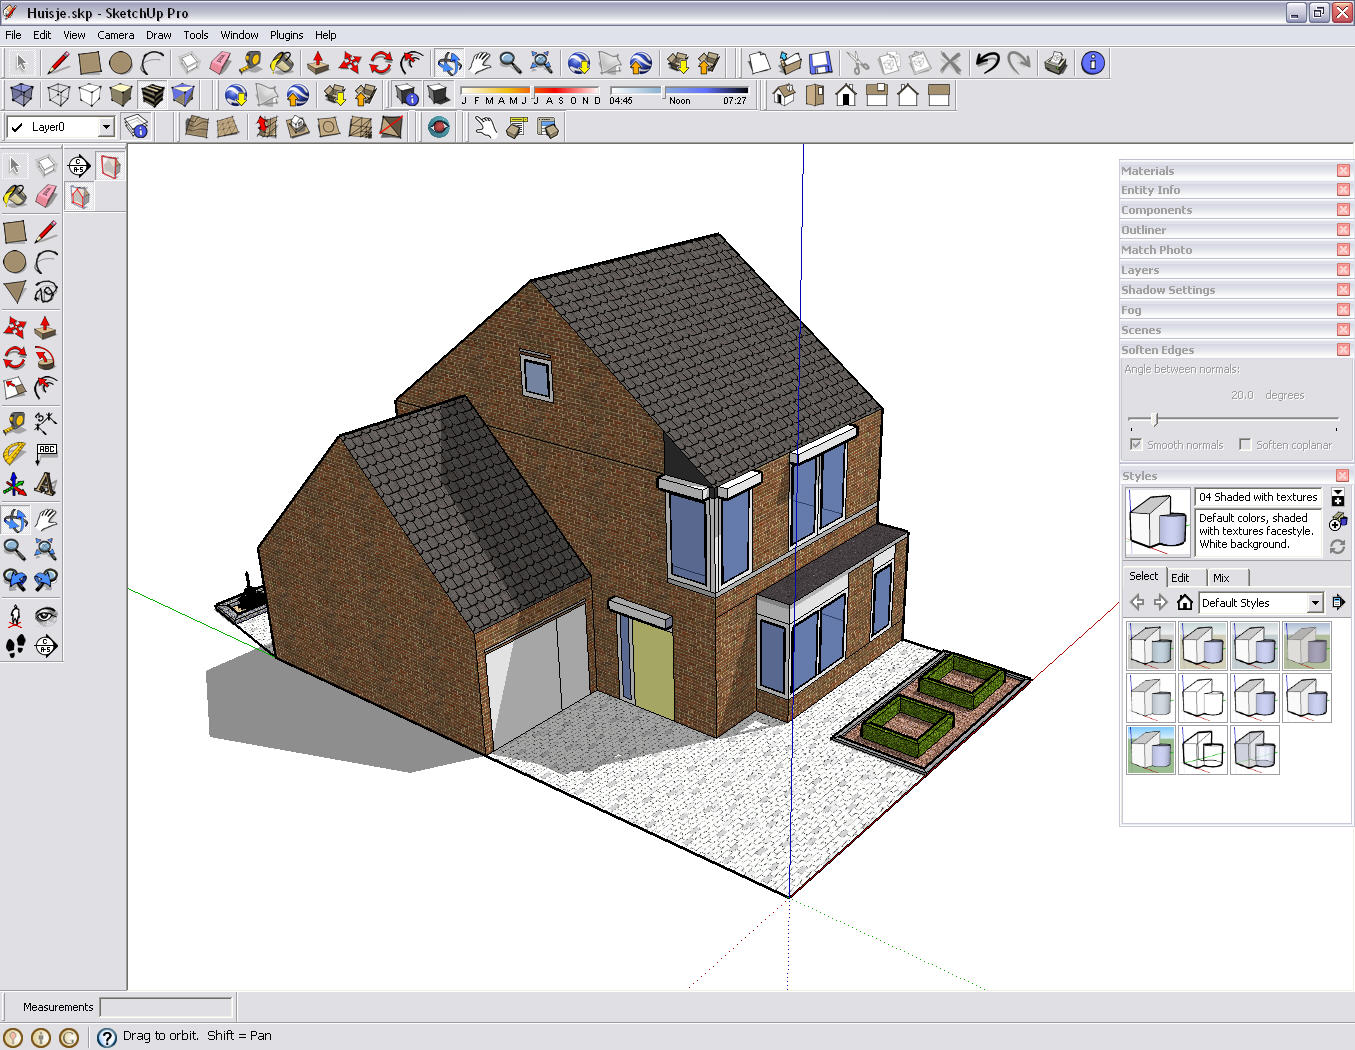
- This step includes the exportation of your Sketchup model to the 3ds (3D Studio Max) file format.
- select: file -> export -> 3D model -> select the 3ds file format -> select options
- make sure your 3ds export settings are as follows. This to make sure your applied materials are exported as separate jpg files
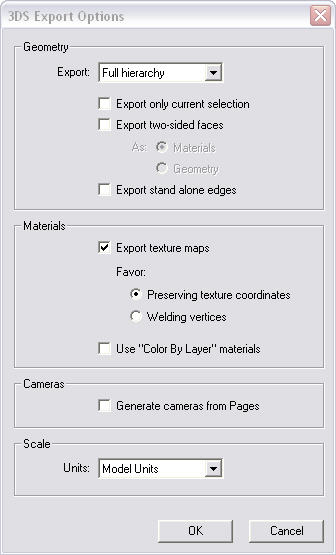
Afterwards click export to save your sketchup model as a 3ds file
- Start the ARive program. With this program we can convert the 3ds file into a ive file (openscenegraph). The BuildAR program only reads ive model files.
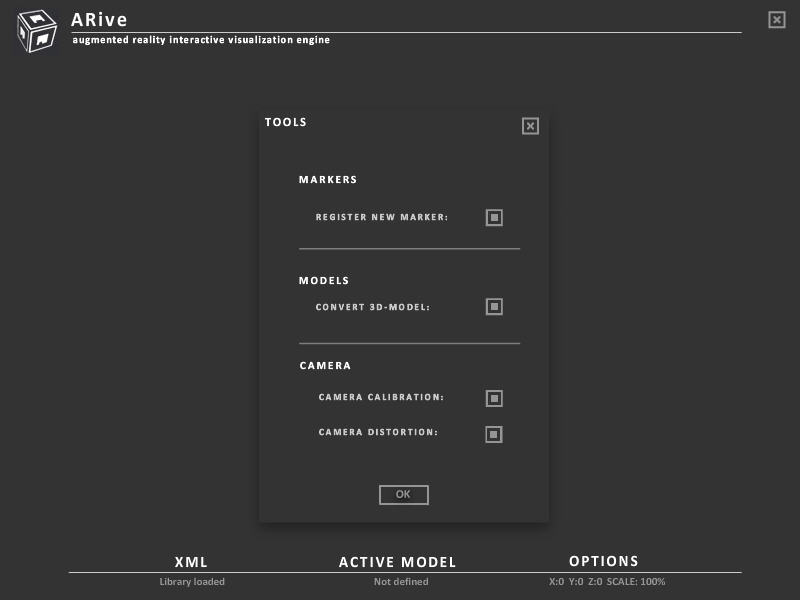
- Click the Tools buttons (it’s a large T) when the ARive program has started
- Select: Convert 3D-model
- Select your 3ds file to be converted
- Type a name for your *.ive file (most of the time I use the same name as my original 3ds file)
- After clicking the save button your *.ive file will be created using the 3ds file and its material files (the separate jpg’s). Note: you can also use the command line version of the conversion tool (osgconv.exe) which can be found in the ARive directory.
- Now your 3D model file is ready to be visualized with the BuildAR program.
- Plugin your webcam
- Start the BuildAR program
- You will now be presented with a nice looking interface and your camera feed
- Print the two standard markers which can be found in the buildar\data\patterns directory (two pdf files named pattHiro.pdf and pattKanji.pdf).
- Place the printed “hiro” marker in front of your webcam. If everything works out all right you will be presented with a virtual cube placed on your printed “hiro” marker.
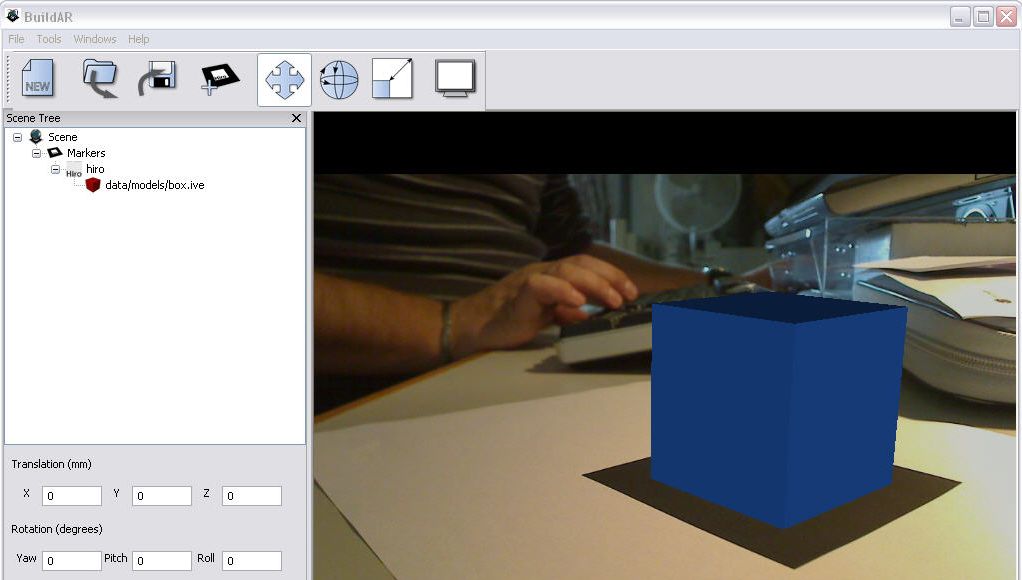
- Click the add marker button
- Select the kanji.patt file
- Select single and click OK
- Click on the plus sign of your added kanji marker
- Now your webcam is following two markers and when everything went well two virtual cubes will now be visible
Changing the default box / cube with your custom *.ive file
23) Select the “hiro” marker and hit del
24) Click YES, your “hiro” marker will now be deleted
25) Double click the /data/models/box.ive bar inside the kanji marker tab
26) Select your custom-made *.ive file
27) When everything went well the box model is replaced with your own 3D model
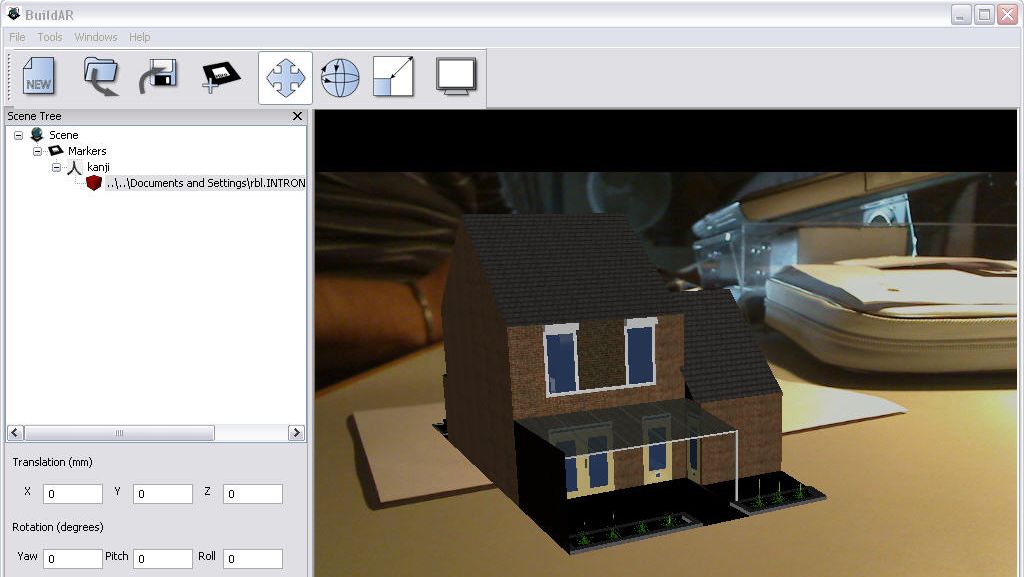
Your sketchup model can be virtually viewed using the BuildAR software. By using the translation, rotation and scale menu’s you can manipulate your model, just experiment with these options. You can also create your custom pattern file (in my case I used my own “je suis rudy” logo to create a marker) by clicking the -> tools -> Generate Patterns option.
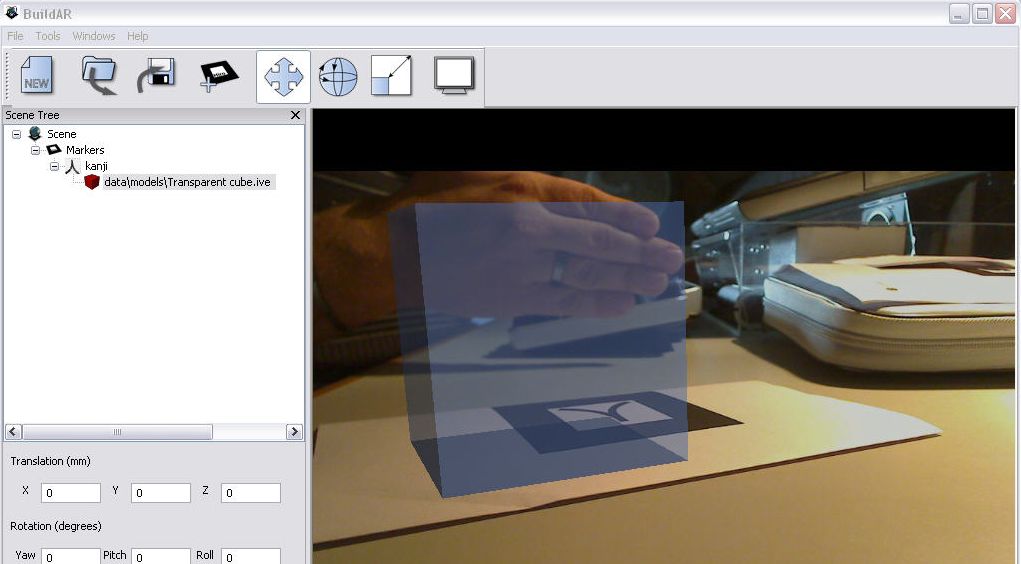
In the augmented reality visualizations your materials will continue to be transparent
BuildAR loads *.3ds and *.obj files directly without having to convert with ARive.
these applications are free you dont have to spend anything rather than just your bandwidth...


