Not easy at all. Each 3D layer contains a separate imported or manufactured set of 3D objects as a Scene. Between layers, you can share cameras ("custom views") and positions, but in other respects they exist in separate but visible spaces. Camera and positioning controls are extremely hard to manipulate, so it makes sense to import camera positions from the modeler (I use 3DS with SketchUp as an camera import mechanism.)
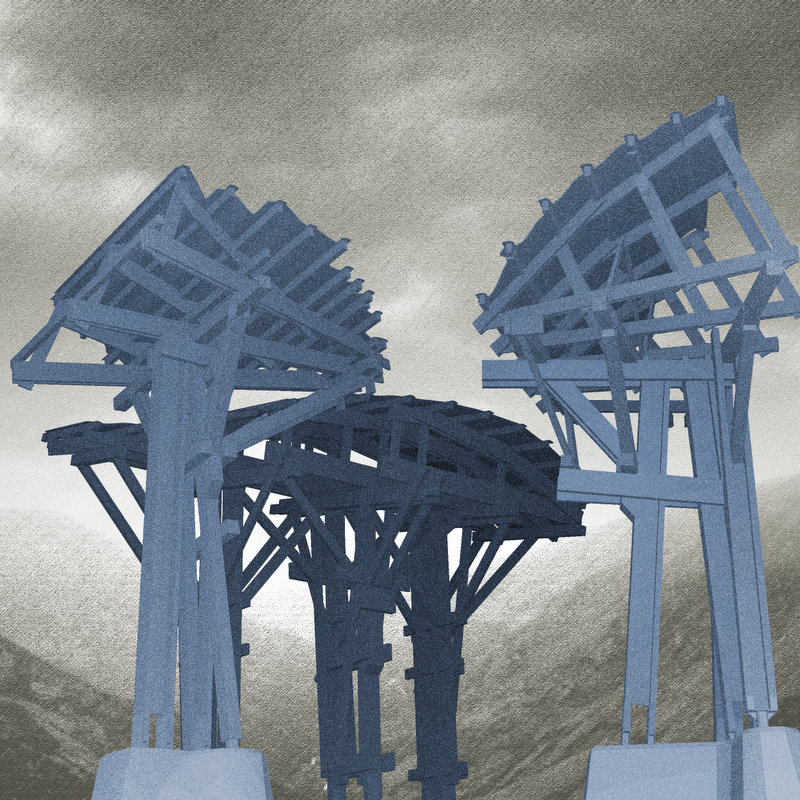
There are several quite nice features, though. Although there is a "Render for final output" setting that can take time to calculate like any other renderer, most of the time you can simply go with "Best Anti-alias" settings for a 3D scene and at any moment (WYSIWYG) flatten it to a standard Photoshop bitmap file (and thus any bitmap format). Also, 3D layers can be converted to Photoshop Smart Objects or placed as such in another file, where you can apply standard Photoshop filters and adjustments to them. The image in my previous post actually applies several adjustments and smart filters to a smart object containing an imported OBJ file from SketchUp, to give it that odd and fairly unique rendering style. The light sources are also present within that particular 3D layer. But the mountains behind are from a 'shopped photo of the site for the project. The sky is actually a 3D object, too: a "3D Postcard" tilted to create the illusion of recession, also converted to a smart layer with smart filters.
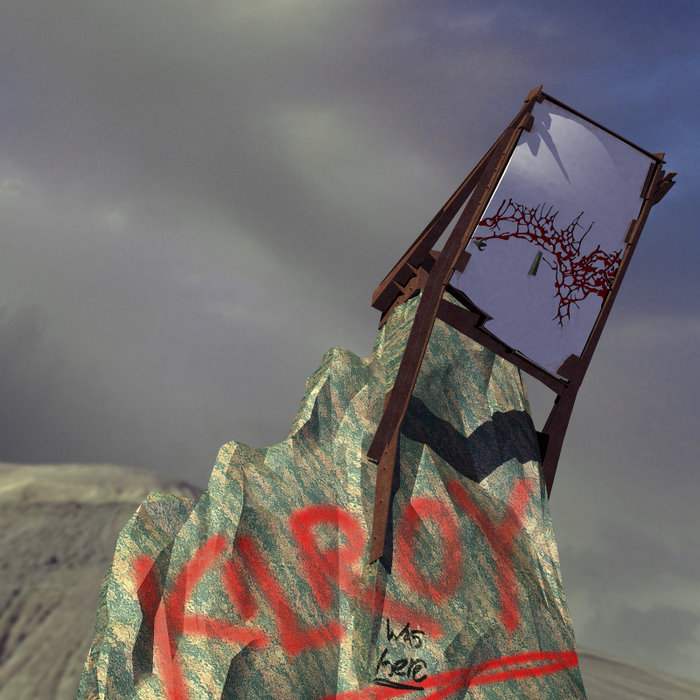
It is possible, if you import a textured file into PSCS4 XT, to edit the textures themselves as separate placed Photoshop files. Unfortunately, it seems that this is only really useful if you are extremely careful with setting up the UV mapping (texture positioning) before importing the model into PS. In the attached image, the graffiti on the stone was painted on the texture in Photoshop, and of course it appeared in 3D on the 3D layer using the texture. The background is a separate 3D layer of a mesa imported from Google Earth.


