sketchucation logo sketchucation
    • Login
    1. Home
    2. Gene Davis
    3. Posts
    ⌛ Sale Ending | 30% Off Profile Builder 4 ends 30th September
    G
    Offline
    • Profile
    • Following 0
    • Followers 0
    • Topics 48
    • Posts 88
    • Groups 1

    Posts

    Recent Best Controversial
    • Adirondack chair with 3-board back

      I use SU 2017 Free. For this one, I made separate models of each part, rotating as required to get the part in board orientation, then imported into Chief Architect in order to print full-scale patterns.

      The lumber for these is costly. We live winters in SW FL, summers in the Adirondacks. Down south I can get cypress and up north the yard has perfect tight-grain western red cedar that's quartersawn.

      2020-07-10_0814.png

      posted in Woodworking
      G
      Gene Davis
    • Tigerwood settee

      Did I show you all this one? Saw it in a model home near Phoenix, all tigerwood except for the crest rail.

      2020-07-01_2150.png

      posted in Woodworking
      G
      Gene Davis
    • Will Fredo6 extensions work with Sketchup Make v 17

      I cannot seem to get Fredo Corner Round to come up.

      posted in Extensions & Applications Discussions extensions
      G
      Gene Davis
    • RE: James Krenov sofa table with shaped legs and floating top

      I am just now introducing myself to Sketchfab, and here is a Sketchfab version of this in which one can examine the method of joinery.

      Enjoy. https://sketchfab.com/models/61a26a95bb2f4f5cace4d8c466982e6e

      posted in Woodworking
      G
      Gene Davis
    • James Krenov sofa table with shaped legs and floating top

      Pretty much as James made it long ago. From his book "A Cabinetmaker's Notebook," it has a split top.

      I could have put a tiny bit more concavity in those leg surfaces, but beauty, of course, is in the eye of the beholder.


      2017-01-22_1459.png

      posted in Woodworking
      G
      Gene Davis
    • RE: Cannot get Mirror to work in 2017 SU Make

      Thanks. I had forgotten about needing to do the installation. All is OK now.

      posted in Newbie Forum
      G
      Gene Davis
    • Cannot get Mirror to work in 2017 SU Make

      I've gotten very good use out of this extension since I began using it years ago. Mirror.rb.

      I downloaded and installed SU Make 2106, and have copied the ruby file from where it was in SU Make 2016, then pasted it where I thought it belonged in SU Make 2017.

      It worked fine in 2016. Select anything, right click for context, and Mirror Selection was right there under Zoom Selection.

      It is not there in 2017. What do I need to do? I have copied and attached images from my file explorer.


      2016-11-22_1152.png


      2016-11-22_1153.png

      posted in Newbie Forum sketchup
      G
      Gene Davis
    • RE: How to set up MIRROR tool in Sketchup Make 2016?

      Sorry. My laziness prevented me from looking in the SU 2015 program file. I copied the plug in from there and pasted into 2016, and all works fine.

      posted in SketchUp Discussions
      G
      Gene Davis
    • How to set up MIRROR tool in Sketchup Make 2016?

      In earlier versions, I have the mirror tool and it works by context (right) clicking an object, selecting MIRROR, then clicking three points to define the mirror plane, and go, the object then mirrors, with the selection option to keep or erase the original.

      I want this the same in SU 2016 Make. How do I do it? Here is what I have in my DOWNLOADS folder.


      2016-09-03_1305.png

      posted in SketchUp Discussions sketchup
      G
      Gene Davis
    • Help. Lost my Mirror function when upgrading to 2016 Make

      I had an extension, a plug-in, called Mirror, don't know where I got it, but I used it all the time in my earlier versions, from way back.

      Cannot find anything like it in the extension warehouse.

      posted in Newbie Forum sketchup
      G
      Gene Davis
    • Contemporary settee

      Saw this in a model home, done all in zebrawood. Liked it so much I modeled it from the photos I took.

      It is up on the 3D Warehouse as "Settee." Should be easy to find.

      It needs to be improved and I do not have the tools or skills to do a key part, that being making the wishbone back slat under the center of the crest rail more organically rounded. Give me my tools and the wood, and I can do it, but in Sketchup I am lost.

      Its back side has a tapered coopered surface, convex at its foot, tapering to no convex at top where it has the wishbone split. The wishbone top is to transition to 5/8" dia. dowels socketed into the crest rail. All arrises are fully rounded.

      Willing to help do this and give me back my modified model?


      2016-04-25_2115.png

      posted in Woodworking
      G
      Gene Davis
    • Rounding and chamfering edges - which extension?

      I use V15.3.331 64-bit Sketchup Make. It's the free one.

      Many versions ago, I used the Fredo6 package of tools for rounding and filleting edges.

      I do not see anything like this available in the Extension Warehouse. What do you recommend?

      posted in Woodworking
      G
      Gene Davis
    • Make, 2015. How do I get all my extensions from my 2014?

      Just downloaded and installed Make 2015 (15.3.331 64-bit) and want to have all the extensions I have in 2014.

      What is the easiest way to do this?

      posted in SketchUp Discussions sketchup
      G
      Gene Davis
    • Another Adirondack chair

      There are hundreds of them out there, I know, but I like the style. Saw a photo of a trio of them around a fire pit, and did this take on the lines.

      Slanted front legs, wide boards for the seat and the back. 5/4 stock for all legs, and 4/4 for the rest. Need to doodle in the three back strap parts, bottom, middle at arm tie points, and a thin one up top.

      Firepits are a big thing, and there is only one chair right for a firepit group, and it is an Adirondack chair.


      2015-04-14_2231.png

      posted in Woodworking
      G
      Gene Davis
    • Mirror image editing. What is best practice?

      Having just watched the Dave R video on doing angled mortises, it brings up this question.

      It is real common in many models to have the situation identical to what Dave is dealing with when he models the tusk tenon in the table stretcher for its wedge, first at one end, then the other.

      Since the stretcher is symmetrical about its center, doesn't it seem as if we should, being efficient modelers, model only one half of it until we are all done with editing and detailing, then be able to command for an auto-joined whole?

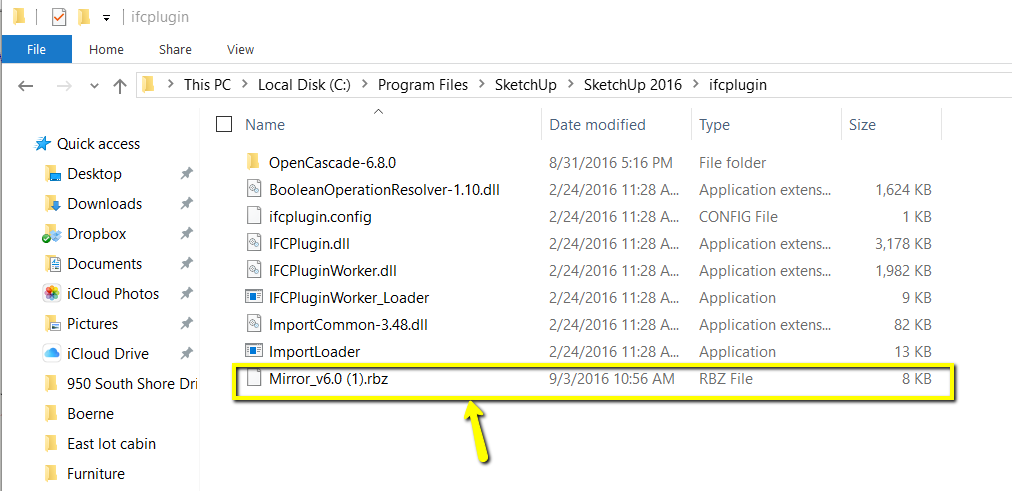
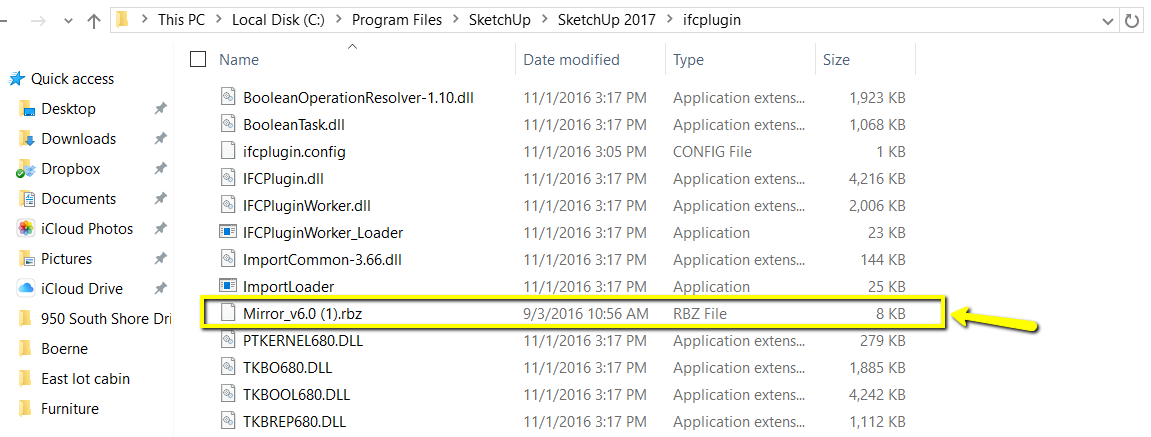
      I know of no extension that would give us this capability. Anyone?

      And then there is this possibility, as an operation. Symmetric editing. In Dave's example of doing the mortises in the stretcher's tusk tenon, mightn't it be nice if we could place a plane of symmetry in the stretcher, and then have all our editing on one end reproduced in the other?

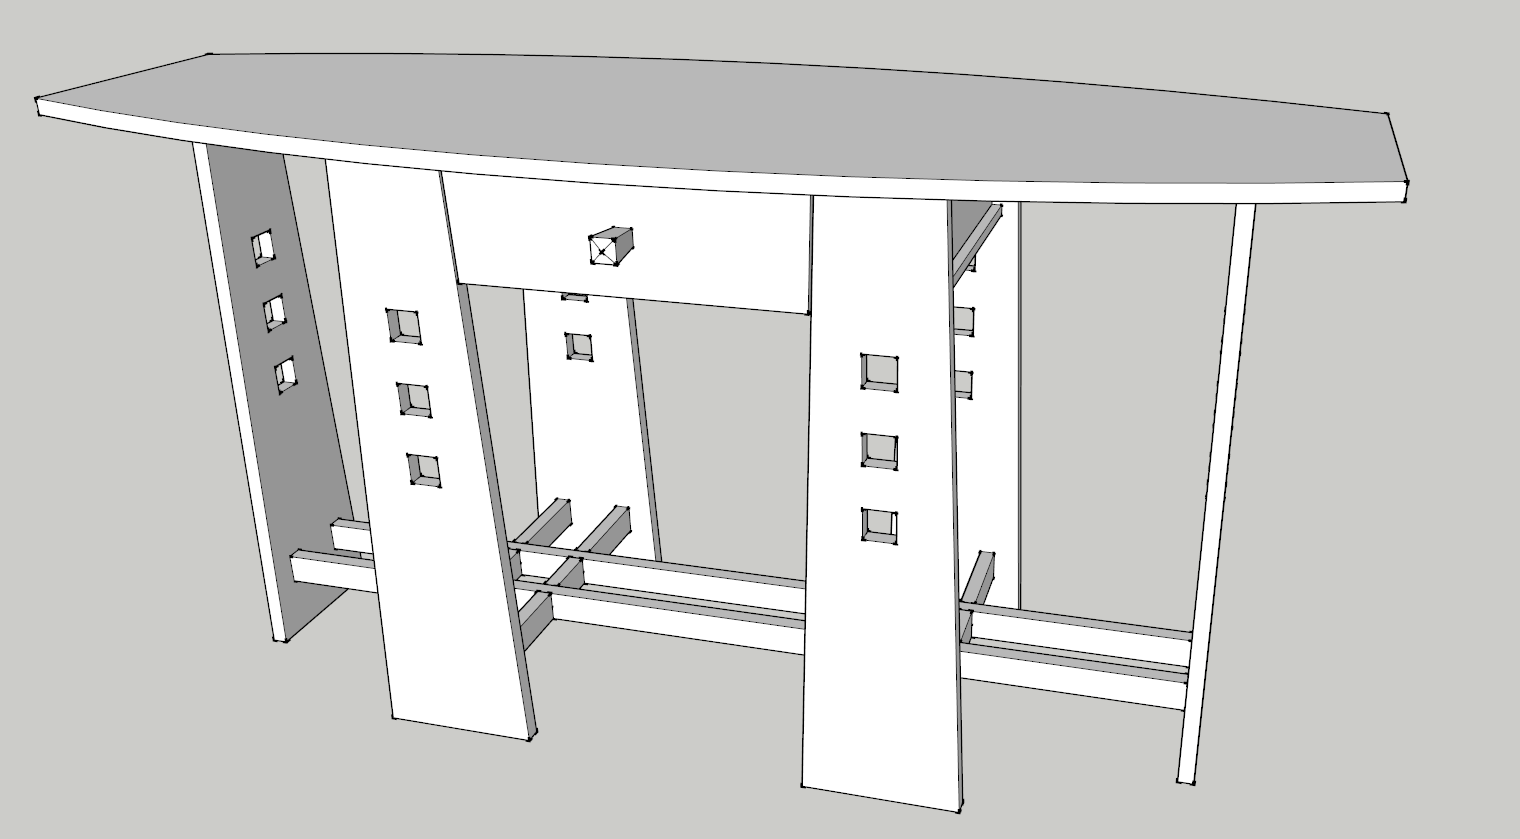
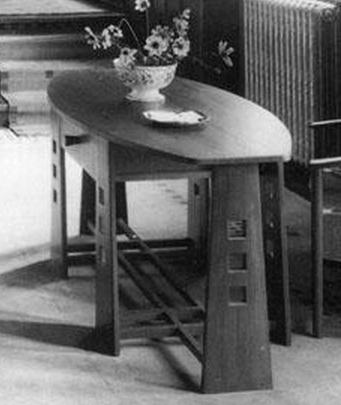
      And to go further, it would be nice to be able to do those edits with two-way mirroring, as well. I recently built a copy of a Stickley cocktail table, which has a lower shelf that is essentially one big stretcher board, with two tusk tenons at each end. With two-way mirror editing, I could chop all four of my wedge mortises by simply operating on one tenon.

      Are such tools available now?

      posted in Woodworking
      G
      Gene Davis
    • Mackintosh hall table

      I saw this in a 2010 book titled Arts and Crafts Furniture Anyone Can Make, by David Theil.

      His was simpler and had no drawer, and had been shortened and narrowed, as compared to the one he saw in this photograph, attached, of the table inside Charles Rennie's masterpiece Hill House.

      Using about 20 board feet of lumber, plus whatever you might use for the drawer box and bottom, it should be an easy build.


      2015-02-11_1208.png


      2015-02-10_2055.png

      posted in Woodworking
      G
      Gene Davis
    • RE: On the road

      Here is a partial view of the kit of dominos and their mortises one gets when downloading the model from the 3D warehouse. Each domino and each mortise is a group. The crosshair lines on the mortises enable quick registration to any face in the model. Once in place, I mirror the mortise to get the opposing one.


      2014-11-24_1821.png

      posted in Woodworking
      G
      Gene Davis
    • RE: On the road

      Joinery workout using Festool domino. I really enjoy the way Sketchup aids in selecting the right size of domino and placement of multiples. On the 3D warehouse is a model of the entire kit of dominos in the 4mm to 10mm range. Dominos and mortises. What you see here is a pair of the 10mm x 50mm tenons.


      2014-11-24_0907.png

      posted in Woodworking
      G
      Gene Davis
    • RE: On the road

      Thanks, David. I knew those chamfers were warped and would need lofting. The spokeshave is carefully twisted as it is pulled, and a close examination of the photo of Gary's tells the story.

      I had to familiarize myself with Fredo's "Curviloft" plug-in again in order to get some surfaces, but sort of succeeded, as the attached picture shows.

      The chamfer on mine starts with a point at the bottom leg corner, then fades to flat up near the top, but when I rework the leg, I will extend the top end of the cut to the top end of the leg.

      The proportions look good to me now, for L x W x H, and the 1.625 finished thickness of all parts looks good as well. Won't take much 8/4 oak. My lumber source had some good-looking spalted maple when I went there yesterday to buy some cherry. Spalted maple might be nice.

      In the screenshot, the colored surfaces were lofted. Will try to place 8mm or 10mm dominos in at the intersects to see how they look.


      2014-11-23_0436.png

      posted in Woodworking
      G
      Gene Davis
    • RE: On the road

      David, I am so intrigued by this design I am trying to model it myself. Here is my poor attempt.

      I have it sized at 28 x 28 x 29 inches high, with all parts, top, legs, stretchers, all 1-5/8" thick, but you gotta tell me, what did you do to model the leg bevels? A plug-in?

      How close do I have the overall size?


      2014-11-21_2111.png

      posted in Woodworking
      G
      Gene Davis
    • 1 / 1