This tutorial has fairly comprehensive options setup, not sure if it'll solve the issues though as haven't tried animation myself.
http://sketchupvrayresources.blogspot.co.uk/2011/08/tutorial-vray-sketchup-animation.html
Oops, your profile's looking a bit empty! To help us tailor your experience, please fill in key details like your SketchUp version, skill level, operating system, and more. Update and save your info on your profile page today!
Urasik Extensions | Lots of new extensions to check out Learn More
Posts
-
RE: Batch rendering?
-
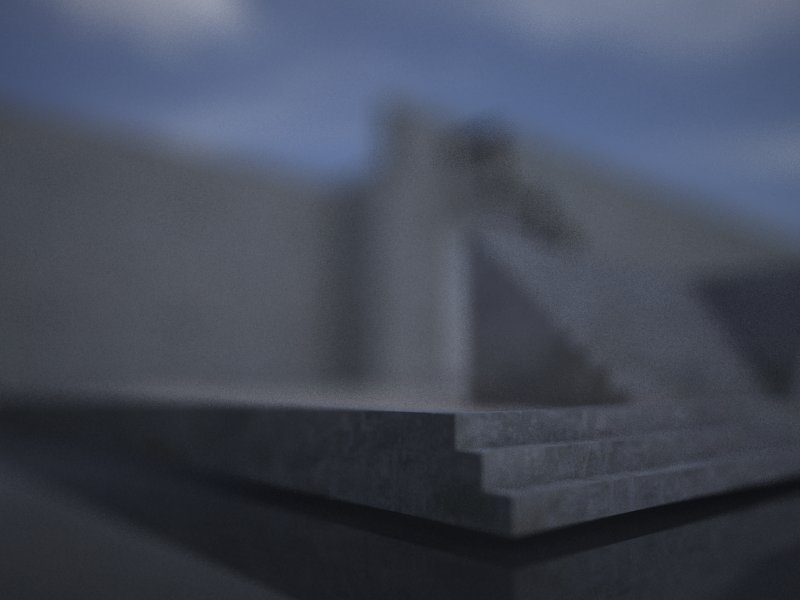
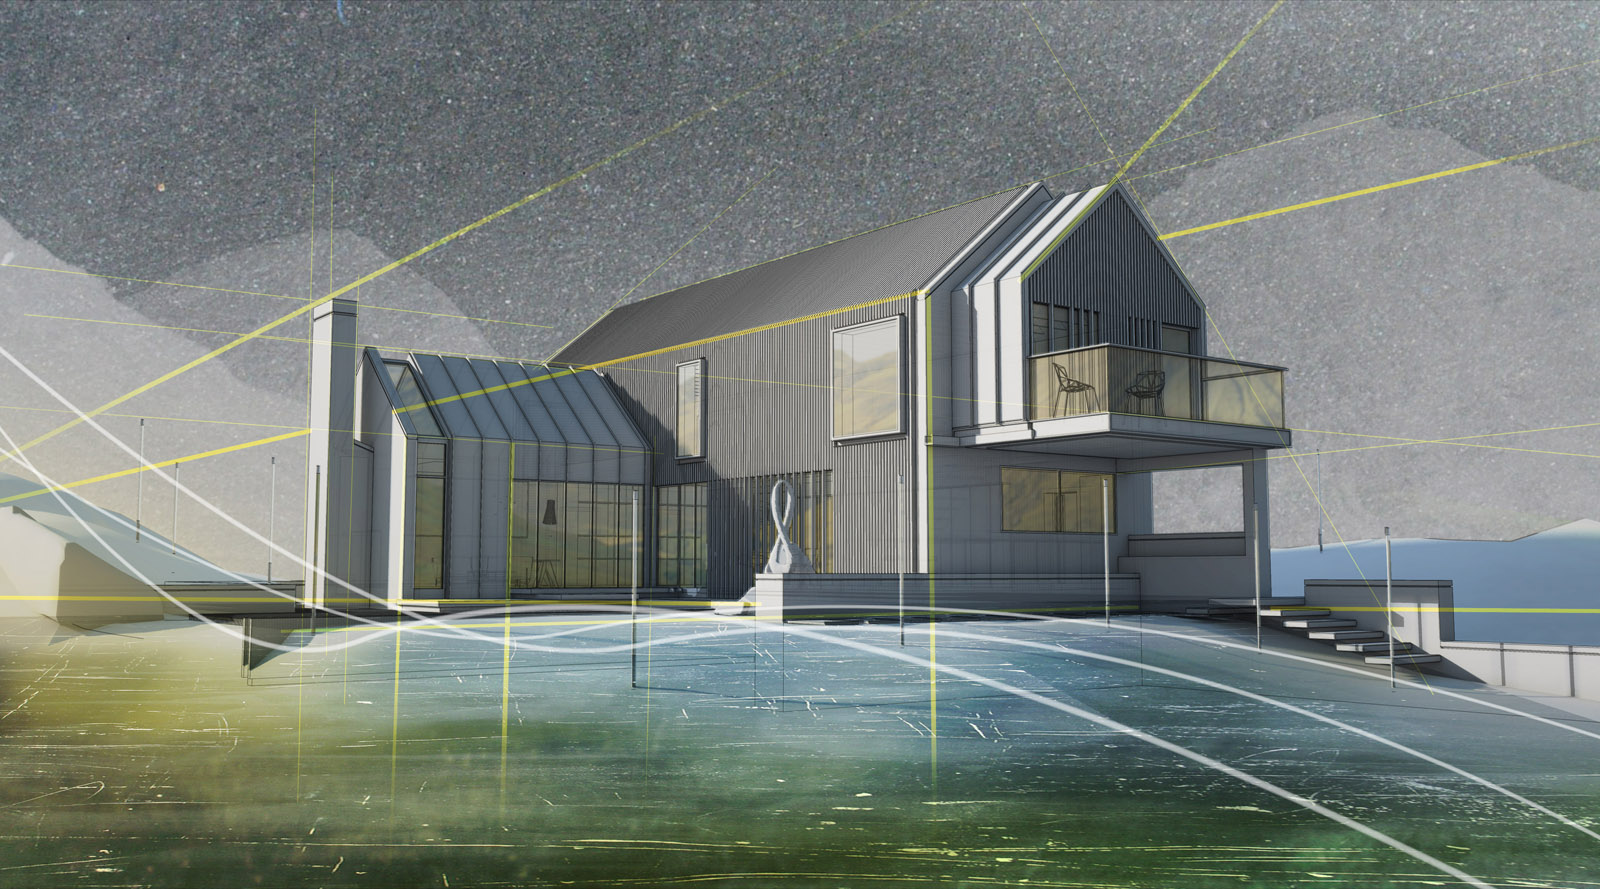
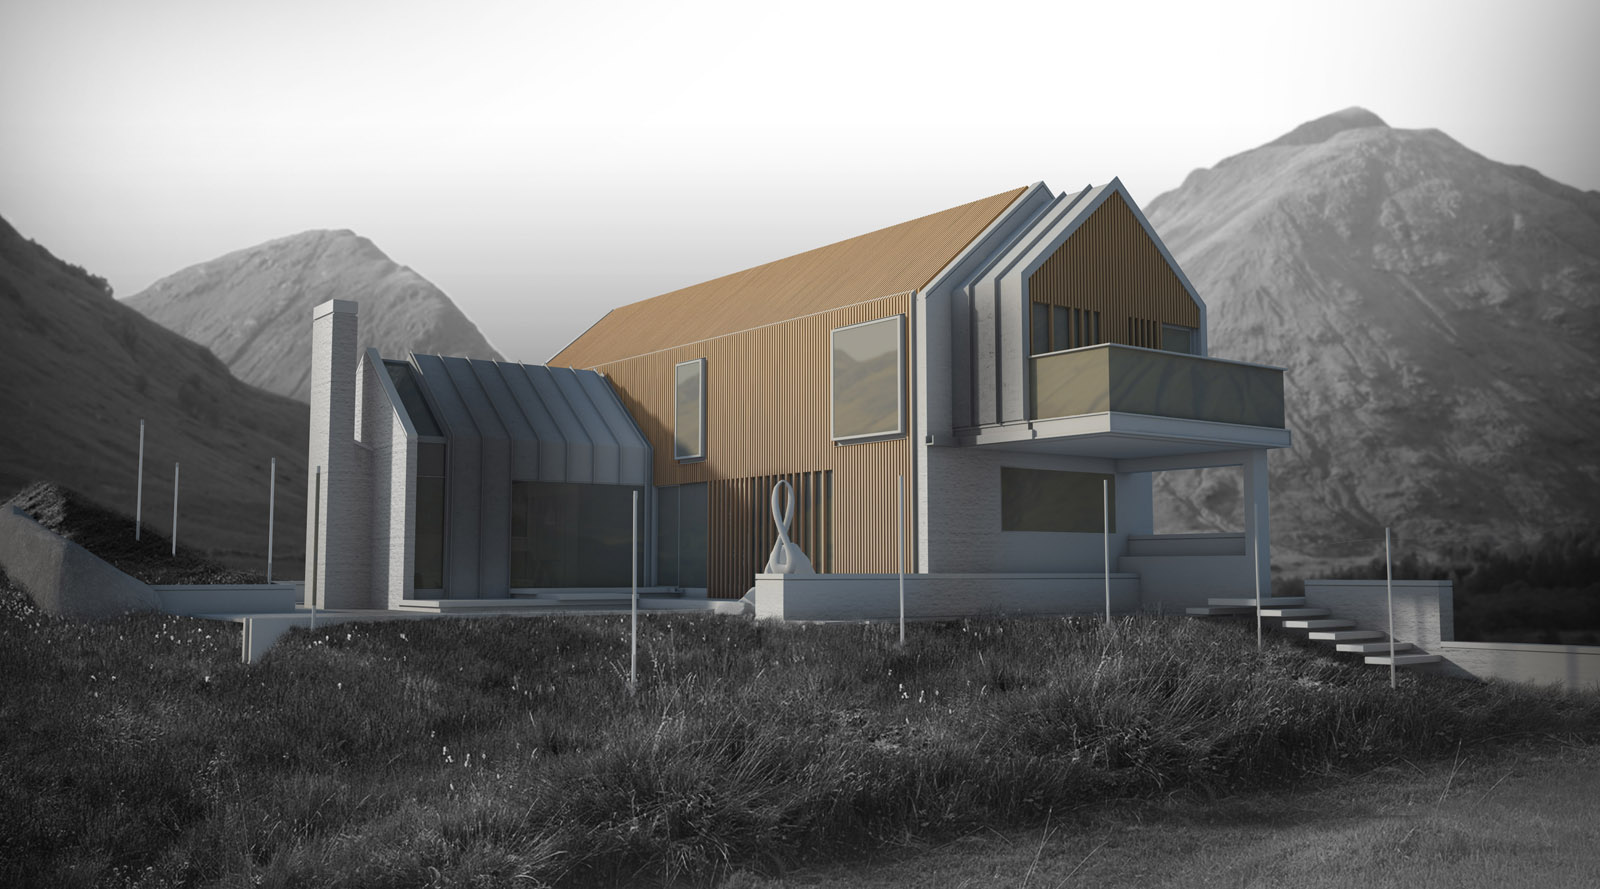
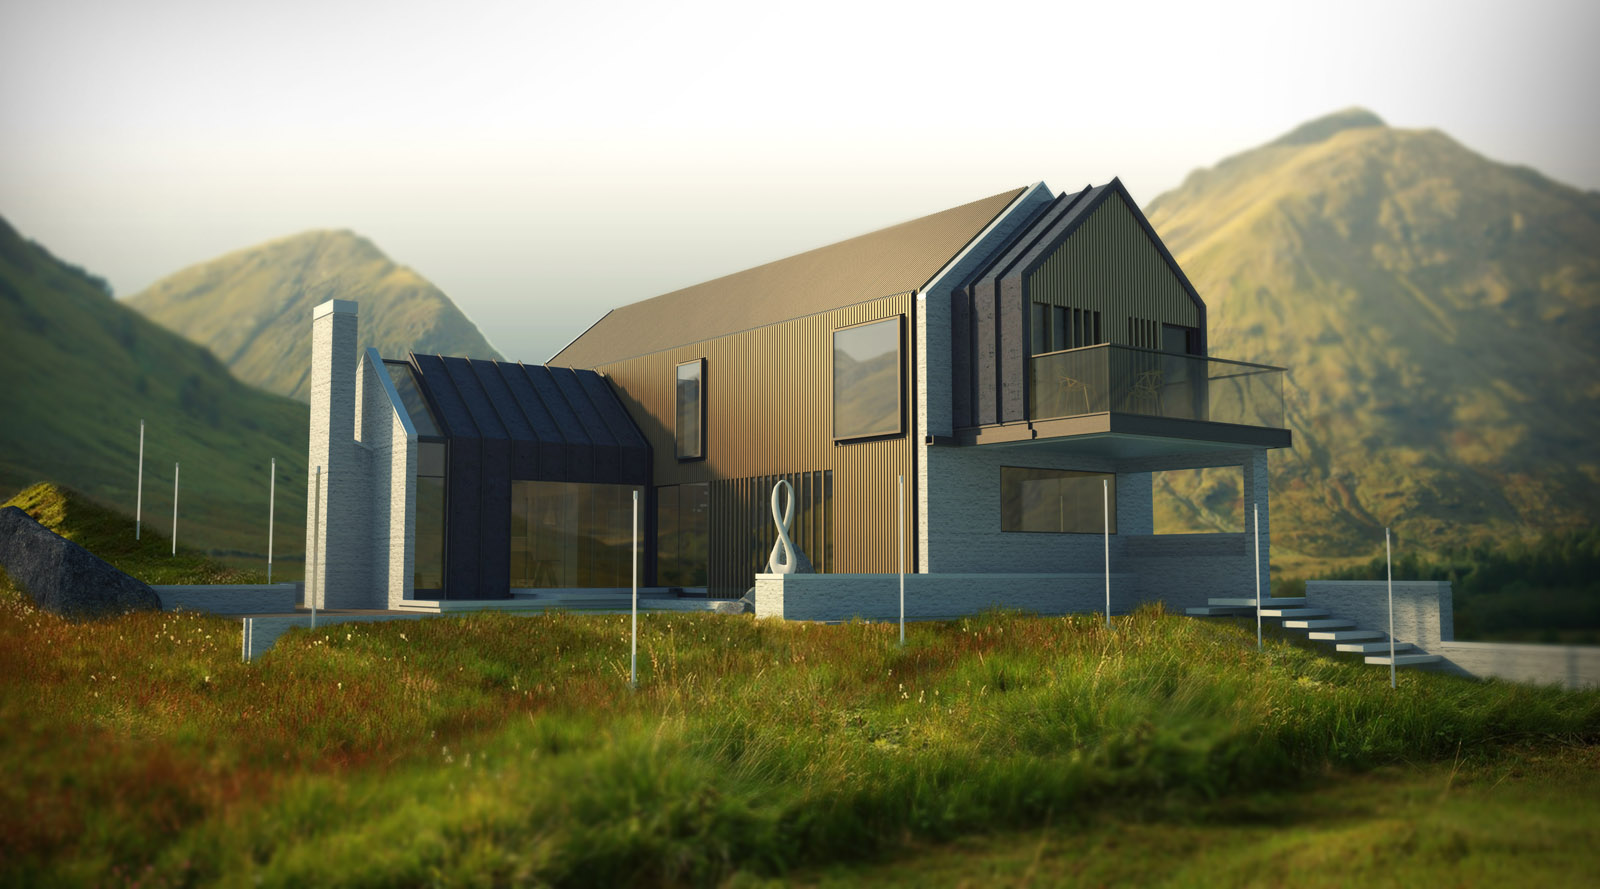
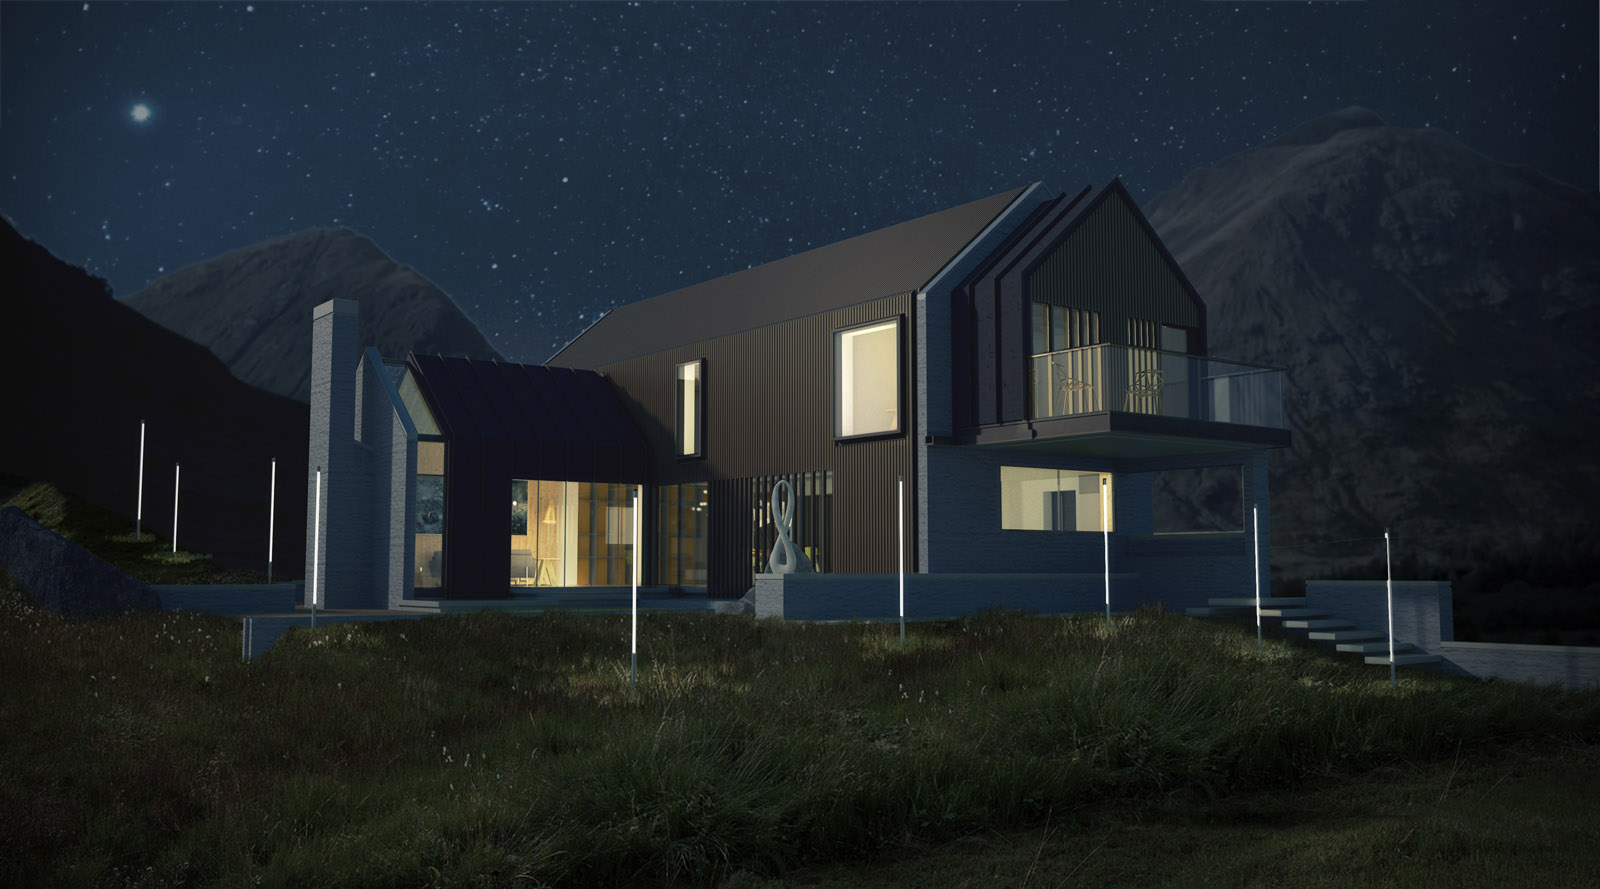
House for a valley
Here's a few images of a house I designed rendered in different styles using SU/vray/photoshop. Rendered out material ID, reflect, shadow and lighting channels, ran a separate AO image and exported lines and shadows from sketchup, then messed about with layers in psd using masks to brush different elements in and out. Night image is PS exposure adjustment and a blue photo filter on the original render, with a secondary render of just the lit windows overlaid, so the shadows are still there but I have the moon as an excuse for that!
-
RE: Some UK/Euro Artic/Semi trailers for you all
Extremely useful, thank you very much.
-
RE: 'Modern Utility' interior
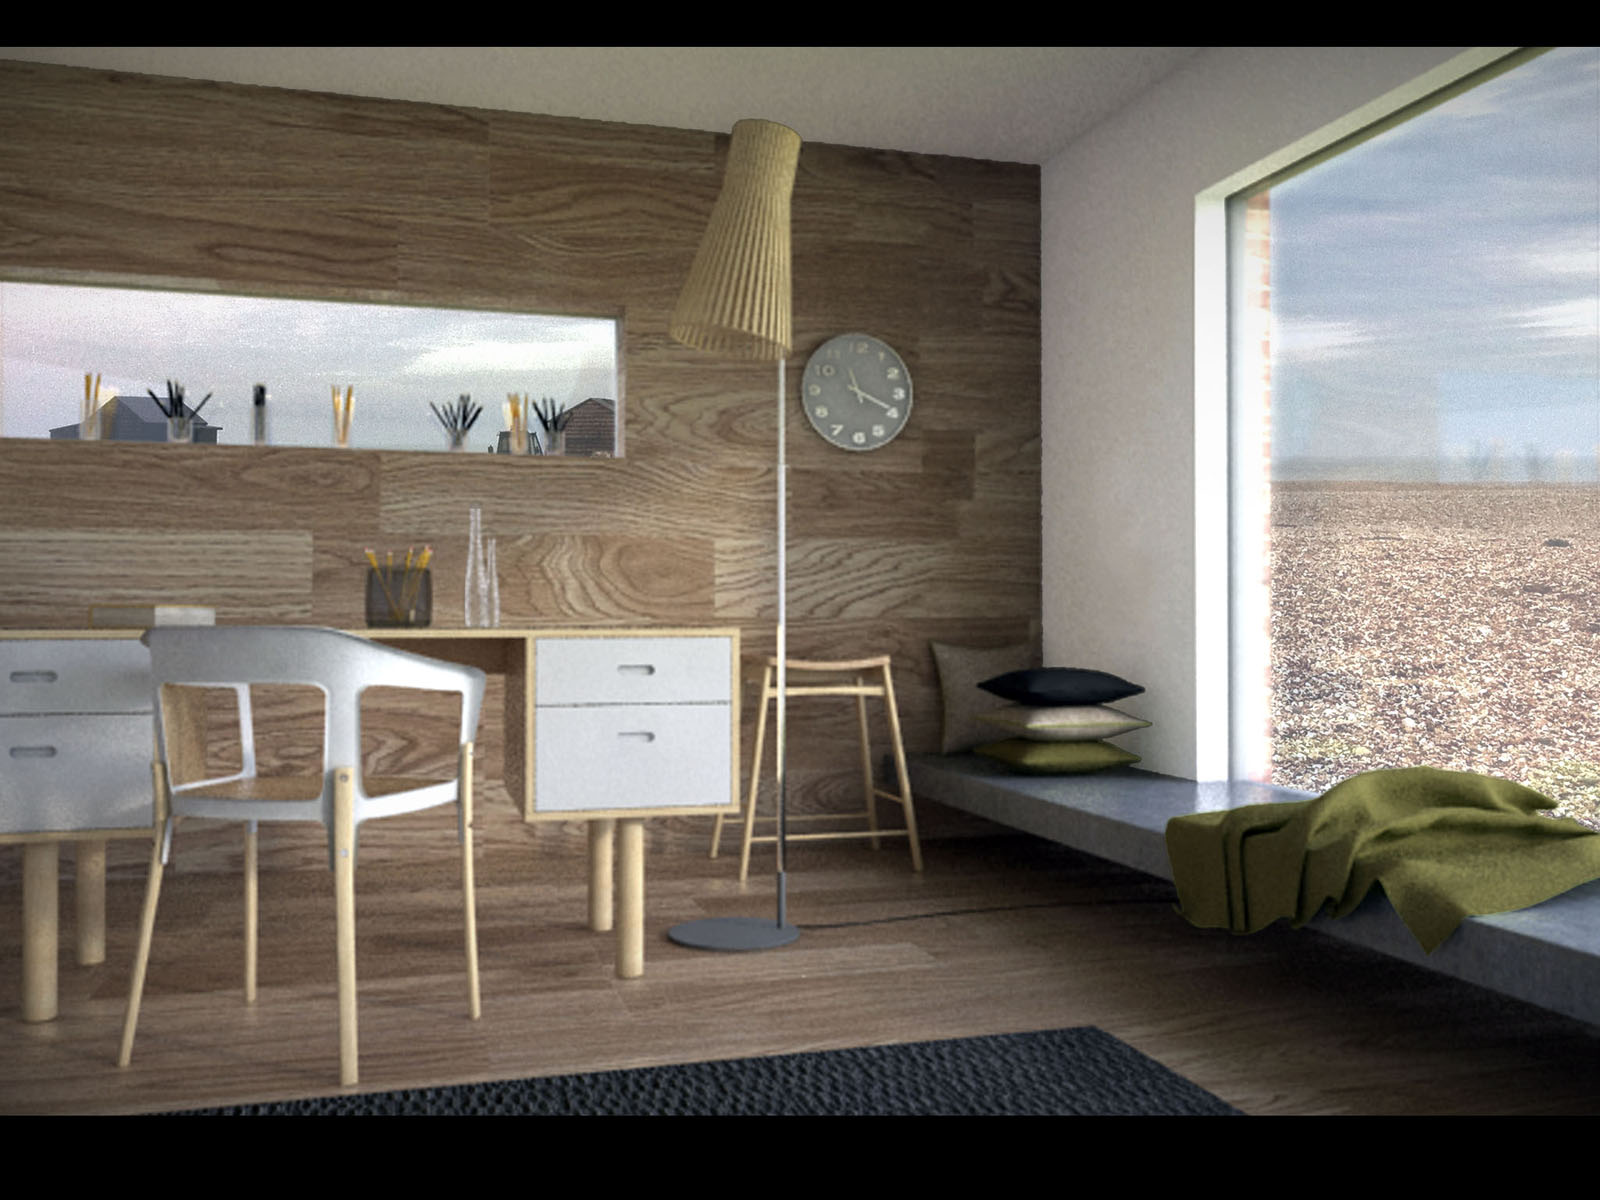
Background is a photo of Dungeness beach, I like the bleakness of the pebbles and was inspired by this http://nordarchitecture.com/projects/shingle-house-dungeness/
Environment wise the GI is a generic HDR sky cranked up to 40.0, background and reflect colour are sunlight set to size 6.0, intensity 0.2. Had some small blotches with this setup but worse blotches with rectangle lights at the windows so got some learning to do on interior light setup, this is my first proper go at it after much reading. -
'Modern Utility' interior
Busy modelling some furniture from the John Lewis 'Modern Utility' range, here's a draft interior based on their catalogue. Feedback appreciated!
-
RE: HDRI environtment problem and controling shadow
This tutorial is helpful- http://www.youtube.com/watch?v=pqMohzR5mV0
Basically turn on default lights in the Global Switches and put Sunlight plugin into the 'Reflect Colour' slot in Environment settings, then adjust the sun size to get softer shadows and adjust the intensity of sun to suit the scene lighting.
-
Vray RT
I'm considering getting a decent graphics cards and switching to Octane, was wondering if anyone knows what's going on with Vray RT for Sketchup and whether it's worth waiting for. I saw the feature video in the chaos group newsletter and now have RT envy.

-
RE: Interior design
Looks good, I like the lighting and the curtain in the bedroom image.
In modelling terms the ceiling looks unusual to me. It may just be a product or design style I've not seen before, but if you're going for a coffered ceiling the grid tends to project down and the squares are recessed:
https://www.google.co.uk/search?q=coffered+ceiling&hl=en&prmd=imvns&tbm=isch&tbo=u&source=univ&sa=X&ei=kFtsUNnrKIjA0QWvyoDQCQ&ved=0CCcQsAQ&biw=1536&bih=860
You might consider doing the downstands in plaster and the recessed areas in wood panel as some of the examples above show. -
RE: Brion Cemetery
Thanks for all your feedback so far, I've been having fun with the ivy generator, works great if you import as collada through Blender. Messing about with multitexture in UVToolkit to detail the tiles along the back wall without making loads of materials, should have something new to post next couple of days once I've worked out a decent concrete shader.
-
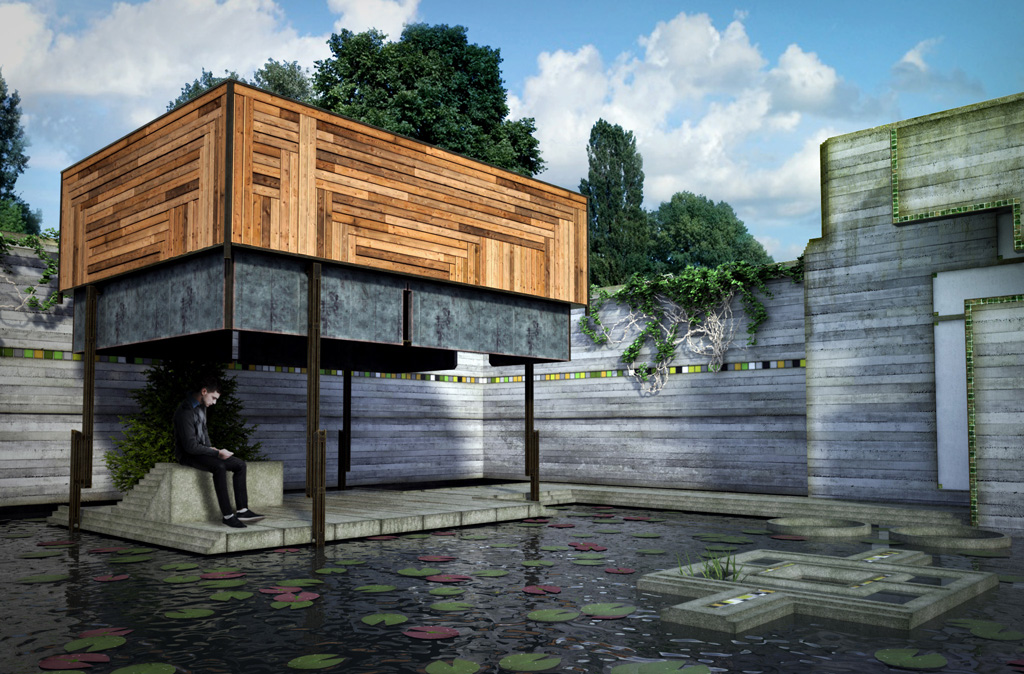
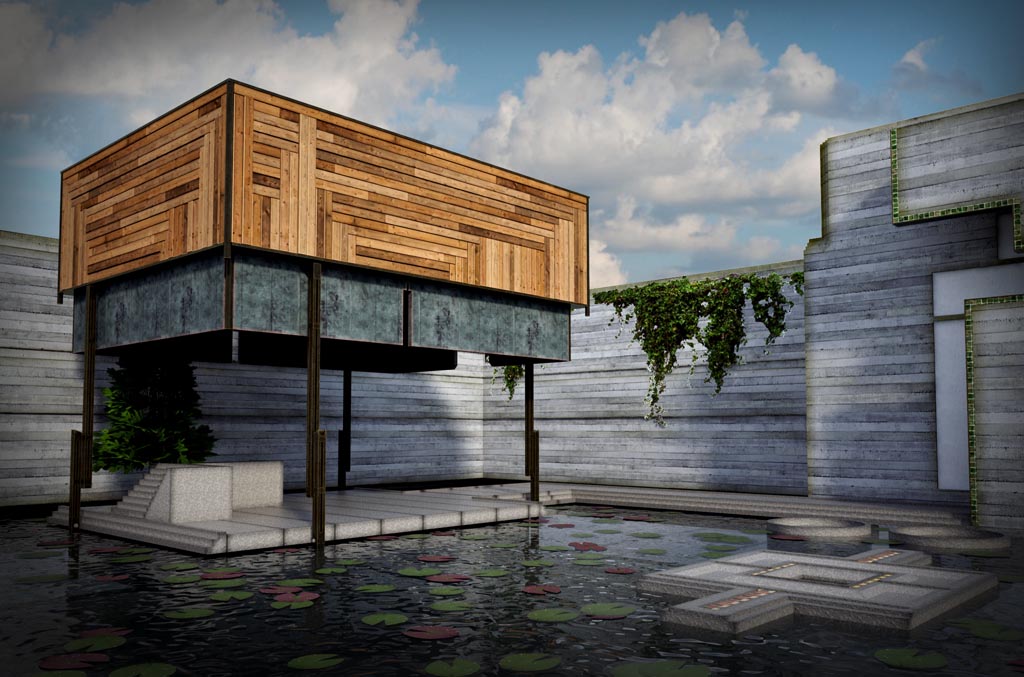
Brion Cemetery
Carlo Scarpa's masterpiece and a personal project I've been working on for a bit, planning on modelling the whole thing and producing multiple views eventually, this is a pavilion with reflecting pool in the corner of the cemetery. The vegetation and the ground concrete are a bit iffy at the moment, really need a decent pine tree where you can't see the flatness of the 'leaf' images. Thinking about doing a couple more colours of lilypads to vary it up and toning down the water bump. Feedback appreciated!
Thanks to Thomthom for this tutorial http://www.thomthom.net/thoughts/2012/06/v-ray-for-sketchup-dirtmapping/ which I used to get the hang of vray dirt settings.
Tools used: Bricks n' Tiles, Shadermap, Compospray, Fredopaint, Vray, Photoshop.
-
Car paint
Been playing about with my car paint shader, thought I'd share. I've found the following settings do a reasonable job:
TOP LAYER: Reflection fresnel IOR: 2.2 Tint the filter colour similar to base colour.
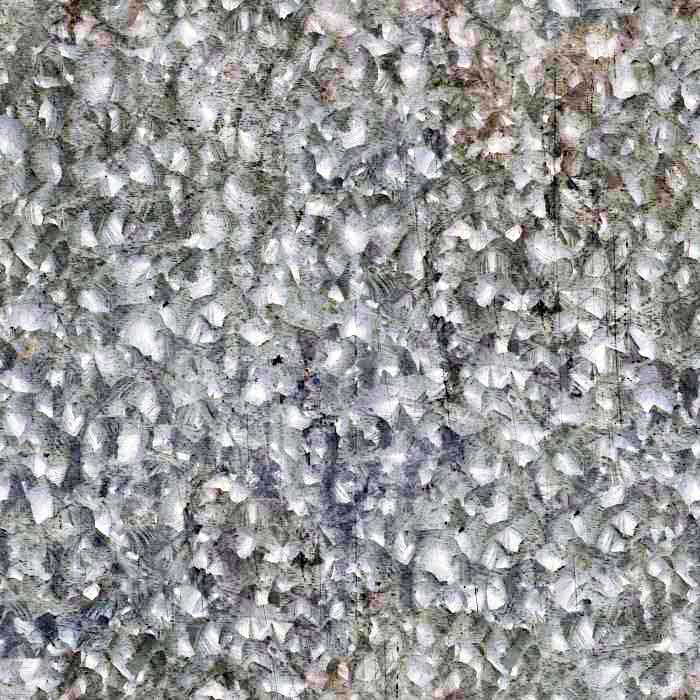
MIDDLE LAYER: Reflection fresnel IOR: 2 Use a galvanized metal texture in the hilight and glossiness maps, CGtextures has a few. I applied a contrast adjustment to map as below, this could probably do with refinement. Again, apply a tint to the reflection filter.
BASE LAYER: Use falloff with two colours (first slot the main colour, second slot darker colour for normal paint, or contrasting colour for irridescent paint). Use perpendicular/parallel for falloff type.That's it.....although I think this is decent looking I was hoping to get a better 'flake/sparkle' effect and messed about with the galvanized metal map in bump, roughness, anistropy slots to no avail. Would be interested to know how everyone else builds this shader type.

-
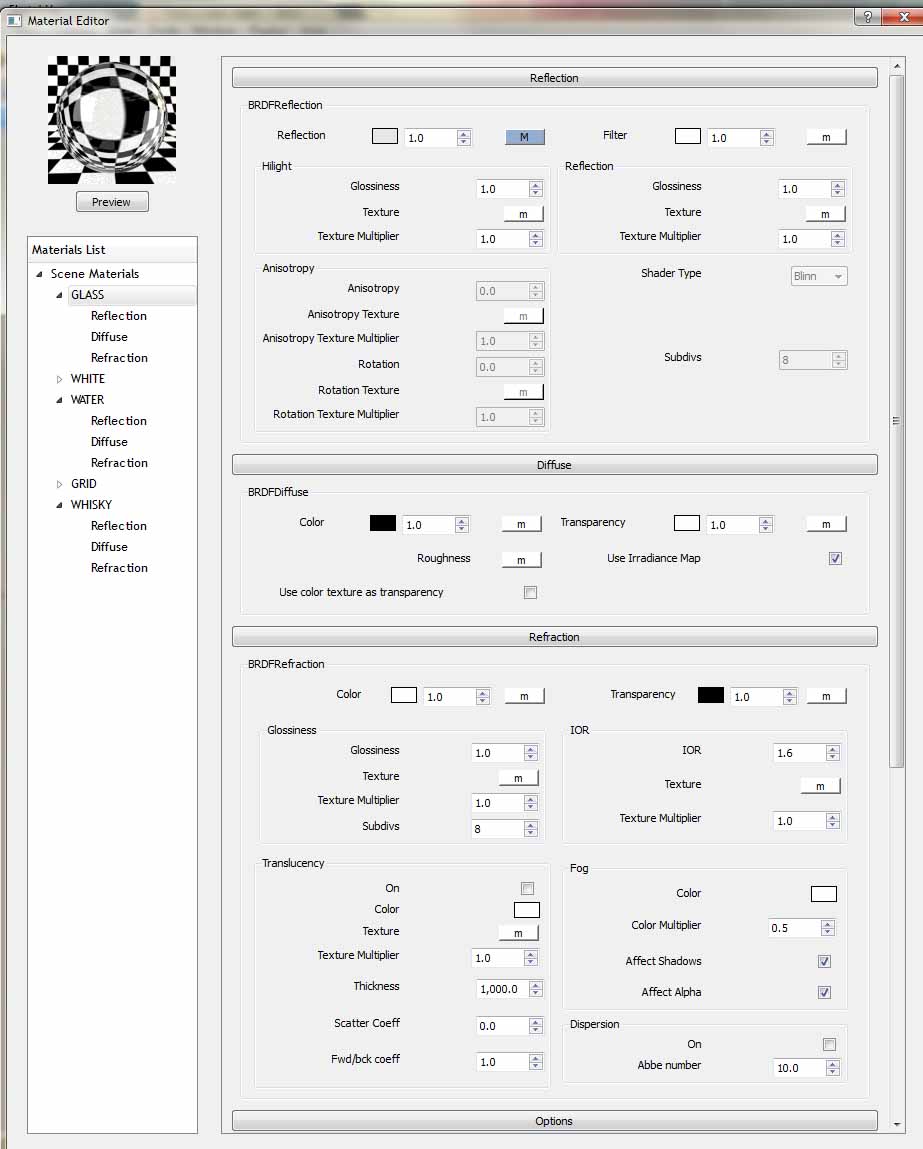
RE: Controlling refraction
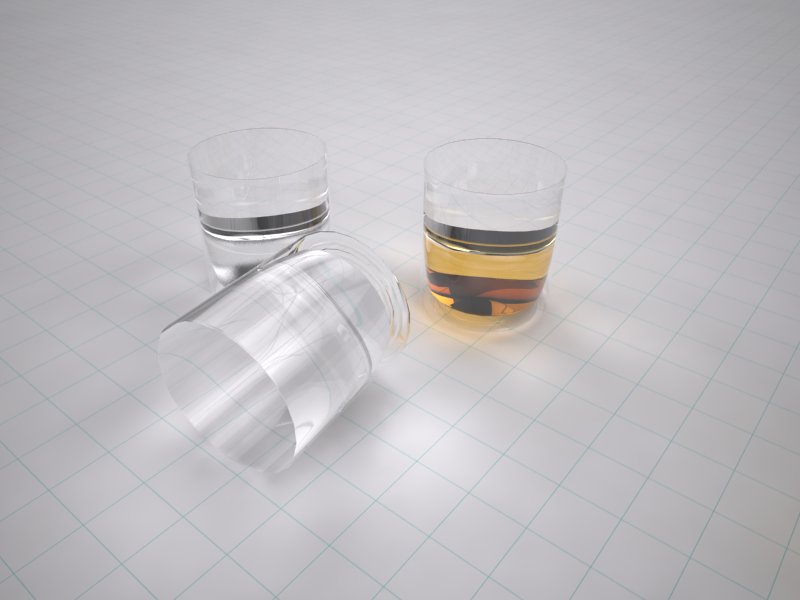
Thanks for the tips, the z conflict has been solved at base and have adjusted fog to get better colour depth (very very very light yellow-orange used). IOR to 1.33 has improved refraction issue on front face although it still strikes me as too much colour- think this might be one of those issues where you expect it to look a certain way in your mind. Test render in another glass attached for comparison.
-
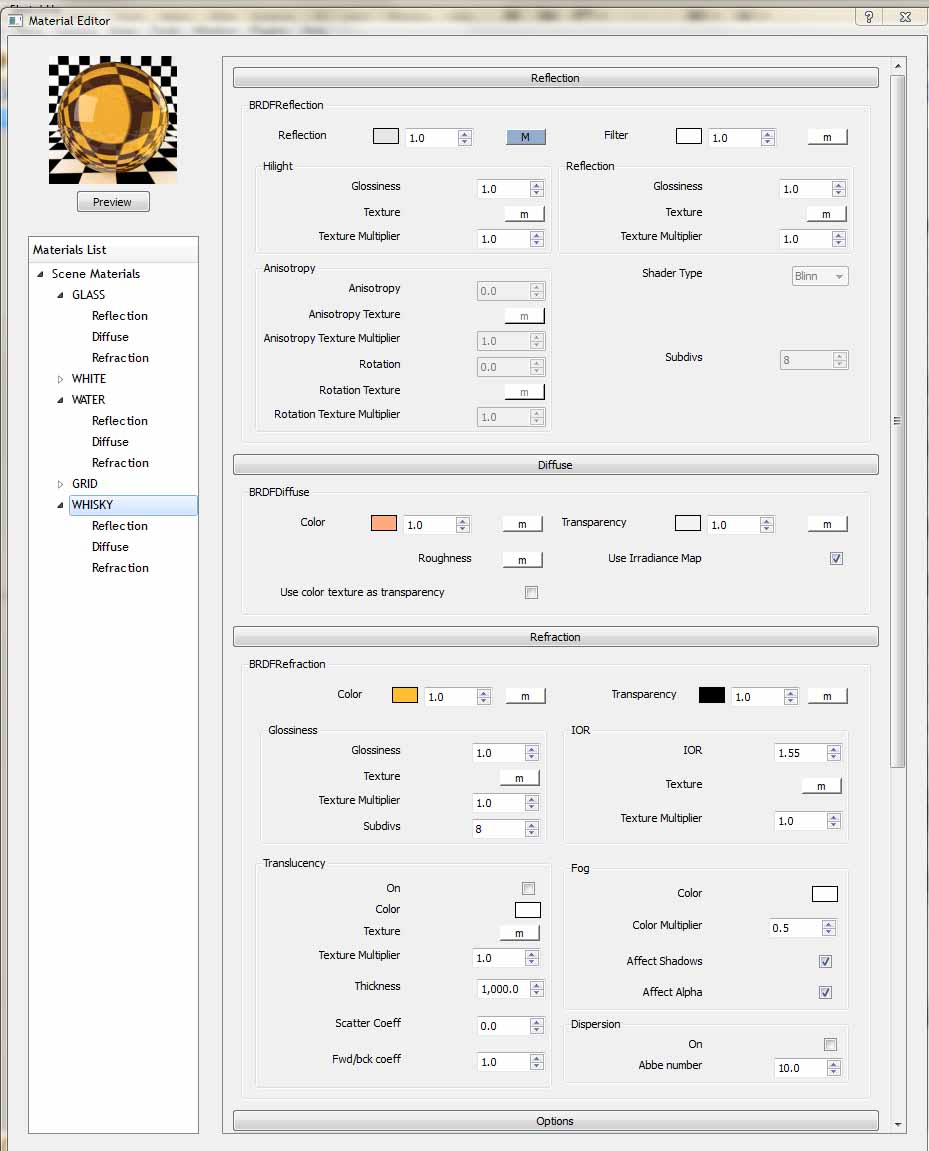
Controlling refraction
Hullo, first post here, have found boards to be excellent resource so far.
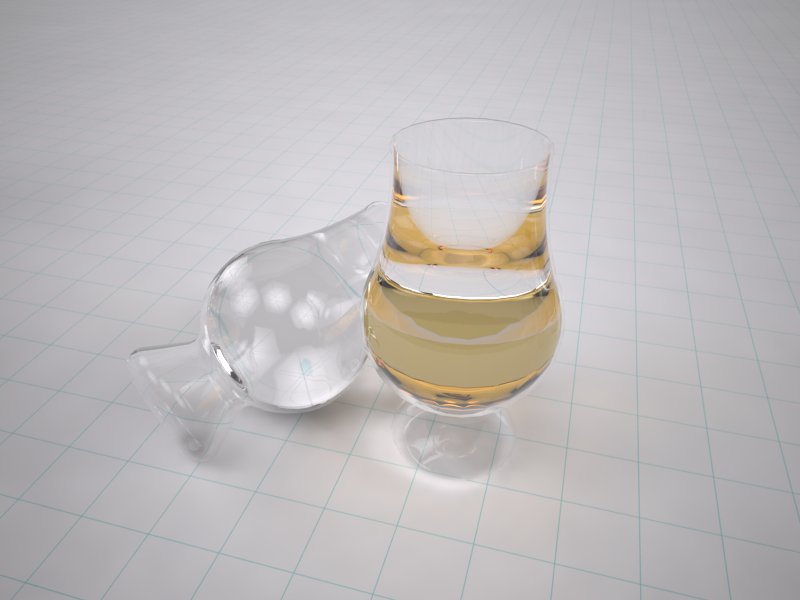
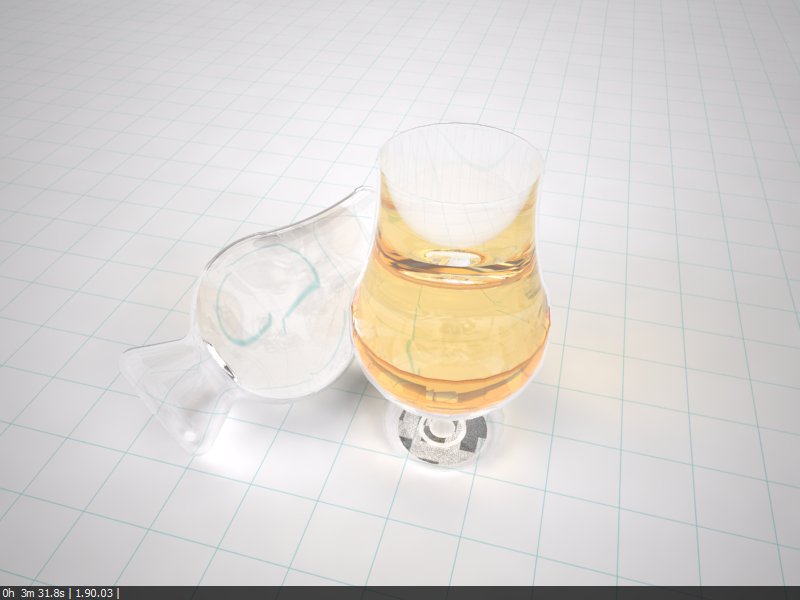
I've been modelling my glassware and trying to nail the liquid and glass settings; in this particular glass the refraction causes the whisky colour to appear all the way up the near side; you can also see the dark line below the middle which indicates the level of the liquid but can't see it on the far side so there's no sense of an elliptical 'top' to the whisky. Also wondering about a fix for the artifacts in the trapped shadows at the base of the glass (there are 2 slight recesses). Any suggestions?
Will upload this and other glasses to 3d warehouse once finished and post link, got martini/wine/tumbler.
-
RE: Depth of field with physical camera
Trying to get the hang of these settings just now and found your post, you can unlock the DoF aperture parameter by switching off the physical camera at the 'On' button. After you change the aperture switch the camera back on, the setting is preserved. There's probably a good reason for this but I certainly don't know what it is. Test is hdr GI with exposure turned off, DoF aperture 0.5, focal distance 40.0.