Spaceship time again!
-
Thanks L I am, but it's a small cockpit not meant to stand up in.
Hmm, another one that's going to take some time. I can see the whole thing in my head, but where to start...
-
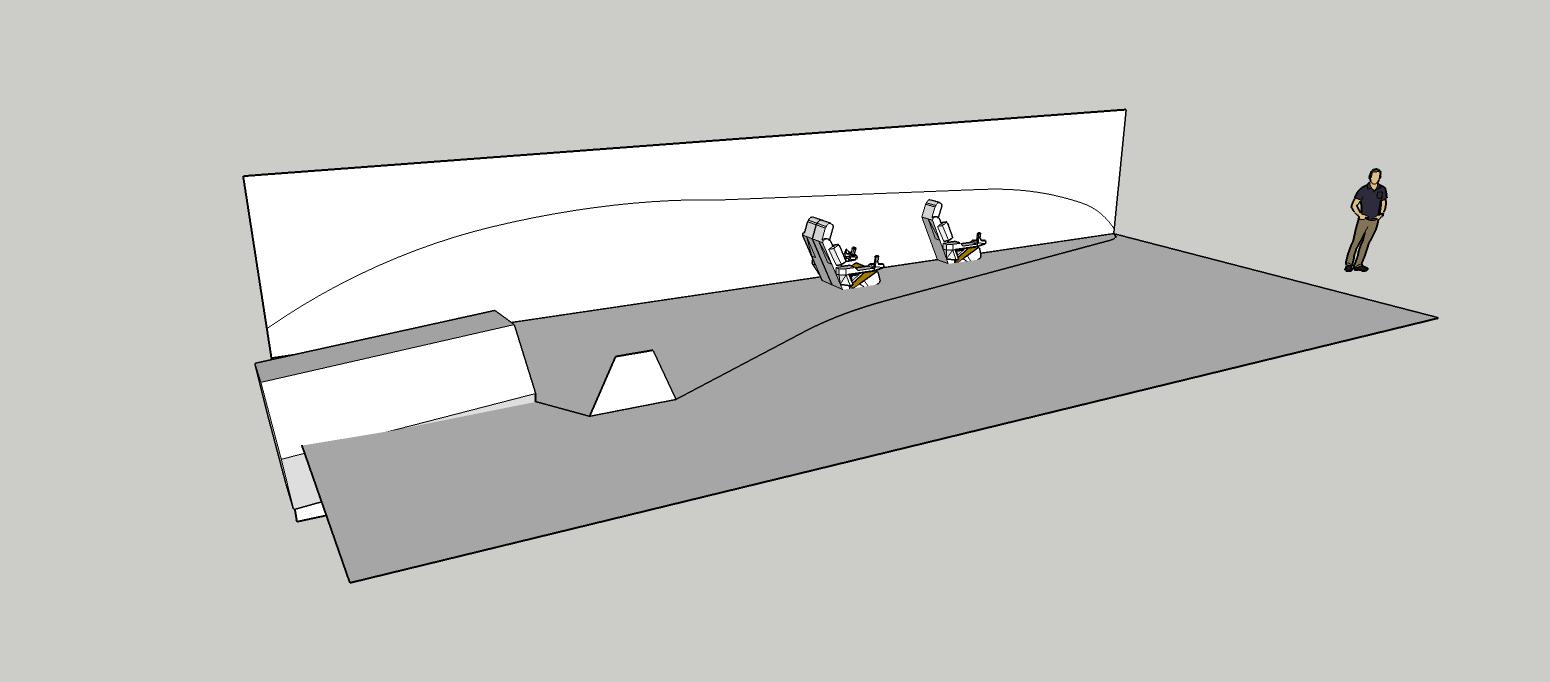
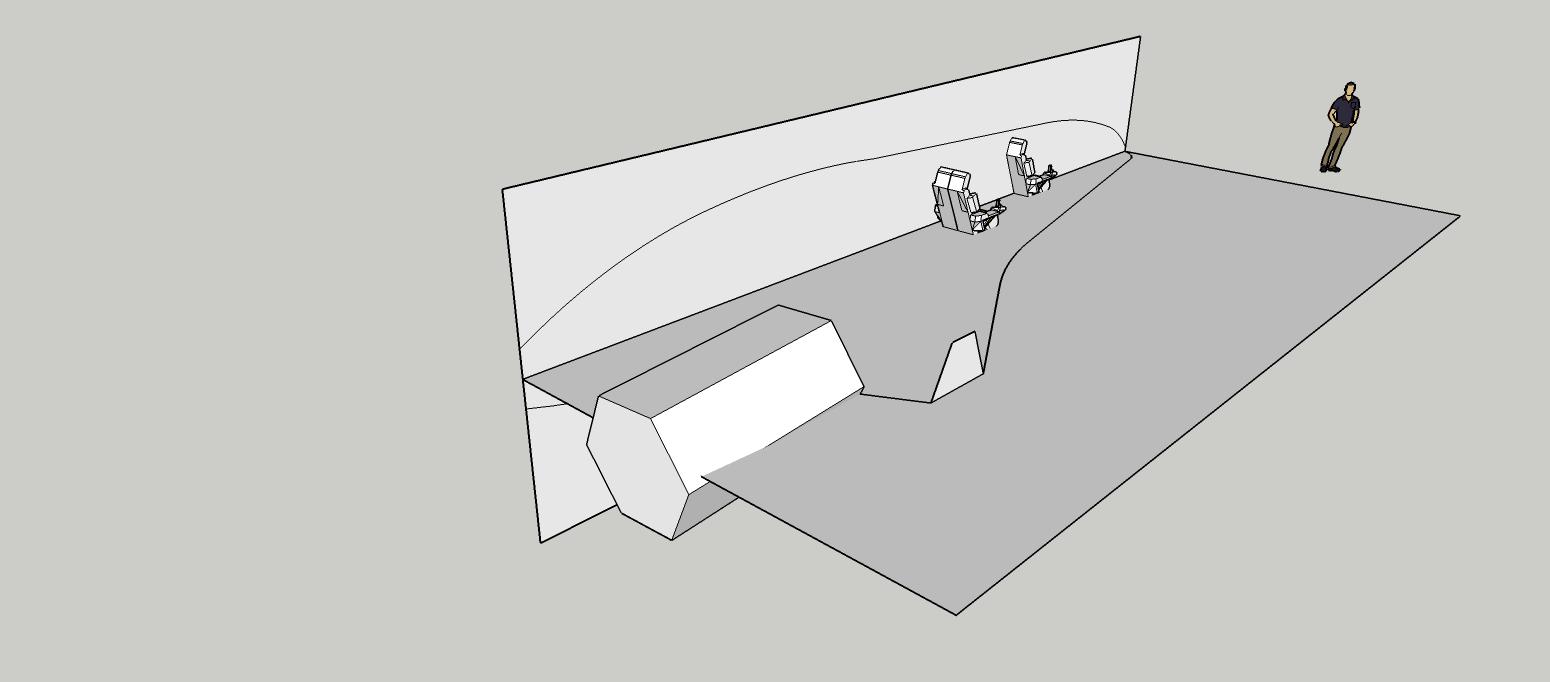
Kinda sorta this shape.
-
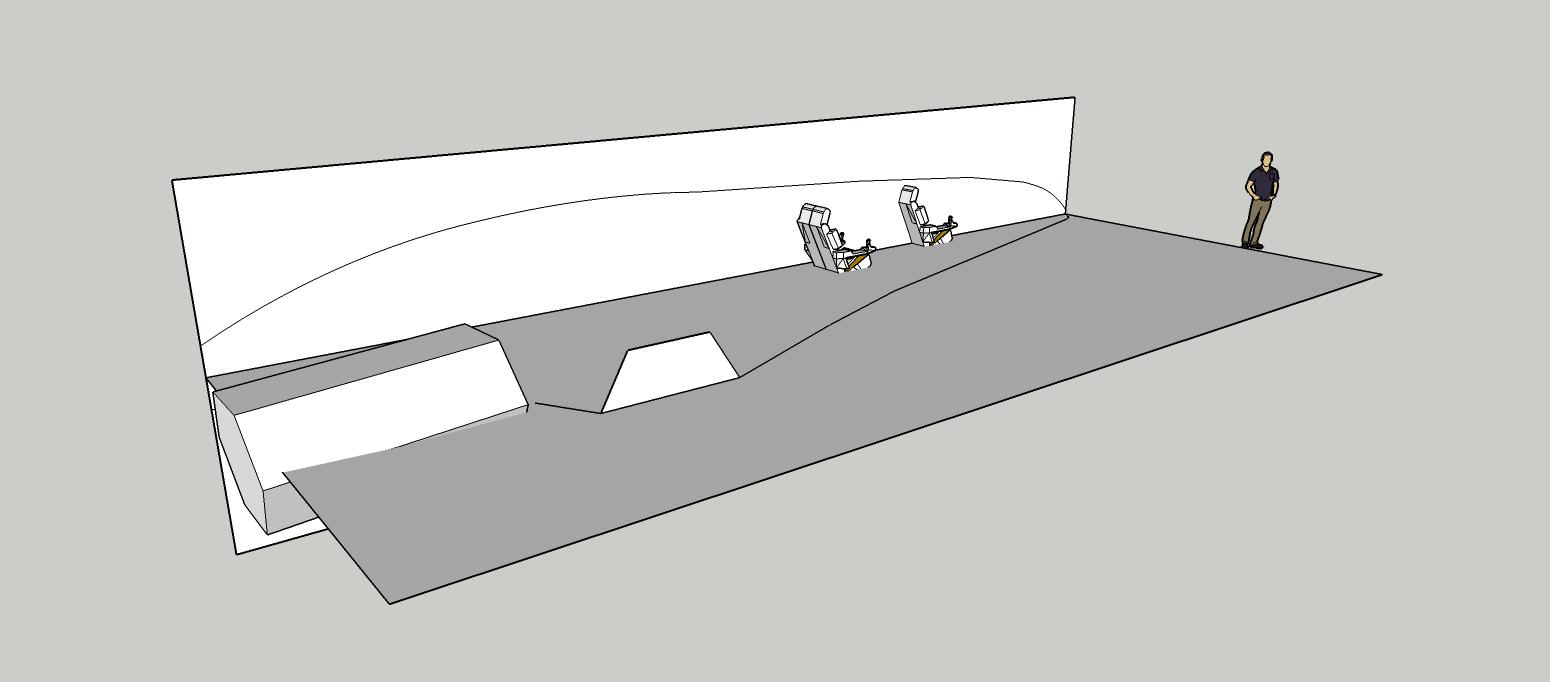
Still scaling and refining.
-
This is both interesting and educational.

-
@ntxdave said:
This is both interesting and educational.

Thanks!
It will definitely be educational. I have no idea how I'm going to connect all the different curved surface.

My technique is to find that one element in the design to "hang" the rest of the model from. (build outward from that element) I have not found that thing yet.
-
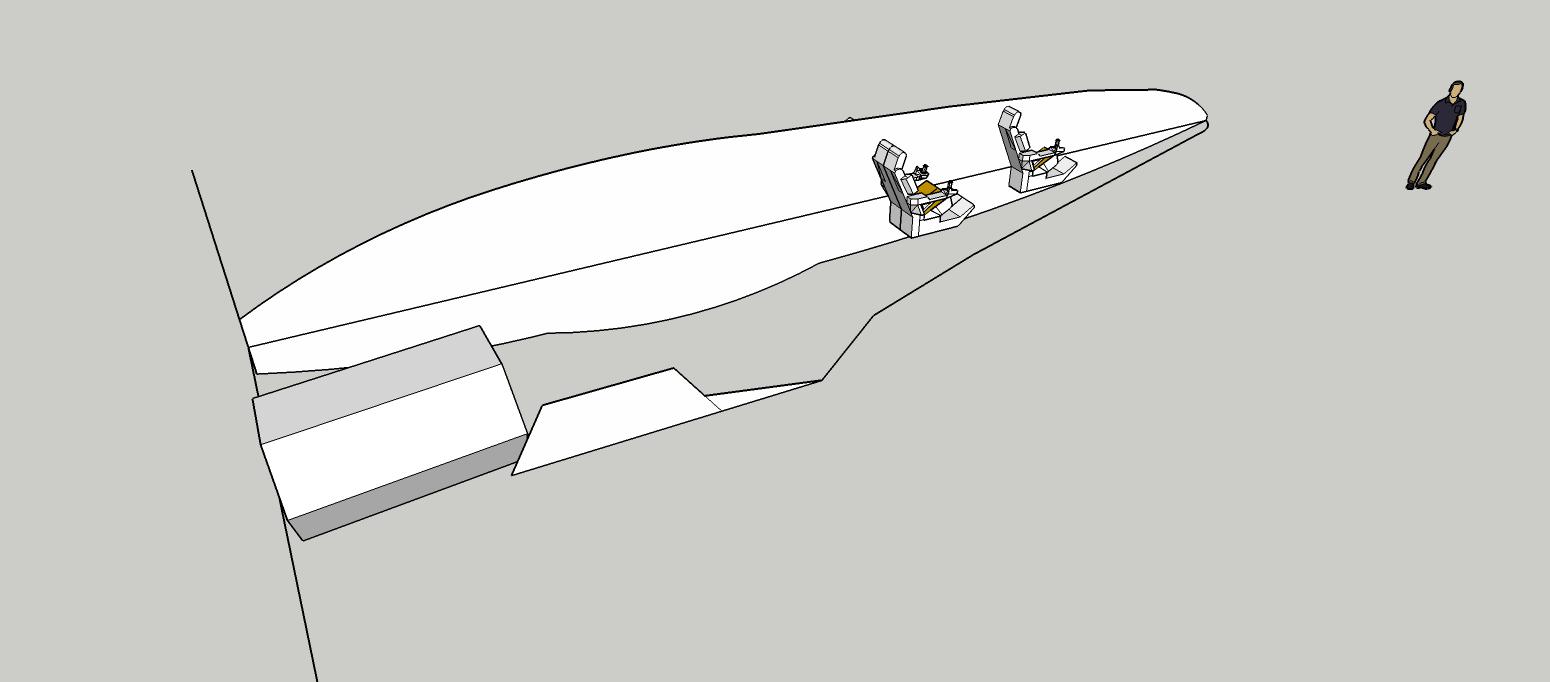
O.K., I've decided to use the side red bubble thing as my starting point.
(you can skip this one, see next post)
-
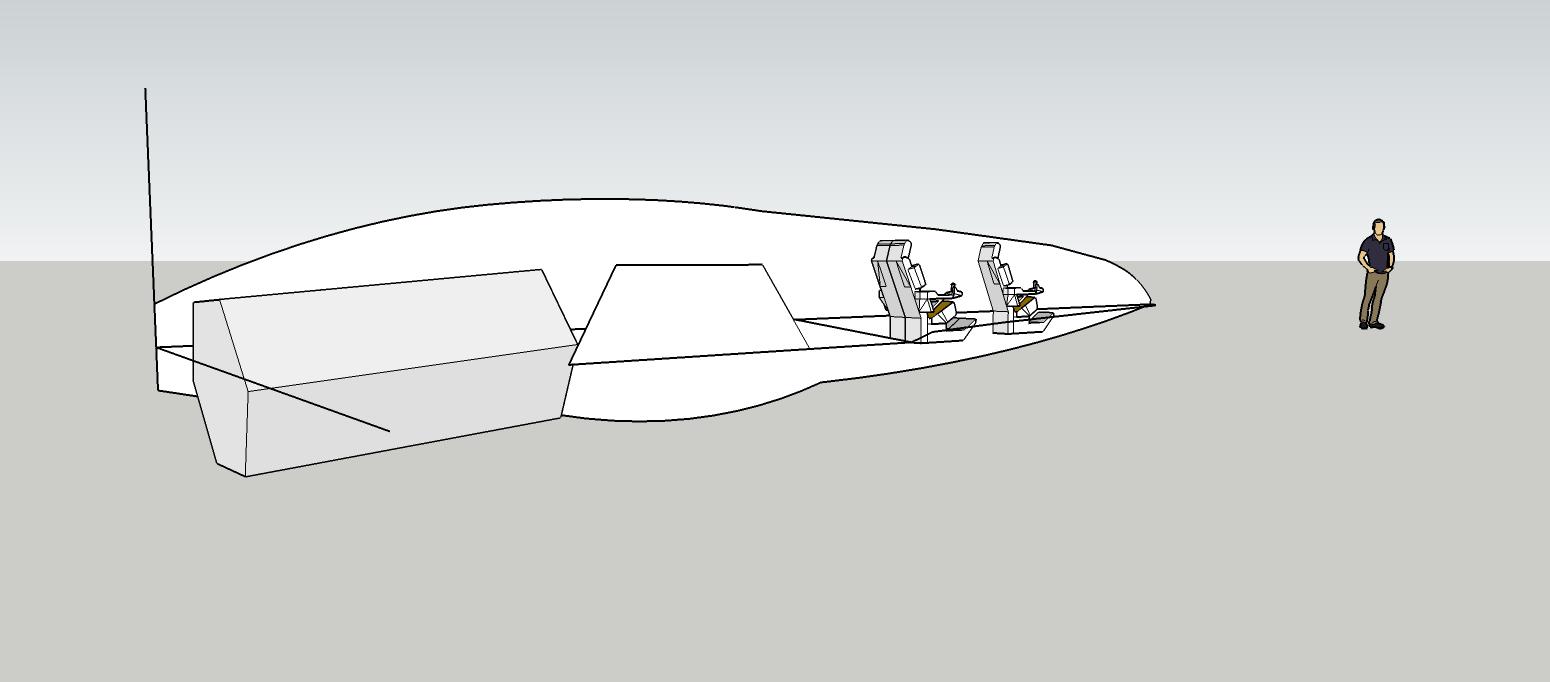
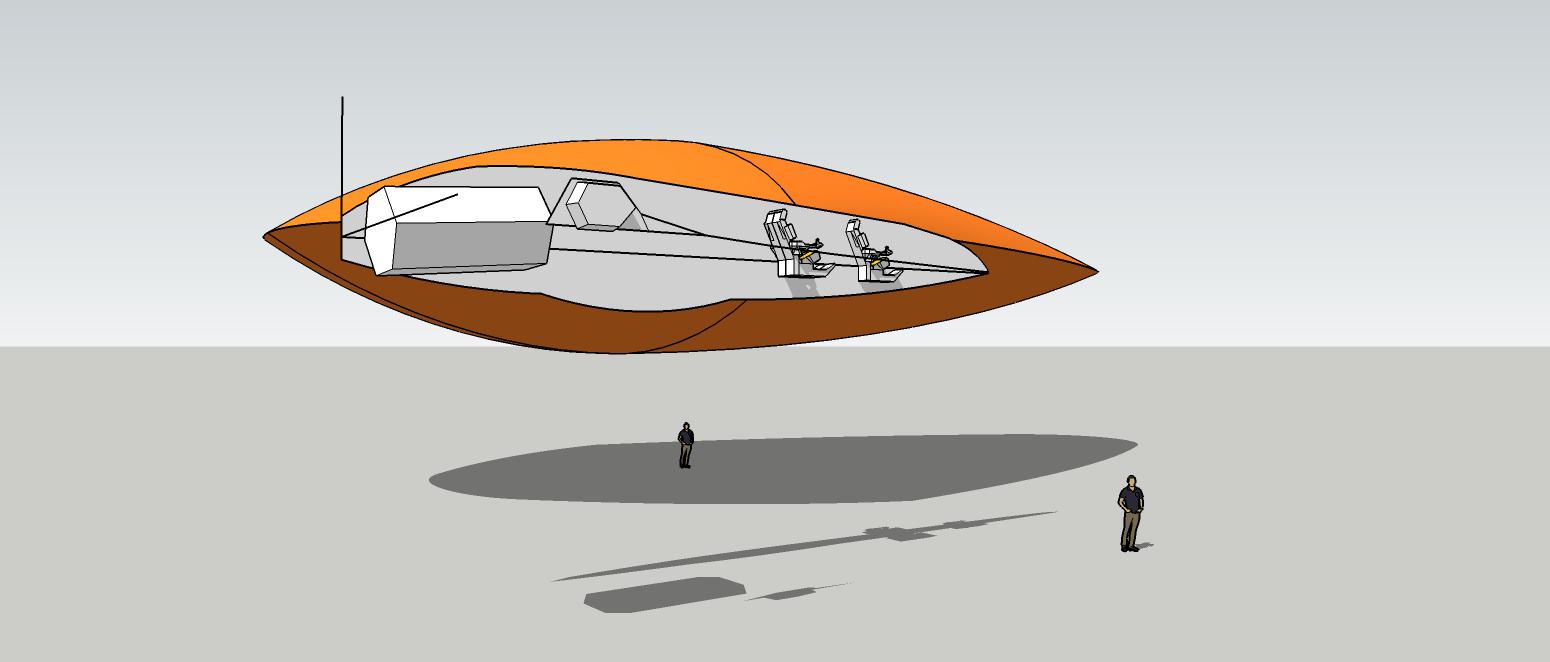
Ho boy was I wrong about the scale. After framing the scene to sort of match the original, this is what I found.
Waaaay off on scale. Hmmmmm....
-
I'm using the horizon line and distance to ground shadows to approximate scale. I've also noticed the painting is not exactly straight on perspective, so I have to try and judge how "off" it is (i.e. tiled or twisted) and compensate.
I only have to get close, but scale is important.
Man, I sure know how to pick 'em.

-
O.K, I'm going with the orange shape, so the final result may not look exactly like the picture, but that is due to the nature of the scale and weird perspective of the original.
-
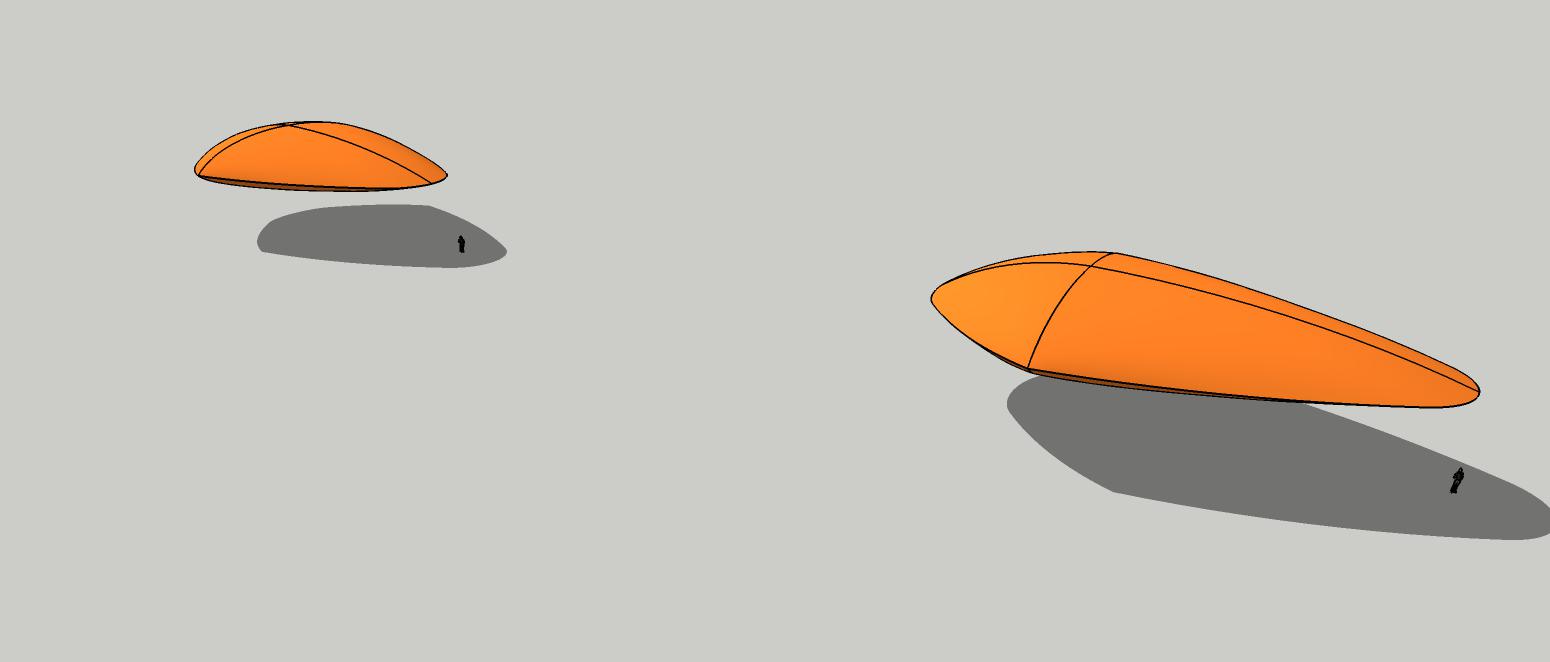
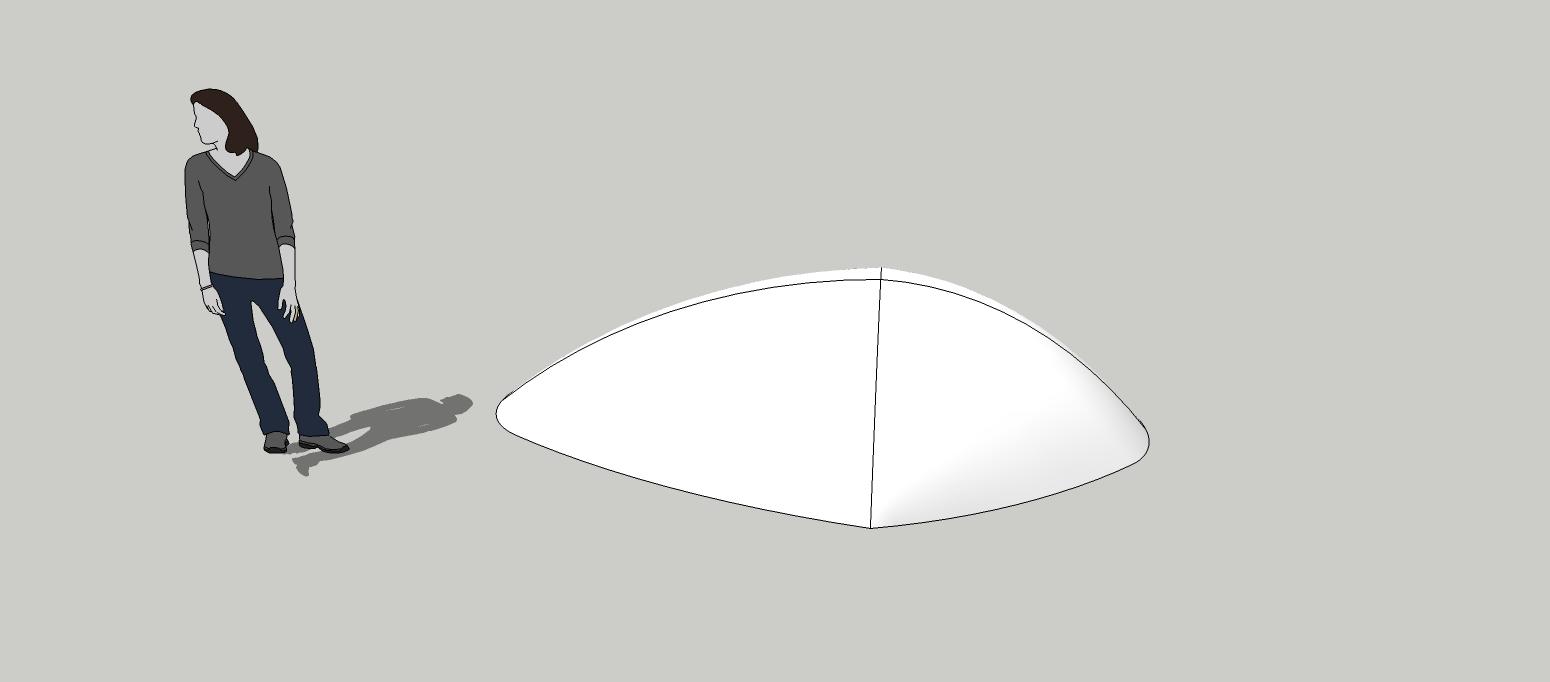
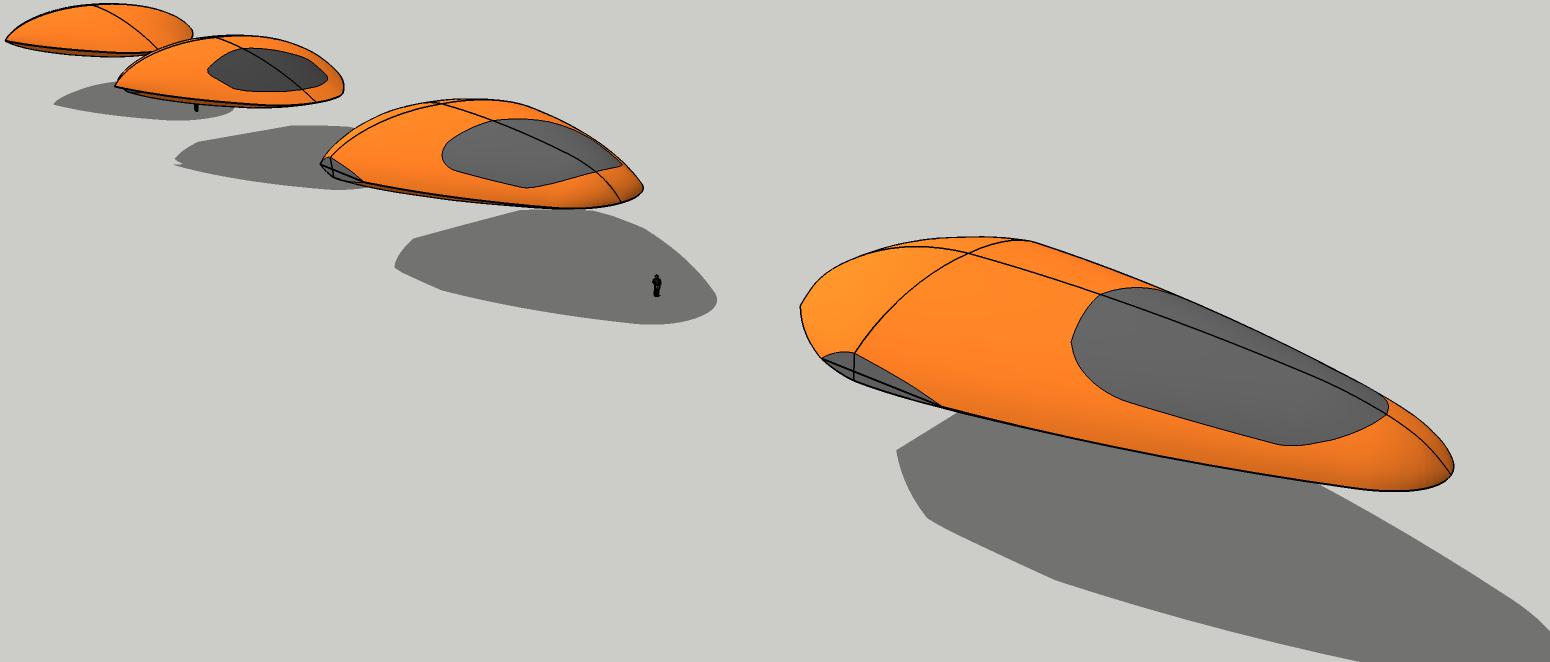
Not much look at, but what I've done is create a back-up duplicate. The near right one will be the working model and the far left one, the back-up.
This model is one I made years ago when I first installed Curviloft. It was a good shape so I've saved it for various projects. The "Field Trip" model came from this shape.
-
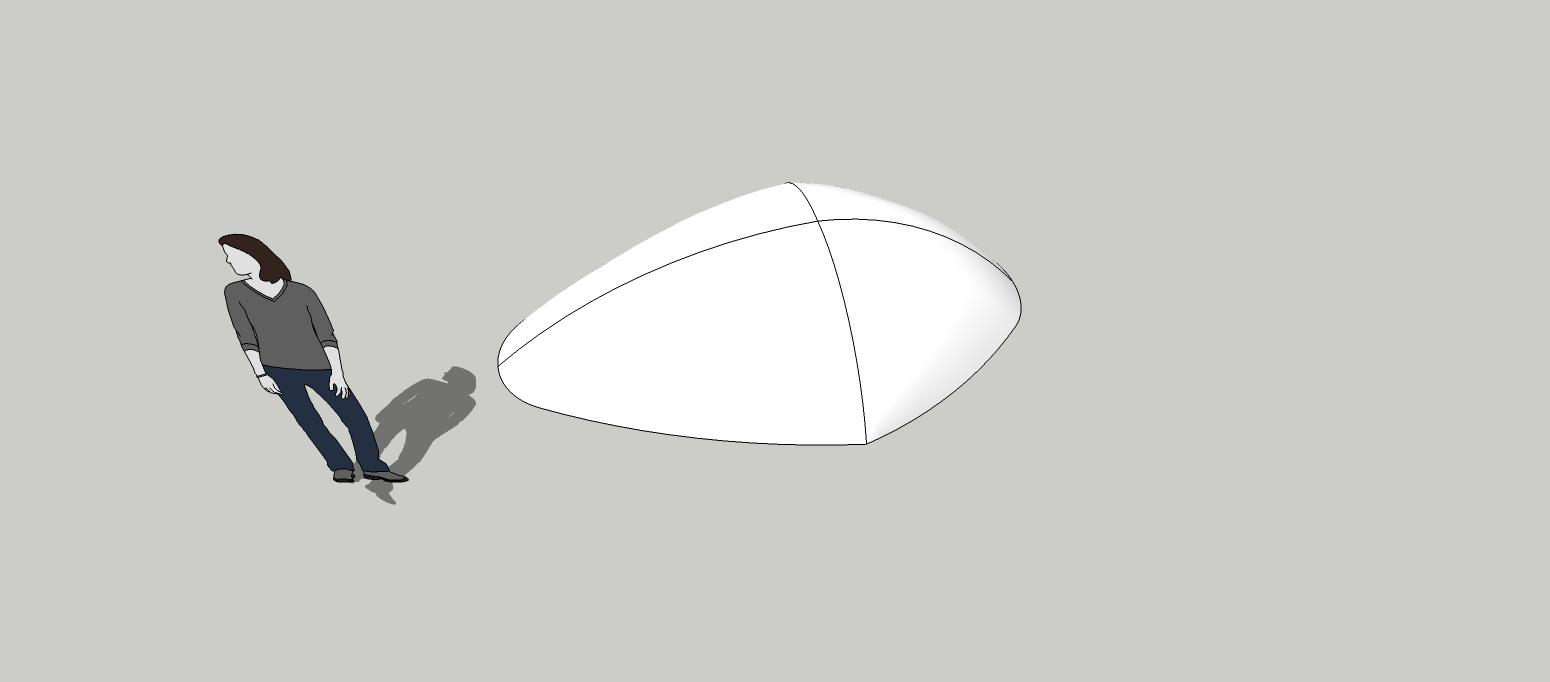
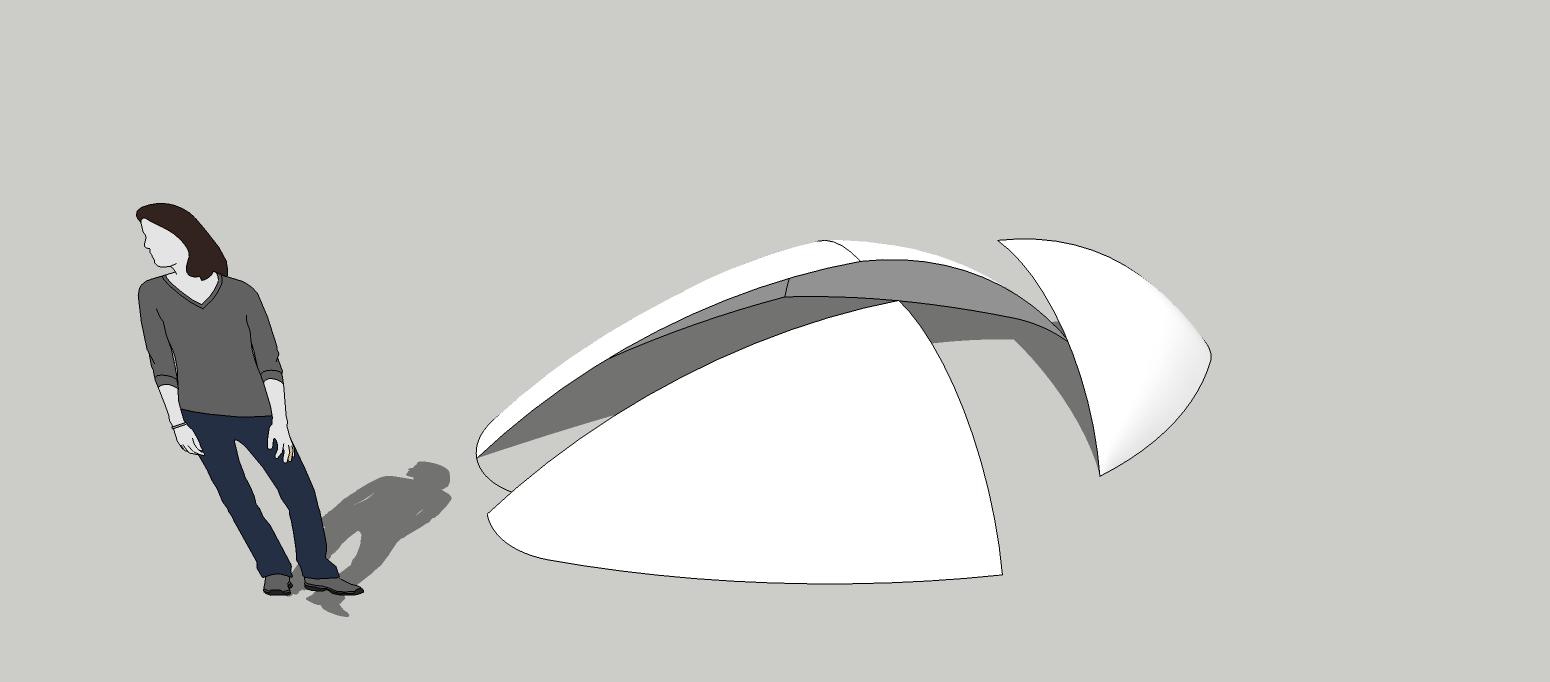
Here's the original model. I just squash and stretch it using scaling until I get what I want.
It's just one shape, duplicated 4 times and scaled.
-
This one is going to take a while. The original picture is cool, but it's not really enough to go on.
I still think I can do it, though.
-
OK, and away we go.
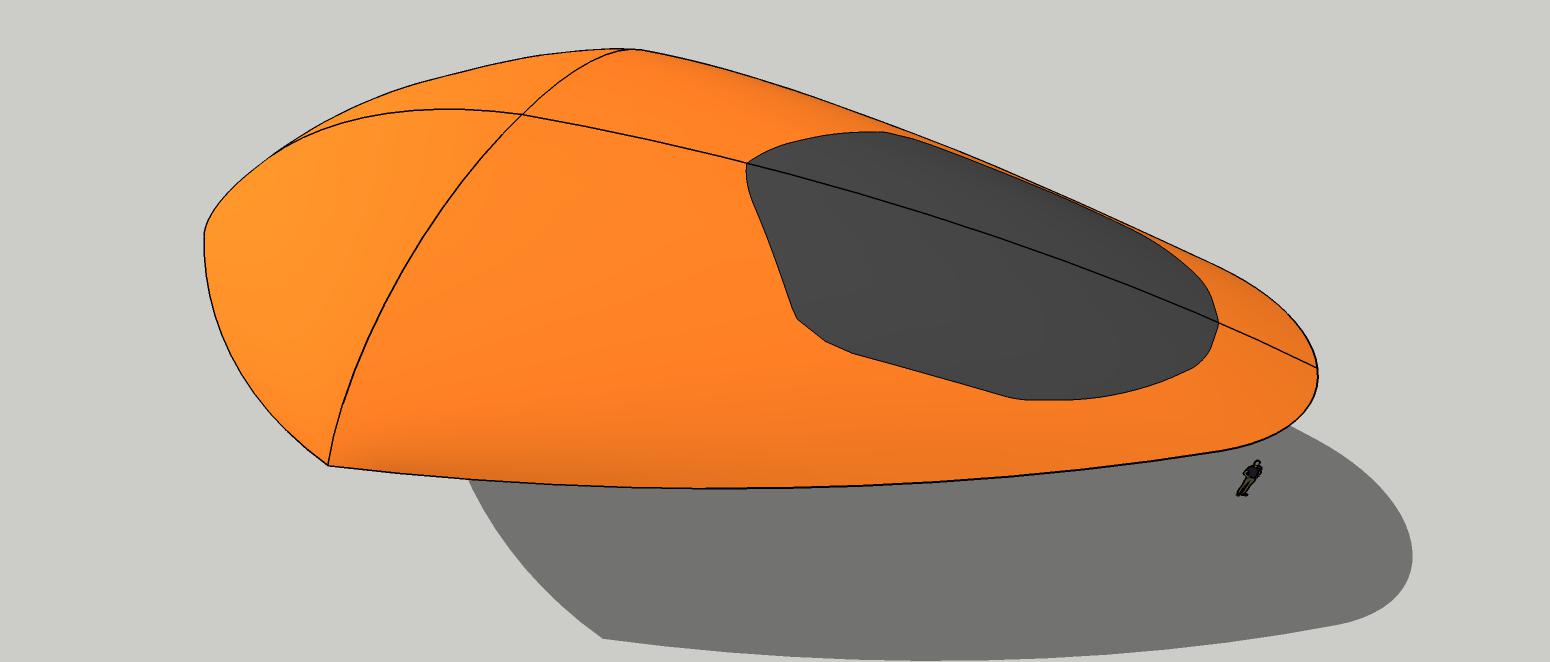
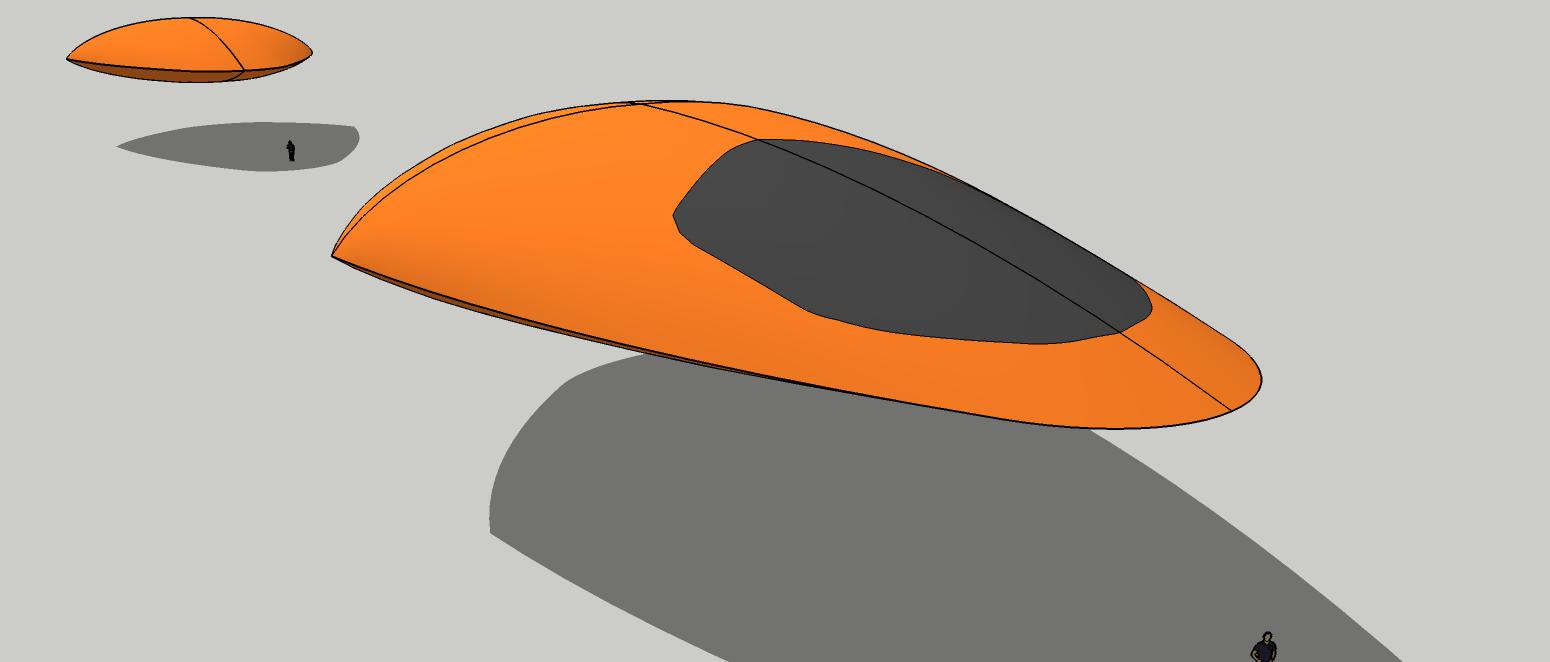
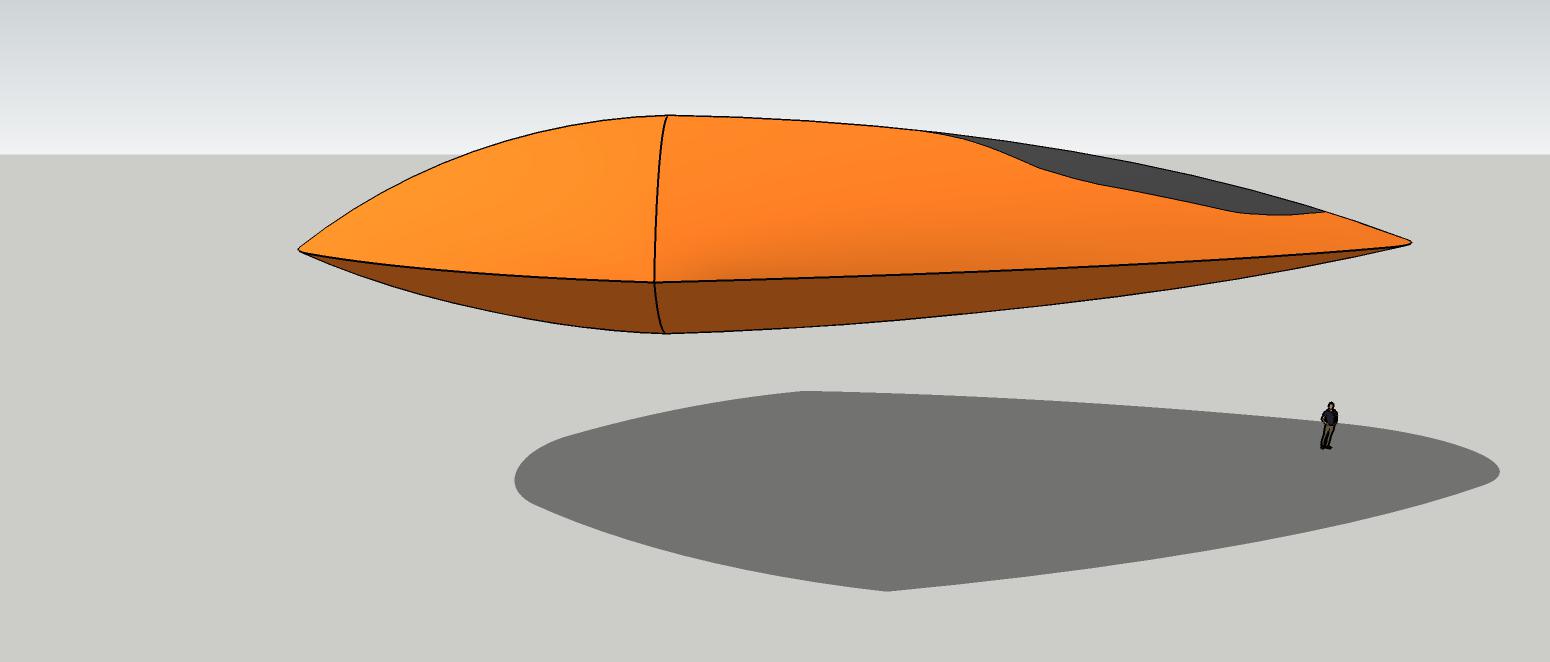
I increased the vertical scale of the top half (just ever so slightly) and then roughed in canopy/cockpit outline using Tools on Surface lines. (much fiddling with the lines)
This is where I'll start and build off from here.
I'll be carving and cutting and pushing vertexes until I get close enough. Hopefully, only a little as the overall shape looks good. The nose shape will be for starters. Needs for dolphin/orca whale shape along the vertical. Horizontal shape is good for now.
I am using the component mirror method. One side is the reverse duplicate of the other. So make change on one side and it's automatically duplicated.
-
I think you are closing on the shape, looking good already.
-
@mike amos said:
I think you are closing on the shape, looking good already.
It's getting there.
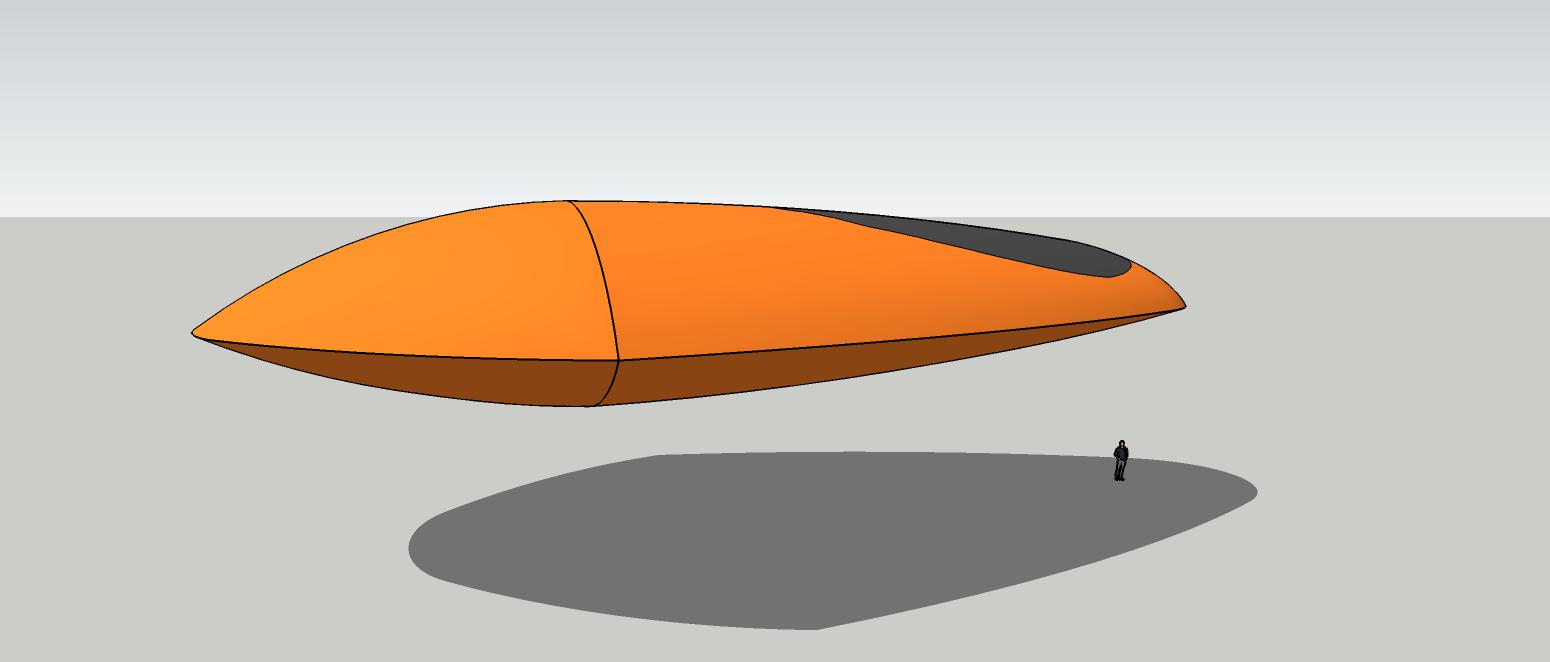
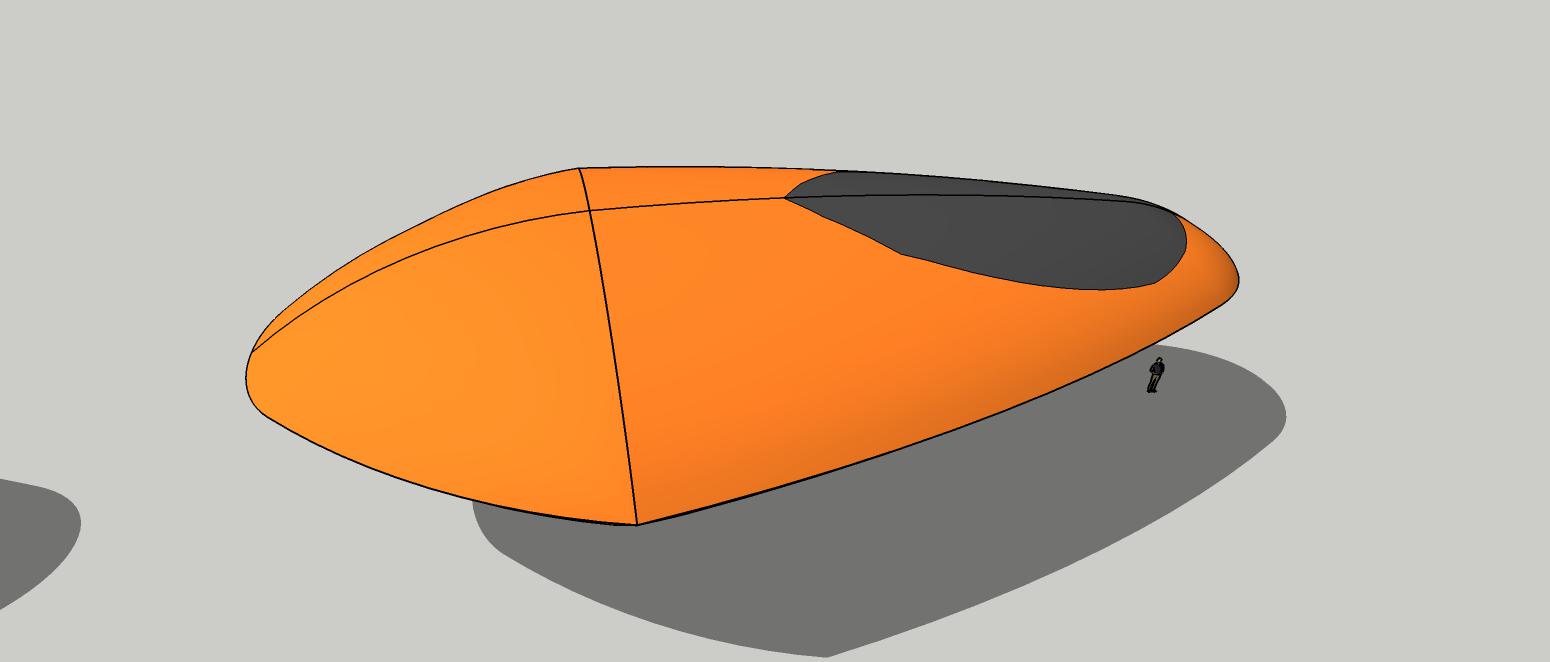
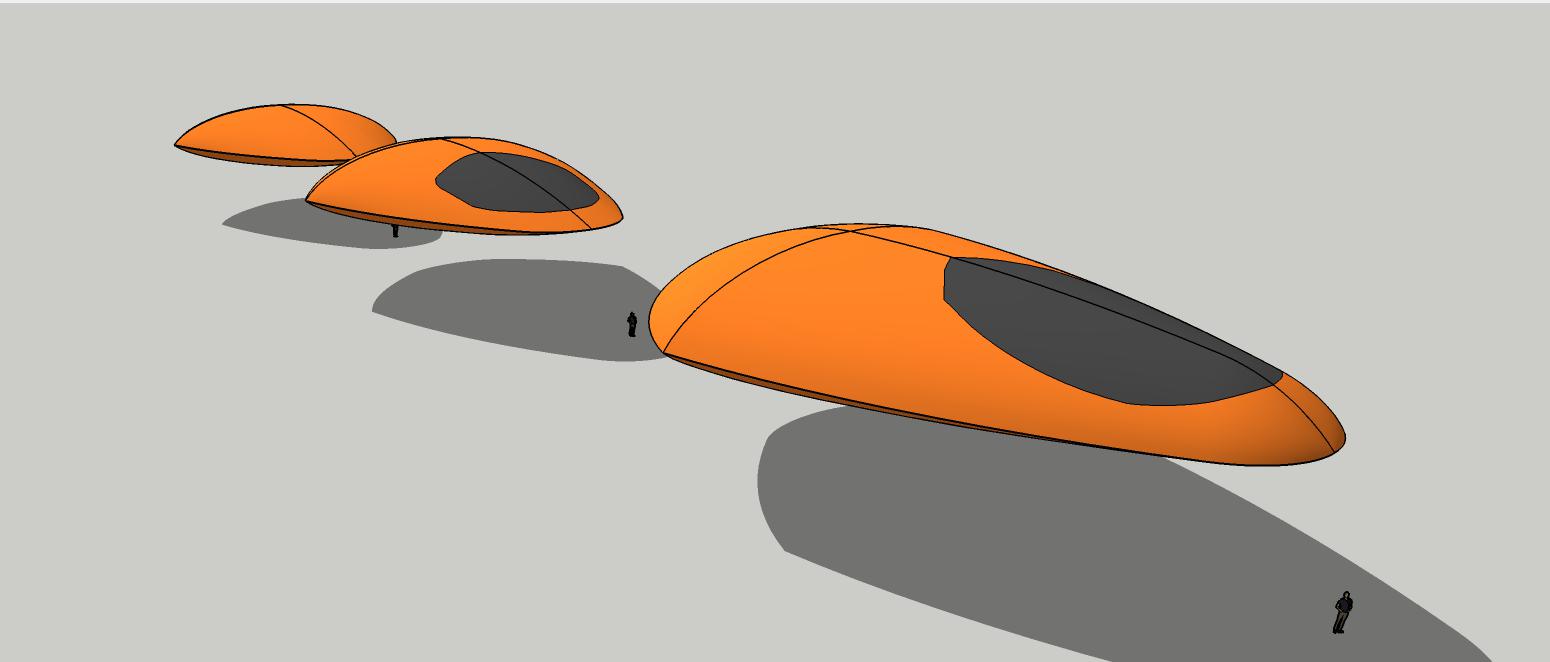
So the nose and cockpit/cabin should be more like this, but it needs a little more refinement. I had to delete the middle profile curve on one side and redo the Curviloft skin. I'll have to do it again, but I'm very close so one more time should do it.
-
OK, well five more times. I think this is it for the nose. Just need to refine the cockpit lines.
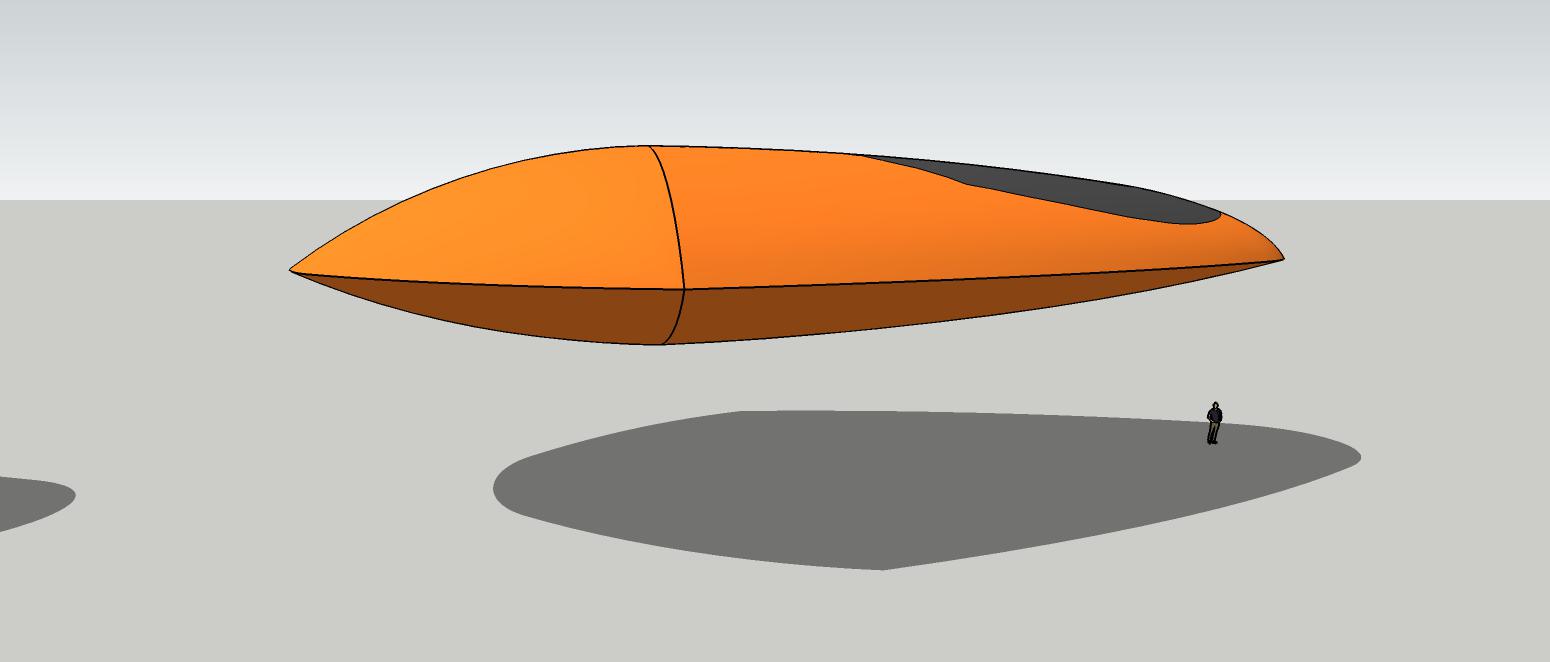
-
More fiddling with proportions and looking for the cutoffs of the fuselage.
I squished the frame a little in both vertical and horizontal.
Subtle changes to the cockpit.
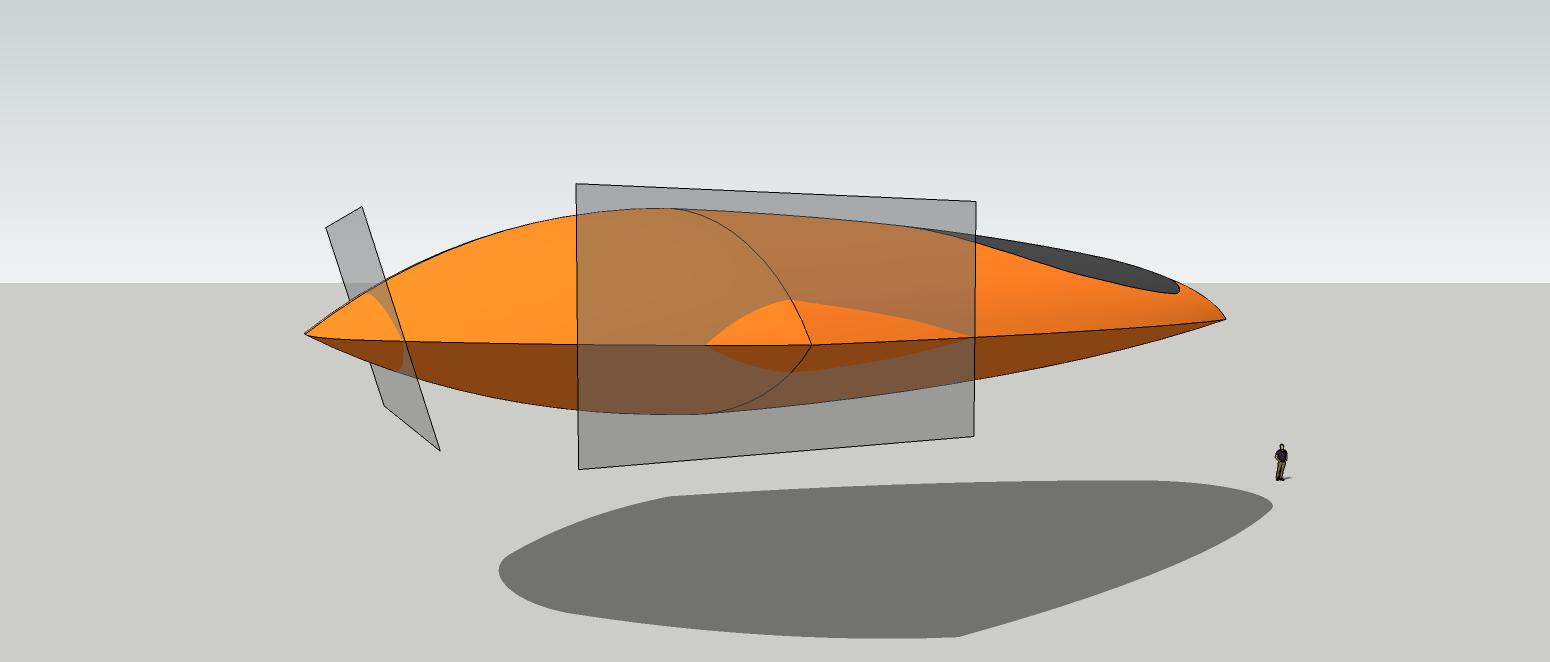
-
Got to think about this a few more days. Not feeling it.
-
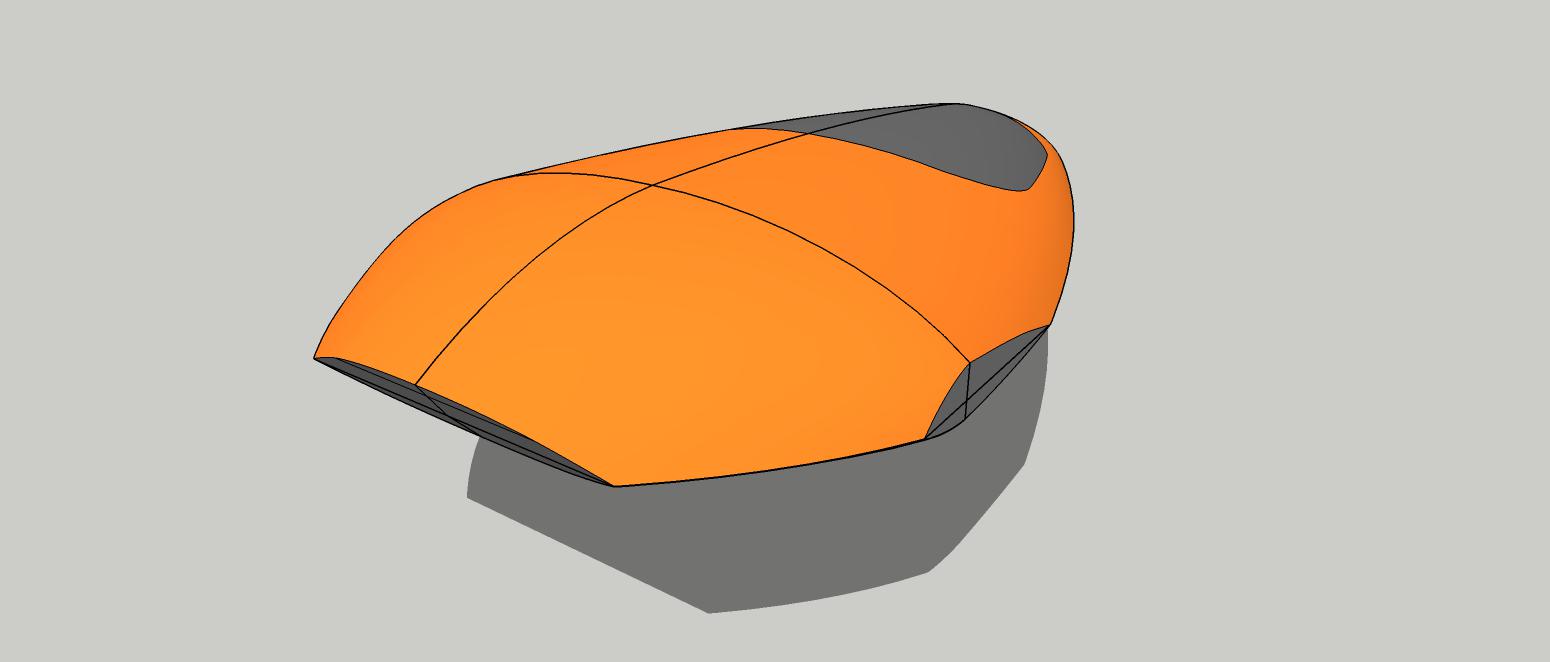
I've sliced the tail. I see a difference from the original right away, but I may just go with it. I'm noticing more and more impossible geometry of the original.
But that's OK. I may be doing more skin re-curving later.
I also changed the angle of the slice and then scaled (shortened) the vertical of the lower fuselage.
It appears I'll have to make initial slices, then build out the engine pods things, and THEN re-curve the skin to the added geometry.
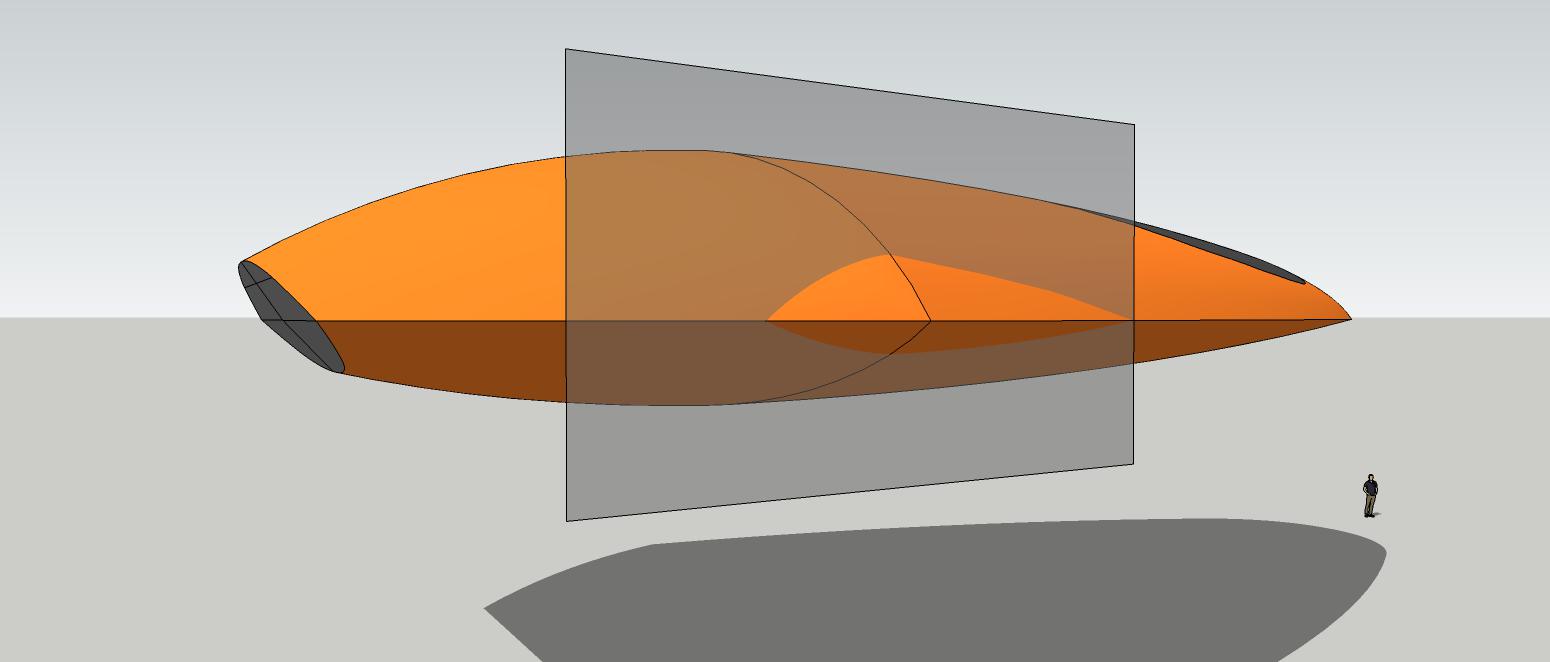
-
So a little bit of squashing and scaling and then slicing and I'd say I'm in the ballpark.
Fiddled with the cockpit some more and I think I've got it. Now on to the engines.
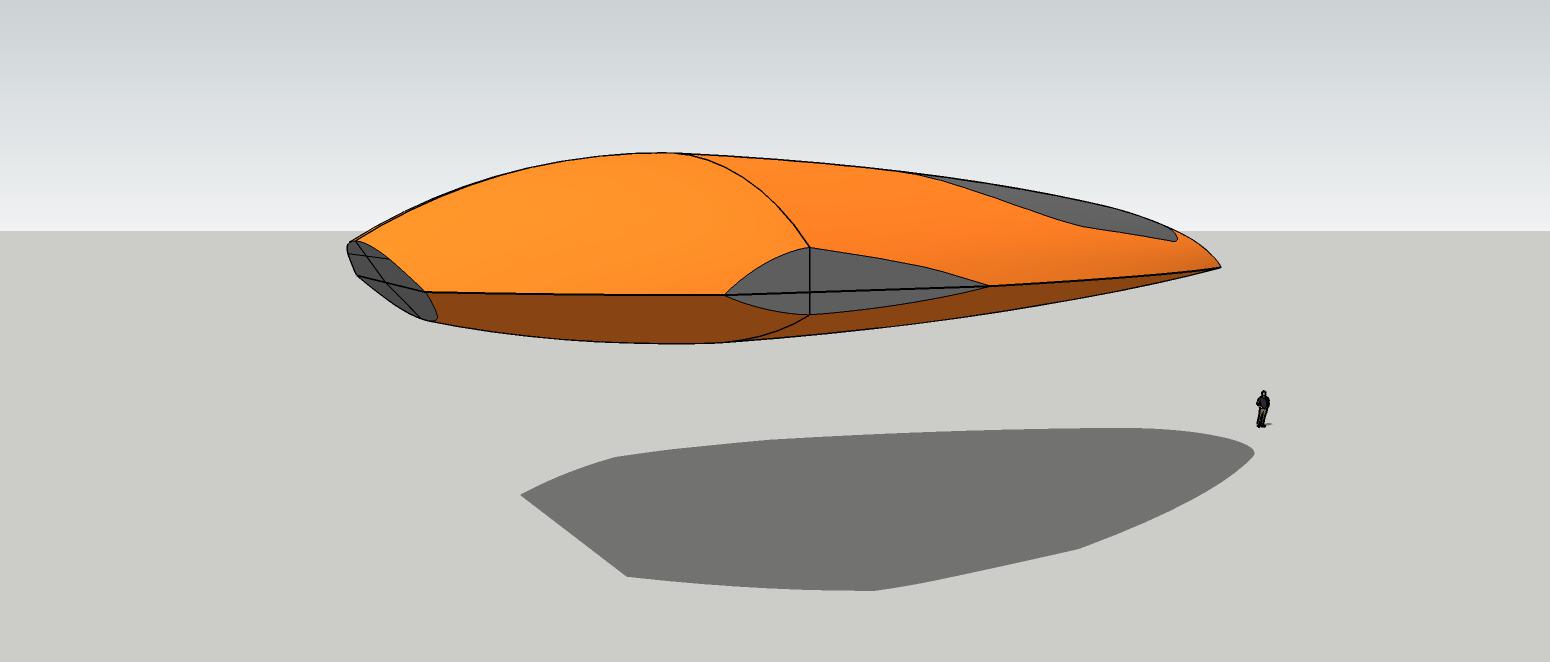
Advertisement


