The Nadesico A
-
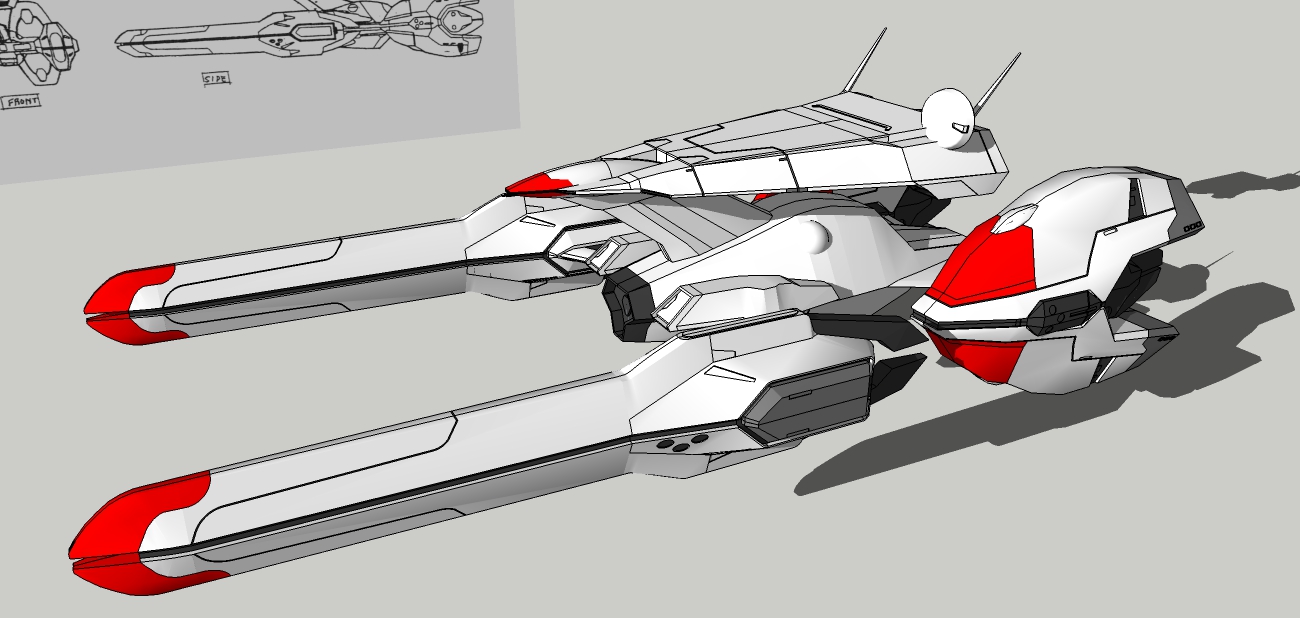
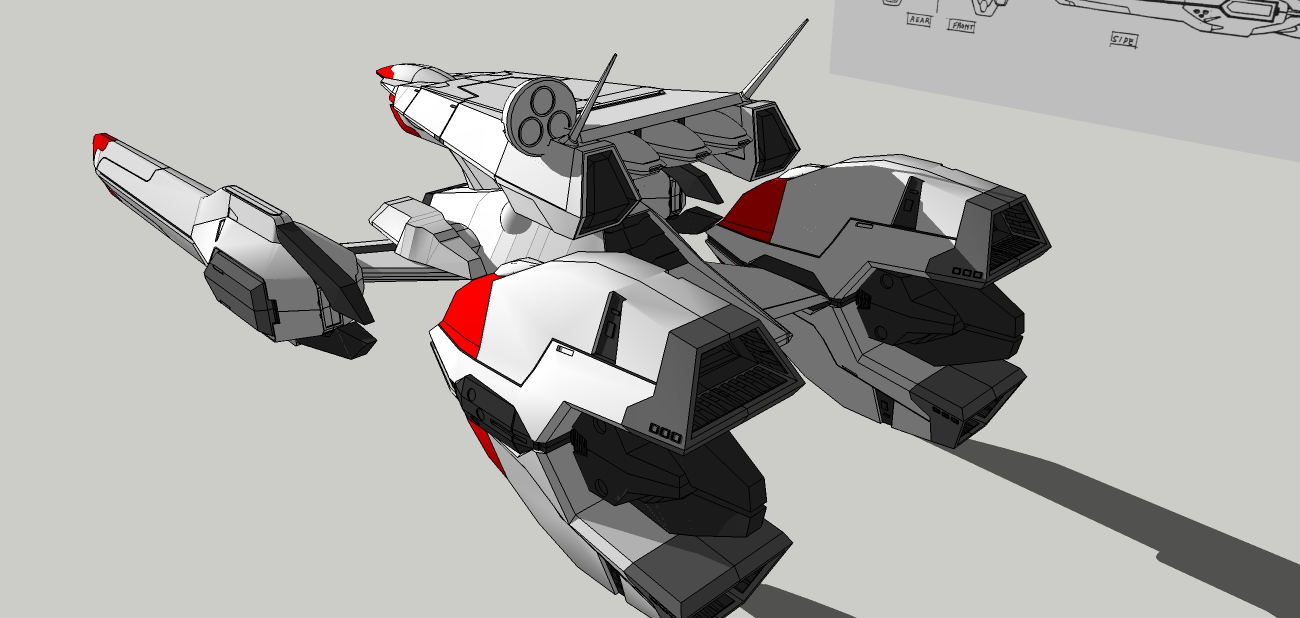
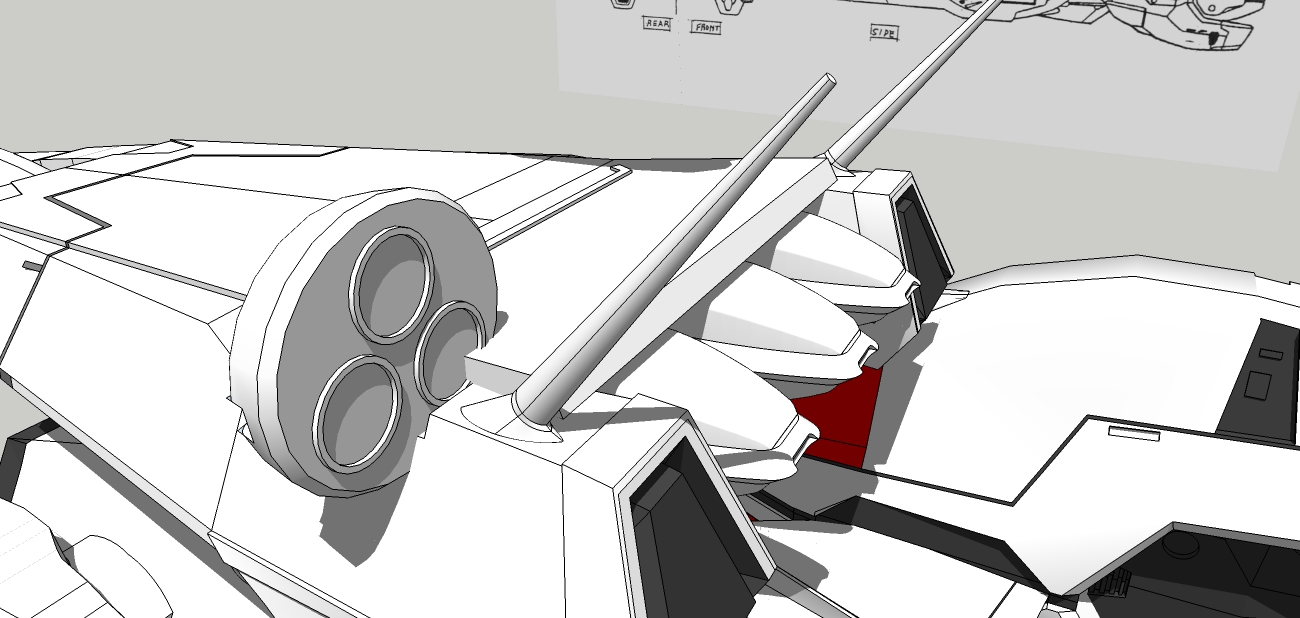
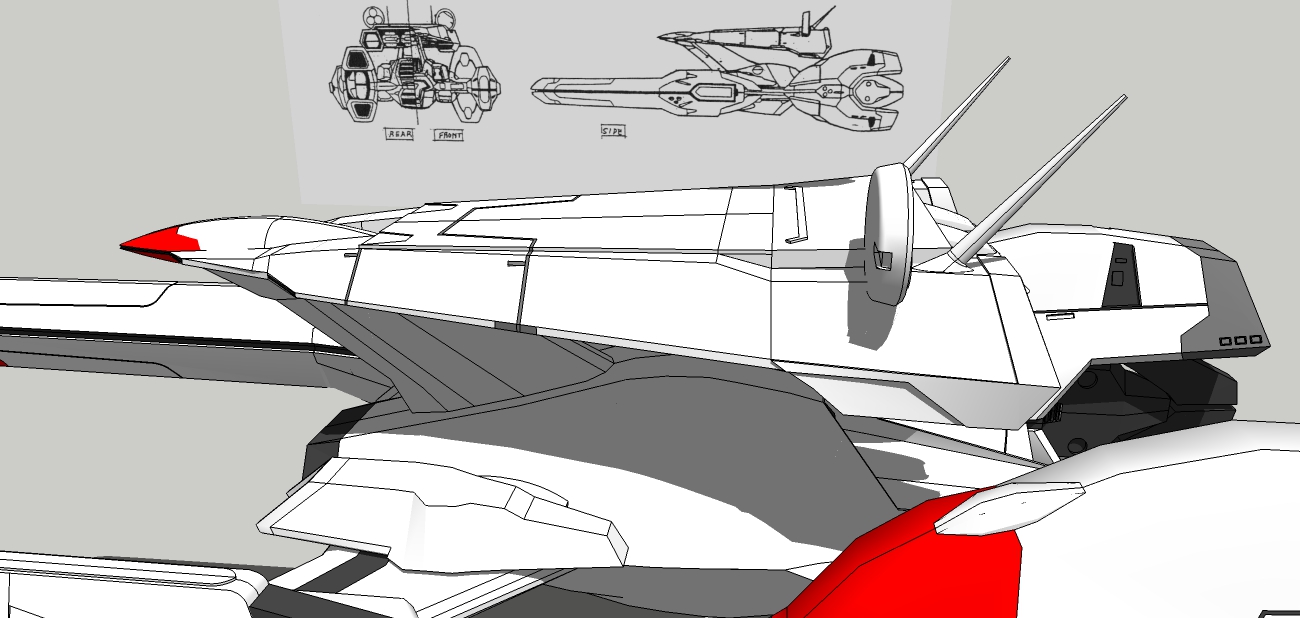
Antennas created.
I learned... something incredible when making the base of the antennas. You can Push/Pull+Ctl (new extension) then scale, then... ROTATE JUST THE SELECTED FACE ON ANY EDGE! Even if it's oval!
But you have to hold the Down Arrow key when it's a weird shape and an even weird angle.
I would have never been able to construct this line by line. I literally stumbled across this.
Still had to twiddle the lines points to get it flat on the surface, but this easily saved hours!
-
You're welcome and thanks!
-
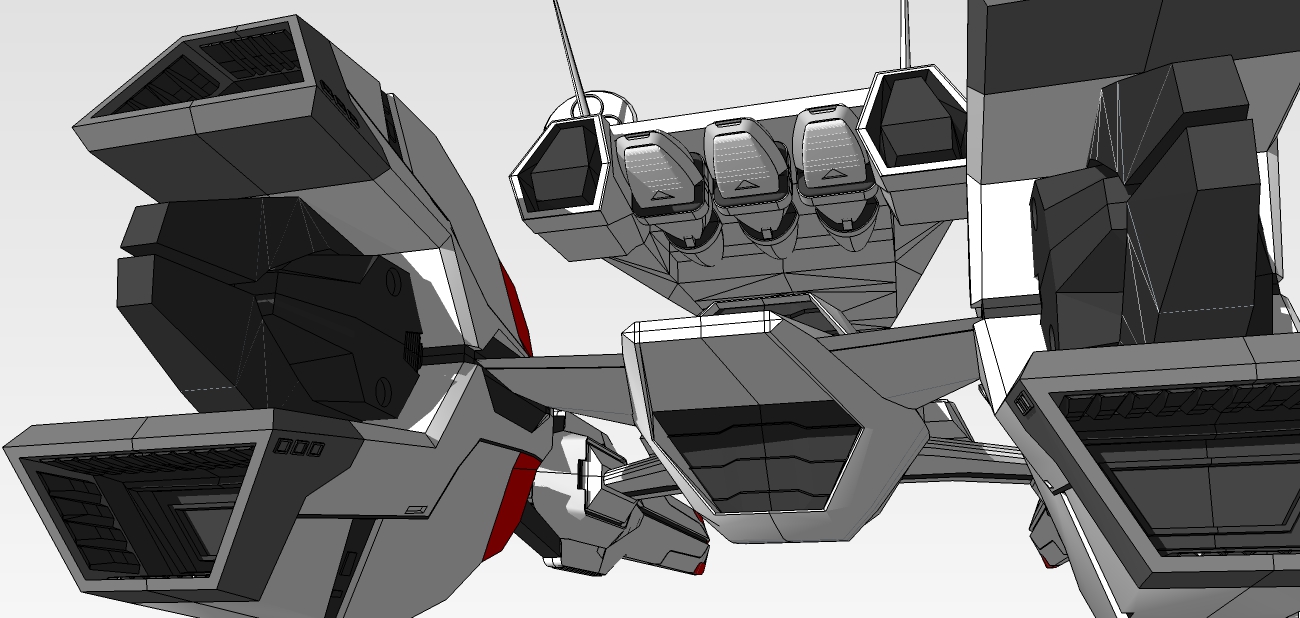
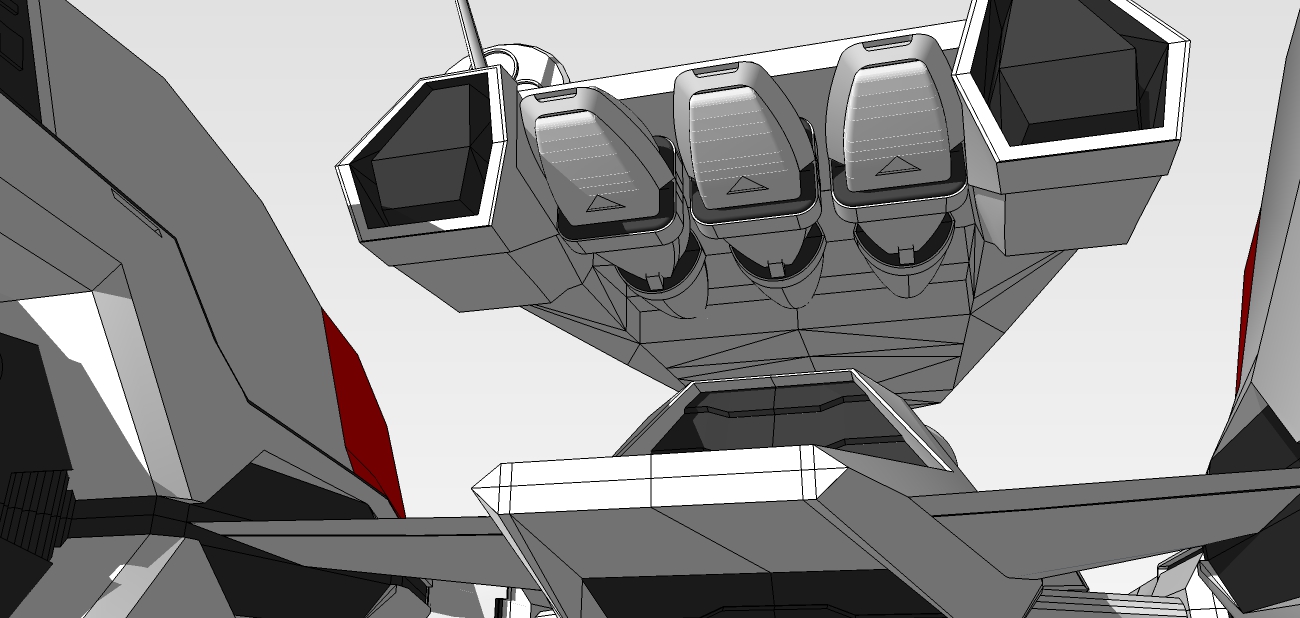
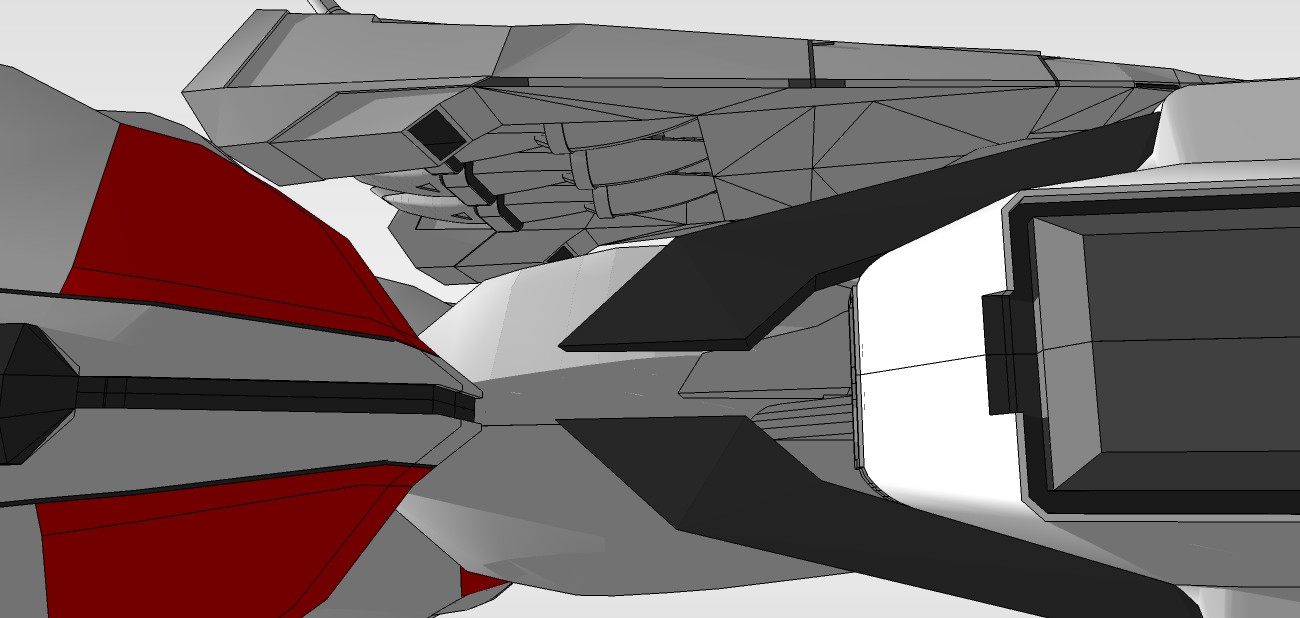
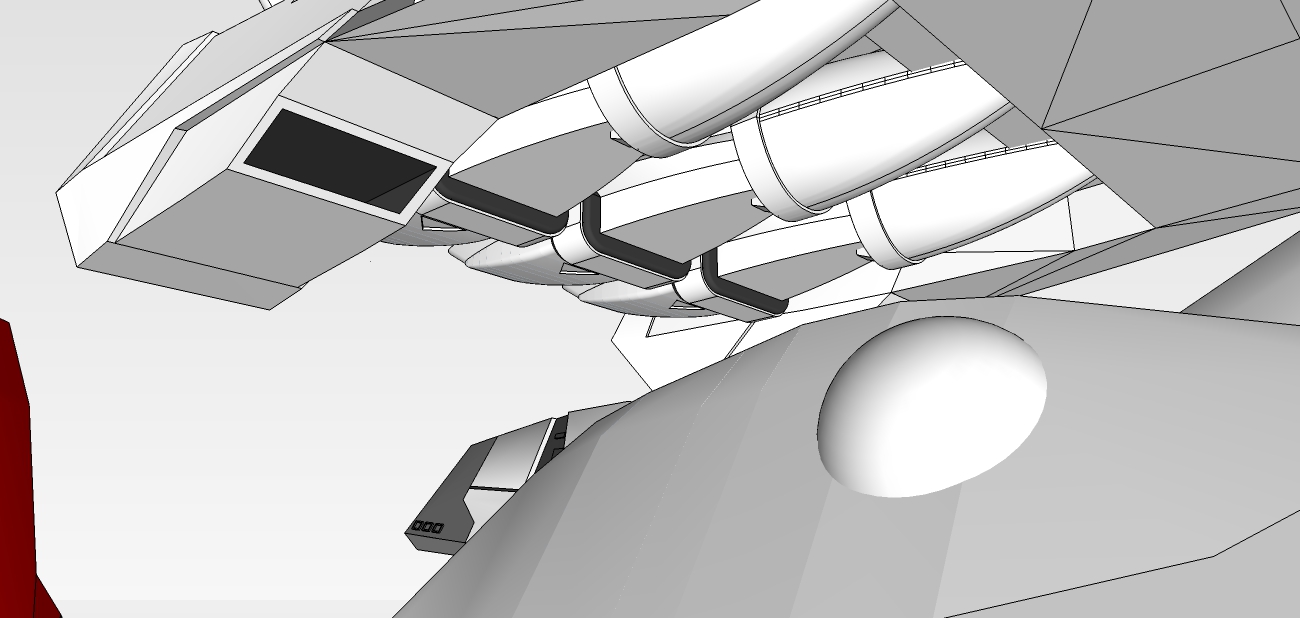
Underneath upper deck detail update. I may have overdone it, but there is still one more key element to add.
I can't even begin to describe the teasing and twisting I did on this detail.
-
When do you start putting in the rivets?

 Looks like your around third heading for home !
-
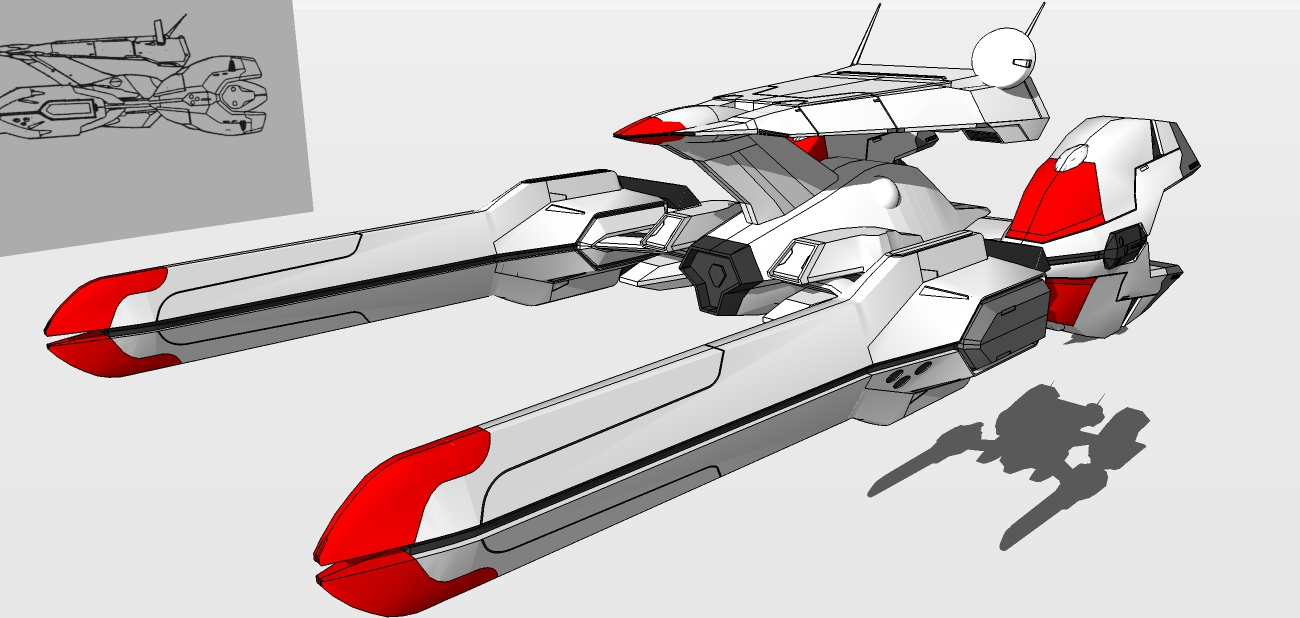
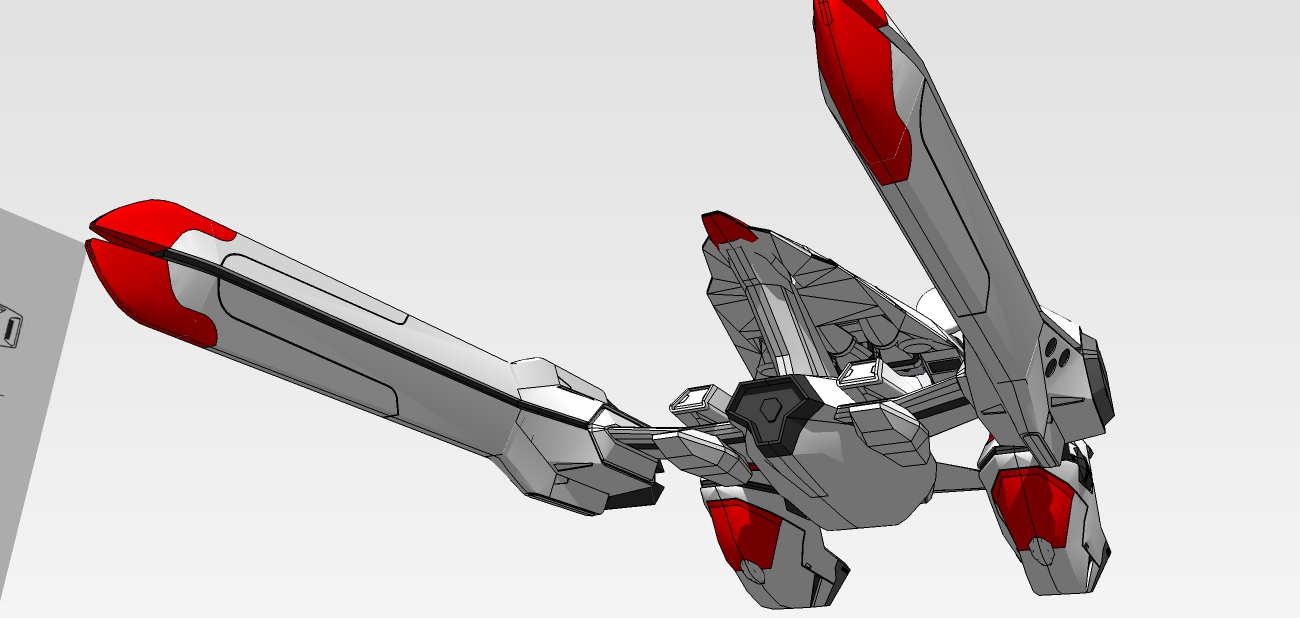
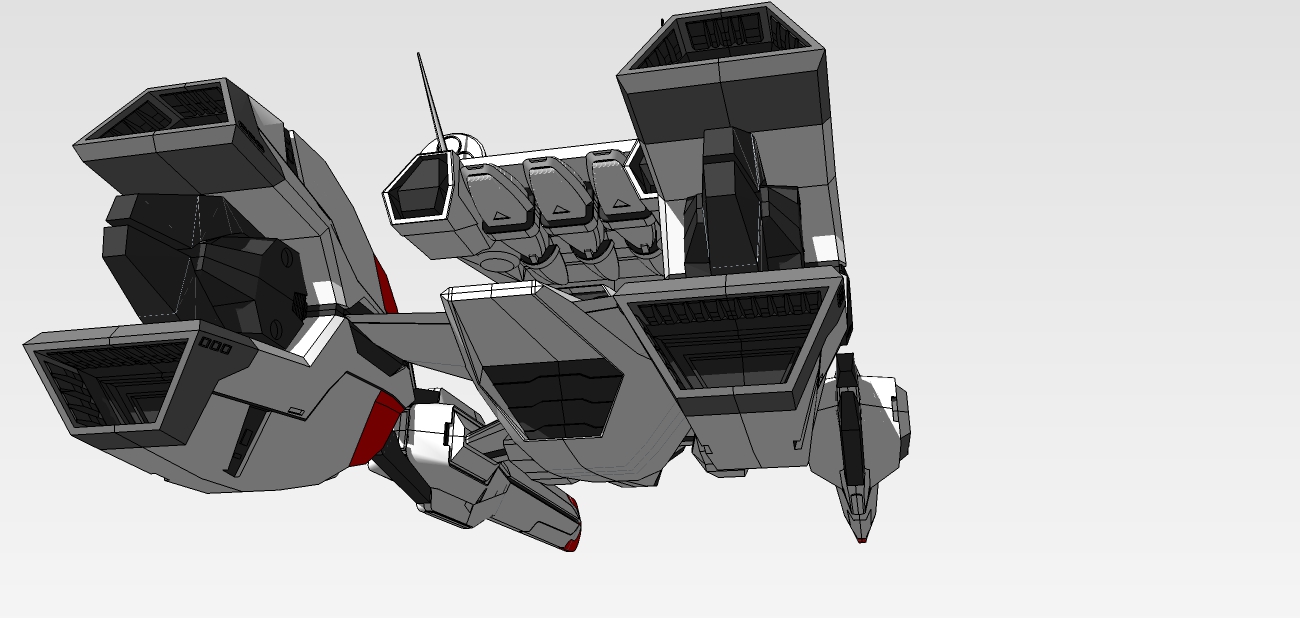
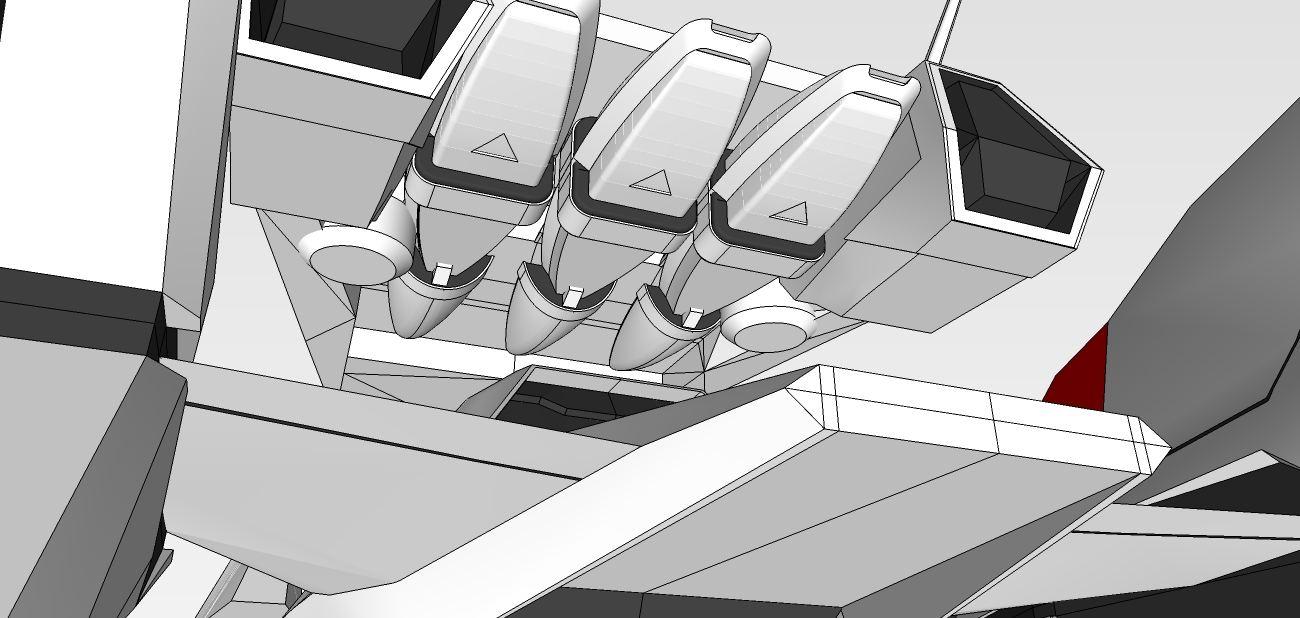
Front, under hanger landing blocks roughed in. Second main element under upper deck completed (the vertical cylinder thing). Forward indented the underside of the upper deck and scaled the pods things forward. All major module blocks are completed.
FINALLY!

Now on to the detailing after I take a few days to look it over before committing.
-
The details in your model just keep getting interesting. Sure will be neat to see the final model and a rendering.

-
Thank ntxdave!
There is a lot of detail on this design yet to come. I've just got the big stuff completed. However, it's mostly greeble after I finalize the landing pods and neck shapes.
-
Still pushing around the shape of the under-pods.
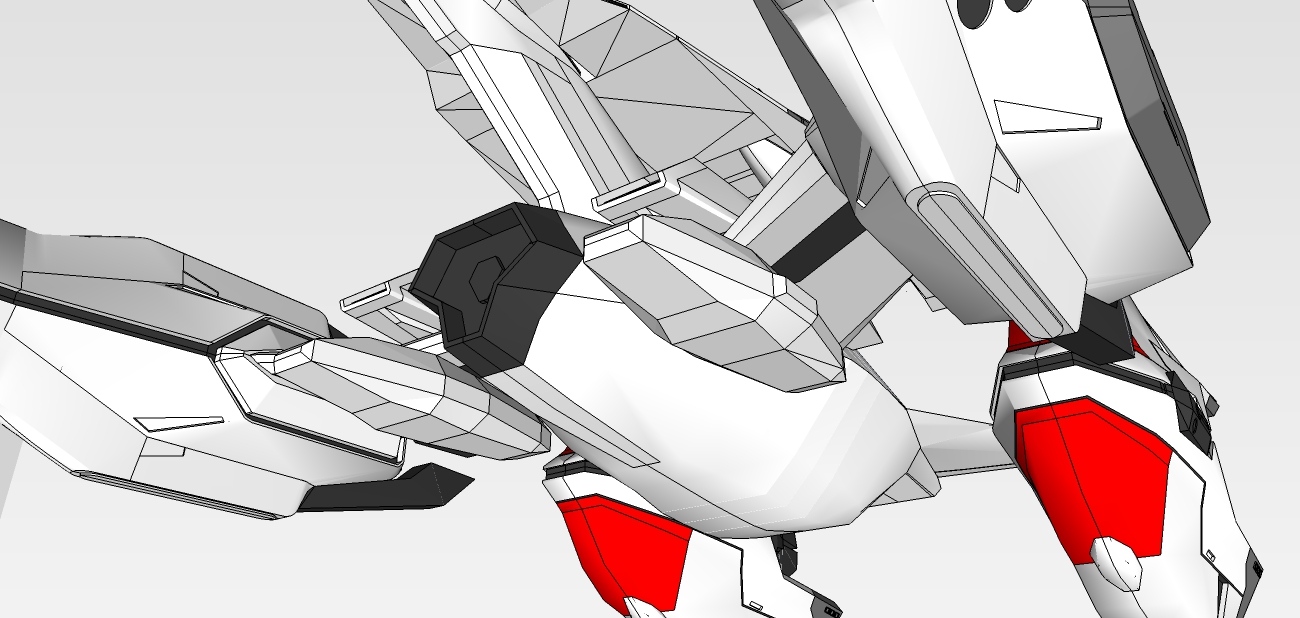
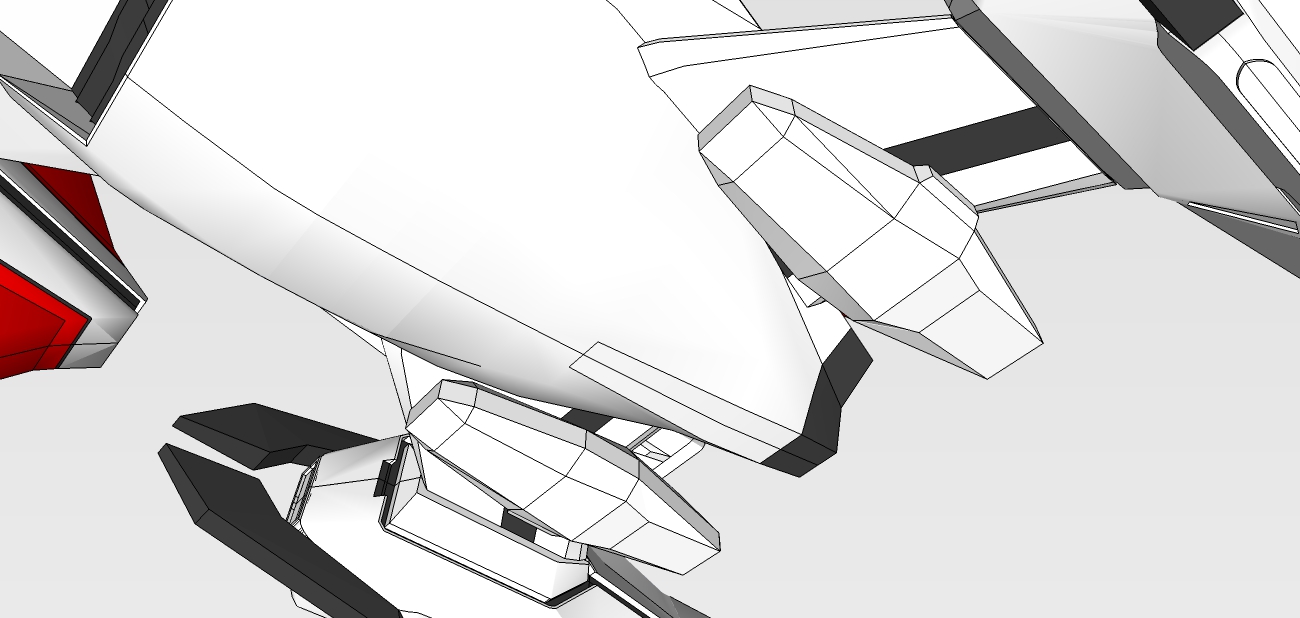
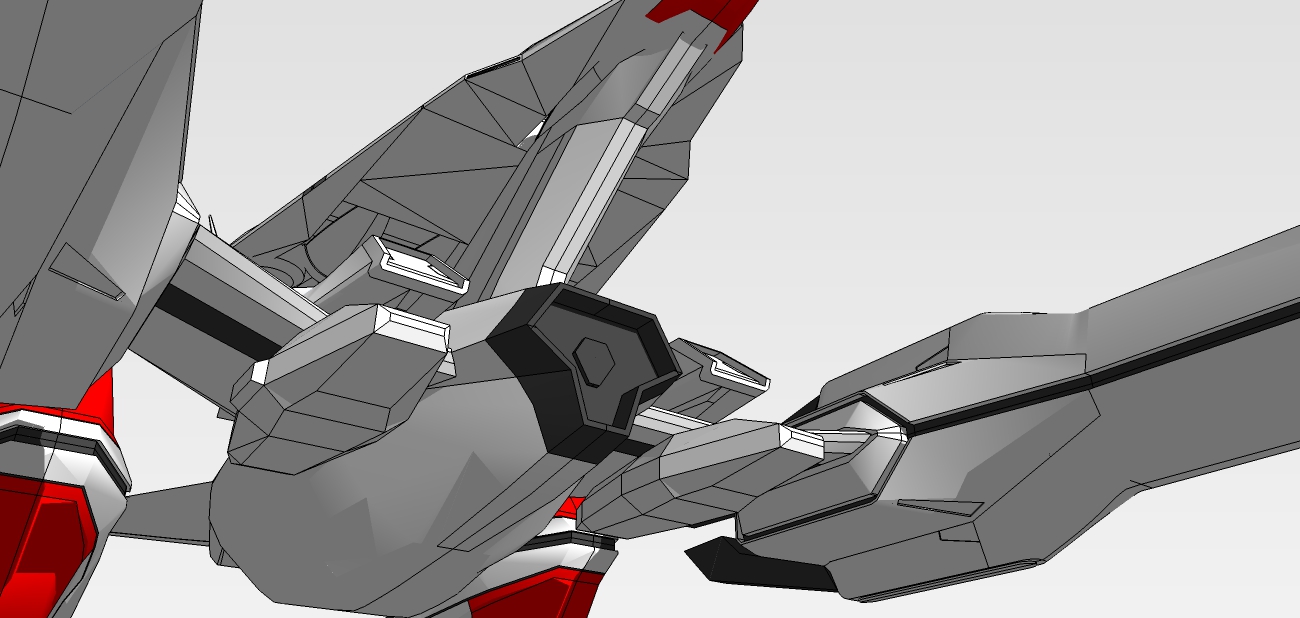
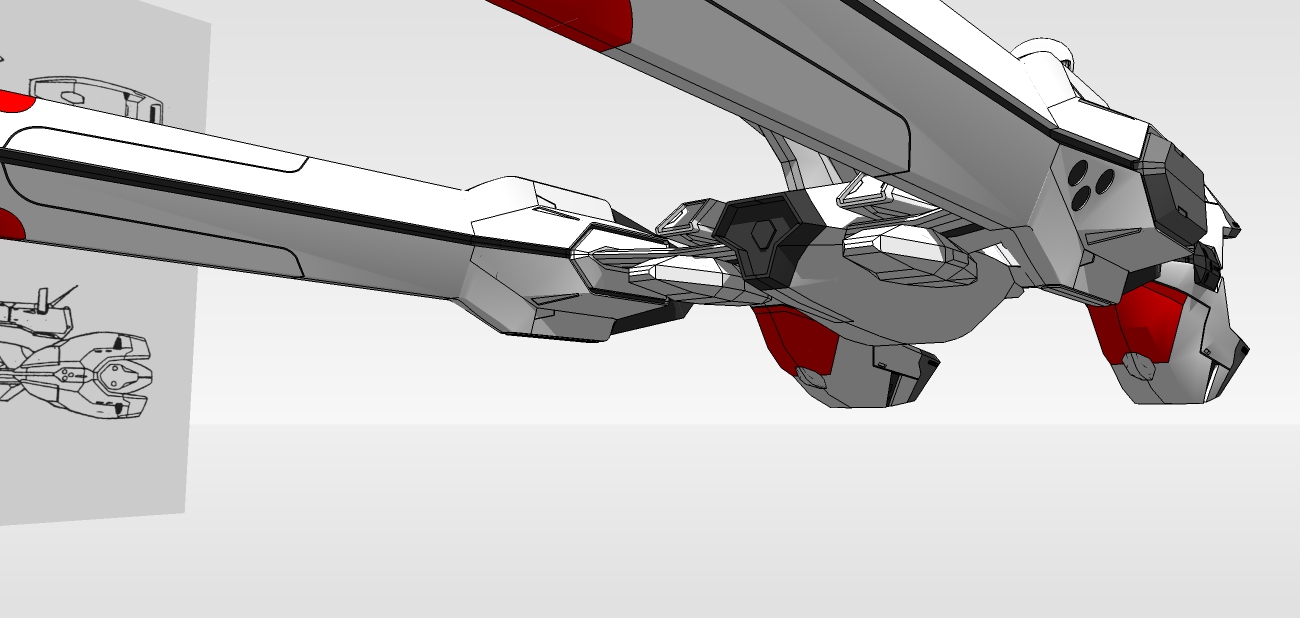
-
Fiddled around with the bridge. Shrank the lower half height and made the windows just slightly larger. Also cleaned up the neck.
The face and line joins of the neck to the bridge is not exact yet.
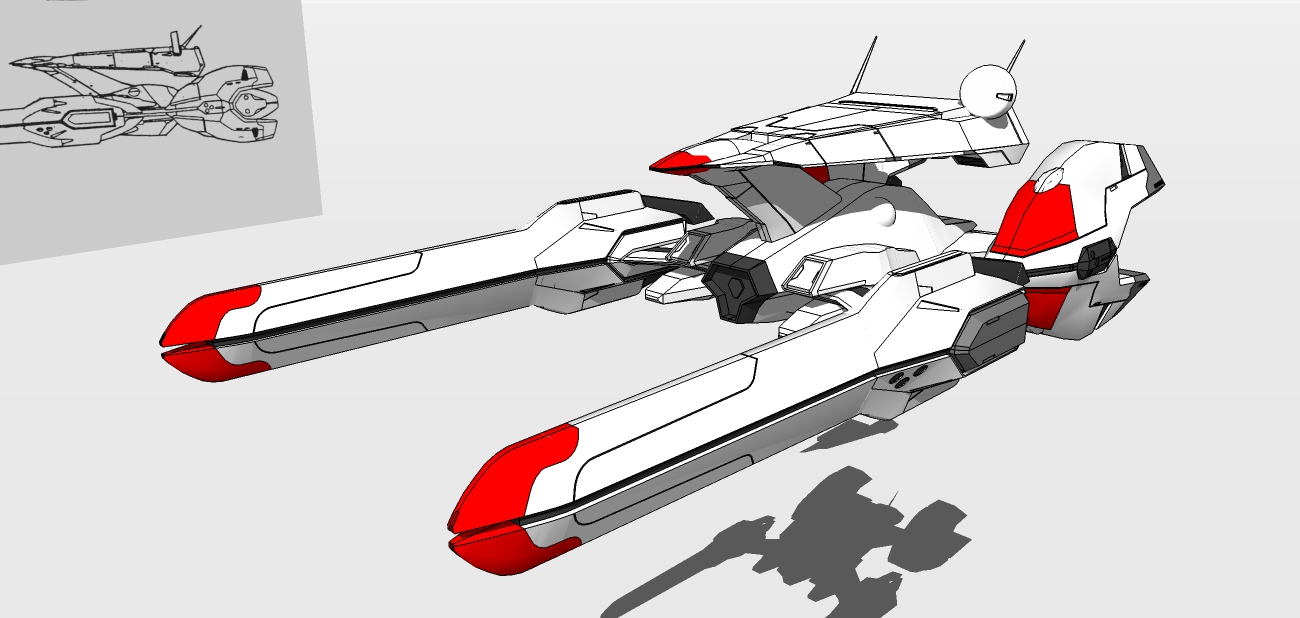
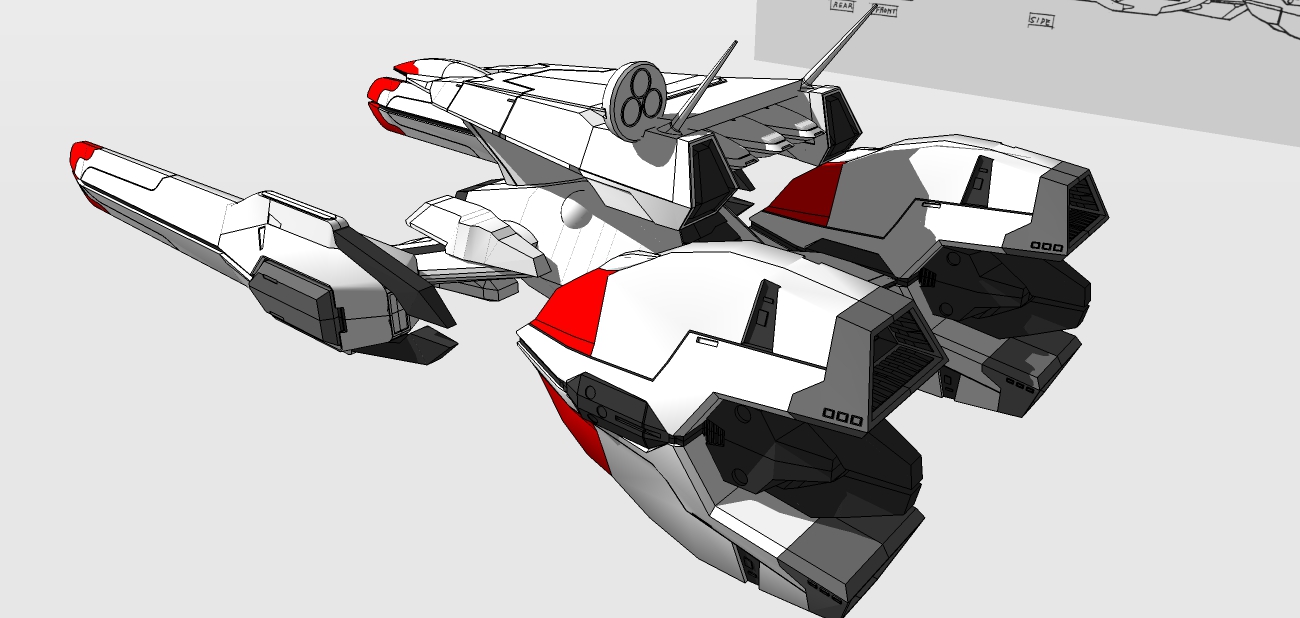
-
Almost there.
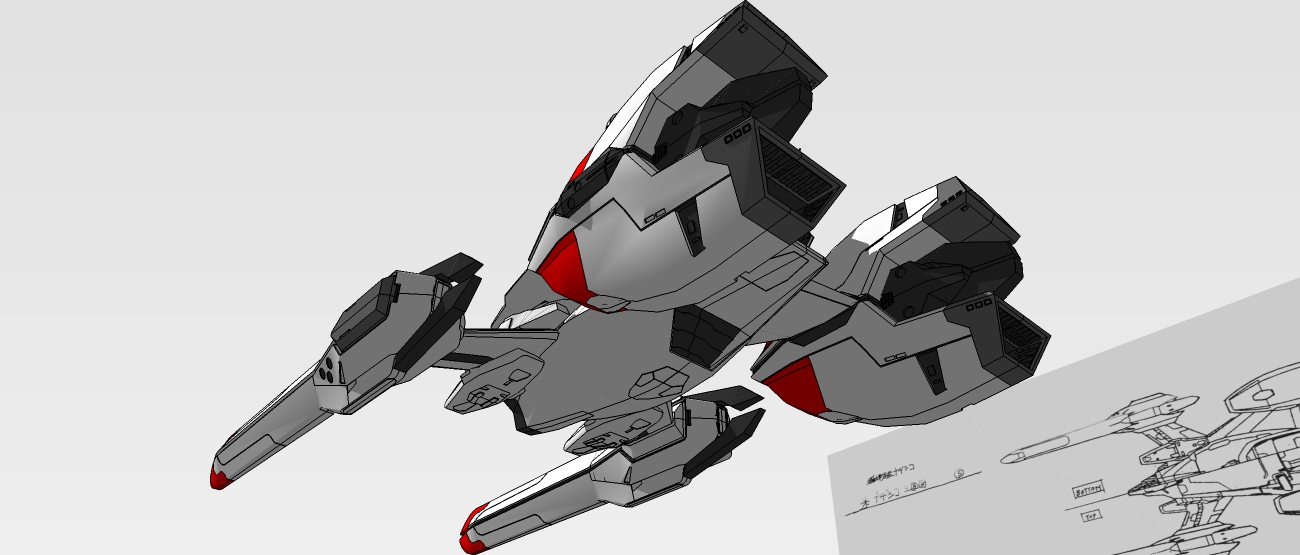
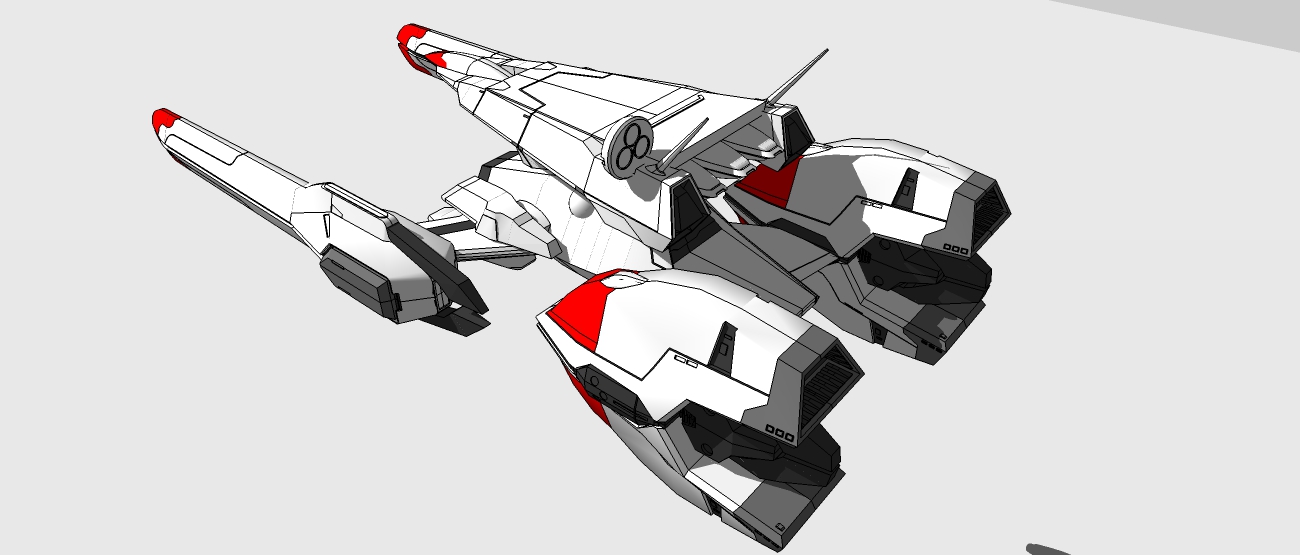
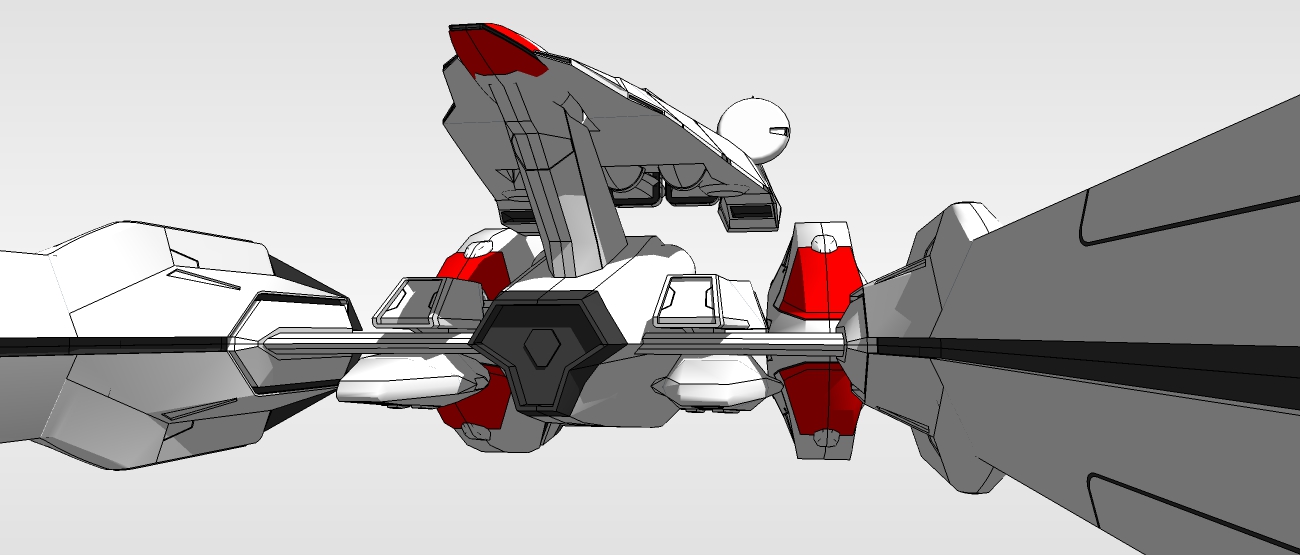
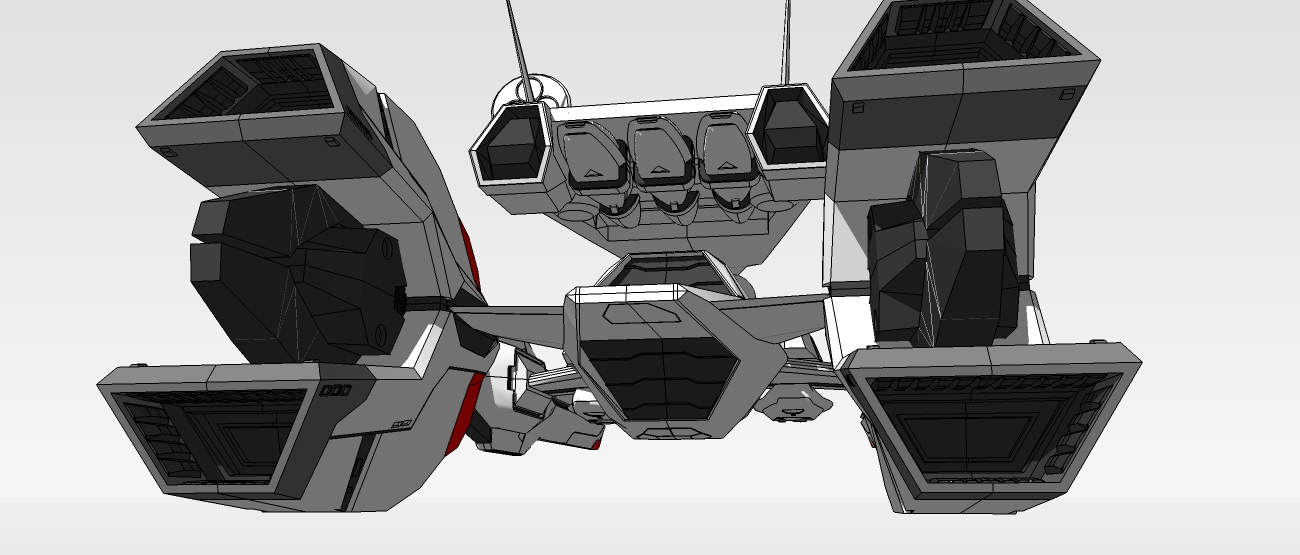
All main modules completed. Started details. Barring future discoveries of badly shaped modules, it's just detailing from here onward.
As tuna said, I'm now rounding third and headed for home. Finally.
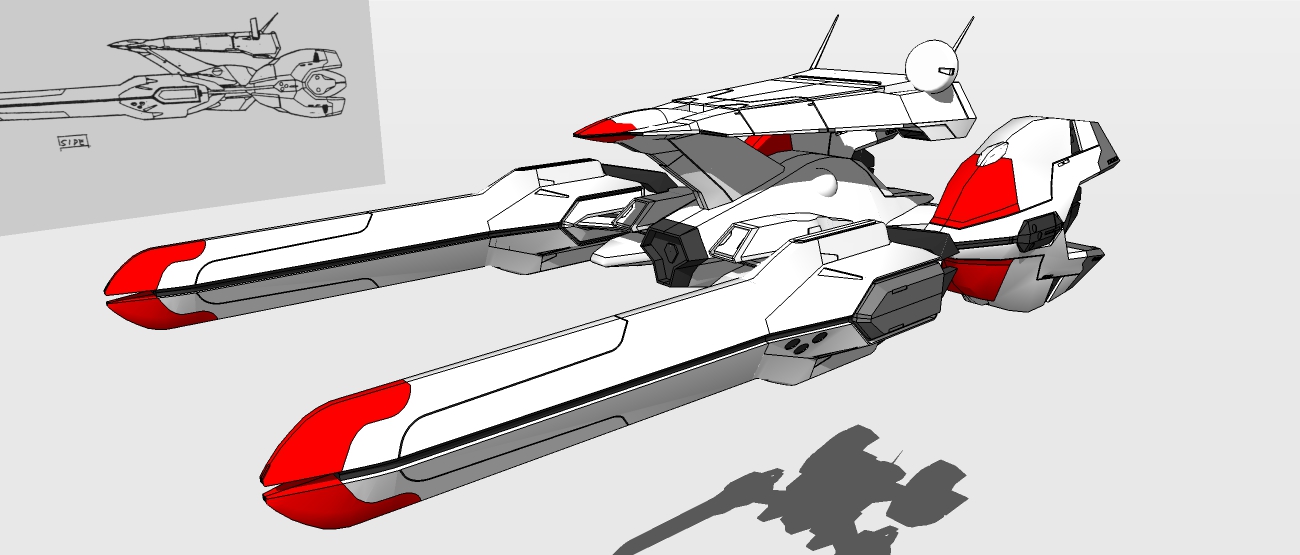
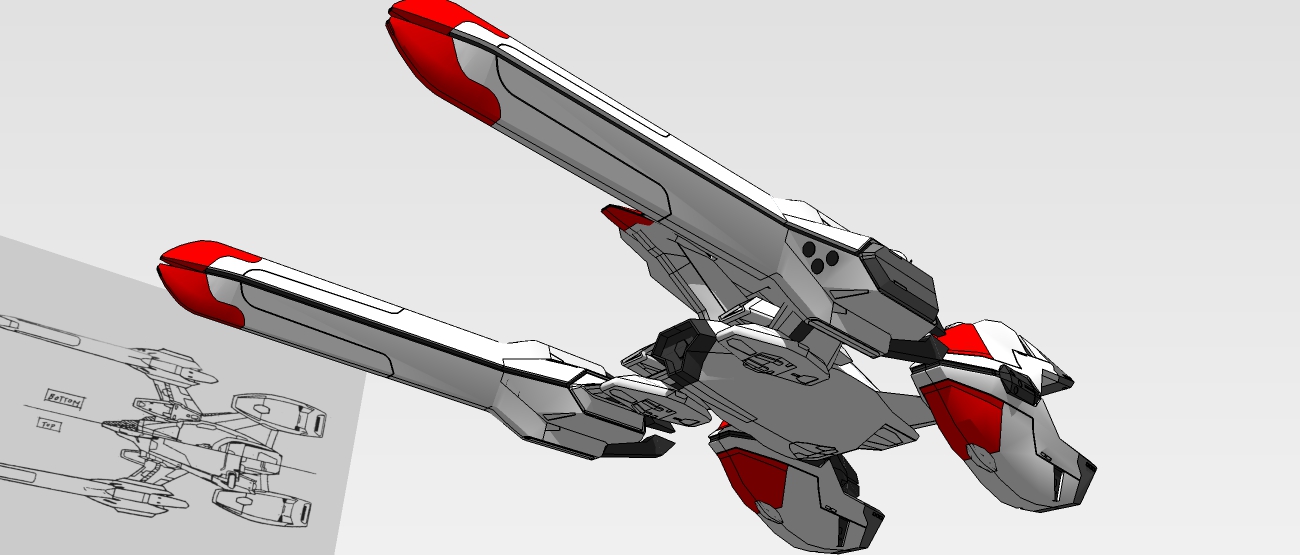
-
These are so brilliant works done using SketchUp. I may never imagine being able and patient to model such a thing using SketchUp.


-
Epic mate

-
Thanks majid. I did not think it would take 5 months to model this or I might not have started. Granted, I only worked on it a few hours at a time, but still, it has not taken me 5 months to model anything in years.
Thanks L i am.
 I'm ready to finish this and start other projects.
I've learned a lot from this model. Things I wish I had learned years ago. When I get a new PC, there will be more epic models.

-
 what a great example of both - the cool model itself and that, besides skills, patience and persistence pays off
-
@hornoxx said:
:thumb: what a great example of both - the cool model itself and that, besides skills, patience and persistence pays off

I’ll second this


-
I'll third that. Epic indeed.
-
So close. So, so close to being finished.
The details are really making it pop.
-
Thanks HornOxx!
Thanks Tuna!
Thanks Mike!
Thanks Majid!
Maybe another week or two and it should be finished.
-
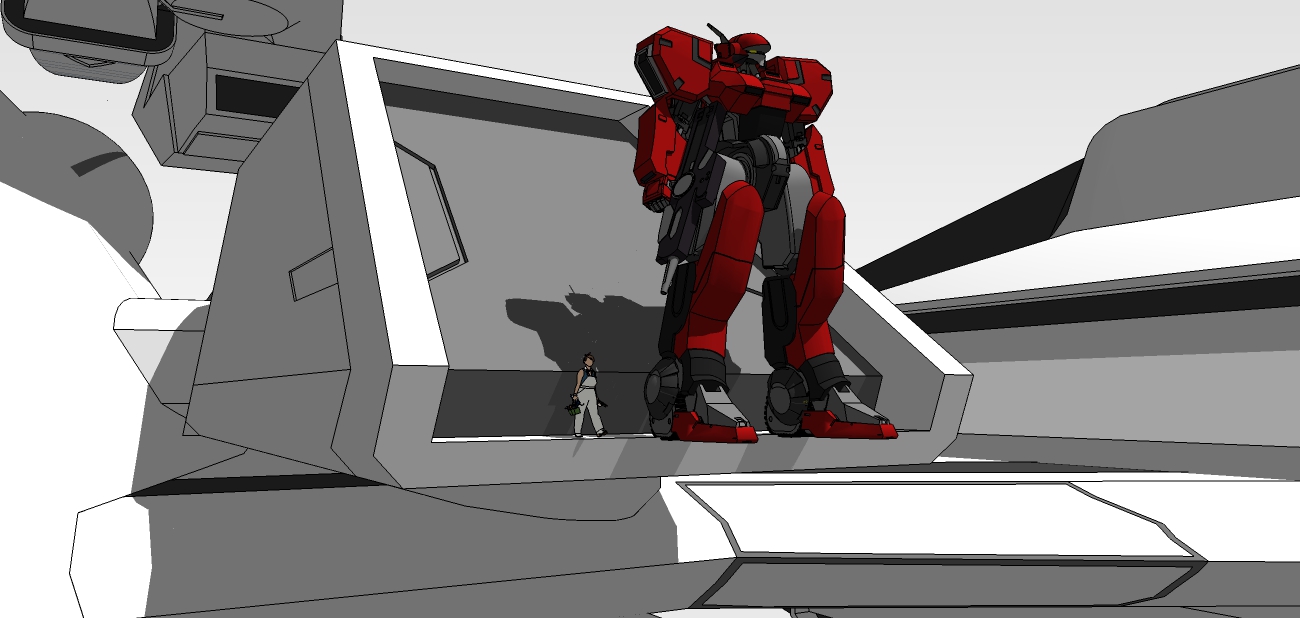
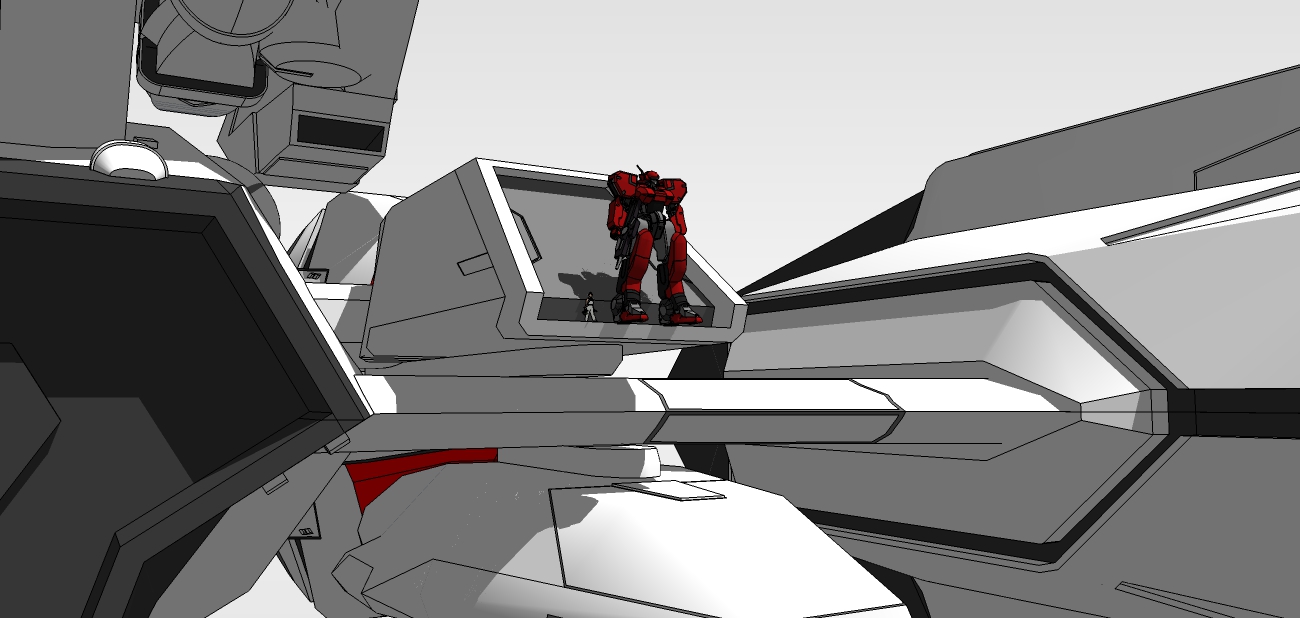
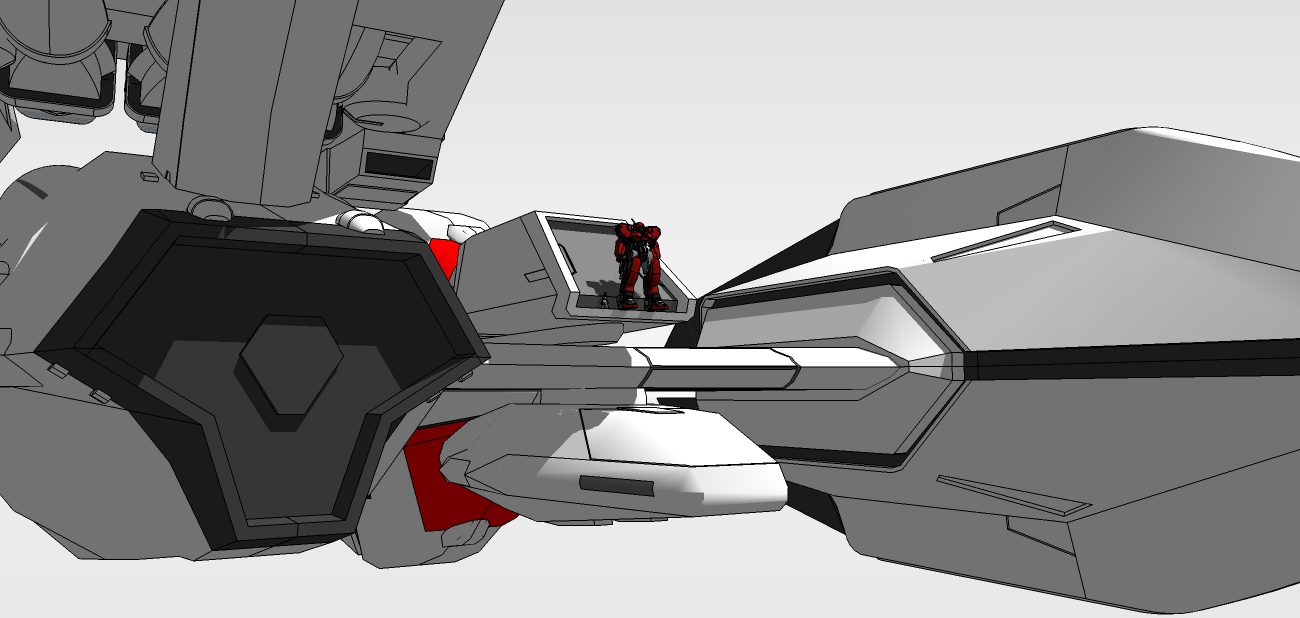
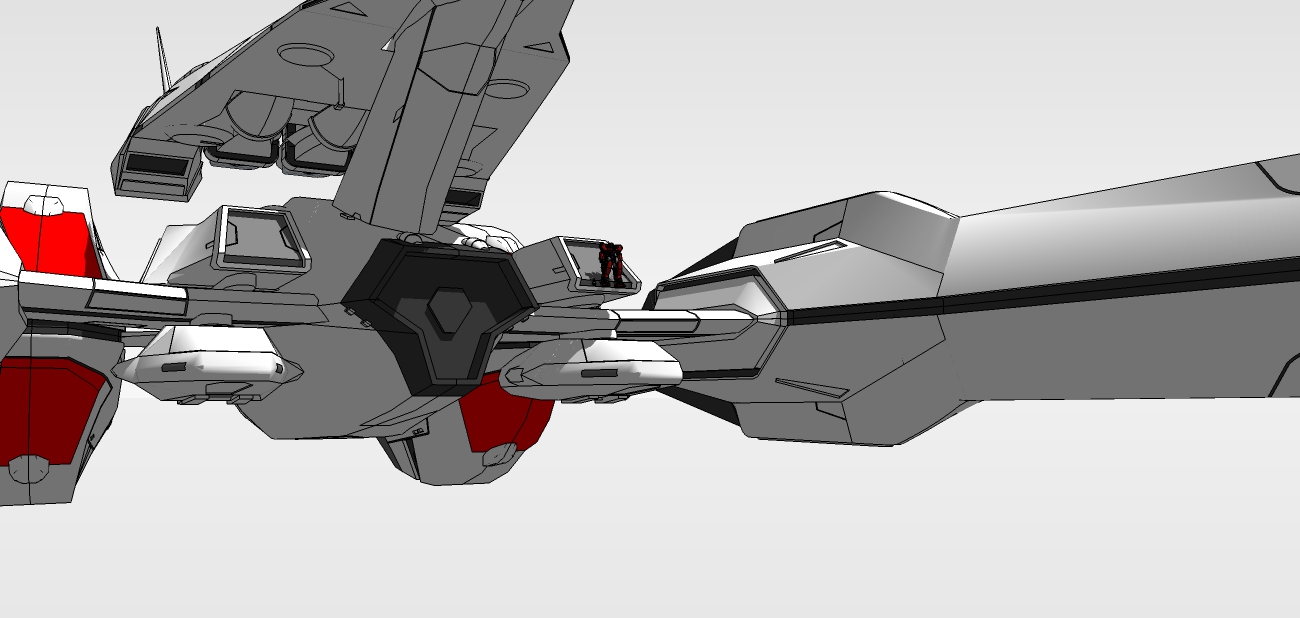
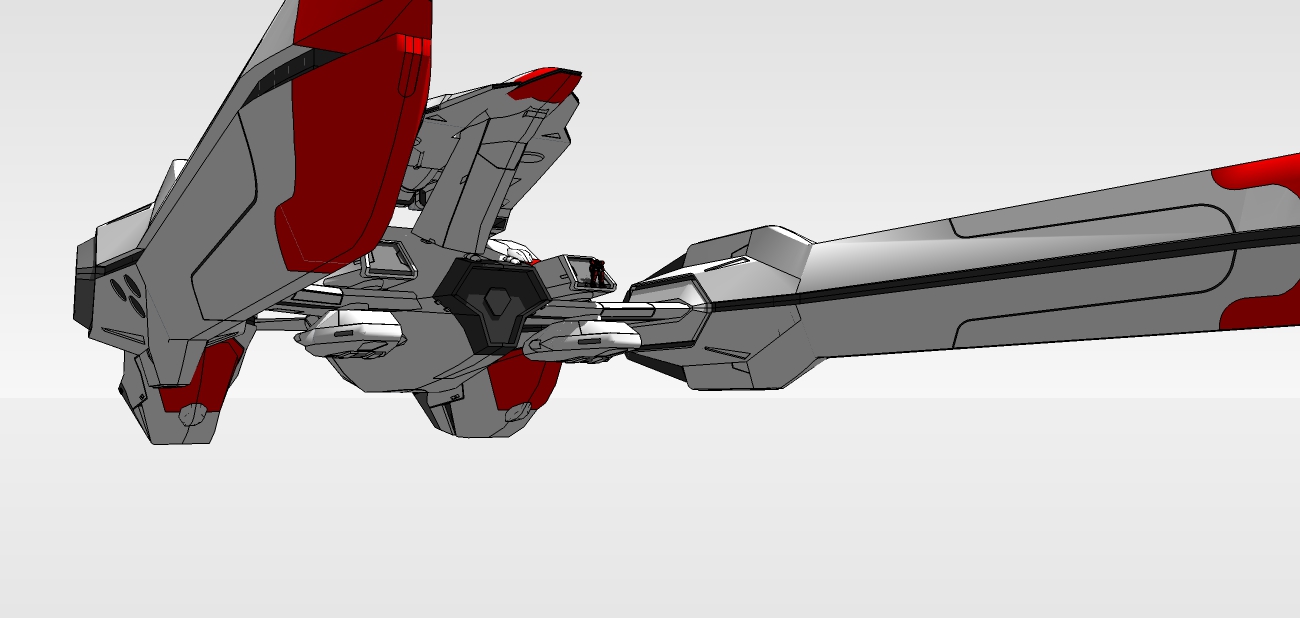
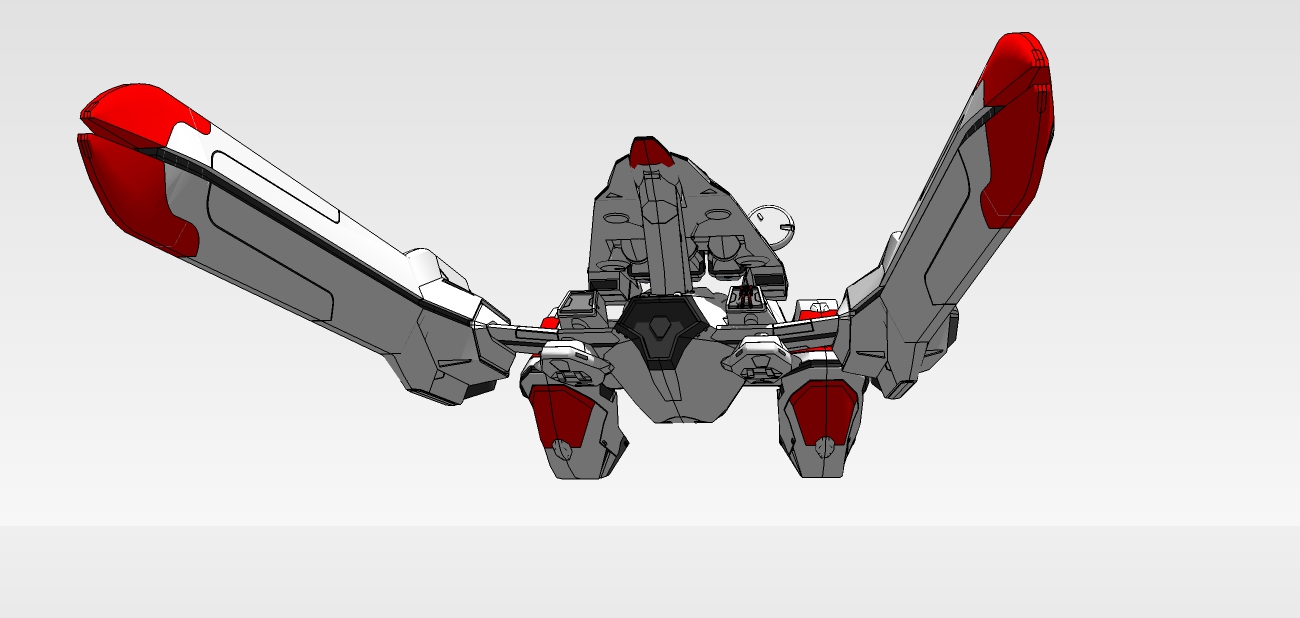
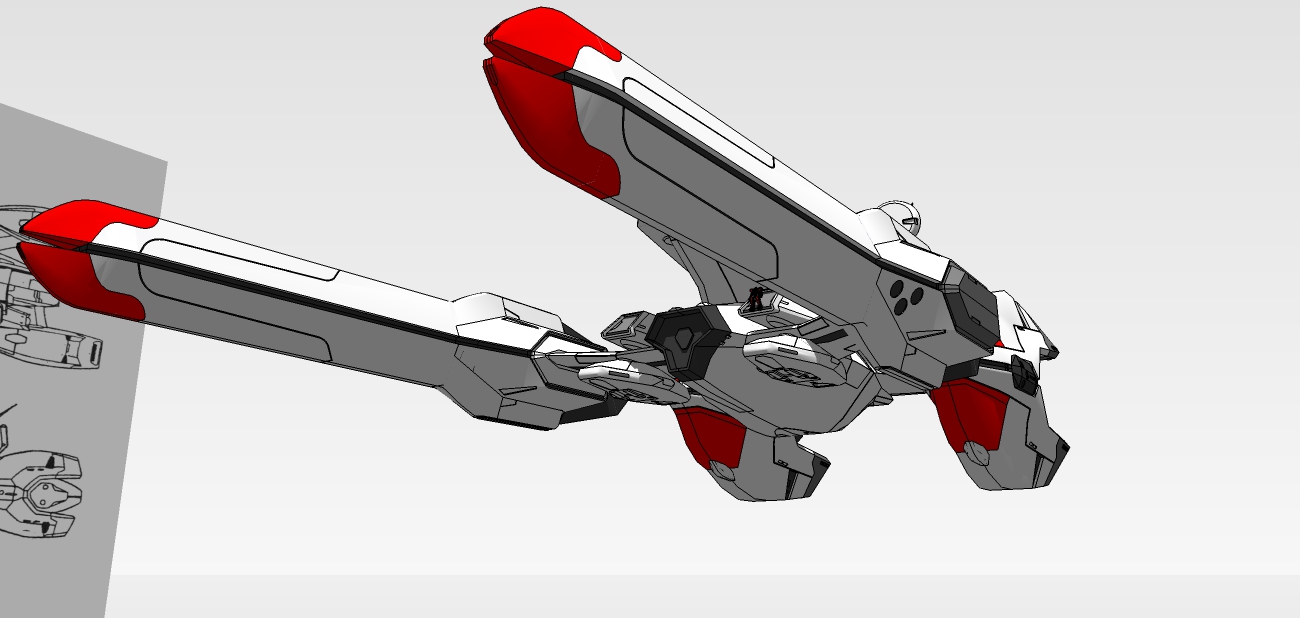
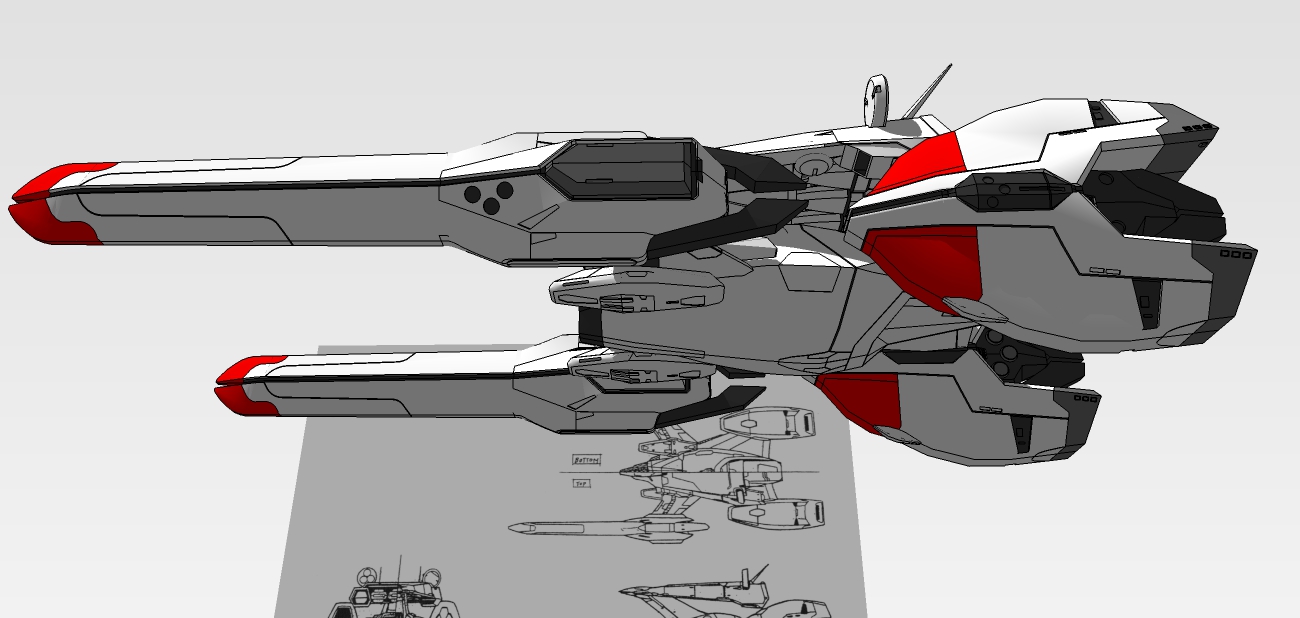
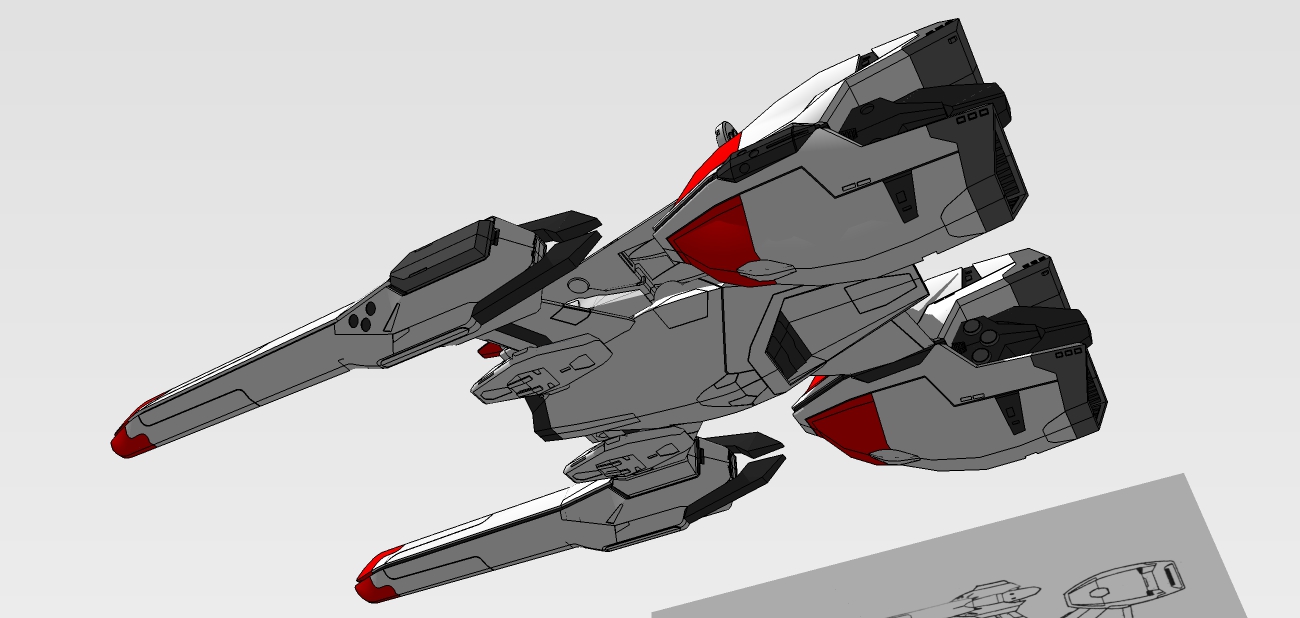
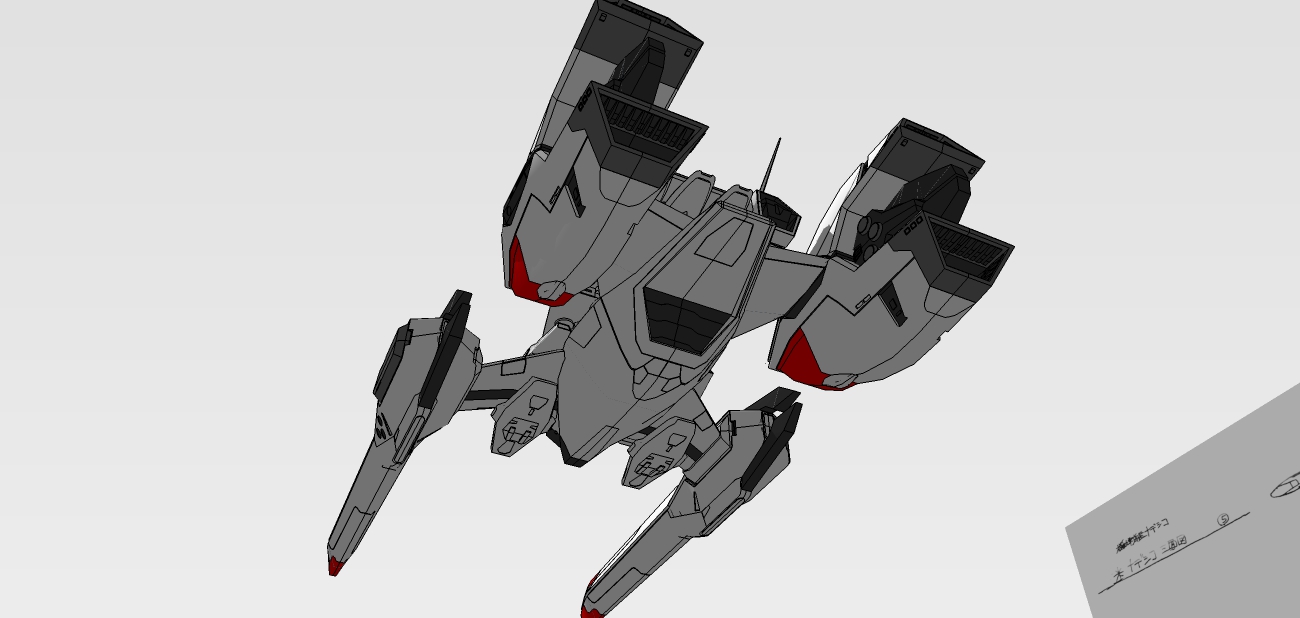
It's finished.
I could detail this for the rest of the year, but all my references have gotten to the point where the "rivets" no longer match each other. So this is it.
I'll post a scene in the main gallery and the model as well.
Whew!

If anyone has request for close-ups of certain sections, let me know and I'll post them here.
-
Continued.
Advertisement


