SOLVED: Replacing image texture without upsetting mapping
-
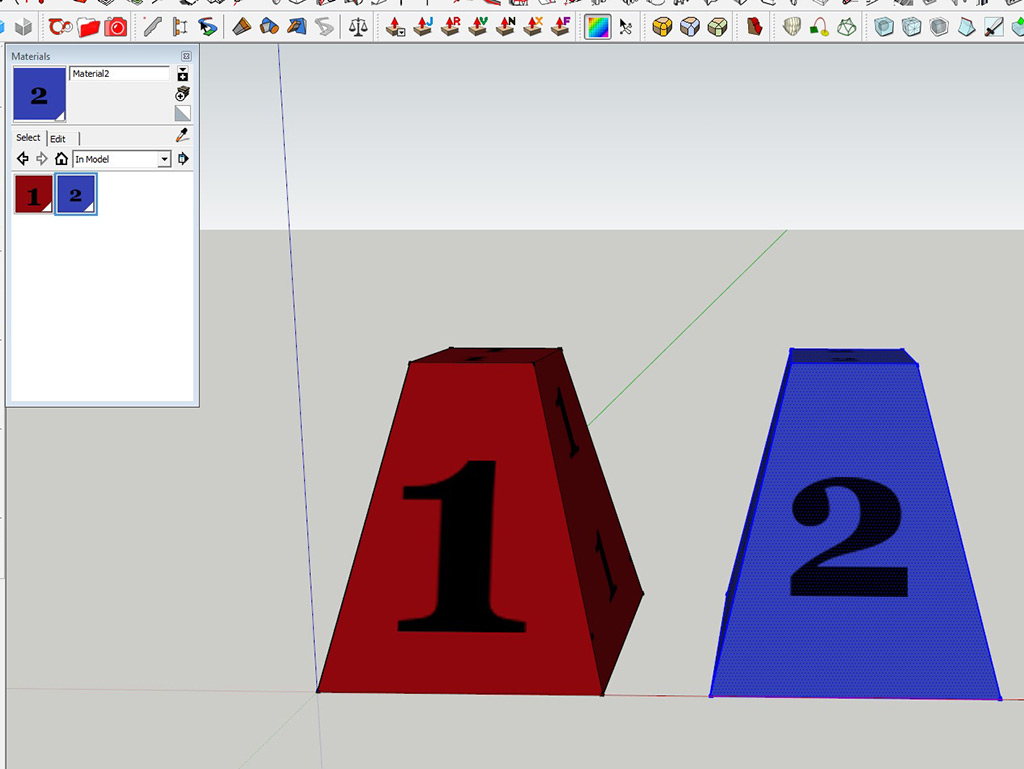
Exporting to DAE and reimporting has worked!
-
-
I'm not sure if i understand your problem, but if you just want to replace the material without messing up the UVs you can simply use the "Entity Info" window to select another material. This will not overwrite the mapping.
Or you can use a plugin to replace materials of a selection like this one:
http://sketchucation.com/pluginstore?pln=Global_Material_Change
(works for objects with more than one material, for multiple groups or components) -
@numberios:
When I have only ONE object which has been textured and mapped, it is easy to replace the texture by renaming the file link in EDIT MATERIAL TAB
When I copy that object, it is not possible to have TWO different maps on each of the copy. SU populates BOTH INSTANCES with the LAST texture image applied.
Hence this roundabout EXPORT/IMPORT to BREAK the MATERIAL TEXTURE INSTANCING LINK.
Of course if there is a simpler/better way to get this done, it will be welcome!
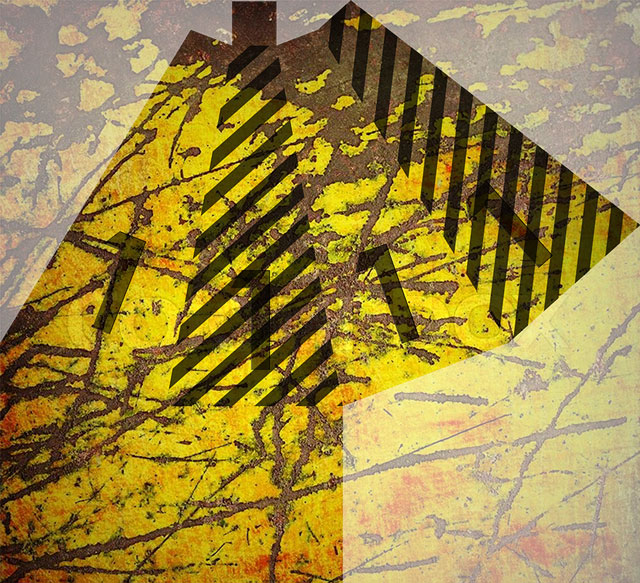
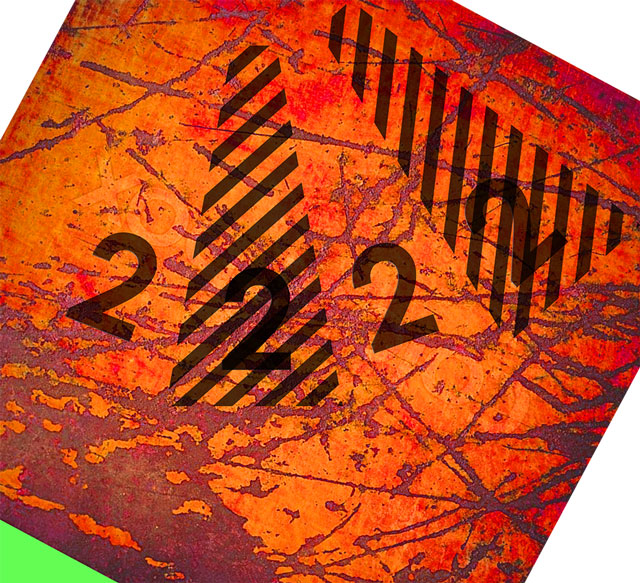
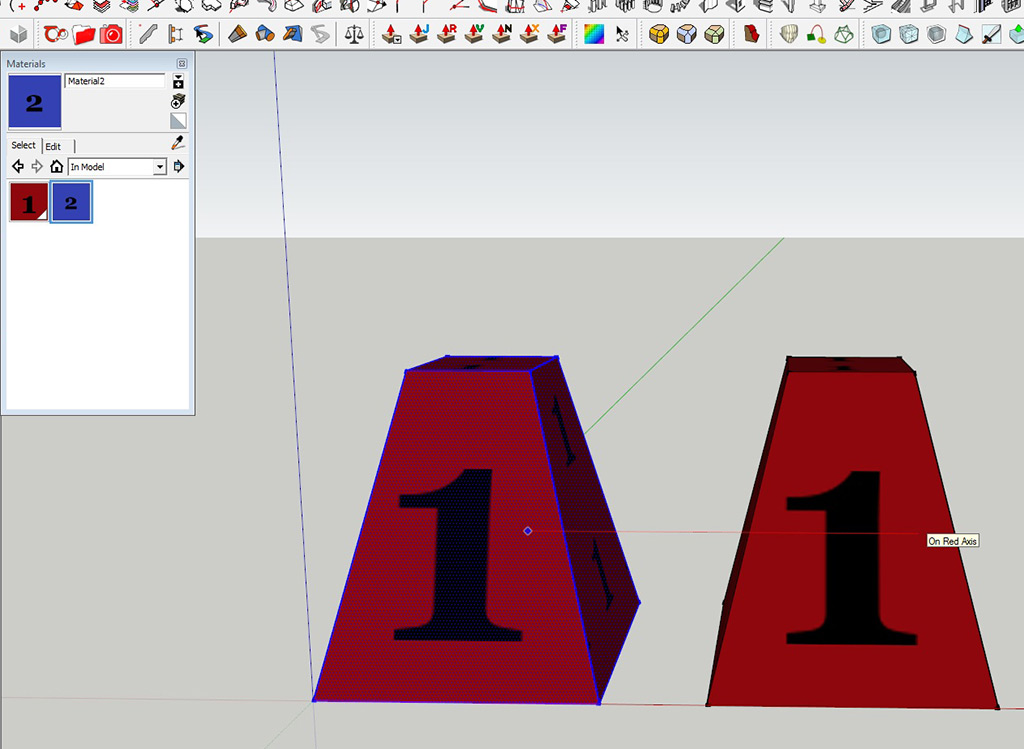
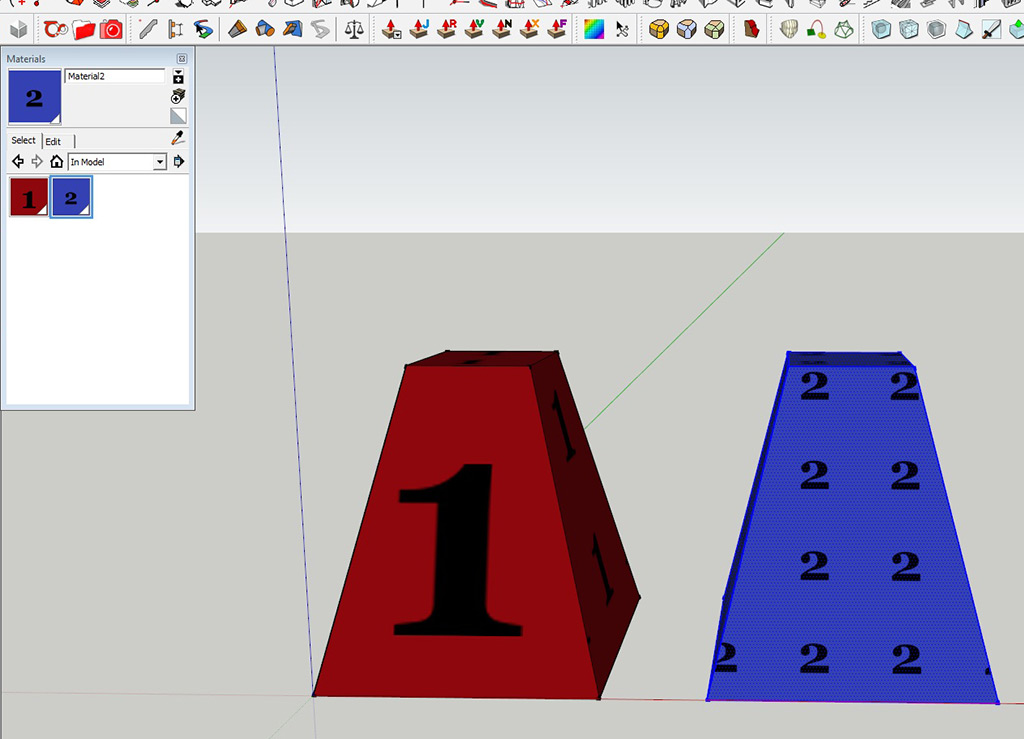
So in my illustrated example, I am aiming for the rendered image of FIRST CONE having MAP 1 and SECOND CONE have MAP 2
STEP 1 : FIRST CONE is mapped and textured with MAP 1
STEP 2 : DUPLICATE FIRST CONE. So we have 2 CONES with MAP 1 only
STEP 3 : Select material of SECOND CONE. Replace with MAP 2
RESULT : BOTH FIRST AND SECOND CONE now are textured with MAP 2
DESIRED RESULT : FIRST CONE has MAP 1 and SECOND CONE has MAP 2
-
here are the maps
-
Try this:
-Copy your base component
-Make the copy unique and save it to disk
-Open the copy and make a small adjustment to the material (colorize it). and save it.
-In the original file, reload the modified component. There should be 2 different materials in the editor, one for each component.
-Go to the new component, and edit the texture in an external editor, and paste the new texture over the old one. Make sure the textures line up. Flatten the image and save it.When loading from disk, sketchup tries to maintain visual fidelity of components and materials, so when it finds a similarly named comp or material with different definition, it creates a new material or component definition.
-
Ok will try this .... similar to the export/import method which also works.
Now imagine a row of 10 similar objects and the hassle trying to get 1 to 10 on them. There should be a simple command/plugin to split any material and make it unlinked and unique.
-
Another way is to combine both textures into one map and simply move the UV of the second cone to the desired area of the map....hope that helps.
-
Agreed. A make unique material option would be ideal.
-
What we are aiming at is a scenario where:
Instead of shifting around a relatively complex UVW mapping,
simply flip in/out unique material texture images onto group/component copies. -
@thomaslaidesign said:
What we are aiming at is a scenario where:
Instead of shifting around a relatively complex UVW mapping,
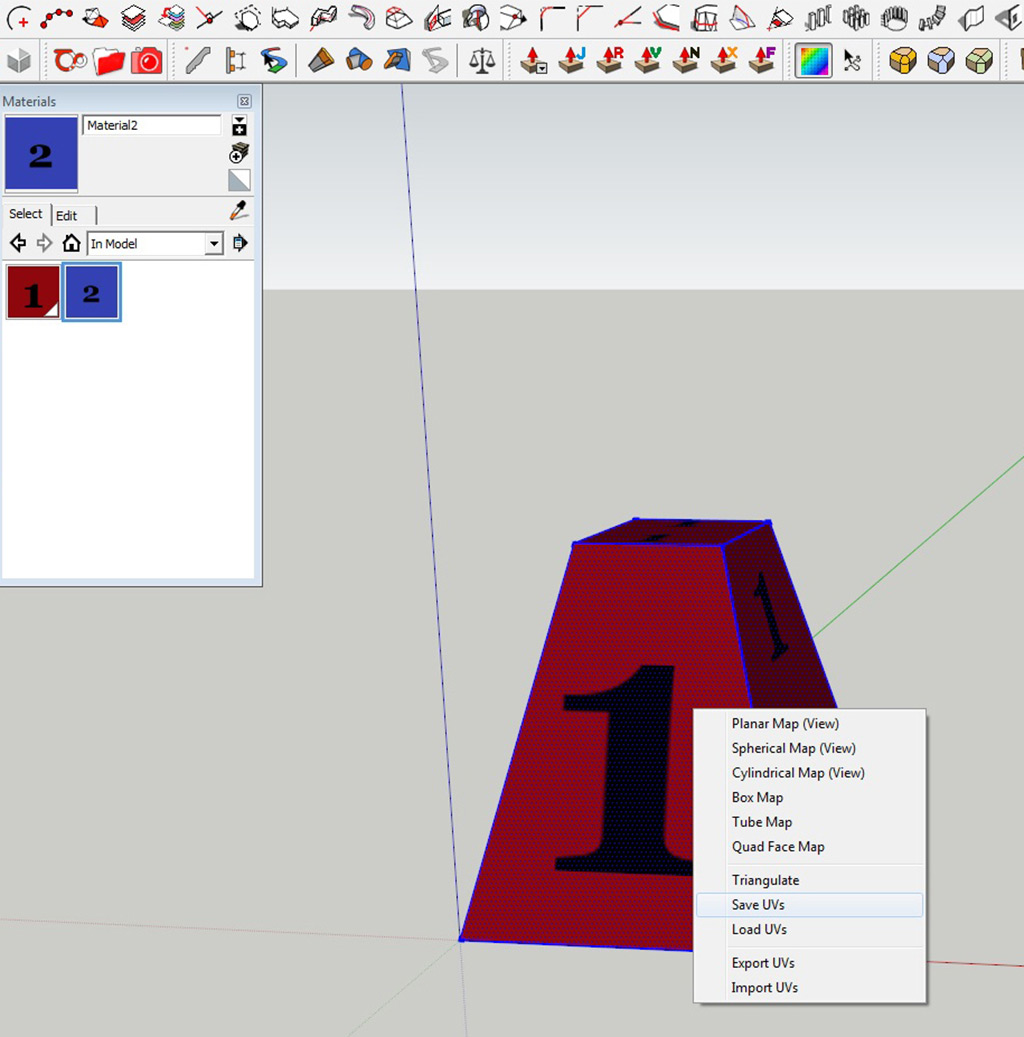
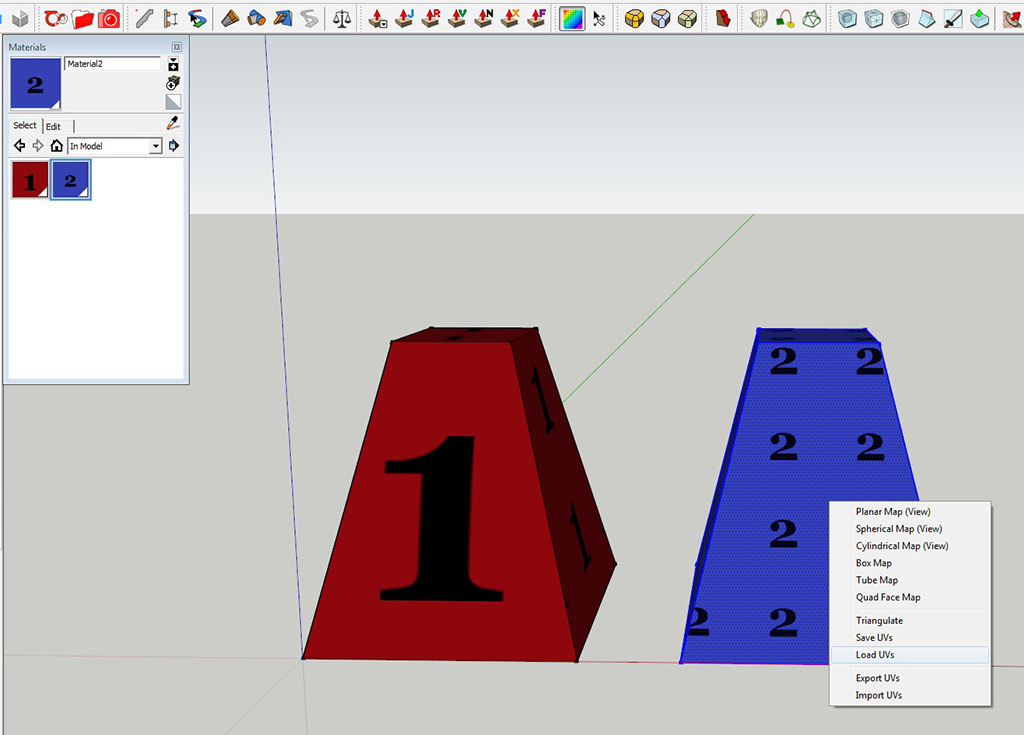
simply flip in/out unique material texture images onto group/component copies.Ok, I see....If you have Sketch UV, you can save the UV of the 1st cone, apply new texture to the second one and load the UV.....
-
Wow! Thanks for the Plug-in info.....
Good things come in little plug-in packages!
SOLVED! -
I'm so glad this question was asked. Was having the same issue and ran into some bumps. The answers here help. Had a brain fart and forgot about SketchUV's save function. Good call. Thanks.
-
There is a similar function in ThruPaint...
-
EZ solution here. NO PLUGINS
- Map your OBJECT1 with MAP1
- Open another instance of SU
- Copy & paste your OBJECT1 to SU2 (It is mapped correctly)
- Replace MAP1 with MAP2 (only texture) in SU1
- Copy & paste your OBJECT1 From SU1 to SU2
- BAM! You have OBJECT2 in SU2 with MAP2
You might want to rename your materials after all.
-
I see it says it is Solved but here is my use of SketchUV Save and Load UV feature.

Hello! It looks like you're interested in this conversation, but you don't have an account yet.
Getting fed up of having to scroll through the same posts each visit? When you register for an account, you'll always come back to exactly where you were before, and choose to be notified of new replies (either via email, or push notification). You'll also be able to save bookmarks and upvote posts to show your appreciation to other community members.
With your input, this post could be even better 💗
Register Login


Advertisement