1963 Ac cobra Mk 1 260/289
-
In a an attempt to learn how to do organic modelling with sketch up, I decided to start with an AC Aceca, following CaljuCotcas tutorial on how to model a car in 3D using blueprints
https://www.youtube.com/watch?v=Hgrix3m1l9k.Eventhough 3D warehouse has 427 examples, I prefer the shape of the 289.
I have a collection of drawings and downloaded blueprints, so I've started. I also have a Shelby collectable die cast model 1:24 scale and a set of chassi and competent drawings ( leaf spring chassi) which I've also been modelling up.
The intent is to completely model the whole car - Ie chassi, suspension, steering, body subframe, body


-
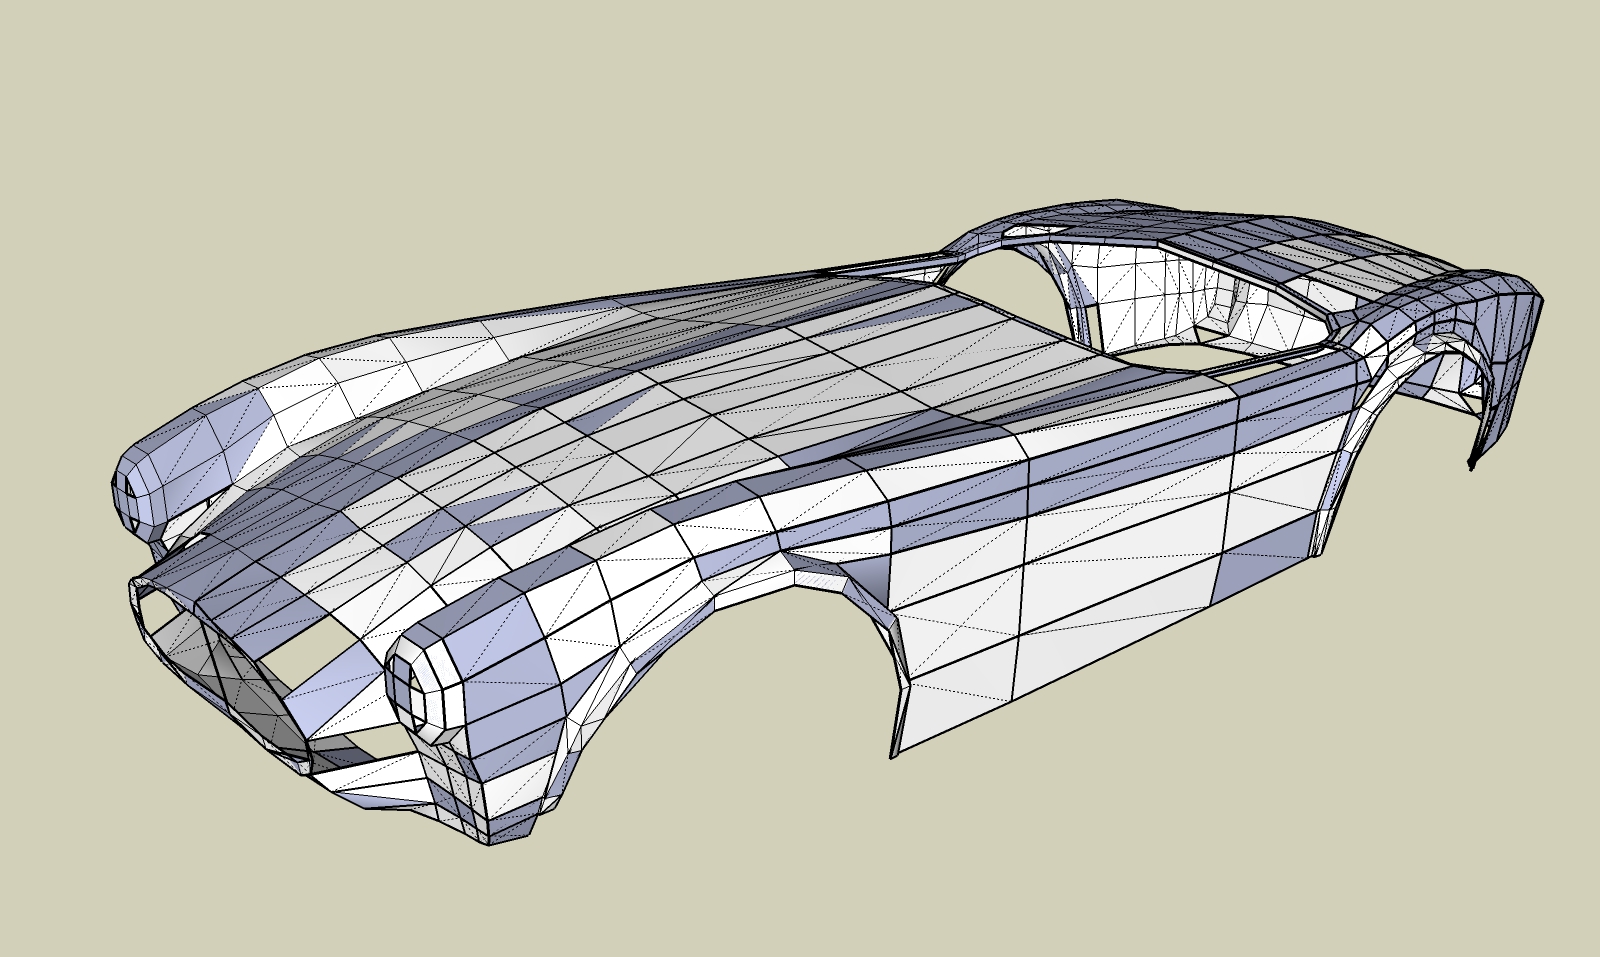
I've further simplified the lines to make more like rectangles/quads so the subD could eventually be applied.
I had a go at running sandbox - from contours - rubbish result.

-
I would think Artisan would be the place to go.
-
Check out this thread: http://sketchucation.com/forums/viewtopic.php?f=397%26amp;t=63826%26amp;start=330
I think you will see some examples there that you will like and it might give you some more ideas about how to get where you are going. The thread has several examples of people drawing cars using the QuadFaceTools, VertexTools, and SubD plugins.
Looks like you are off to a good start though. I would like to learn how to do this kind of stuff as well.
-
Ummm Dave, he has already posted in that thread and even on the specific page you linked to.
-
@box said:
Ummm Dave, he has already posted in that thread and even on the specific page you linked to.
Ooops - missed that. Someone should delete my post then...
-
Alright, someone actually modeling a car! (I want to put a smilie here, but of course the one I want to use has been unceremoniously done away with, along with all the other good ones everybody actually liked to use)
-
part of the difficulty I am finding is working out where to put the lines.
This post by Rich O'Brien shows an interesting position of line around the front corner. Also it is a 427
@rich o brien said:
[edg3d:3htxz53g]6dOQrvWoC7Uy1vP[/edg3d:3htxz53g]


-
I've re-jigged the wire frame such that follows more closely the Quads format - but still have some 3 sided and 5 side edges to sort out.


-
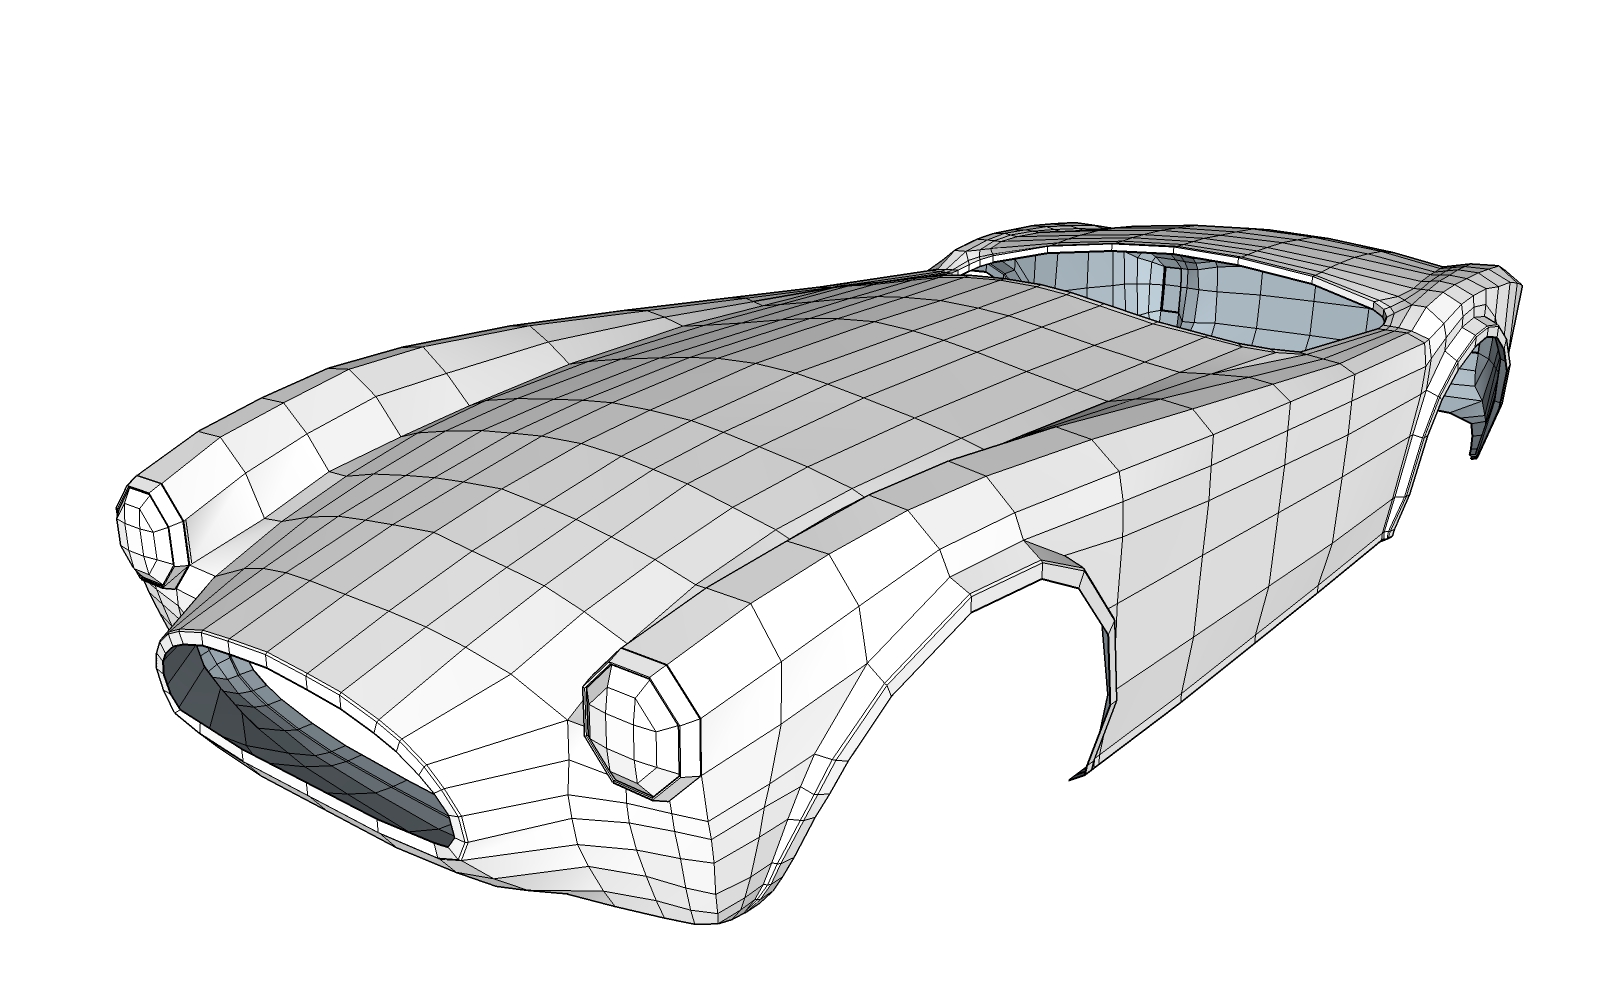
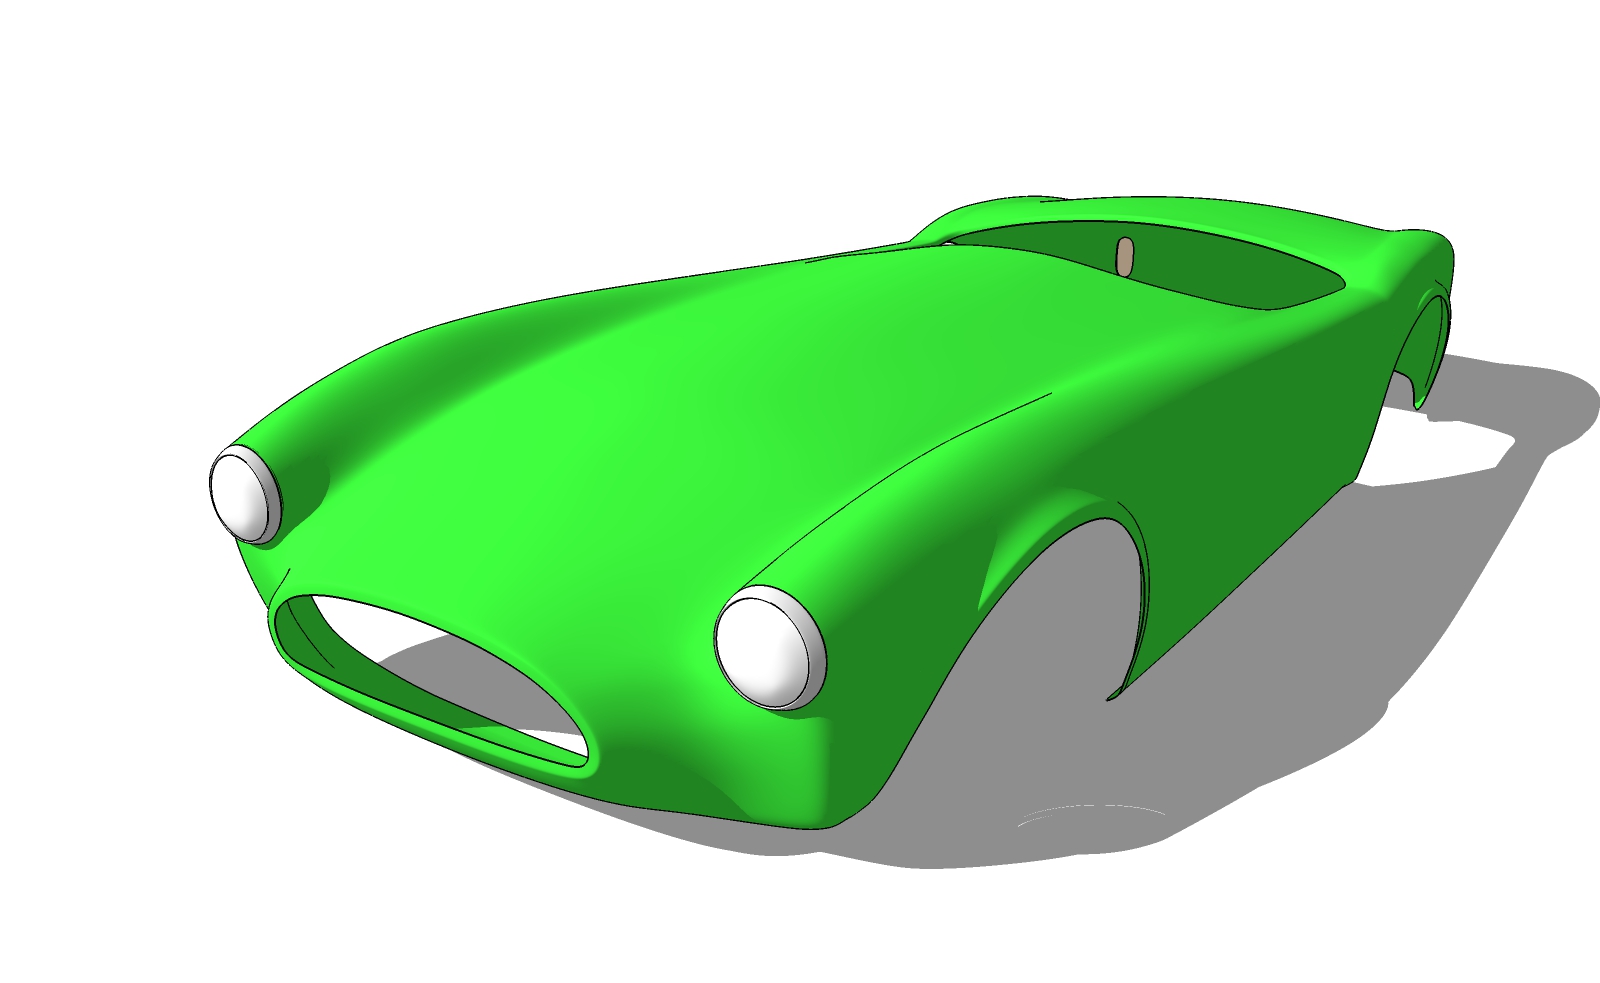
 Ive now divided and grouped the various sections - nose, hood, fender, side, rear, and smoothed each surface,
also added some wire wheels from 3D warehouse .junction of front hose/hood light still sorting out.


-
Just because I can - I've exported the SU model to DWG - edges, faces geometry.
Then I imported into Boa - an Architecture solids modeller that only uses a 6 sided block. (every face has 4 edges ) http://boa-research.fr
In Boa I then started to insert a 3mm thick solid block over the mesh. Because the 4 corners a not in a flat plane the last point shows up how far it is out.
Boa can also do a 3 edge face, by automatically dividing the face into 3 equal blocks - so I gave that a try also.
Eventually Im interested to see how the Quad faces align with each when comparing my hand/eye construction with the Quadface and SubD tools.


-
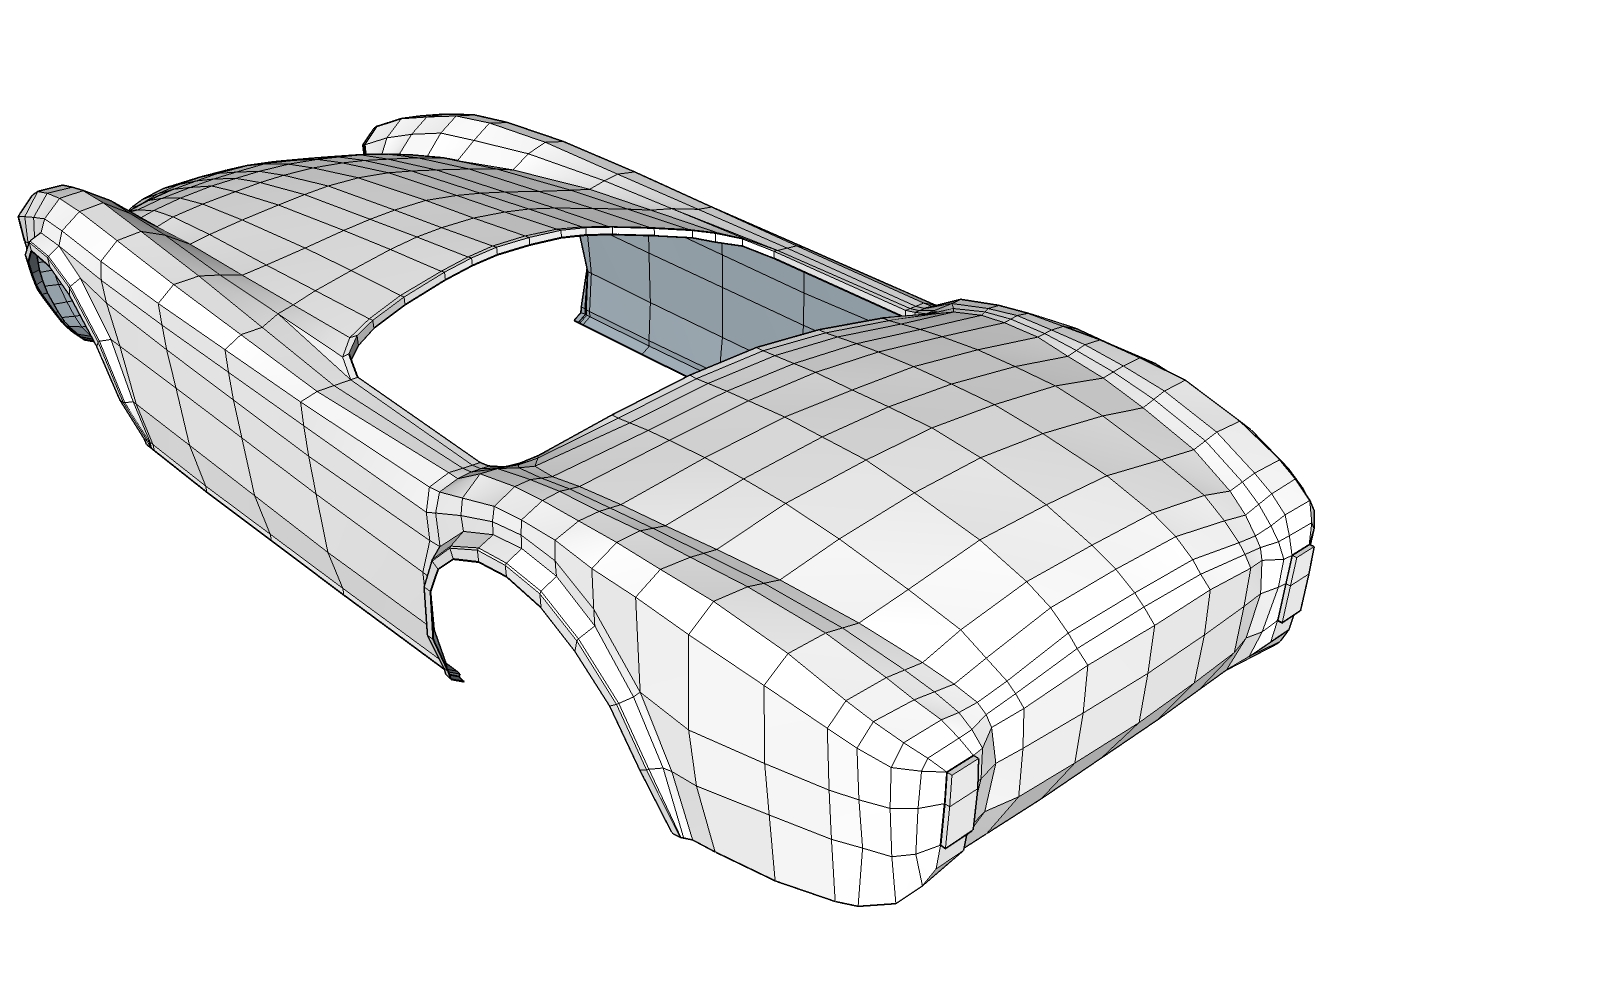
After doing some more online reading of quads and subs , I've reduced the number of mesh on bonnet and boot lid, and then opening up my trial version of SU 2013 and downloading artisan, contour maker , slicer and Topo shaper, I tried each to see what happened.
Apart from the wheel archs - which have been smoothed too much, and the centre line of hood being not flat enough, Artisans version its getting pretty close.
Slicer with y and Z set to 150mm created some profiles. For some reason X said nothing to create!
Contour maker set at 50mm greeting an interesting shape
Topo shaper I guess is for terrains - although if you want to have a car cover - its may well be the tool to do the job!


-
Here is the SU files - saved as SU6 from SU 13 trial version
Mos tof the modelling has been done in SU 6 - with some touch ups/adjustments in SU 13
-
You are on the right path, don't get drown at the shore.
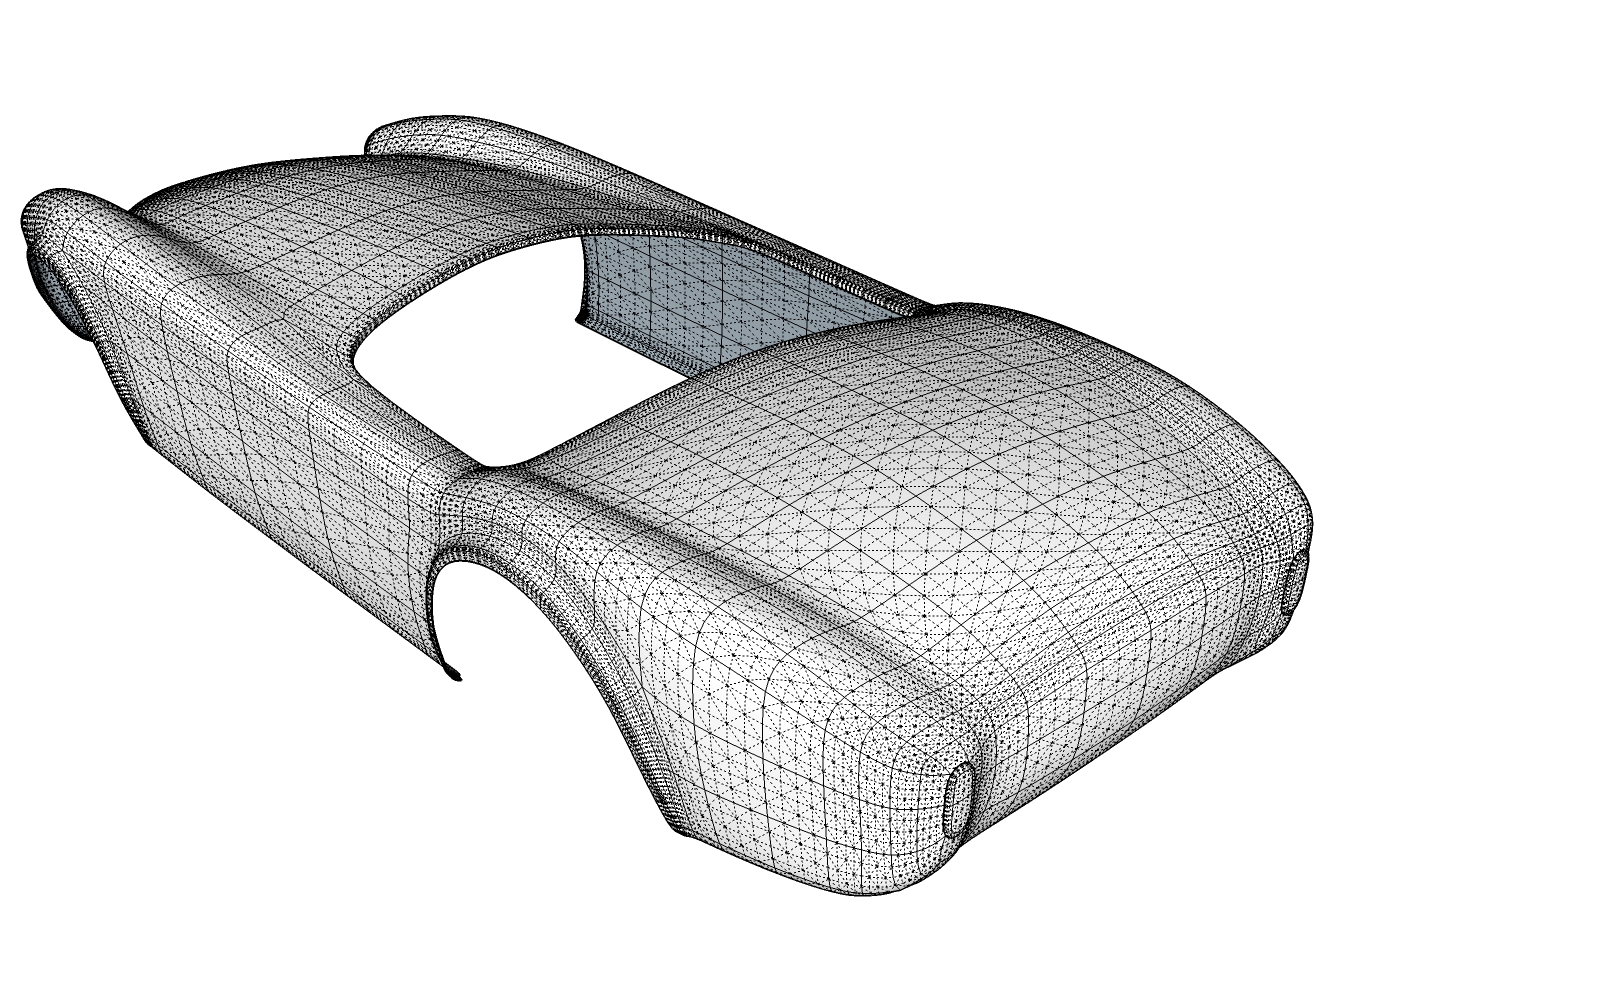
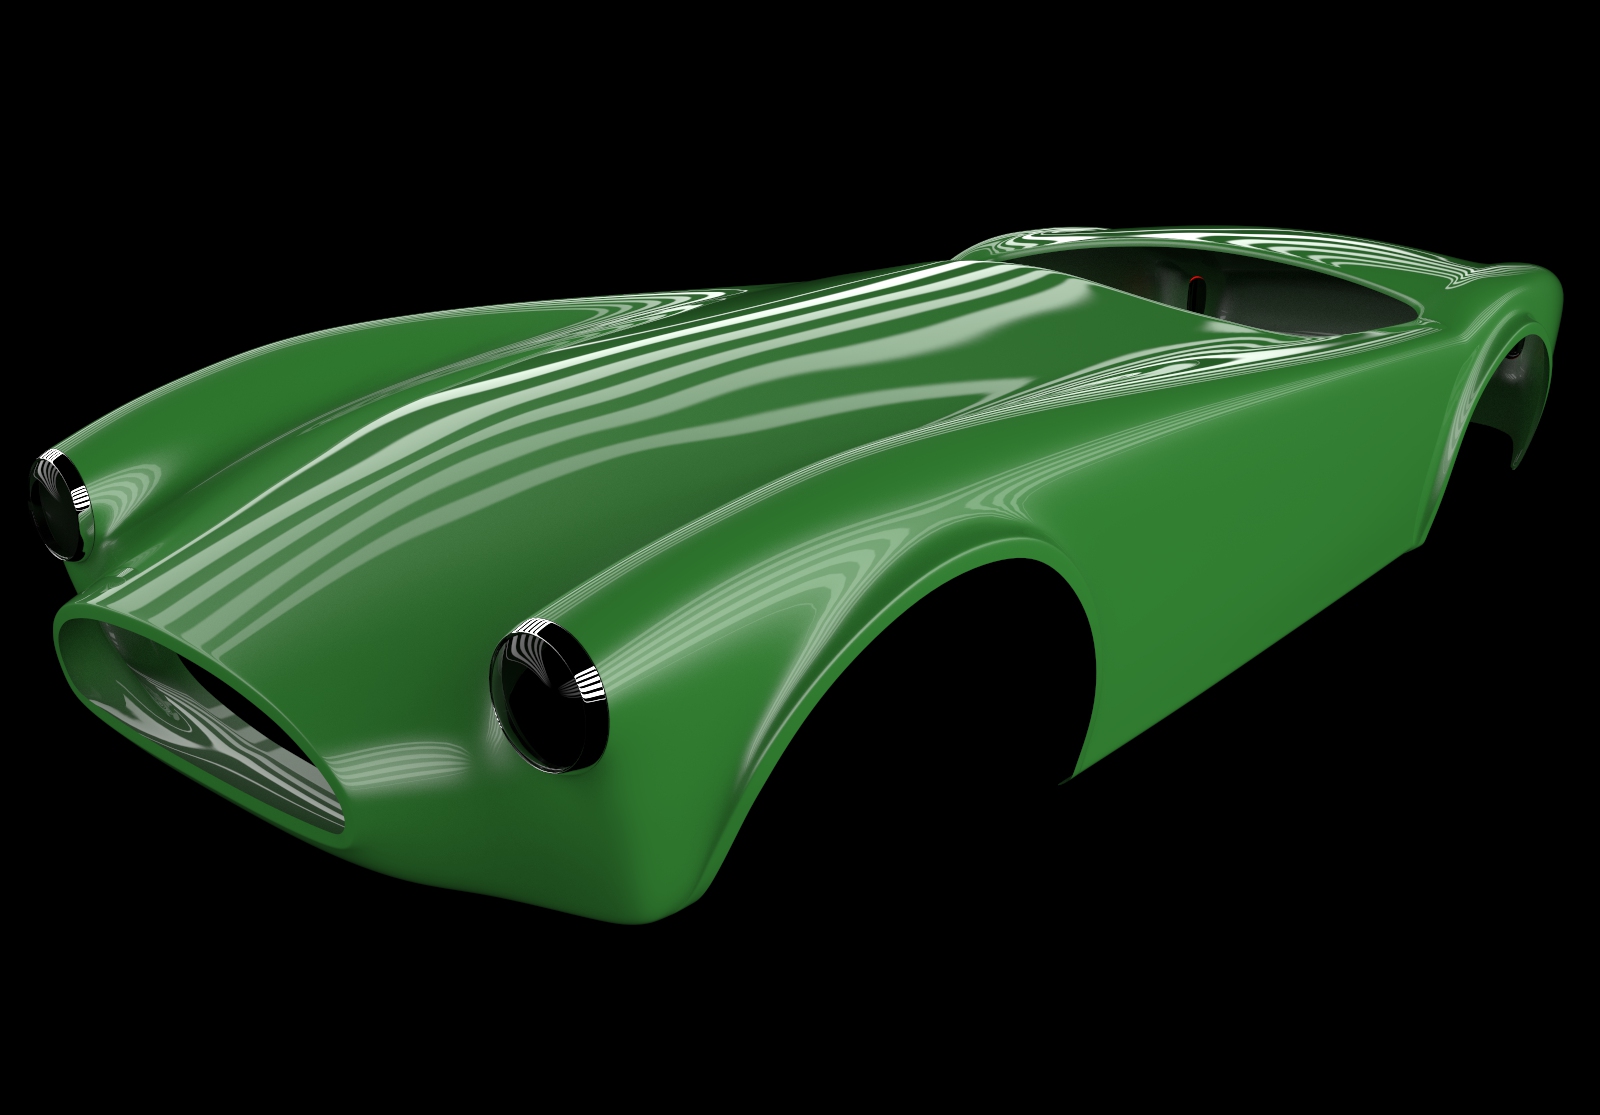
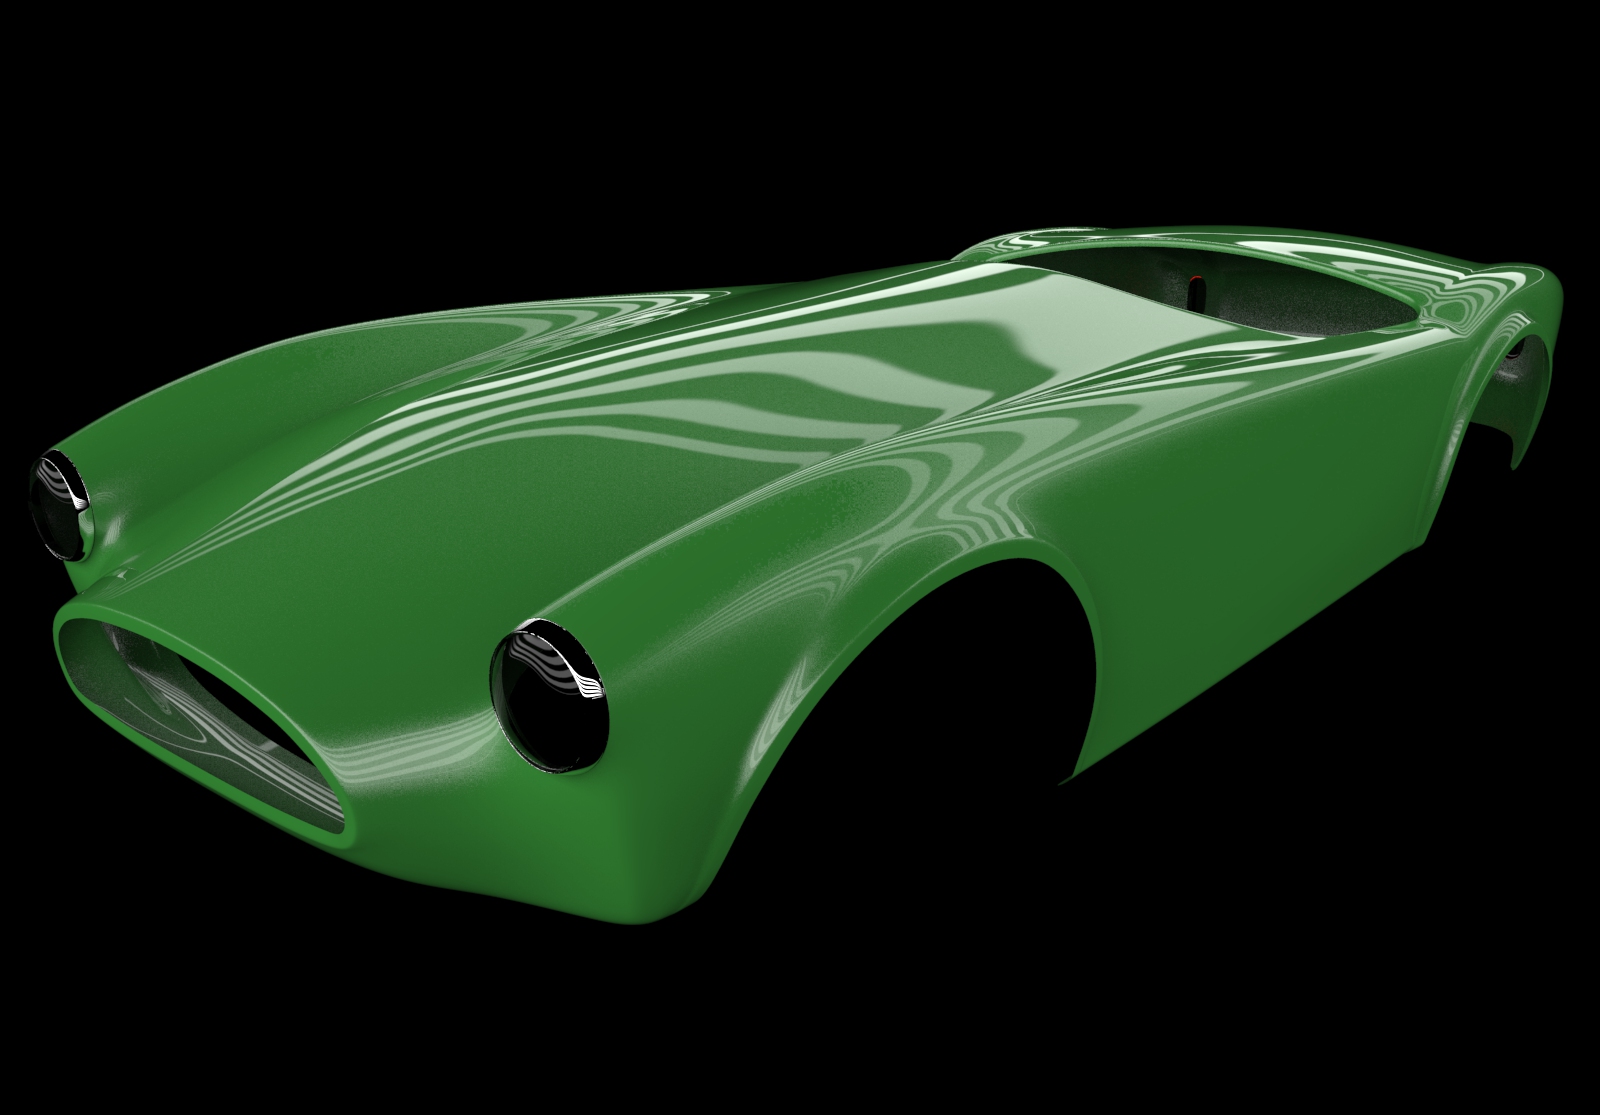
I have retouched the shape overall and made it compatible with SubD.
About an hour and a half worked on it(it still needs a couple of touches here and there).. boy I miss car modeling !!

-
wow
I've downloaded your file posted on the SubD chat.http://sketchucation.com/forums/download/file.php?id=137307
I am curious,
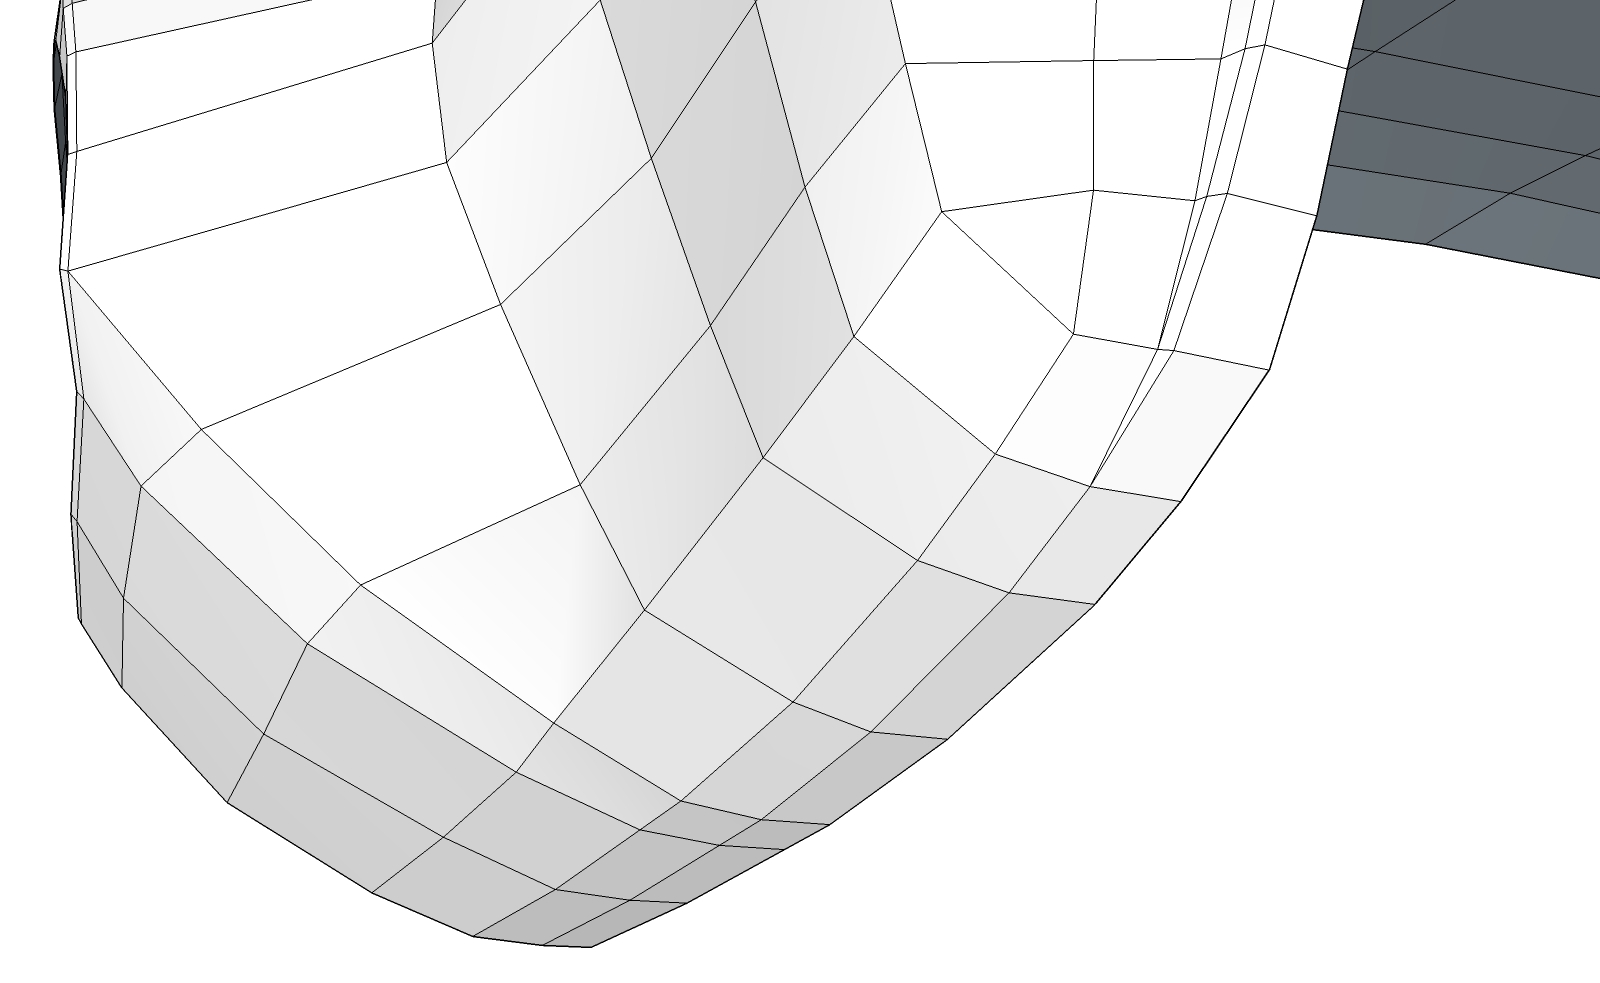
for the front wheel to fender transition you carried the wheel flare loop all the way across under the front to the other wheel.
is that a deliberate mesh strategy.
The rear hip line has a nice flow.

-
@garydorn said:
wow
I am curious,
for the front wheel to fender transition you carried the wheel flare loop all the way across under the front to the other wheel.
is that a deliberate mesh strategy.Yes, it is a bit of a strategy as it is good to have continuous loops. You can end the detail somewhere near the other loop, but it will break the surface a bit and I don't like triangles.

-
Elisei, nicely done Sir, quite brilliant in fact.
-
For reference , there a number of photos of wooden bucks there were supposedly originally used to hammer out aluminium skins for these bodies.

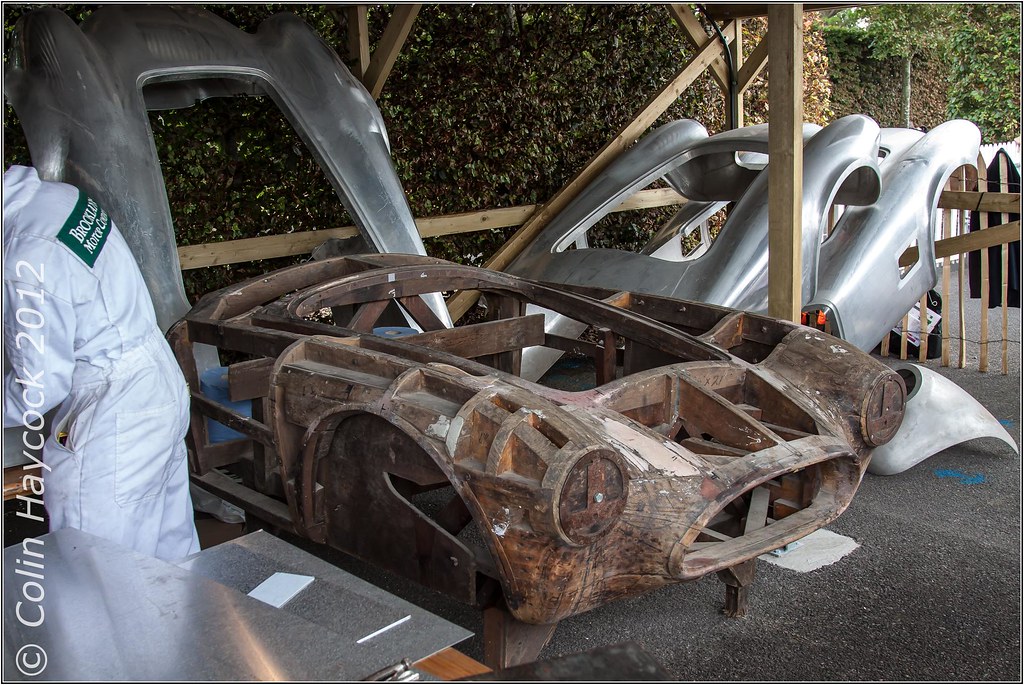


credit to original photographers.
https://www.facebook.com/TeamAC/photos_stream -
Looking closer at these wooden bucks , and you can see the 'Quads" all over the place!
-
I have a set of technical drawing for the seat frame and some photos, so I had a go at modelling up frame and seat pan.


Hello! It looks like you're interested in this conversation, but you don't have an account yet.
Getting fed up of having to scroll through the same posts each visit? When you register for an account, you'll always come back to exactly where you were before, and choose to be notified of new replies (either via email, or push notification). You'll also be able to save bookmarks and upvote posts to show your appreciation to other community members.
With your input, this post could be even better 💗
Register Login


Advertisement