sketchucation logo sketchucation
    • Login
    ℹ️ Licensed Extensions | FredoBatch, ElevationProfile, FredoSketch, LayOps, MatSim and Pic2Shape will require license from Sept 1st More Info

    1963 Ac cobra Mk 1 260/289

    Scheduled Pinned Locked Moved WIP
    22 Posts 8 Posters 5.8k Views 8 Watching
    Loading More Posts
    • Oldest to Newest
    • Newest to Oldest
    • Most Votes
    Reply
    • Reply as topic
    Log in to reply
    This topic has been deleted. Only users with topic management privileges can see it.
    • ntxdaveN Offline
      ntxdave
      last edited by

      @box said:

      Ummm Dave, he has already posted in that thread and even on the specific page you linked to.

      Ooops - missed that. Someone should delete my post then...

      1 Reply Last reply Reply Quote 0
      • hellnbakH Offline
        hellnbak
        last edited by

        Alright, someone actually modeling a car! (I want to put a smilie here, but of course the one I want to use has been unceremoniously done away with, along with all the other good ones everybody actually liked to use)

        "Politicians are just like diapers -- they need to be changed often, and for the same reason"

        1 Reply Last reply Reply Quote 0
        • garydornG Offline
          garydorn
          last edited by

          part of the difficulty I am finding is working out where to put the lines.

          This post by Rich O'Brien shows an interesting position of line around the front corner. Also it is a 427

          @rich o brien said:

          [edg3d:3htxz53g]6dOQrvWoC7Uy1vP[/edg3d:3htxz53g]
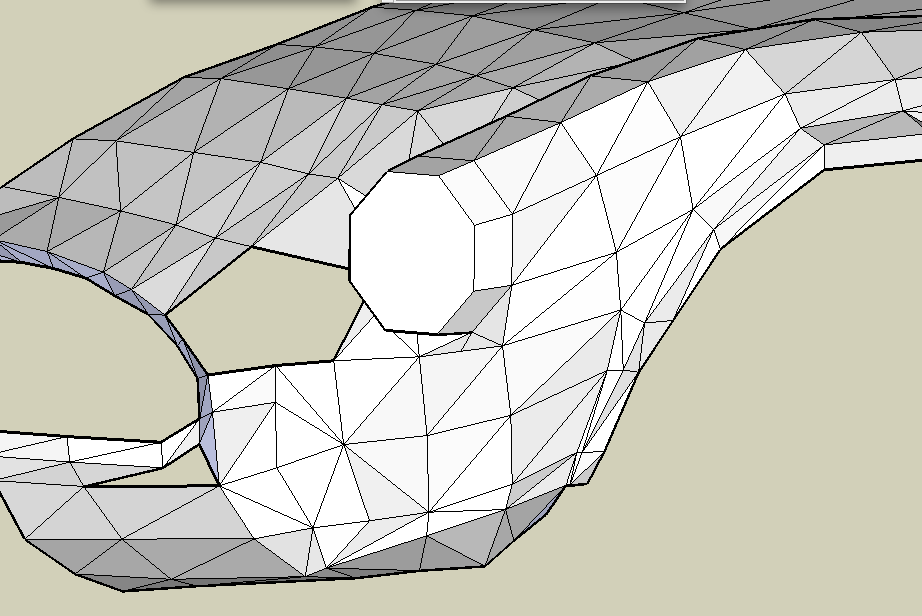

          This is my effort so far.


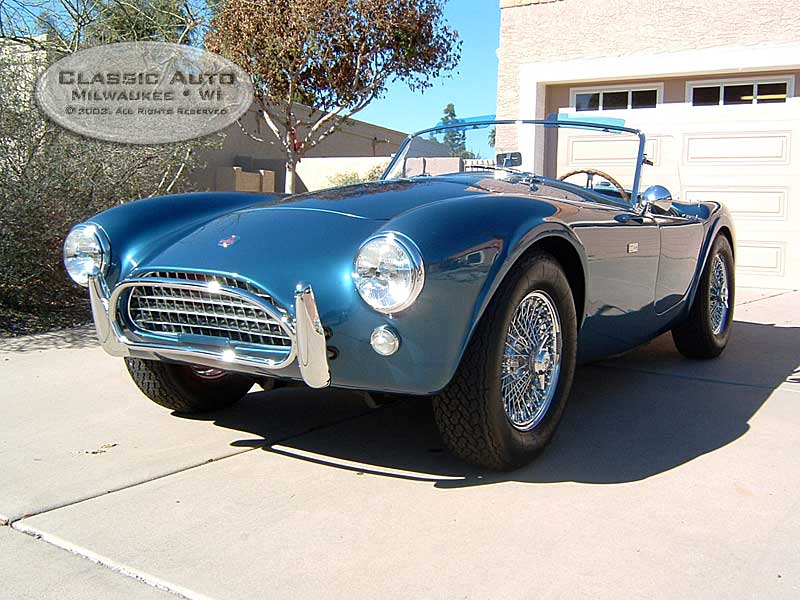
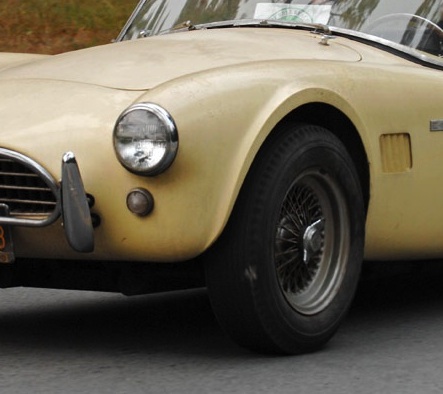
          real 289 - front right corner  This is the required look.

          1 Reply Last reply Reply Quote 0
          • garydornG Offline
            garydorn
            last edited by

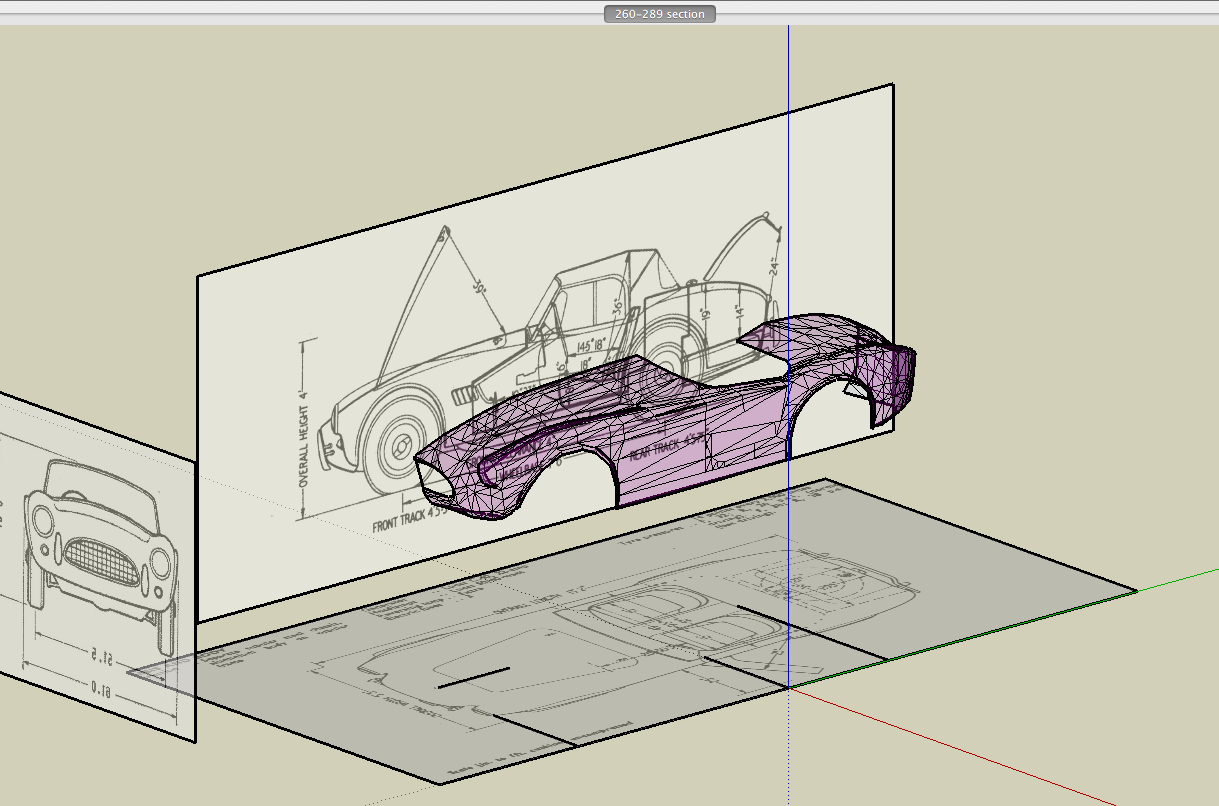
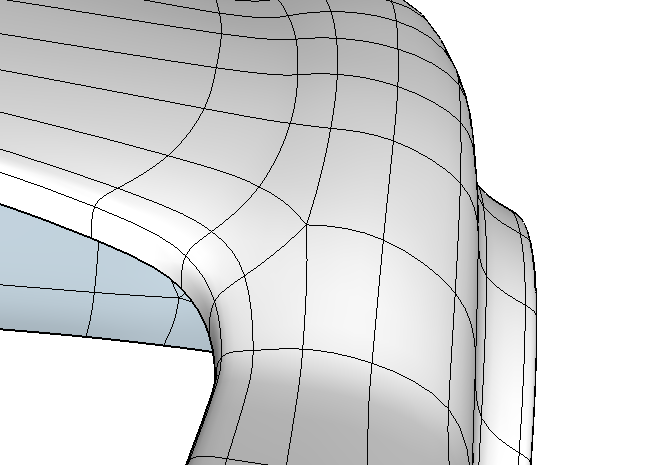
            I've re-jigged the wire frame such that follows more closely the Quads format - but still have some 3 sided and 5 side edges to sort out.

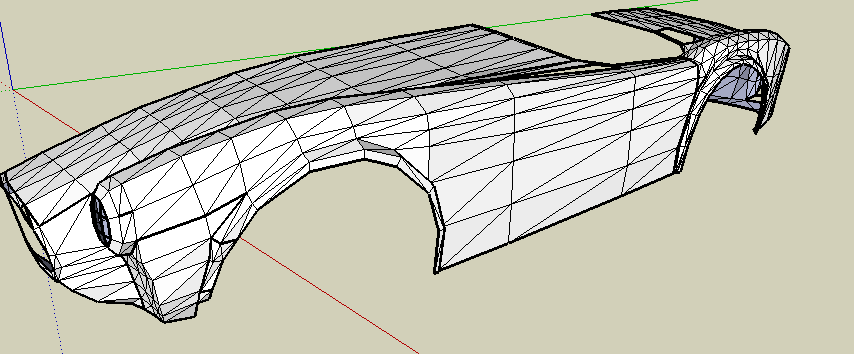
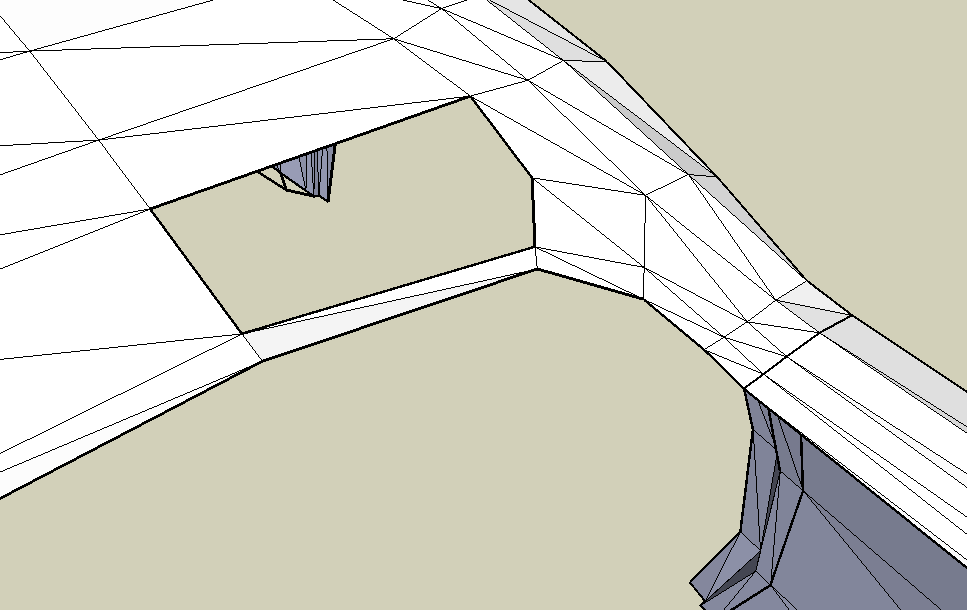
            ![wire frame as "quads"](/uploads/imported_attachments/X6DP_wireframe.png "wire frame as "quads"")


            wire frame now with triangulated surfaces


            I am having a bit of trouble with the cockpit shoulder

            1 Reply Last reply Reply Quote 0
            • garydornG Offline
              garydorn
              last edited by

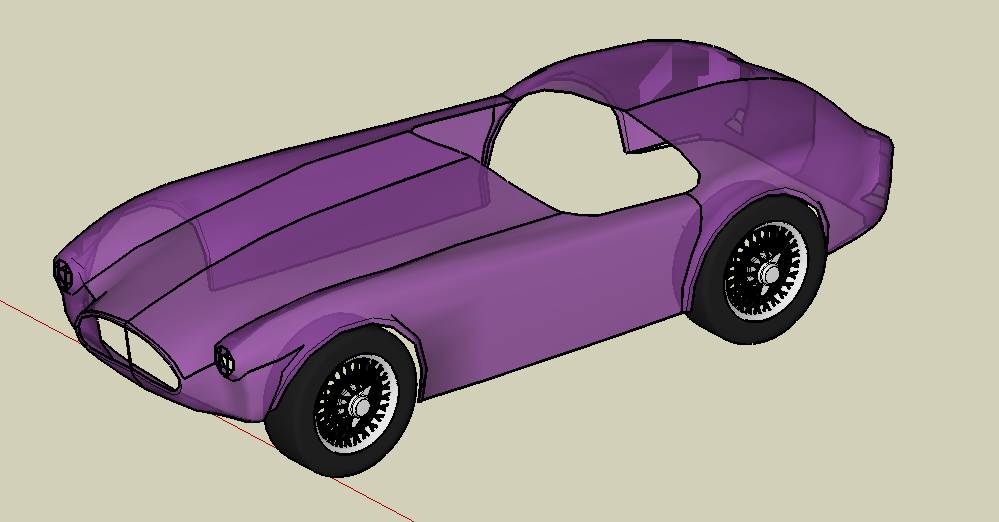
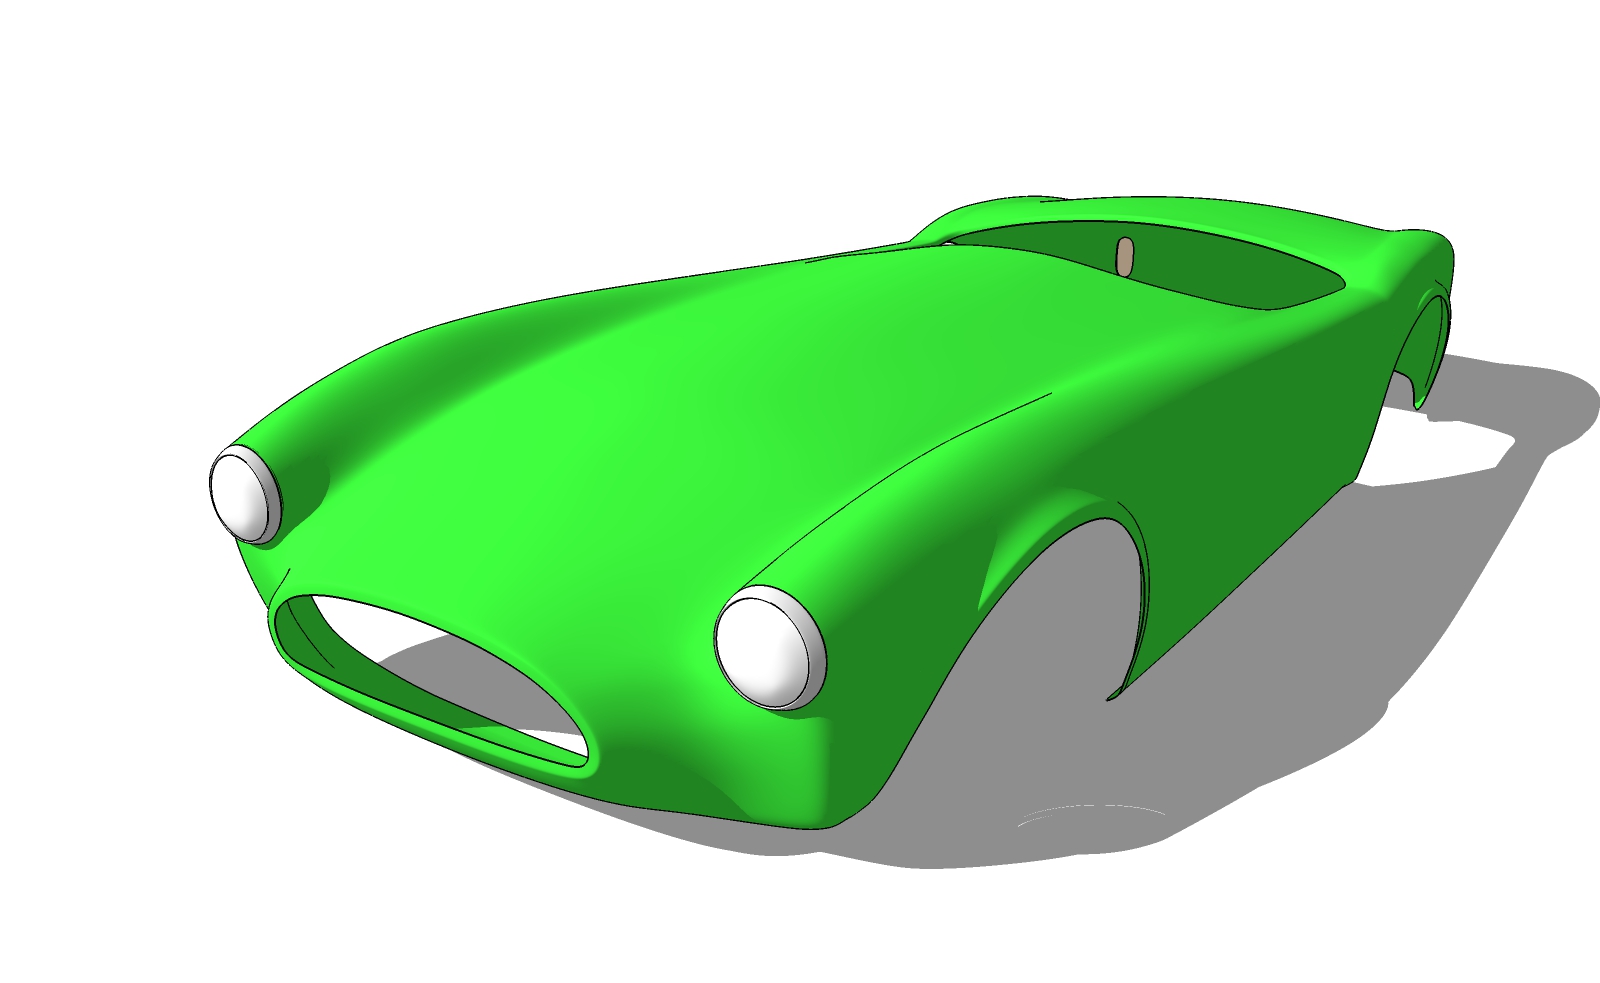
              smoothed body with wire wheelsIve now divided and grouped the various sections - nose, hood, fender, side, rear, and smoothed each surface,
              also added some wire wheels from 3D warehouse .

              junction of front hose/hood light still sorting out.
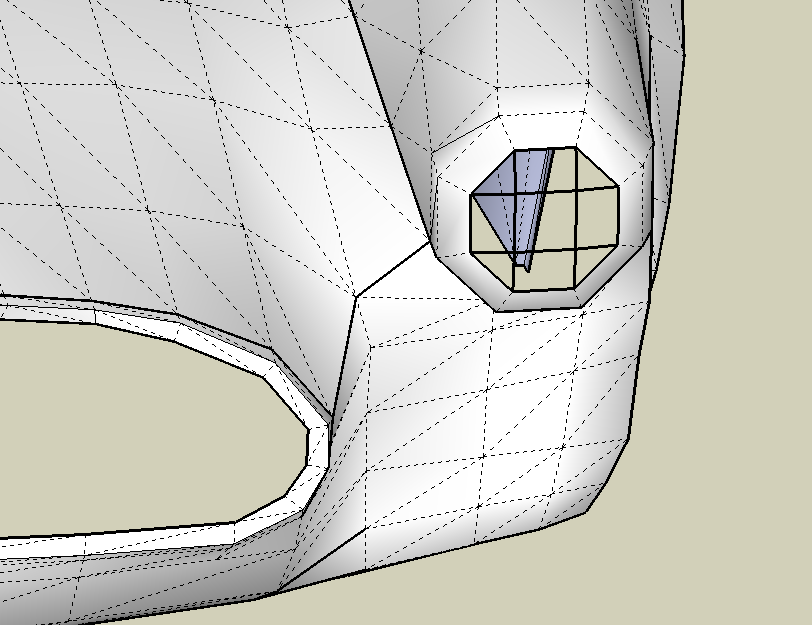

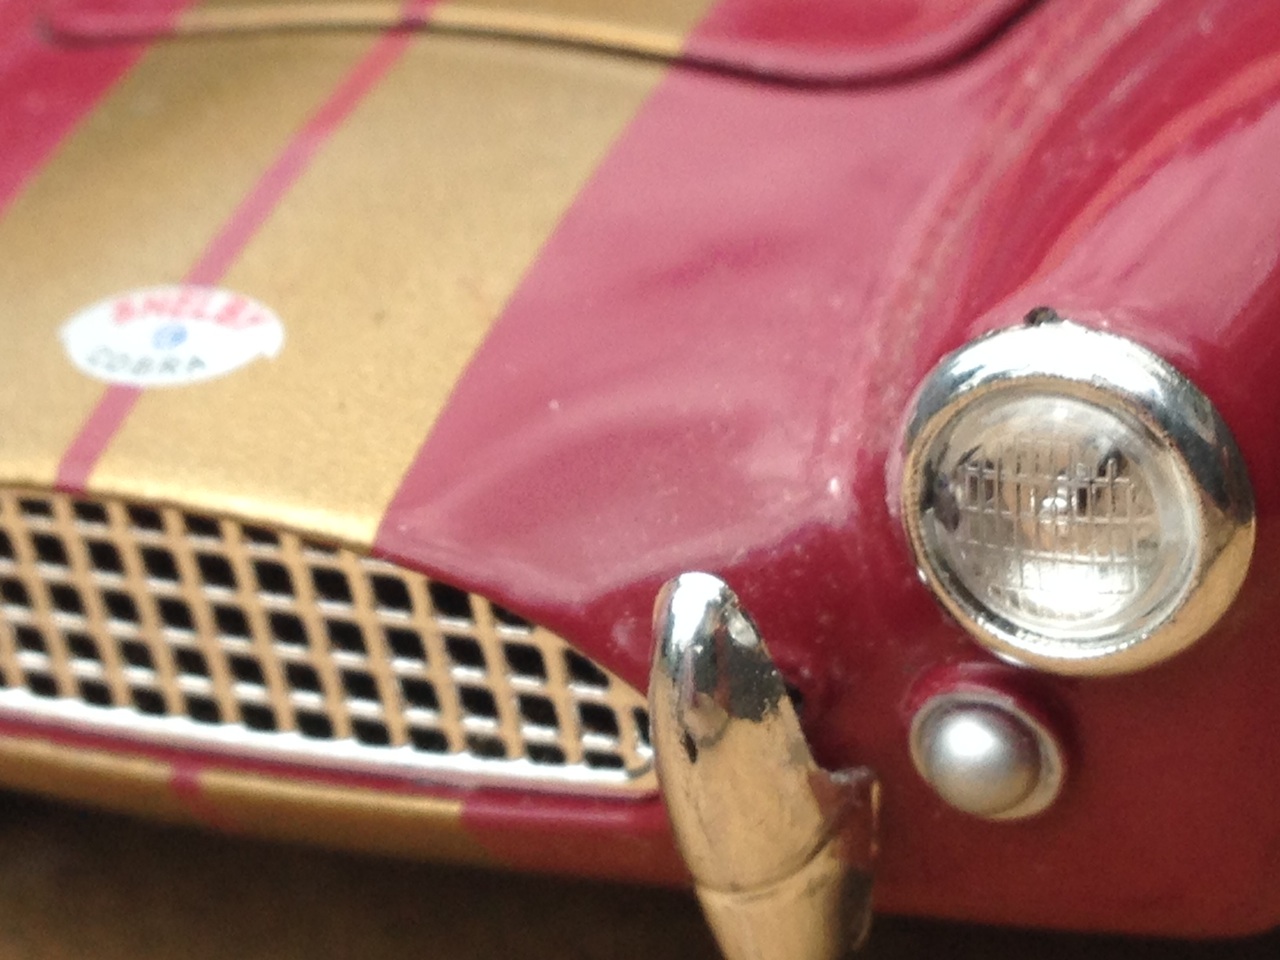
              update to front nose to light transition


              shelby collectable nose -light transition

              1 Reply Last reply Reply Quote 0
              • garydornG Offline
                garydorn
                last edited by

                Just because I can - I've exported the SU model to DWG - edges, faces geometry.

                Then I imported into Boa - an Architecture solids modeller that only uses a 6 sided block. (every face has 4 edges ) http://boa-research.fr

                In Boa I then started to insert a 3mm thick solid block over the mesh. Because the 4 corners a not in a flat plane the last point shows up how far it is out.

                Boa can also do a 3 edge face, by automatically dividing the face into 3 equal blocks - so I gave that a try also.

                Eventually Im interested to see how the Quad faces align with each when comparing my hand/eye construction with the Quadface and SubD tools.
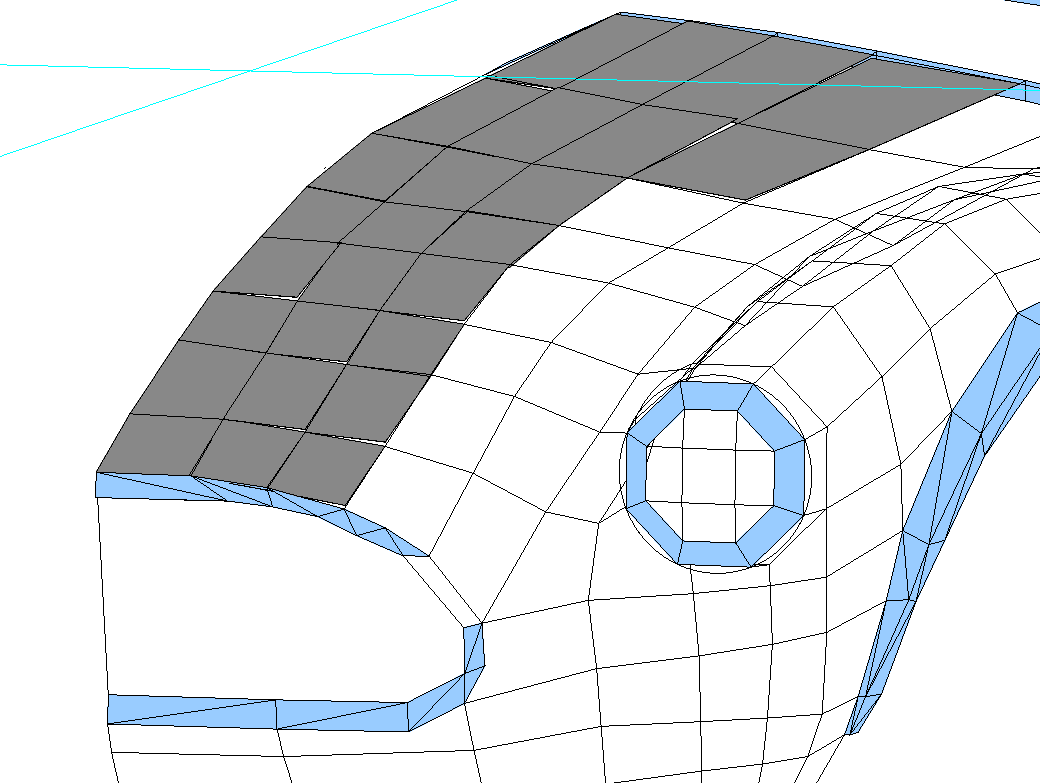
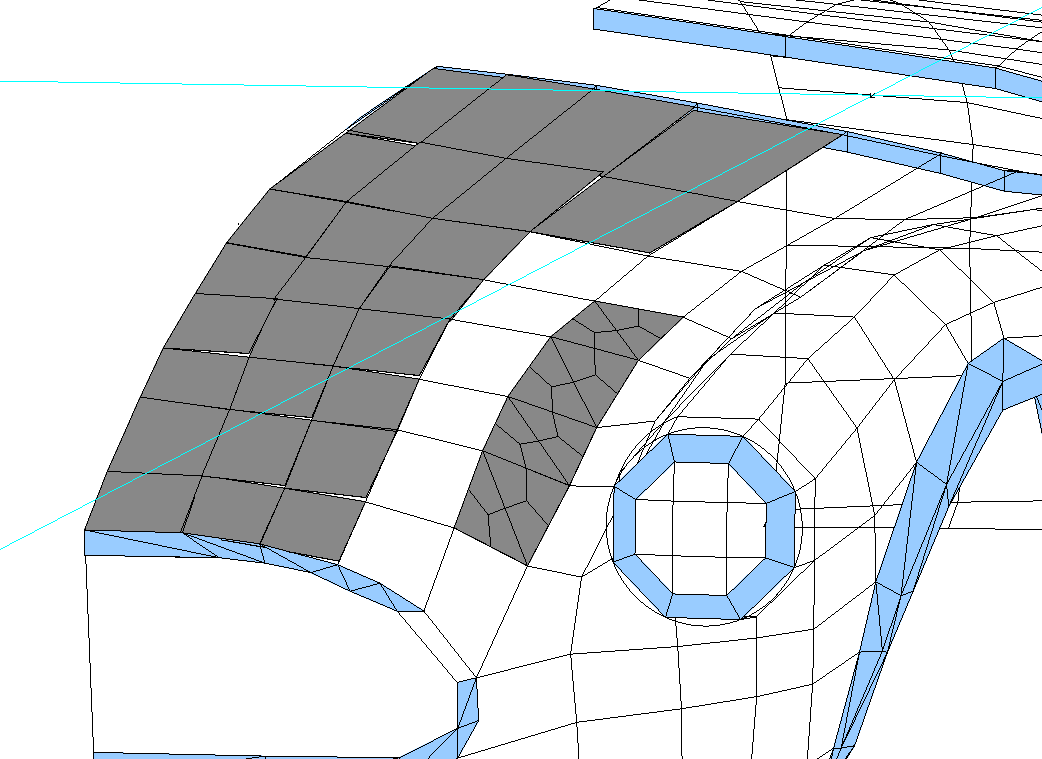
                Boa - solids over mesh


                Boa - tri face solid over mesh

                1 Reply Last reply Reply Quote 0
                • garydornG Offline
                  garydorn
                  last edited by

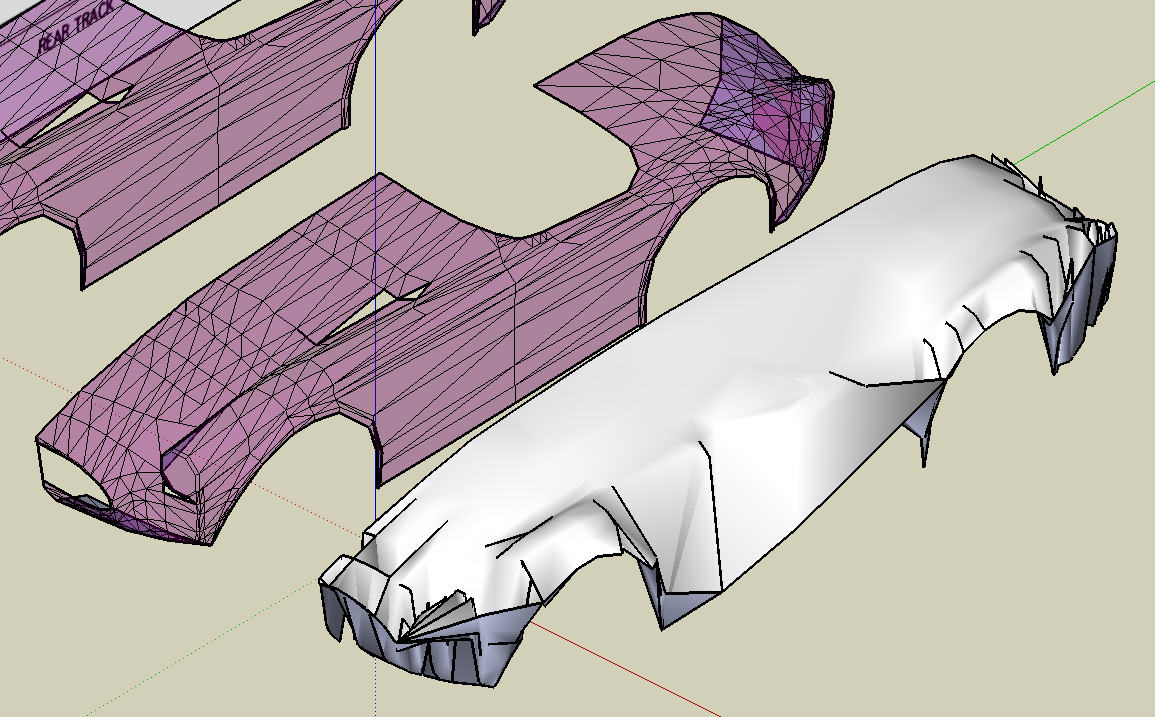
                  After doing some more online reading of quads and subs , I've reduced the number of mesh on bonnet and boot lid, and then opening up my trial version of SU 2013 and downloading artisan, contour maker , slicer and Topo shaper, I tried each to see what happened.

                  Apart from the wheel archs - which have been smoothed too much, and the centre line of hood being not flat enough, Artisans version its getting pretty close.

                  Slicer with y and Z set to 150mm created some profiles. For some reason X said nothing to create!

                  Contour maker set at 50mm greeting an interesting shape

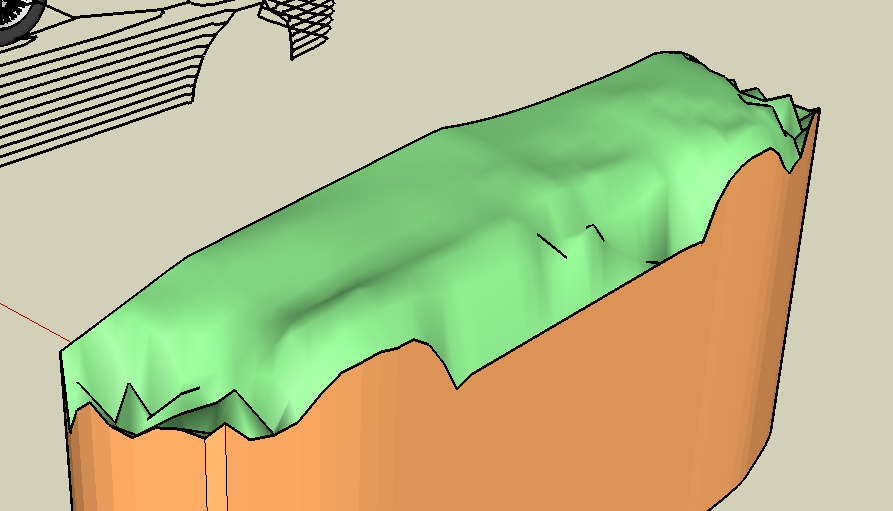
                  Topo shaper I guess is for terrains - although if you want to have a car cover - its may well be the tool to do the job!
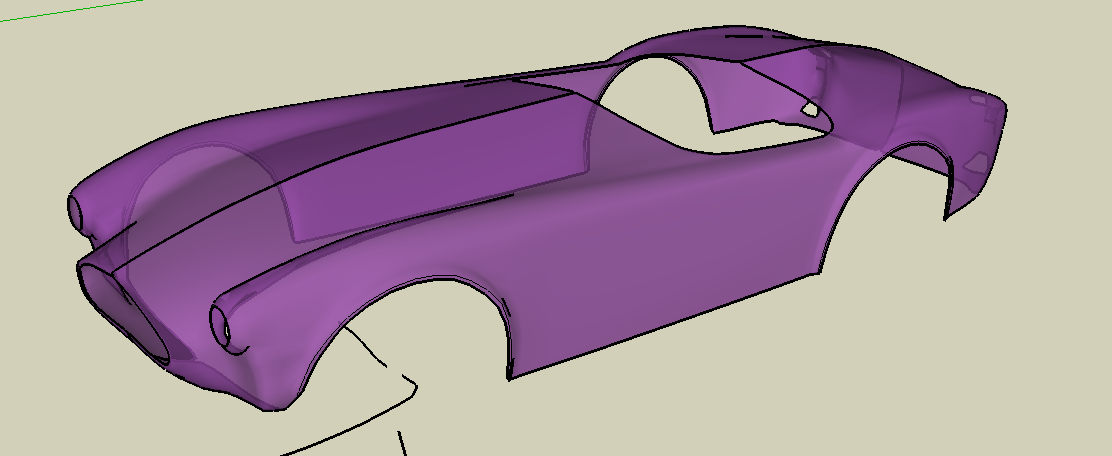
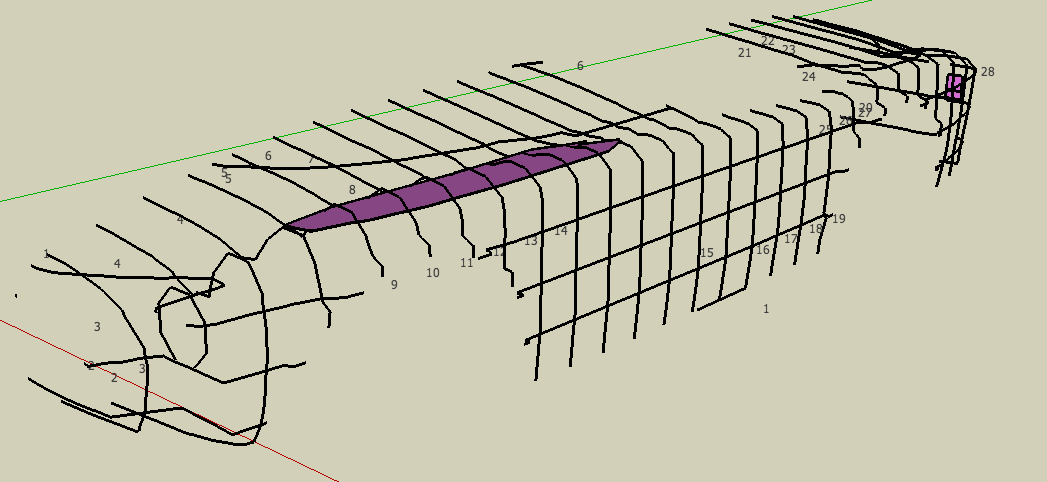
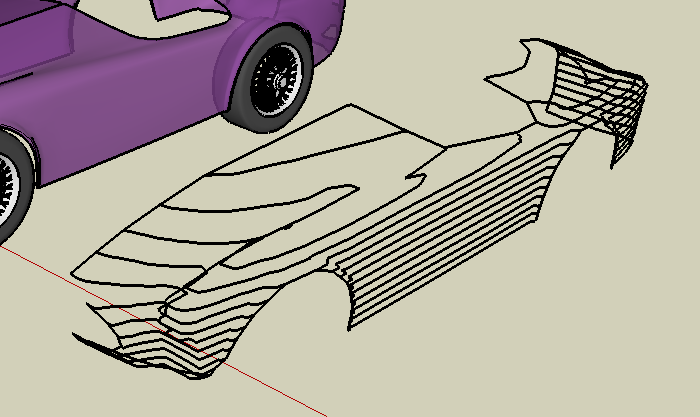
                  artisan version of body


                  slicers Y and Z profiles


                  contours @ 50mm


                  toposhaper - a draped mesh?

                  1 Reply Last reply Reply Quote 0
                  • garydornG Offline
                    garydorn
                    last edited by

                    Here is the SU files - saved as SU6 from SU 13 trial version

                    Mos tof the modelling has been done in SU 6 - with some touch ups/adjustments in SU 13


                    sketchUp 6 file of 260/289 body WIR

                    1 Reply Last reply Reply Quote 0
                    • ely862meE Offline
                      ely862me
                      last edited by

                      You are on the right path, don't get drown at the shore.
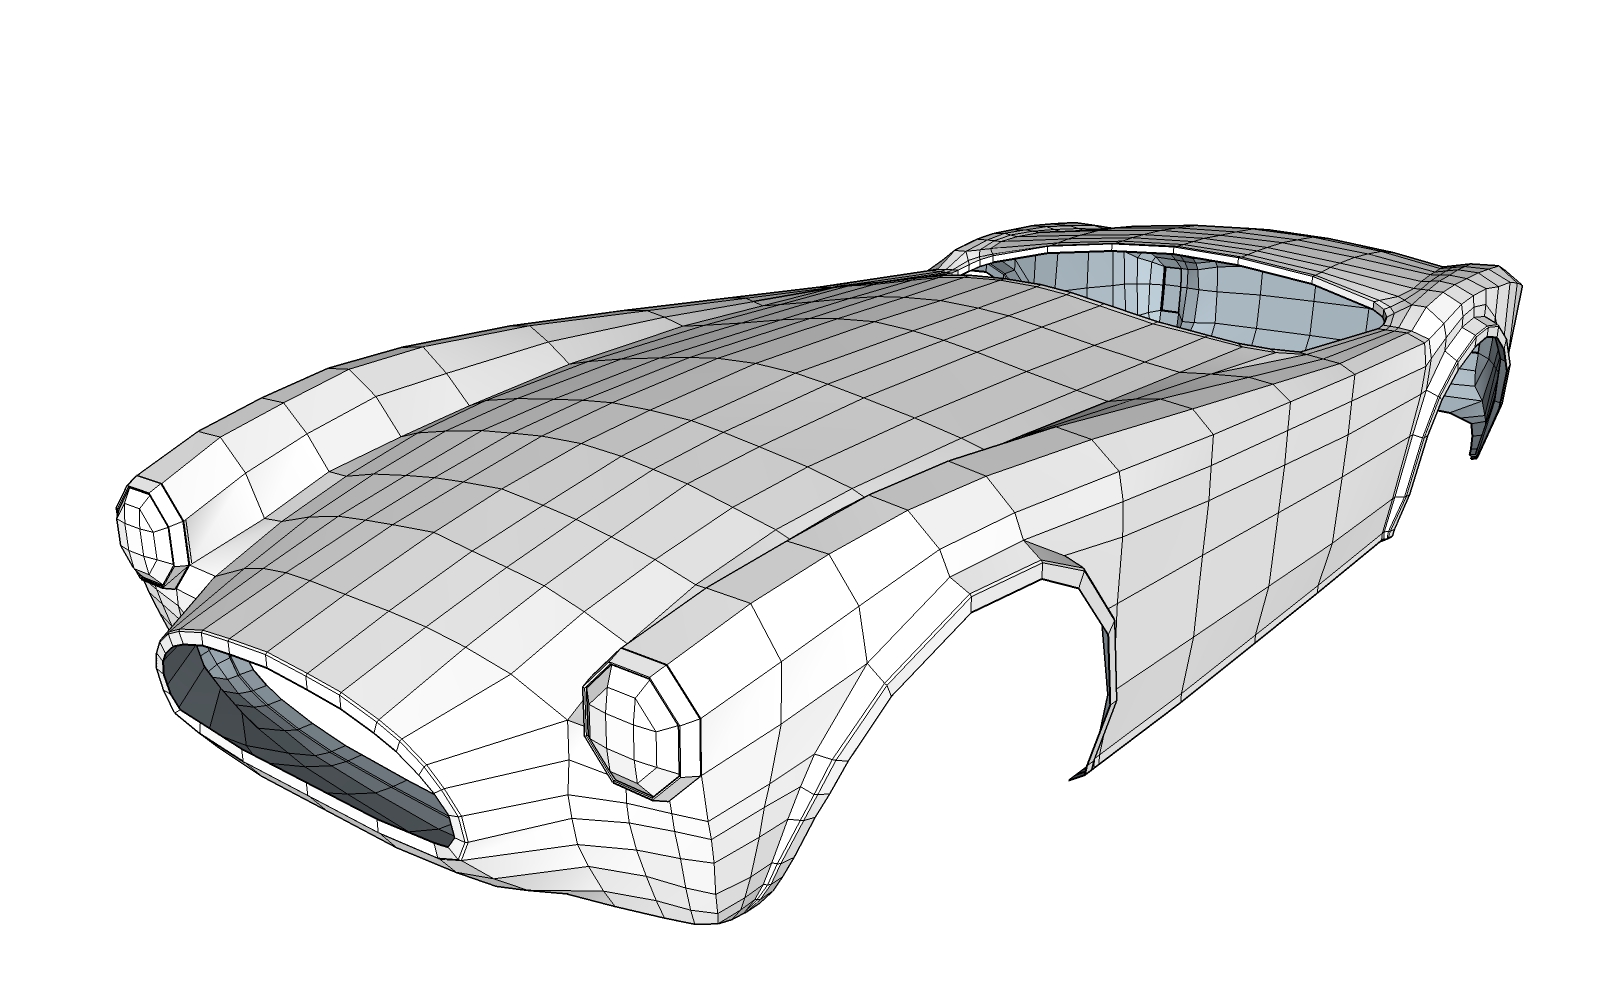
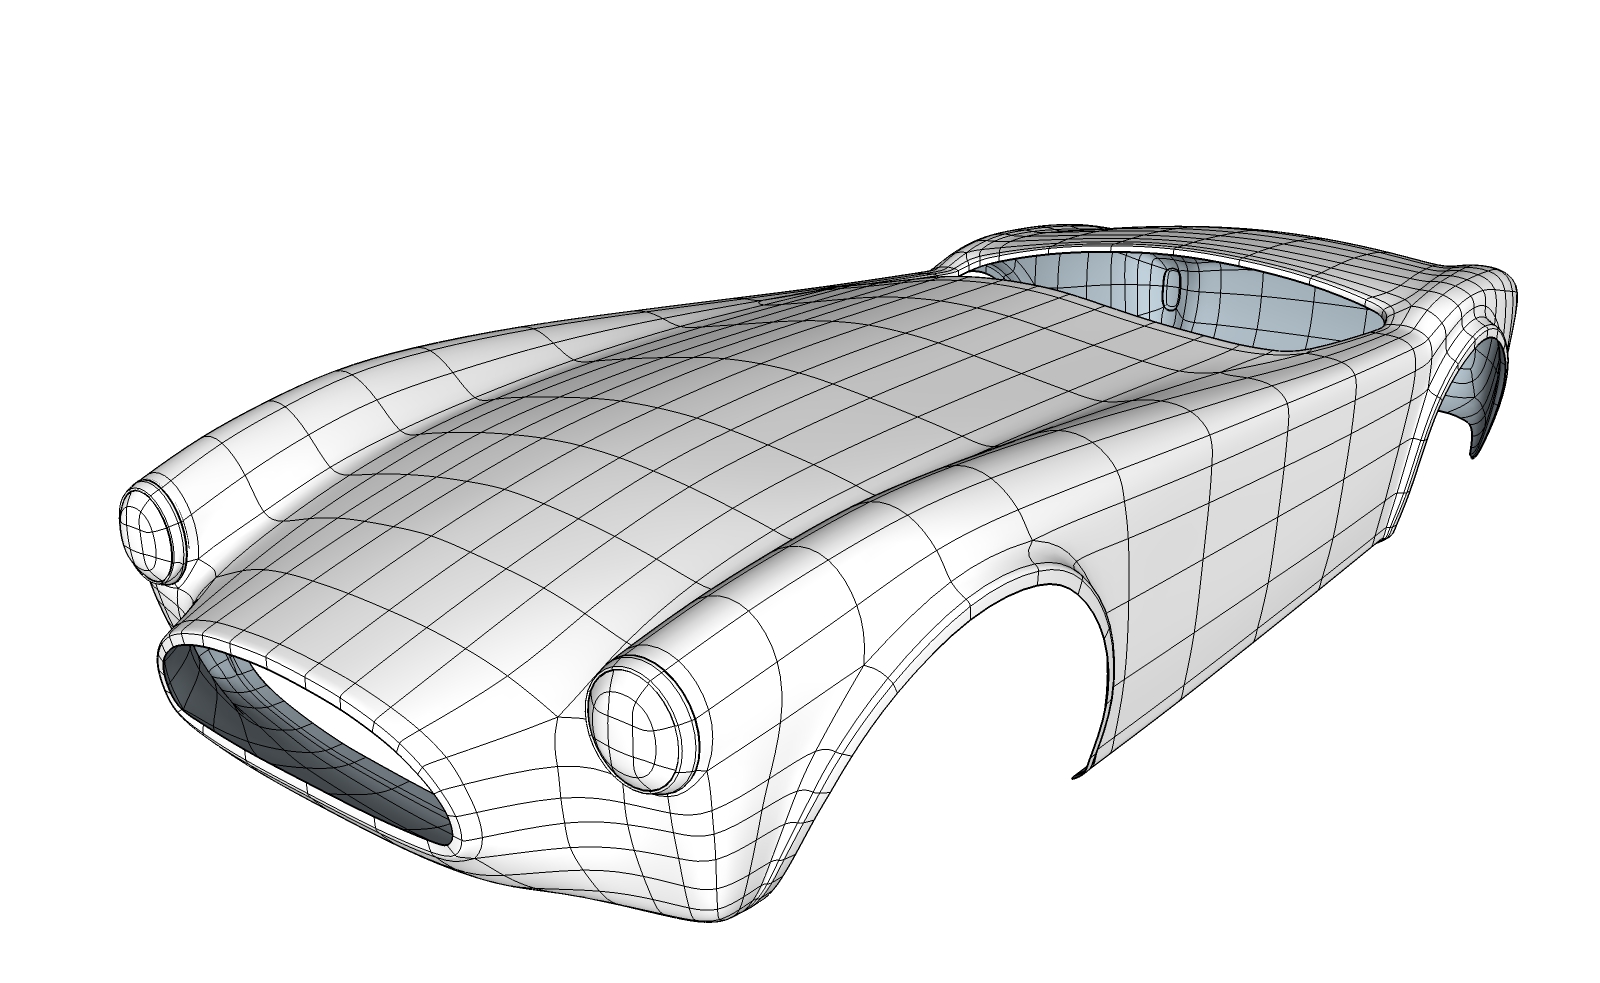
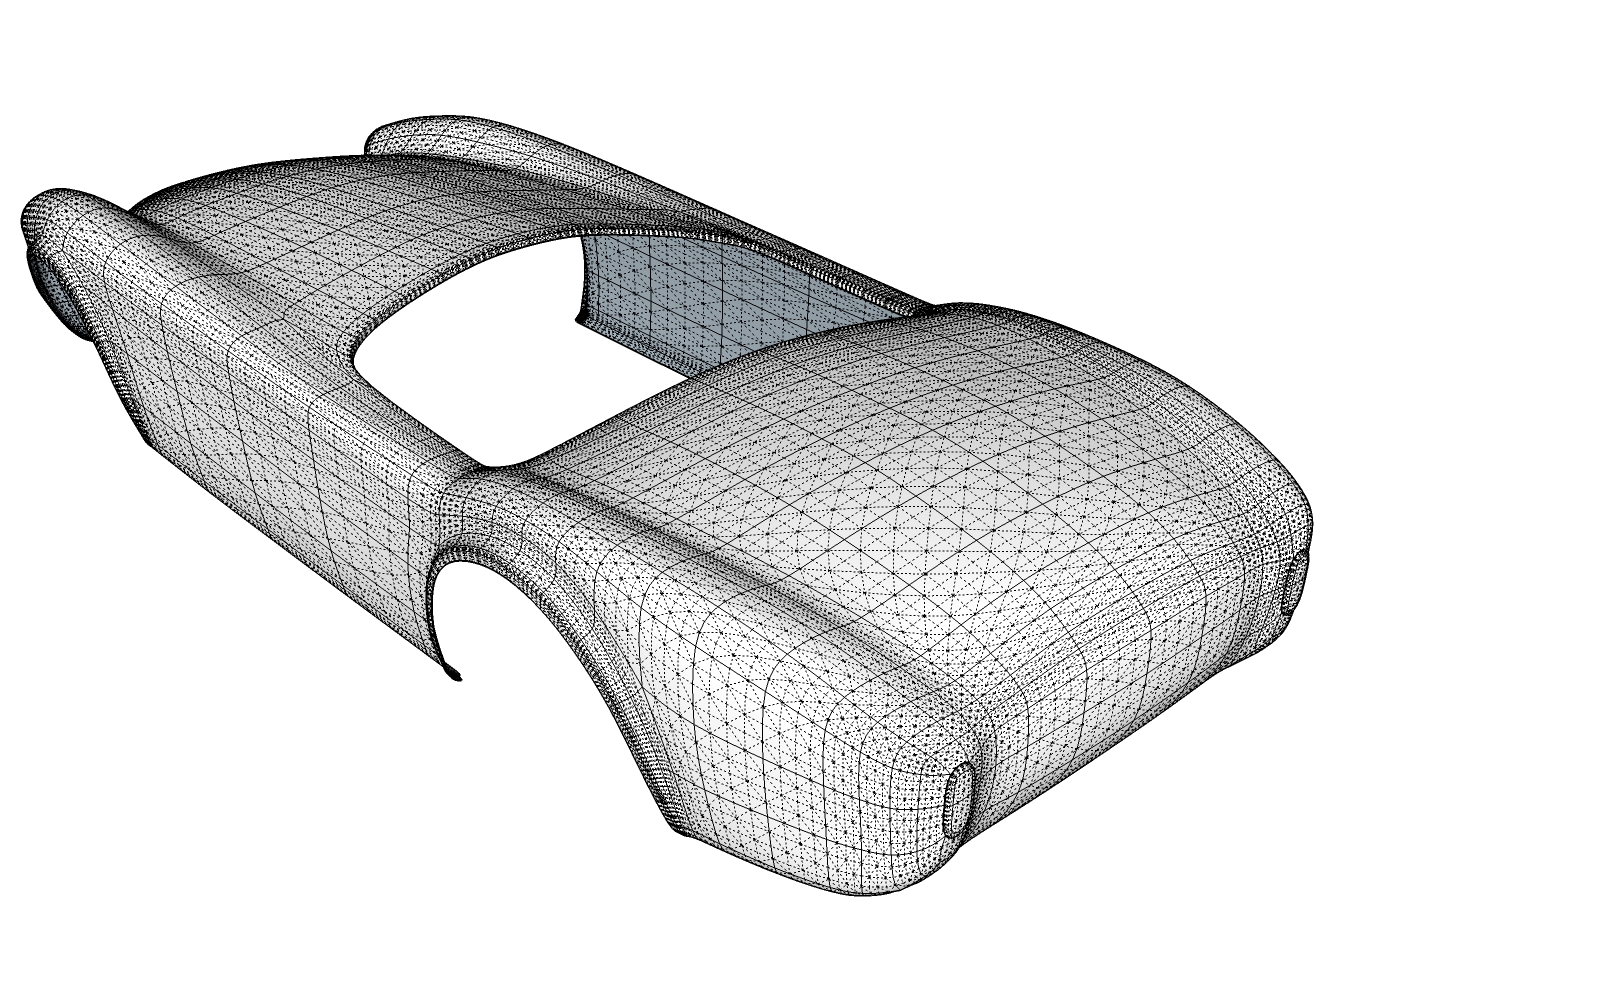
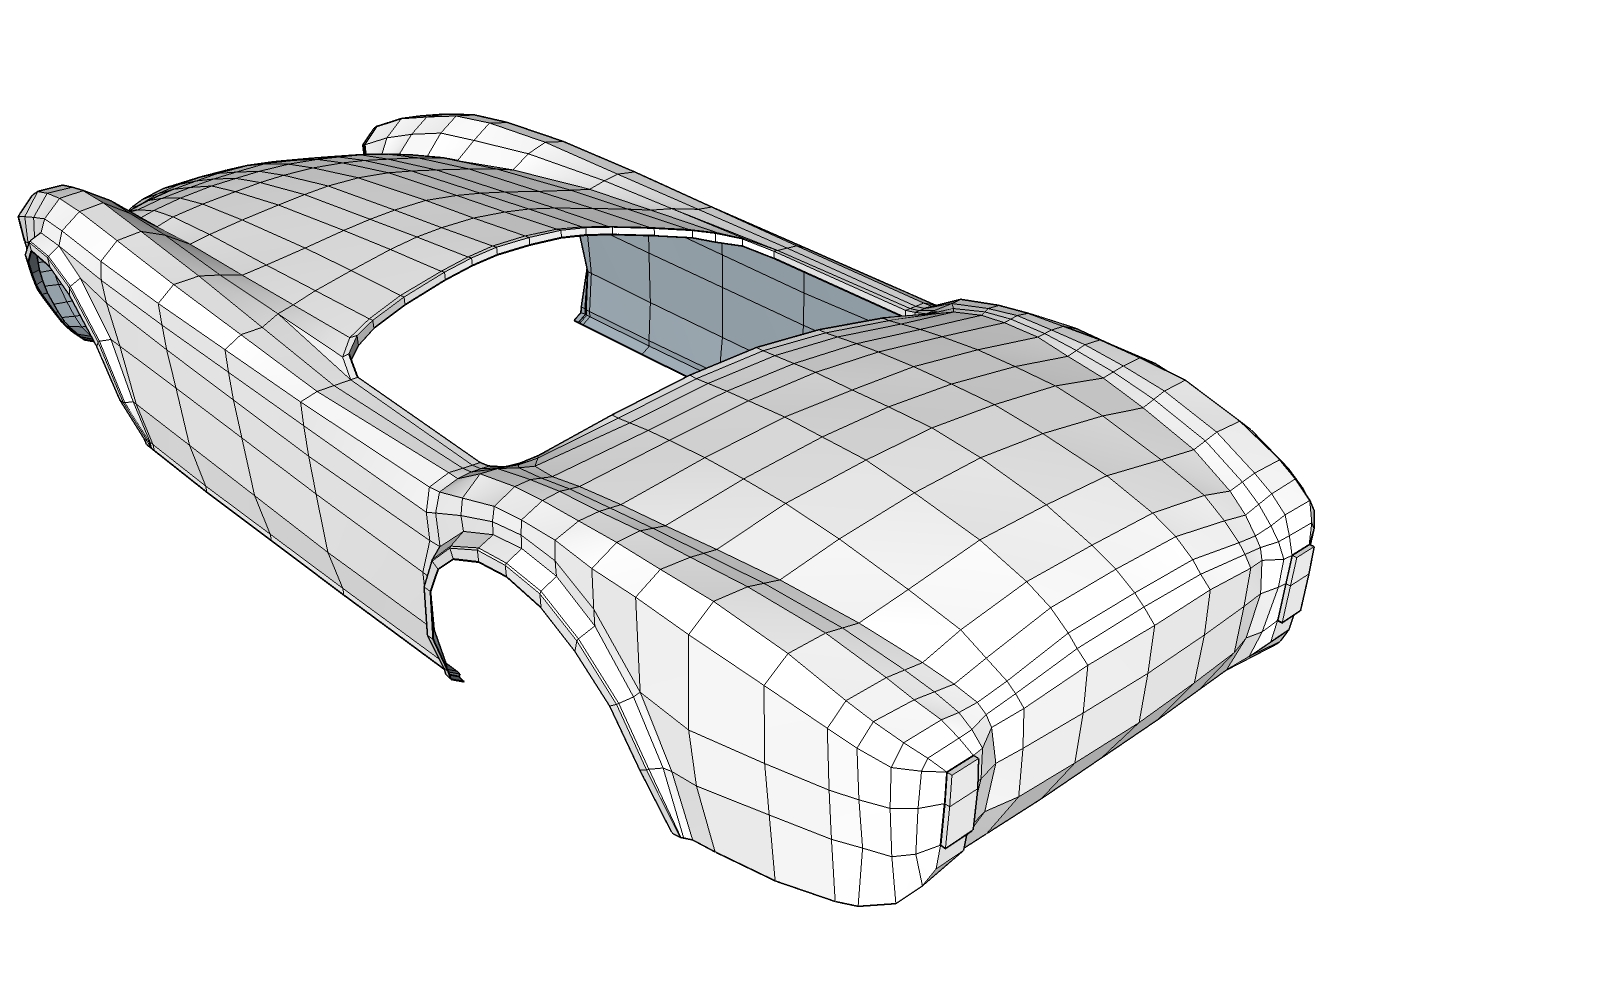
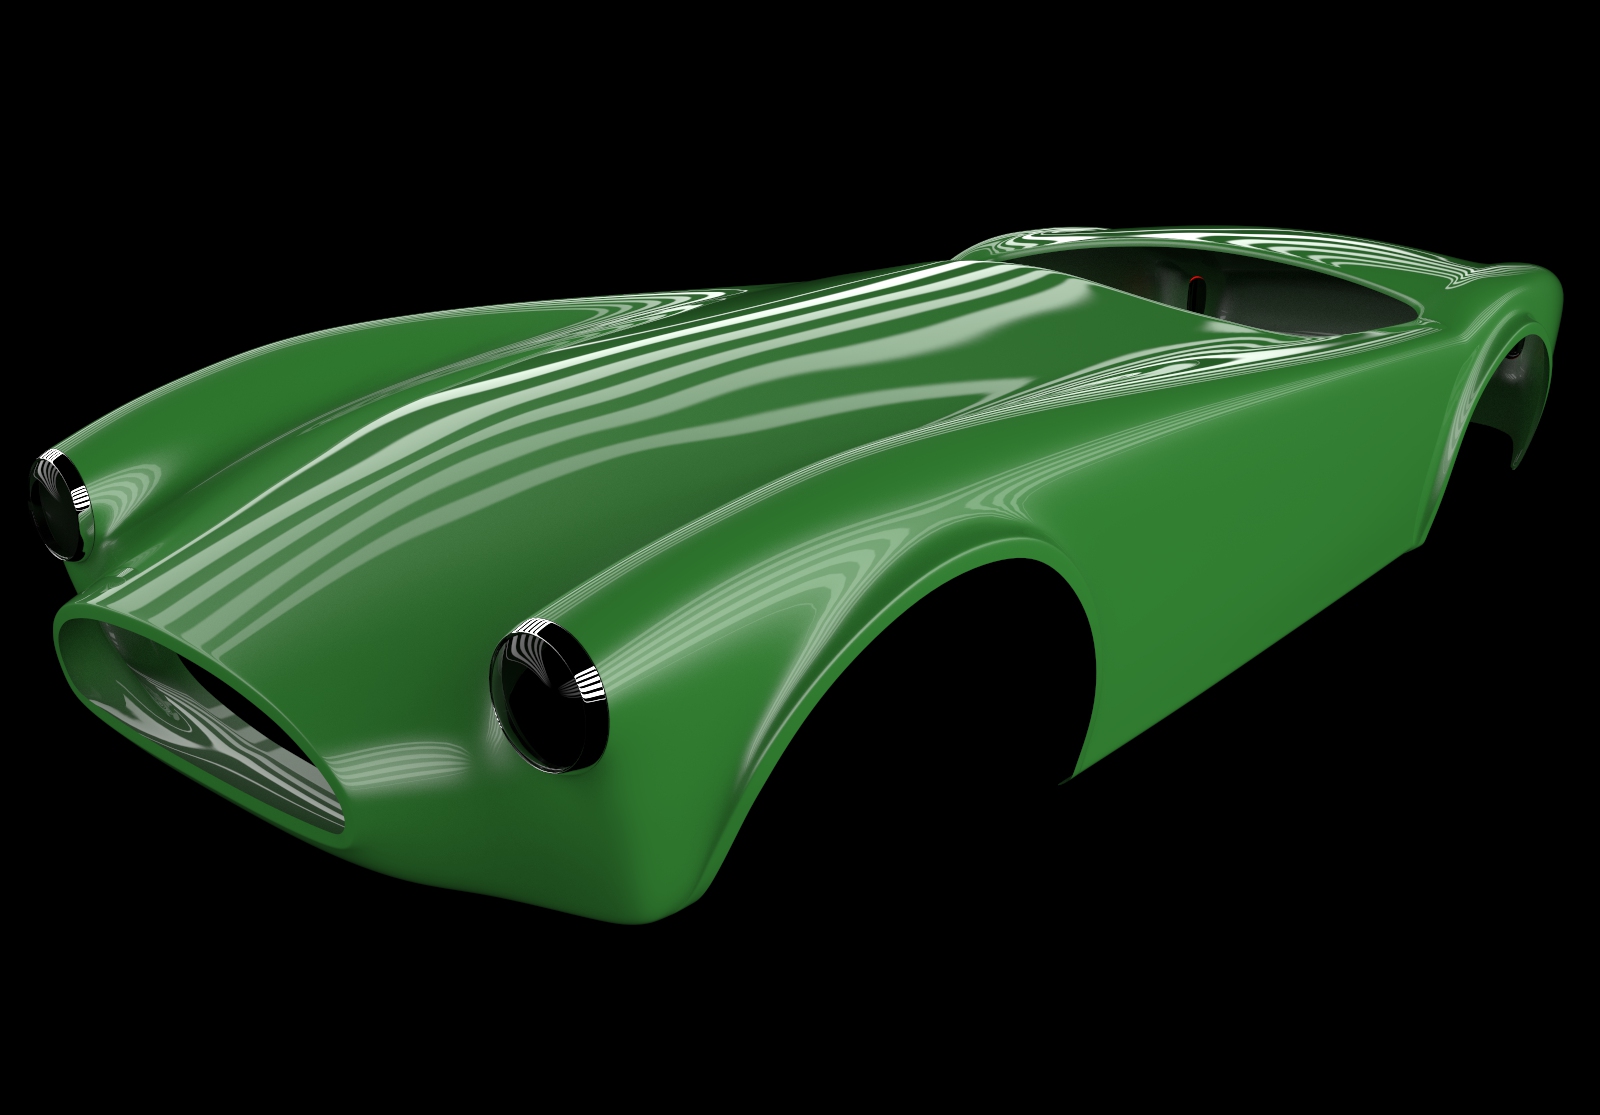
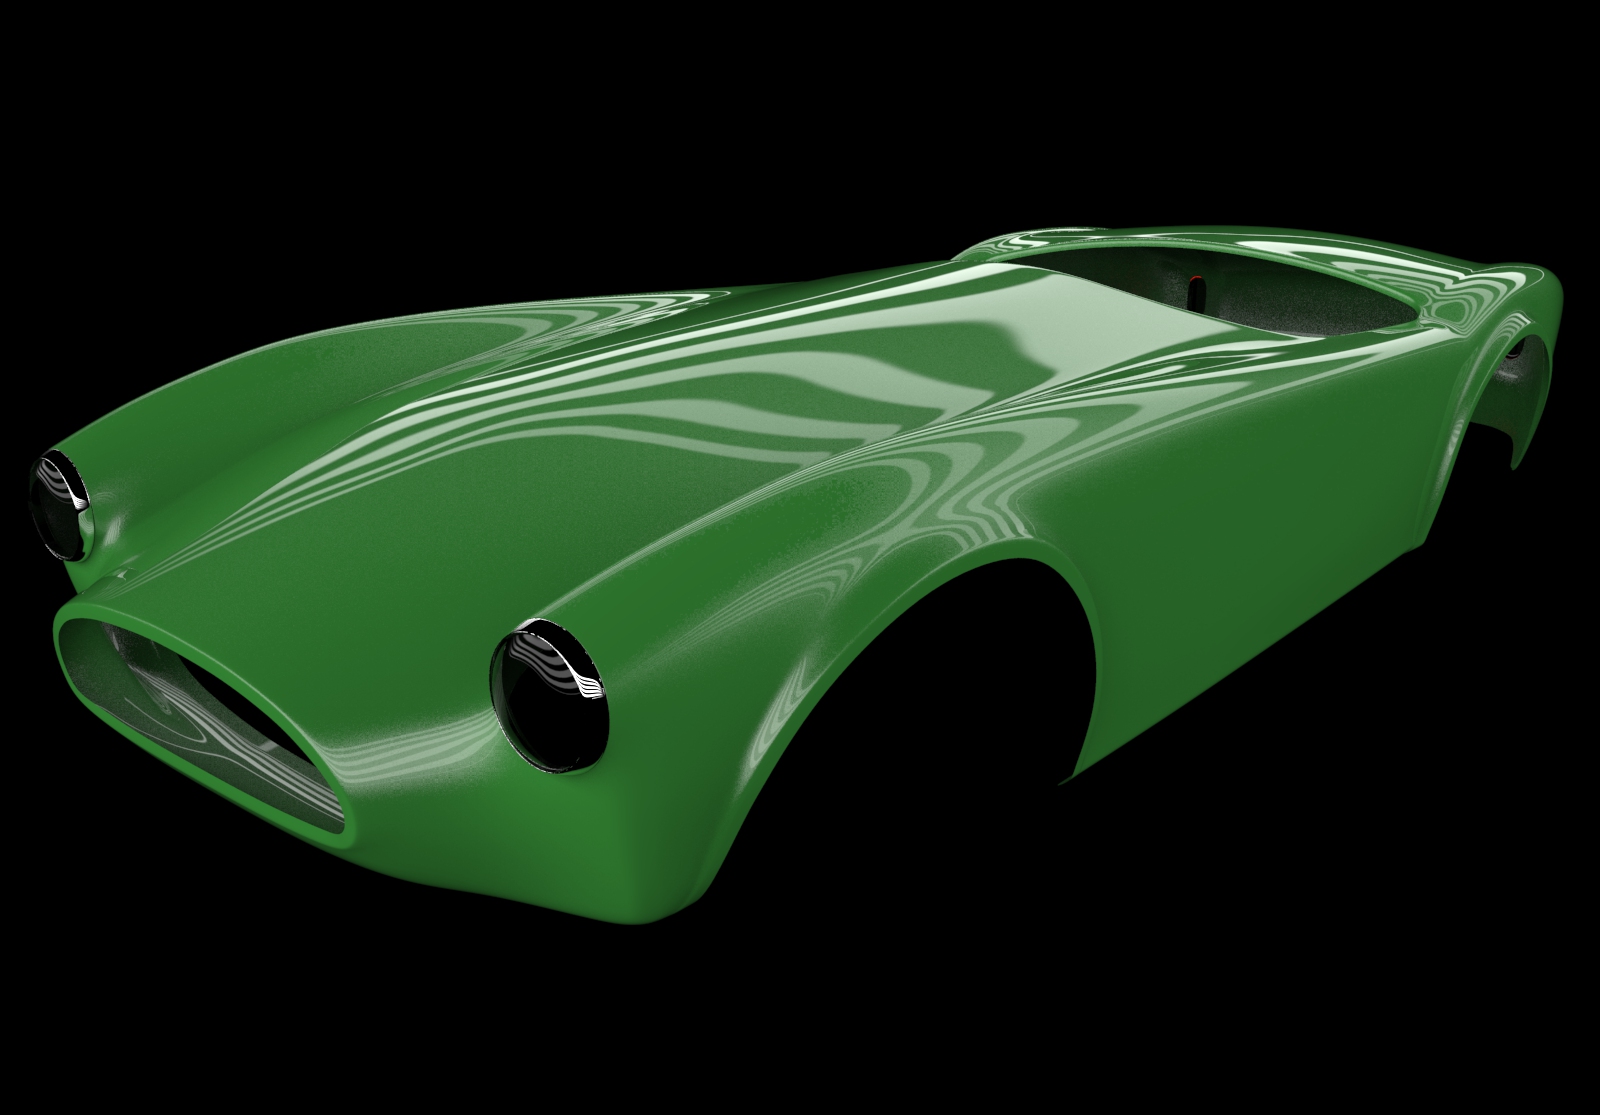
                      I have retouched the shape overall and made it compatible with SubD.
                      About an hour and a half worked on it(it still needs a couple of touches here and there).. boy I miss car modeling !!
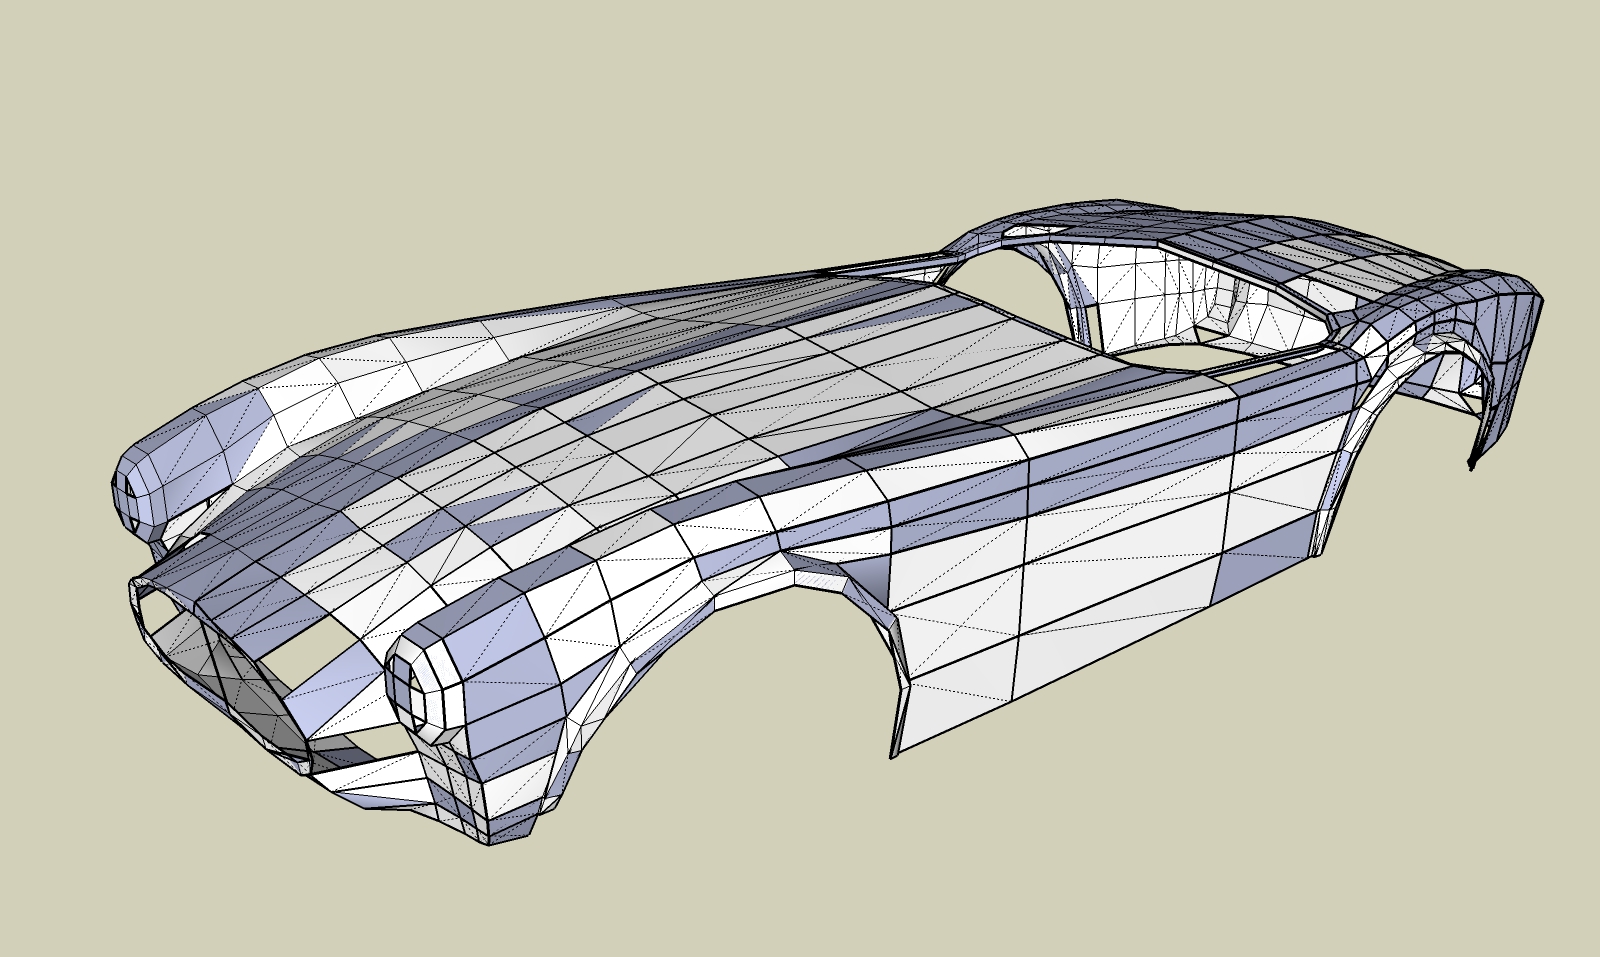
                      289 SU 6 body V3-1.jpg


                      289 SU 6 body V3 1.jpg


                      289 SU 6 body V3 2.jpg


                      289 SU 6 body V3 3.jpg


                      289 SU 6 body V3 4.jpg


                      289 SU 6 body V3 5.jpg


                      surface test.jpg


                      surface test 1.jpg

                      Elisei (sketchupper)


                      Before no life was done on Earth it was THE LIFE ITSELF...GOD
                      Come and See EliseiDesign

                      1 Reply Last reply Reply Quote 0
                      • garydornG Offline
                        garydorn
                        last edited by

                        wow

                        I've downloaded your file posted on the SubD chat.http://sketchucation.com/forums/download/file.php?id=137307

                        I am curious,
                        for the front wheel to fender transition you carried the wheel flare loop all the way across under the front to the other wheel.
                        is that a deliberate mesh strategy.
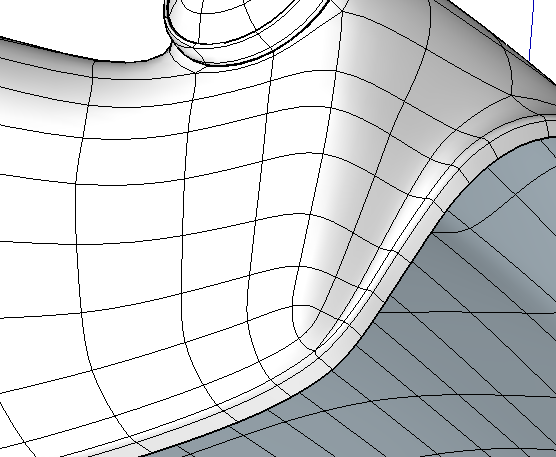
                        front wheel flare continuouse loop

                        The rear hip line has a nice flow.

                        hip lines

                        1 Reply Last reply Reply Quote 0
                        • ely862meE Offline
                          ely862me
                          last edited by

                          @garydorn said:

                          wow

                          I am curious,
                          for the front wheel to fender transition you carried the wheel flare loop all the way across under the front to the other wheel.
                          is that a deliberate mesh strategy.

                          Yes, it is a bit of a strategy as it is good to have continuous loops. You can end the detail somewhere near the other loop, but it will break the surface a bit and I don't like triangles.
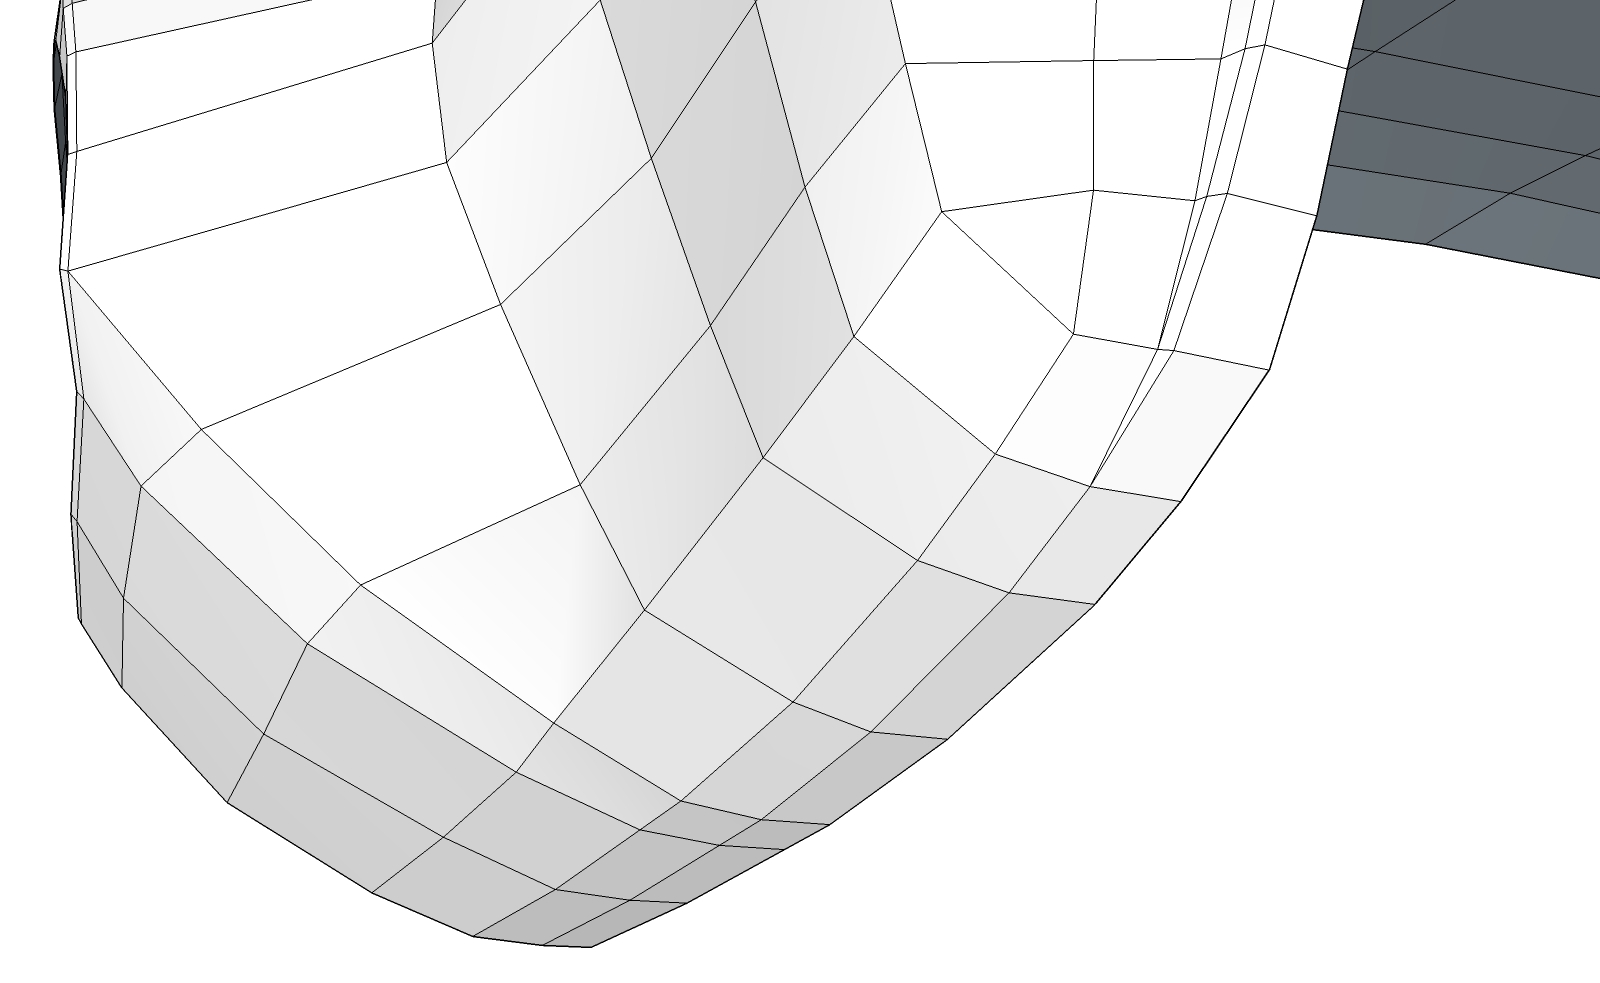
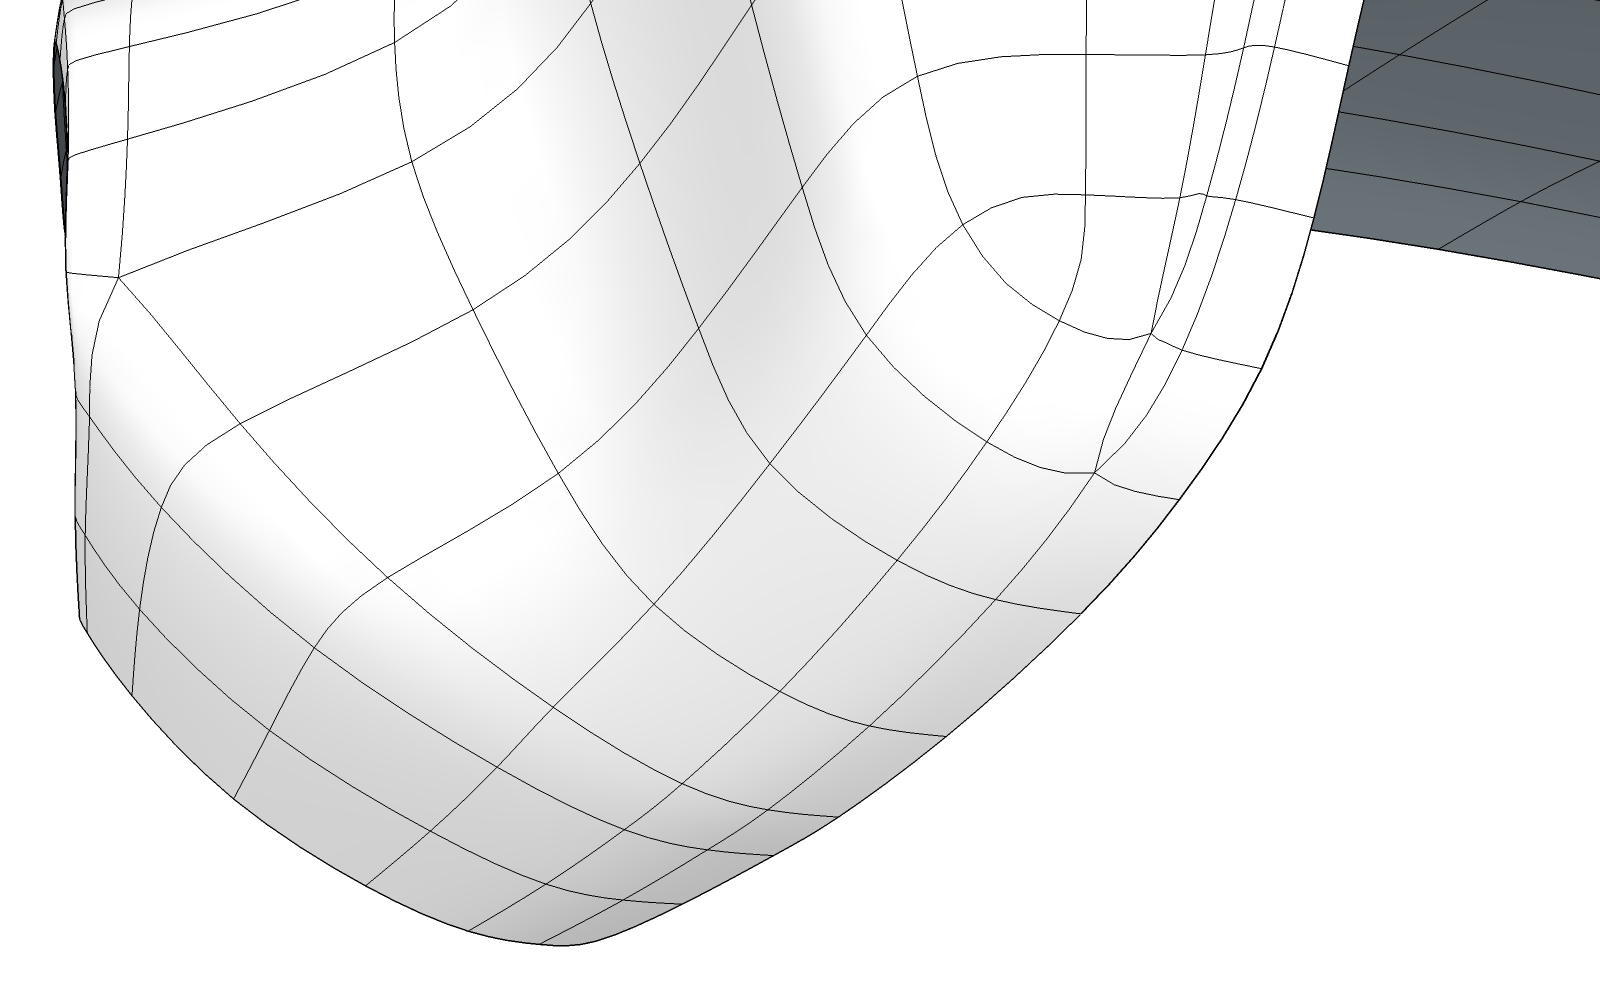
                          289 SU 6 body V3 for subd 1.jpg


                          289 SU 6 body V3 for subd 2.jpg

                          Elisei (sketchupper)


                          Before no life was done on Earth it was THE LIFE ITSELF...GOD
                          Come and See EliseiDesign

                          1 Reply Last reply Reply Quote 0
                          • Mike AmosM Offline
                            Mike Amos
                            last edited by

                            Elisei, nicely done Sir, quite brilliant in fact.

                            1 Reply Last reply Reply Quote 0
                            • garydornG Offline
                              garydorn
                              last edited by

                              For reference , there a number of photos of wooden bucks there were supposedly originally used to hammer out aluminium skins for these bodies.

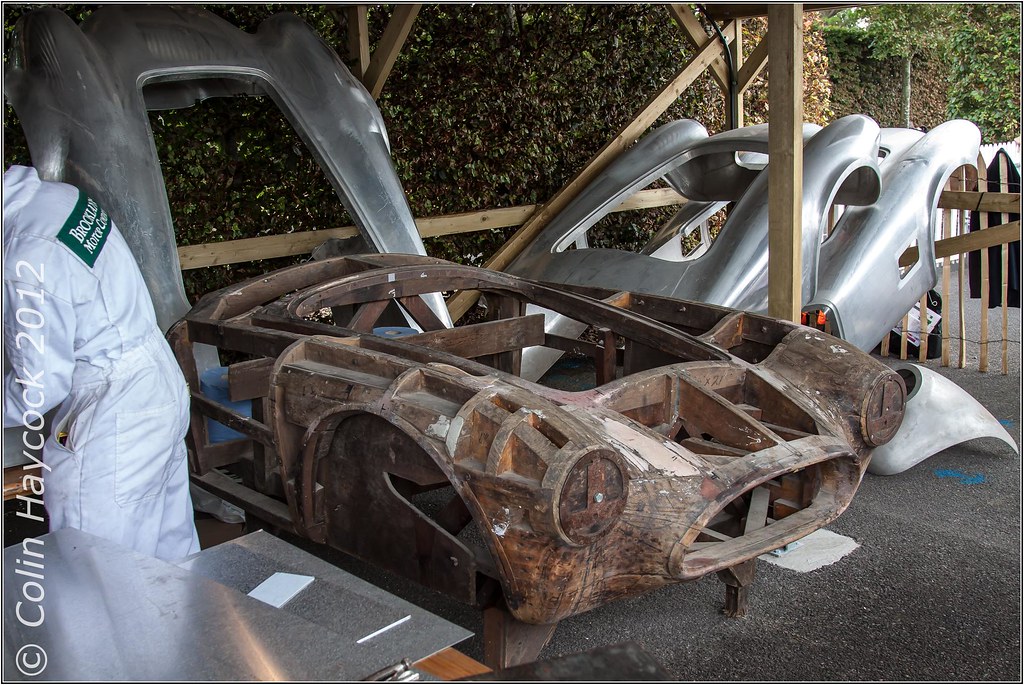
                              https://s-media-cache-ak0.pinimg.com/736x/ba/3a/38/ba3a387825743e2ced2f1388fb723330.jpg

                              https://c1.staticflickr.com/9/8032/8051605973_1bed2902ce_b.jpg

                              http://www.clubcobra.com/photopost/data/500/1412470_318783218259863_98733977_o.jpg

                              https://scontent-syd1-1.xx.fbcdn.net/hphotos-xtf1/v/t1.0-9/11046579_402587893199542_8233608334097962867_n.jpg?oh=f4138a388b2bc2d77557398118e9e783&oe=576DE8E3

                              https://scontent-syd1-1.xx.fbcdn.net/hphotos-xal1/v/t1.0-9/11110_393631437428521_6918278704604256187_n.jpg?oh=d2ad79659ac9547b0d55b32dcd65b4e4&oe=5754D12D

                              https://scontent-syd1-1.xx.fbcdn.net/hphotos-prn2/v/t1.0-9/1239866_262077007250632_2124446986_n.jpg?oh=07280724279d0e108897f8d8f9108f30&oe=5753B477

                              credit to original photographers.
                              https://www.facebook.com/TeamAC/photos_stream

                              1 Reply Last reply Reply Quote 0
                              • garydornG Offline
                                garydorn
                                last edited by

                                Looking closer at these wooden bucks , and you can see the 'Quads" all over the place!

                                1 Reply Last reply Reply Quote 0
                                • garydornG Offline
                                  garydorn
                                  last edited by

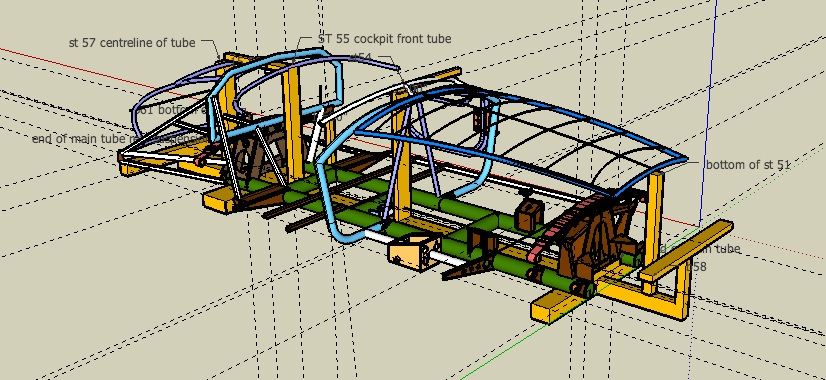
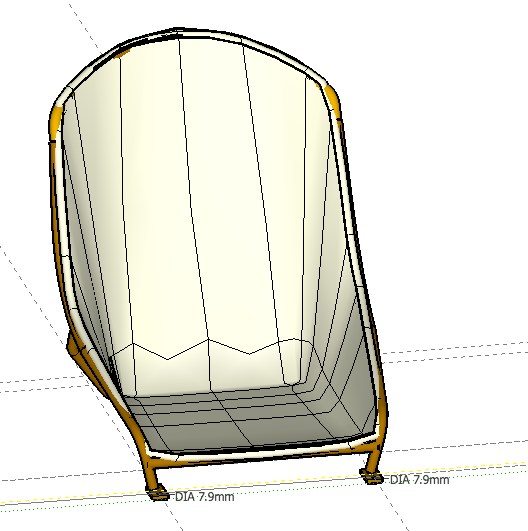
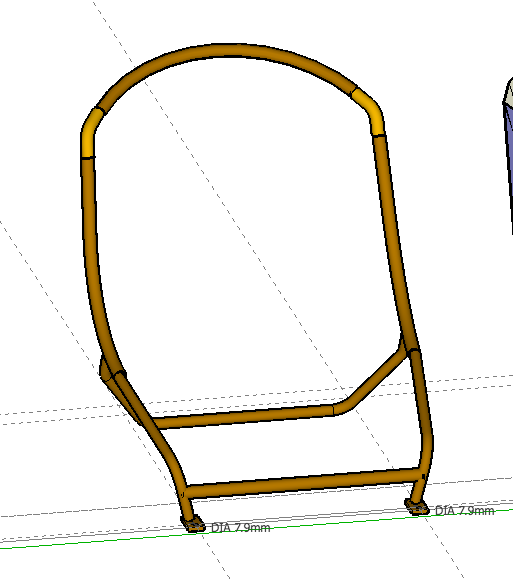
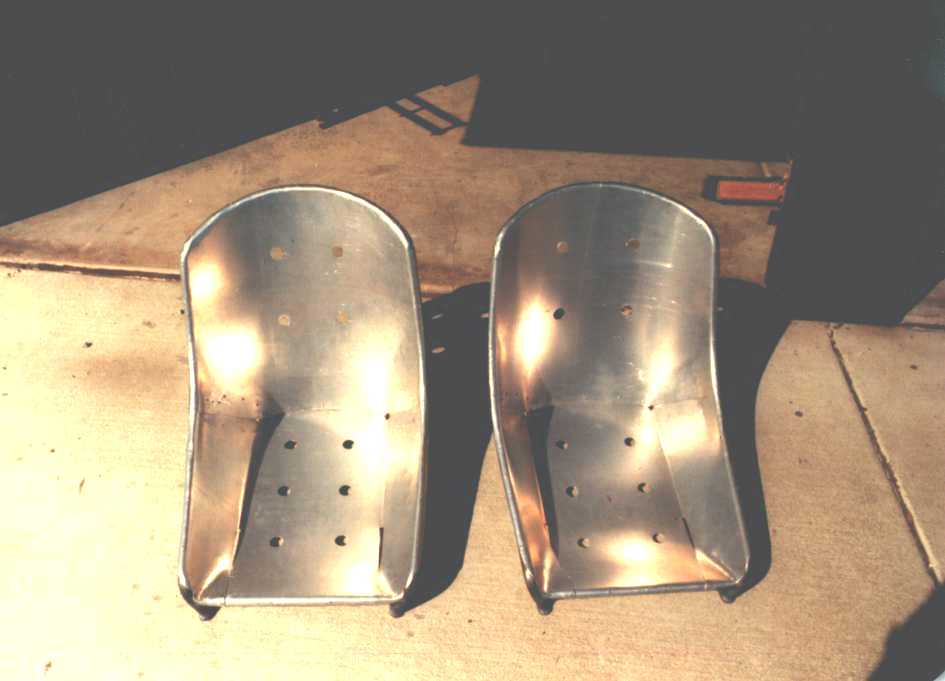
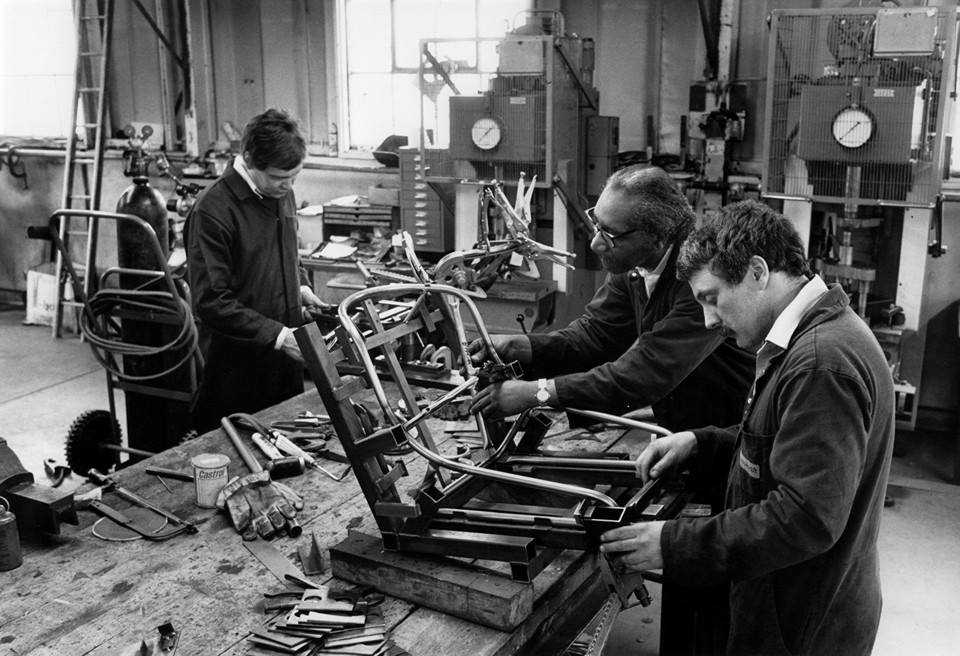
                                  I have a set of technical drawing for the seat frame and some photos, so I had a go at modelling up frame and seat pan.
                                  seat frame with pan seat frame model
                                  seat with pan ac seat jig

                                  1 Reply Last reply Reply Quote 0
                                  • Z Offline
                                    ZahariStoyanov
                                    last edited by

                                    Looking forward to seeing where this will go! 😄

                                    1 Reply Last reply Reply Quote 0
                                    • D Offline
                                      db11
                                      last edited by

                                      @garydorn said:

                                      For reference , there a number of photos of wooden bucks there were supposedly originally used to hammer out aluminium skins for these bodies.

                                      Lots of cool historical car stuff on this thread, but as a woodworker I find these wooden bucks even more compelling as pieces of art than the (gorgeous) auto body that was hammered out on top of them!

                                      1 Reply Last reply Reply Quote 0
                                      • 1
                                      • 2
                                      • 1 / 2
                                      • First post
                                        Last post
                                      Buy SketchPlus
                                      Buy SUbD
                                      Buy WrapR
                                      Buy eBook
                                      Buy Modelur
                                      Buy Vertex Tools
                                      Buy SketchCuisine
                                      Buy FormFonts

                                      Advertisement