[Plugin] FredoTools::ThruPaint - v1.3a - 20 Oct 16
-
From the very first post of the thread:

-
Thank you so much!
-
@fredo6 said:
Interesting. You seem to understand how UVs work with Sketchup.
Would you have a sample model, with your texture, so that I try and see what is going on.Thanks
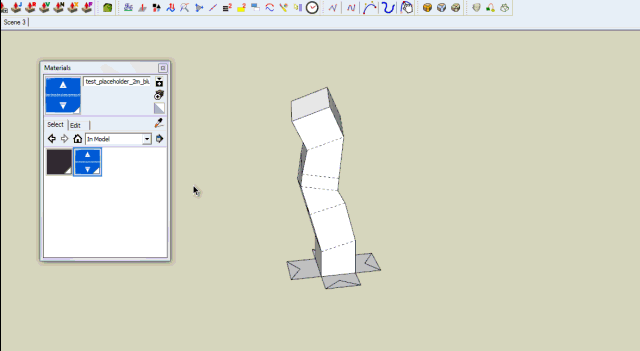
FredoSure, here is a model with that texture, two sample meshes and two examples of stock texture mapping. Switch between the scenes to navigate it.
-
@bac9-flcl said:
Sure, here is a model with that texture, two sample meshes and two examples of stock texture mapping. Switch between the scenes to navigate it.
I am not sure of what you try to achieve.
You cannot paint the shape in one go, because ThruPaint will try to go around the shape while going up (The first goal was to paint smooth meshes).
So you need to paint each side separately, as illustrated in the video.
Please advise if I missed something
Fredo
-
@fredo6 said:
@bac9-flcl said:
Sure, here is a model with that texture, two sample meshes and two examples of stock texture mapping. Switch between the scenes to navigate it.
I am not sure of what you try to achieve.
You cannot paint the shape in one go, because ThruPaint will try to go around the shape while going up (The first goal was to paint smooth meshes).
So you need to paint each side separately, as illustrated in the video.
[attachment=1:1upsydfr]<!-- ia1 -->ThruPaint - Texture natural 2.gif<!-- ia1 -->[/attachment:1upsydfr]
Please advise if I missed something
FredoYeah, I'm interested precisely in painting each side separately, obviously. ThruPaint is not producing the mapping similar to depicted on your gif for me, though. Maybe I don't understand something about controls? I'm sequentially clicking on the faces. Should I hold some additional button for Natural UV to come into effect?
-
@bac9-flcl said:
I'm sequentially clicking on the faces.
You have to click and drag without releasing the mouse button.
-
@massimo said:
@bac9-flcl said:
I'm sequentially clicking on the faces.
You have to click and drag without releasing the mouse button.
Oh, so that's what I had to do. Thanks. It's just that dragging is not usually used with any stock tools (which were designed to work with clicks), so it wasn't something immediately evident.
Okay, follow-up questions then:
-
How should I handle situations where a required sequence of faces can't be observed from one camera angle? What's the intended way of sampling the mapping from a neighboring face to continue the texture mapping where you left off? I.e. what's the equivalent of Alt+LMB click of the stock Paint Bucket tool in your control scheme?
-
Why are clicks on faces sometime triggering a distinct "camera shutter" sound effect (instead of opening the texture mapping editing mode like the tooltip says) and what's it notifying about?
-
Why editing the tile offset on one face within the Natural UV produced sequence of faces triggers the change of tile offsets on every single neighbouring face? It's a very neat feature, but it would be good to know if there is a way to switch back to isolated editing of one face which is sometimes precisely what's needed. For example, after perfectly aligned sequential mapping is already completed, mapping of involved faces is usually only modified to break the repetitive tiling patterns, in which case only isolated faces have to be edited - hence the question on how to activate that mode.
-
Is there a way to affect the initial offset of the texture? I see that hovering the cursor over one edge or another before beginning your swipe rotates the texture to be aligned with it. Is there any way to control the alignment of translation node? Very often, for example, I need the wall texture to be aligned vertically to one of the floor vertices.
And some small feature requests.

-
Can you please add the display of UV tile coordinates to the editing mode? Per-vertex UV coordinates are more or less pointless to show, of course, but sometimes it's extremely important to know whether the texture tile you're applying to the surface comes from between 0U,0V and 1U,1V or some far-off tile between 25U,42V and 26U,43V. One example of that are various texture baking workflows where you won't be able to bake ambient occlusion or normals of your model if your texture coordinates aren't contained within one origin tile. So usually you have to open the editing mode and correct the offset, and for that situation, it would be nice to have some guiding numbers showing where you are instead of having to edit the offset blindly.
-
In relation to that - it's probably a quite simple thing to implement, but it will go a long way to reducing rendering artifacts of texture mapping on large models in low-precision formats. Can you make it so that the texture tile placed onto a face will always be taken from somewhere close to the center of the UV space? It can be achieved by using the closest vertex instead of the origin point of the scene to calculate the offset. Thing is, many mesh formats and GPUs are using floating point formats of low precision to store texture coords, which gives lots of trouble to tiles with coords in hundreds and thousands. For example, iOS devices won't be able to render texture mapping on those faces in a proper manner, showing you torn, noisy fragments of the texture jumping back and forth on the face if it's coords are in the thosands.
-
And again, in relation to that: is it possible to override the default UV tile size SketchUp developers have hardcoded into all materials? It's around 10x10cm and as you can guess, it results in absolutely insane UV coords on any relatively large architectural objects that don't have textured materials to override the value. Which causes both problems with precision I have mentioned above, and some other issues (for example, previewing how textures will look on your mesh is pretty hard with default UV tile size because your fancy texture of e.g. a brick wall will obviously be sized 10x10cm and repeated thousands of times over the surfaces, completely out of scale). A more reasonable value, like 1x1m or 2x2m would do wonders to make default texture mapping more usable. Hopefully it's a value exposed to Ruby API that can just be accessed and changed.
Thanks in advance for any answers and thanks for the wonderful work this plugin is again!

-
-
Thanks you Fredo

-
Just been taking another look at this great looking tool, but I am having problems colouring edges. It goes though the motions but when I exit the tool(double click), the edges revert back to black. Works fine on everything else, faces, text etc. Am I missing something? Great piece of work though, thank you.


-
@nickchun said:
Just been taking another look at this great looking tool, but I am having problems colouring edges. It goes though the motions but when I exit the tool(double click), the edges revert back to black. Works fine on everything else, faces, text etc. Am I missing something? Great piece of work though, thank you.
It's probably related to your Style setting fro edges (default, by material, axis).
Thurpaint enable the 'Edge by Material' mode during the coloring but siwtch back to your current mode when exiting.
So you edge probably received the color by your are not in the proper style to see them.Fredo
-
Great. I will take a look at it. Thanks for the quick reply and great plugin.
-
hi fredo,
I am having similar problems to nickchun (immediately above). I have found out about switching to Edge by Material but I cannot grasp how to choose a color and apply to edges. thrupaint seems to be stuck with the face color.
what it is the workflow to chose a color and apply it to an edge? thanks.
-
@edson said:
hi fredo,
I am having similar problems to nickchun (immediately above). I have found out about switching to Edge by Material but I cannot grasp how to choose a color and apply to edges. thrupaint seems to be stuck with the face color.
what it is the workflow to chose a color and apply it to an edge? thanks.
You need to disable the Face button in the palette. Then you will only paint edges.
Fredo
-
@fredo6 said:
@edson said:
hi fredo,
I am having similar problems to nickchun (immediately above). I have found out about switching to Edge by Material but I cannot grasp how to choose a color and apply to edges. thrupaint seems to be stuck with the face color.
what it is the workflow to chose a color and apply it to an edge? thanks.
You need to disable the Face button in the palette. Then you will only paint edges.
Fredo
fredo,
this is not my point. I do have the Face button disabled.
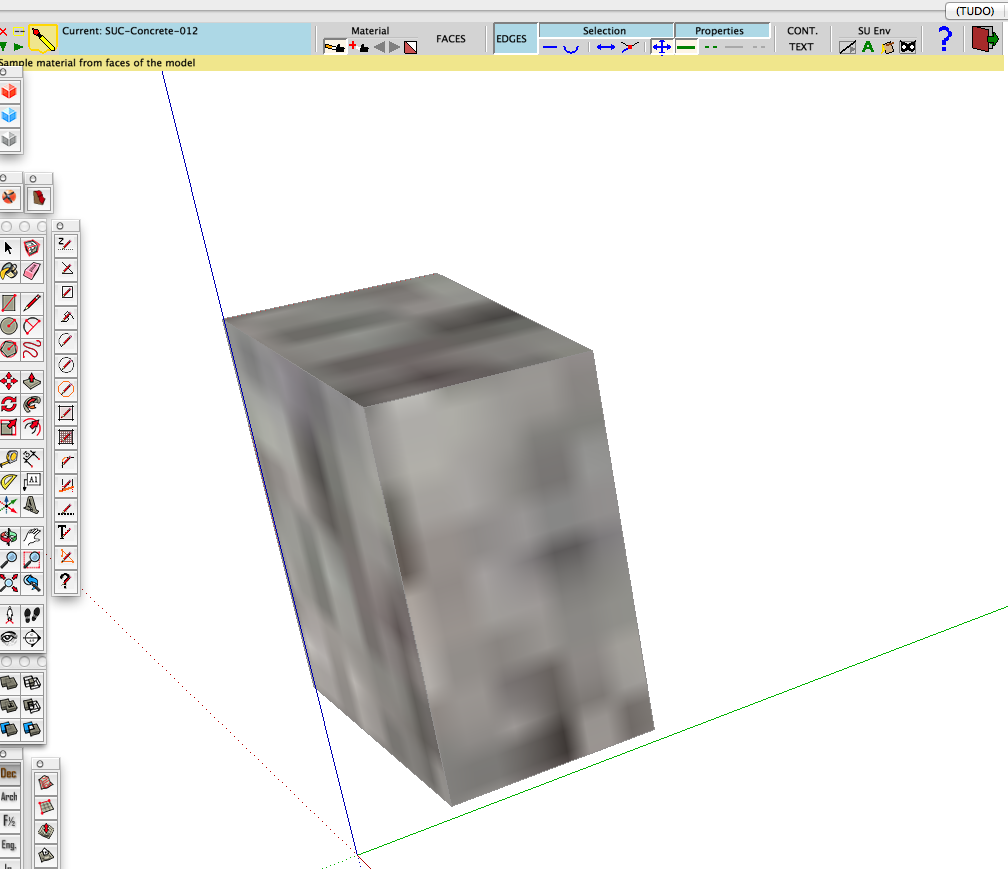
my problem is not being able to paint the edges with the color/texture I wish to. if you look at the screen capture below you will see that ThruPaint is stuck with the material I applied to the faces, and I can only paint the edges with that texture. how can choose and apply another color/texture to the edges? in the video I see you chosing a color and applying it to edges.
-
If we have messed up the UVs on a curved peice of geometry, how can we reset all of the geometry to be identical? When I hit reset it doesn't seem to make all UV's the same.
-
hao to download??
-
@scndchexin said:
hao to download??
From the SCF PluginStore ?
Get Fredo's Lib too... -
Hi Fredo6, I am doing some roads in Sketchup and I came upon your plugin "thruPaint" amongst others to get the job done. Btw, ThruPaint rocks, easy to use amazing results, as intended, in no time.
I also used "curvyloft" to get the ramp shape.
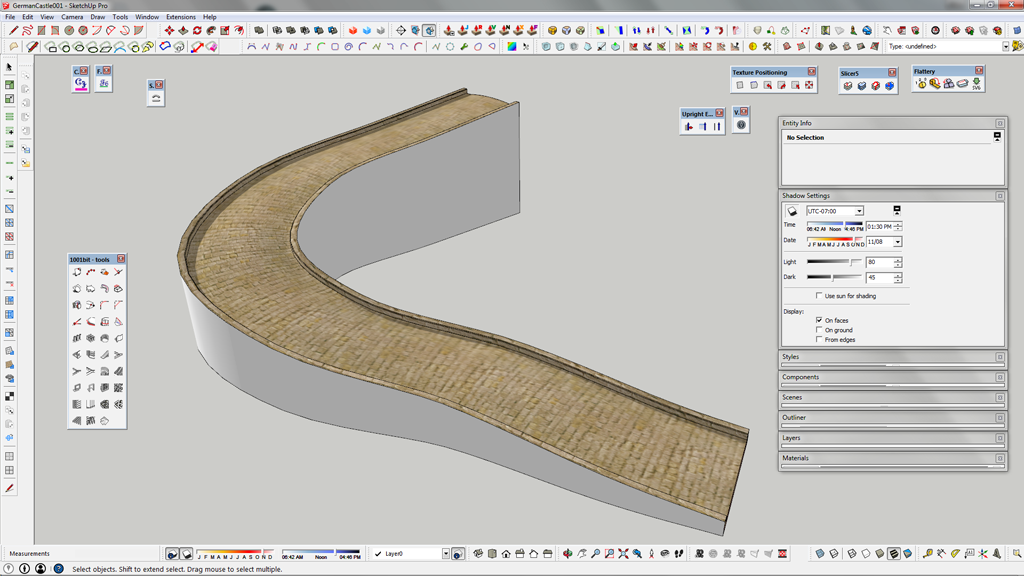
Only thing at the end of the day I ran into a weird issue exporting the finished textured roadway.
The road texture was broken up into many pieces as you can see in my export folder.
Is this a general sketchup quirk? I was assuming the plug in would only align the UW's accordingly and not chop up the texture image? ?
Am I missing something ? Anybody else ever had this issue?
Kind regards, Olav
-
@desertraven said:
Is this a general sketchup quirk? I was assuming the plug in would only align the UW's accordingly and not chop up the texture image? ?
Am I missing something ? Anybody else ever had this issue?
Kind regards, Olav
This depend on the exporter. SketchUp support UVQ - as oppose to just UV. The Q value is used for perspective mapping. Not all applications or file format support this.
To preserve the visual appearance some exporters will then generate new textures for faces with perspective mapping. -
@thomthom said:
@desertraven said:
Is this a general sketchup quirk? I was assuming the plug in would only align the UW's accordingly and not chop up the texture image? ?
Am I missing something ? Anybody else ever had this issue?
Kind regards, Olav
This depend on the exporter. SketchUp support UVQ - as oppose to just UV. The Q value is used for perspective mapping. Not all applications or file format support this.
To preserve the visual appearance some exporters will then generate new textures for faces with perspective mapping.So basically, there is no solution?
I'd like to have only one texture so that I can import this into Unity and apply other maps, derived from the bitmap used, like normal maps displacement maps etc...


Advertisement