Projecting Textures question
-
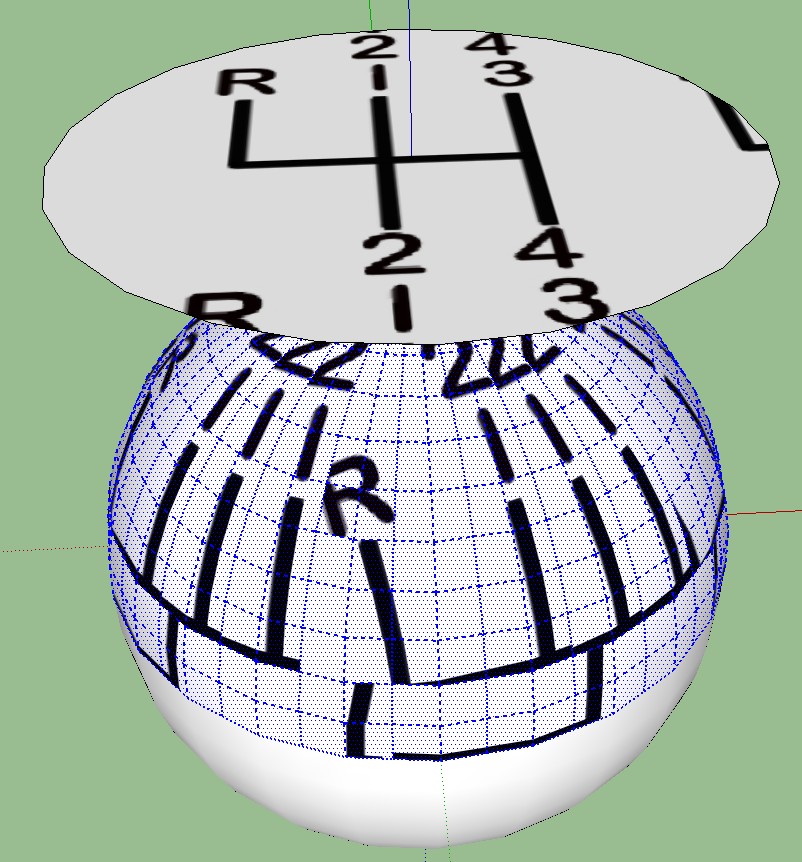
OK, I'm trying to project a texture onto a sphere. To save file size the sphere is made of a single component, extruded into a half sphere and then that half copied and pasted beneath it to make a complete sphere. Anyhow, when I attempt to project a texture onto it, it tries to copy it to each individual component, which of course gives some very strange
 (but sometimes interesting) results. So how do I project the texture onto the entire ball, instead of the individual components it's made of?
 -
@unknownuser said:
Never apply a projected texture on a component (group) as a whole but edit the component and apply the texture straight on the faces/surfaces
From the fingers of our esteemed colleague Mr.Gaieus

-
You're not thinking about the model correctly. It isn't really a sphere. It is a hemisphere and you have two of them and one of them has been roteted or flipped (depending upon what you did to invert it) to make something that looks like a sphere. When you open one for editing and apply the material, you apply it to the other instance as well but the material on the other instance will be positioned exactly the same relative to the geometry in the component.
Trying to keep file size down by splitting complex shapes is a good thing but there are times when it isn't helpful. Evidently this is one of those situations when it isn't helpful. Explode the two hemispheres and make a single component of the resulting sphere instead.
-
Sketchup 6 and 7 came with a basic library of primitive components, materials, textures, and colors that included both a "geodesic" sphere and a "UV" sphere that you could insert, scale/resize and place in your model. Might save a little effort.
-
@dave r said:
You're not thinking about the model correctly. It isn't really a sphere. It is a hemisphere and you have two of them and one of them has been roteted or flipped (depending upon what you did to invert it) to make something that looks like a sphere. When you open one for editing and apply the material, you apply it to the other instance as well but the material on the other instance will be positioned exactly the same relative to the geometry in the component.
Actually this is not a factor in this particular instance - I only need to apply the texture to the top half (a shift pattern)
@dave r said:
Trying to keep file size down by splitting complex shapes is a good thing but there are times when it isn't helpful. Evidently this is one of those situations when it isn't helpful. Explode the two hemispheres and make a single component of the resulting sphere instead.
I have tried exploding the top sphere half, but it still will only project onto individual "slices" at a time.
Once again it's a case of "yeah, this is a smart modeling practice, but you can't use it here". Or here, or here.....
I guess this is just one more instance in an ever increasing pile of instances where I spend more and more time trying to figure out what SU will and will not do rather than just being able to enjoy the act of modeling. The "will not" pile is growing disappointingly fast.
Yeah, I know - it's free
-
You know, it would be a big help if you posted images of what you are trying to accomplish and what you are getting.
A minute or two to do this. I used the first shift pattern I came across.
since the shift pattern wouldn't be repeated on the bottom of the knob, make that component unique and apply the other material.
-
@hellnbak said:
I have tried exploding the top sphere half, but it still will only project onto individual "slices" at a time...
Then you are either not projecting or your geometry is not smooth or anything.
Like Dave says;@dave r said:
You know, it would be a big help if you posted images of what you are trying to accomplish and what you are getting.
-
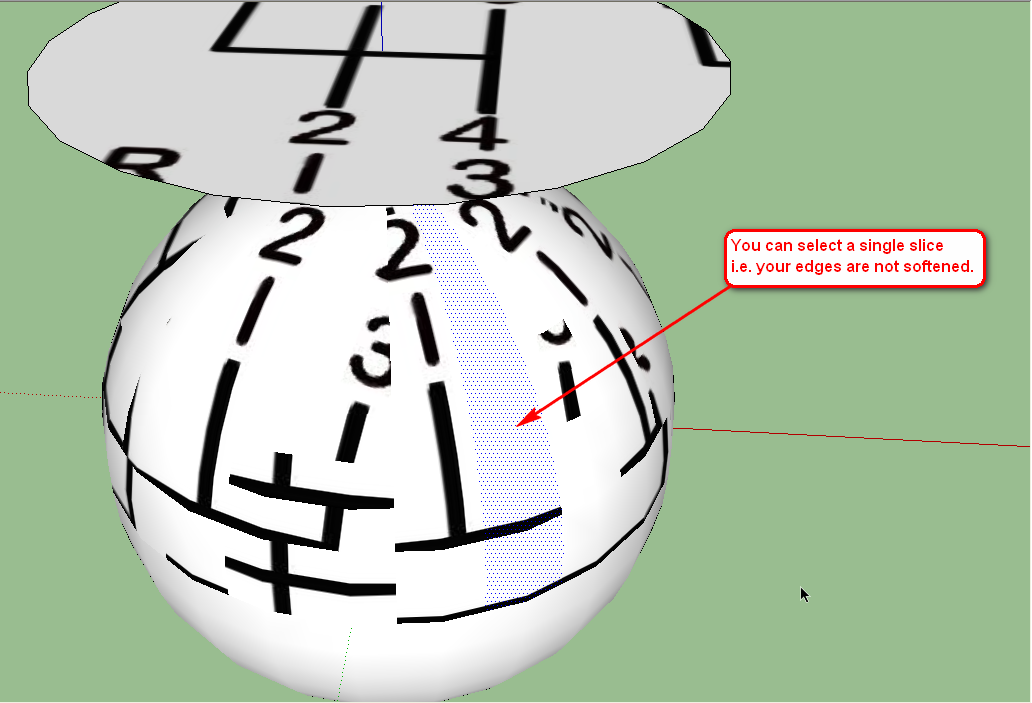
Not quite what I had in mind. But I'm just a noob, so I probably don't know what the hell I'm doing.

-
It did, for whatever reason, seem to stop projecting it onto individual slices
-
Post the file, please. It is so hard to say anything from an image like that. If you are projecting that image (how are you doing it by the way?) it should NOT look like that.
-
-
You have a mixture of 'Hidden Lines' and 'Softened Lines' as a result of your previous efficint modelling. Even you cannot see these lines SU does and is attempting to 'Project' between each segment.
Start again and drawe a Sphere and project on to that Sphere. Then compare new Sphere with old Sphere with 'Hidden Geometry' on.
-
Rich beat me but like I said above:
@gaieus said:
your geometry is not smooth

Triple click on your sphere and right click > Soften edges and in the popup dialog, pull the slider a bit. Just enough to "tough" it.
Then do the projection.
-
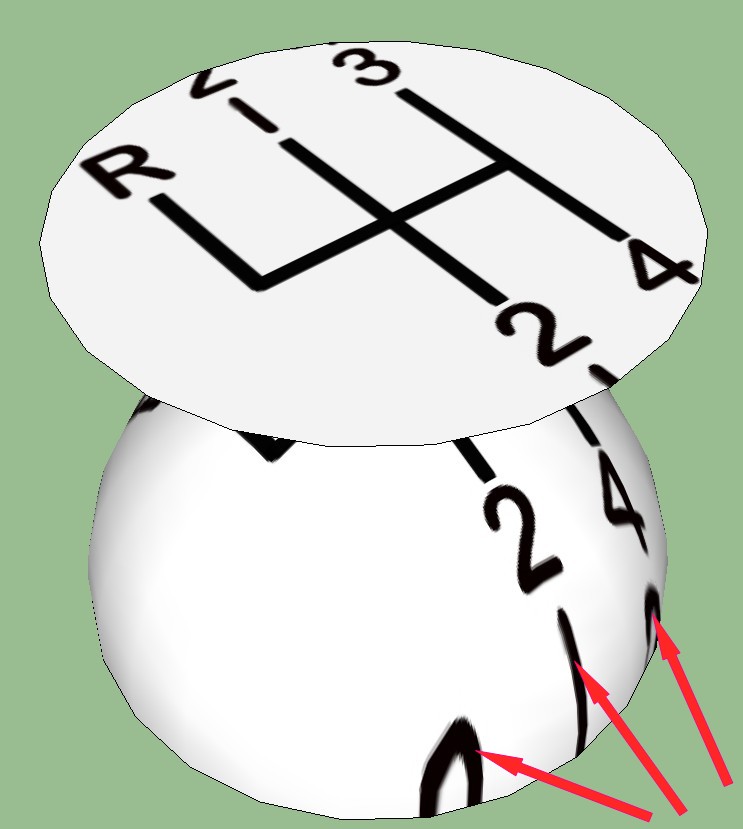
Ok, it seems to work now, although I'm not sure of the whys and wherefores of it, which bothers me. Now, how do I get rid of the "extras" as indicated in attached photo? Thanks for bearing with me.

-
To prevent the image from repeating, you need to make the area the material is to fill small enough so that it can't. If you look at my example, you can see where the gray changes. I intersected a horizontal face with the hemisphere to create that limit. After applying the image of the shift pattern to the upper region and a gray color that was close to the lower region, I hid the edges of the circle that resulted from the intersection. I also deleted the internal face that was created during the intersection since it isn't needed.
FWIW, I could have made the image slightly smaller and made it fit better but it was just an example, anyway.
-
Or to build on Dave's excellent advice....
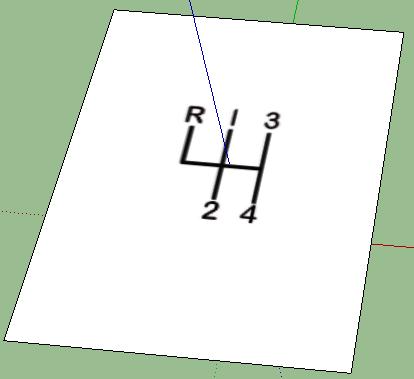
Your texture is tiling due to the fact the Ball's surface area is larger than your textures surface area. Edit your texture to something like this...

This can be done in GIMP or PhotoShop or Paint.NET or whatever you use to manipulate images. Basically the canvas of your image needs more space between the gear stick textures otherwise those repeating patterns will show on the ball.
As i said to you before. Keep asking questions and you'll learn some great tricks here. Like Daves approach or my longer approach

Sorry Dave i started typing and couldn't resist posting.
-
Actually I just showed the hidden geometry and painted the faces to get rid of the stuff I didn't want. Had to draw a couple lines where the good and the bad stuff shared a face, but it worked fine. My head hurts too much to try what you suggested

Thanks again for sticking with me on this. Much appreciated.
-
I know this probably wouldn't work in most situations, but it did in this simple one. Your method of enlarging the area around the image will probably be what I use in the future.
Hello! It looks like you're interested in this conversation, but you don't have an account yet.
Getting fed up of having to scroll through the same posts each visit? When you register for an account, you'll always come back to exactly where you were before, and choose to be notified of new replies (either via email, or push notification). You'll also be able to save bookmarks and upvote posts to show your appreciation to other community members.
With your input, this post could be even better 💗
Register LoginAdvertisement


