The "Duh!" thread (aka the Doh! thread)
-
Hi,
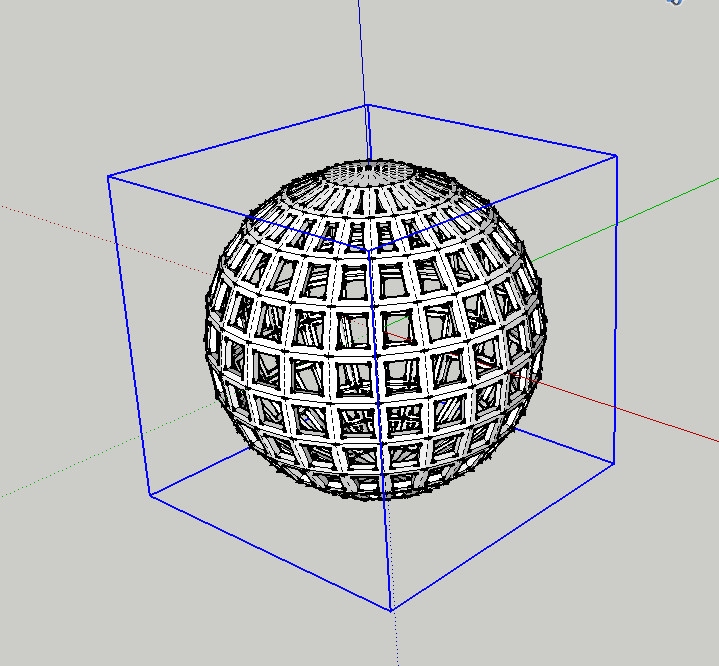
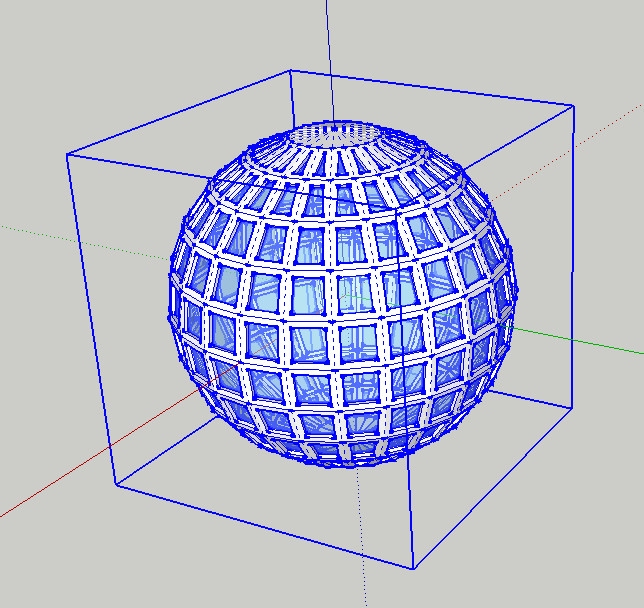
I became aware of it now. When a group or one component is selected in Sketchup 8, the entire contents are also displayed in blue color.
Charly


-
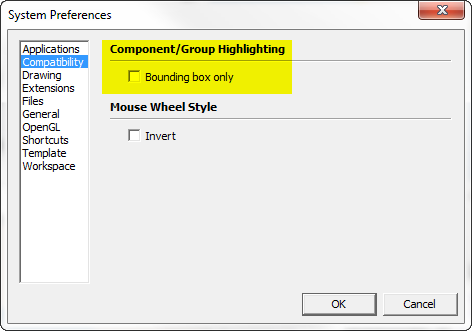
Not if you check this preference:

-
@thomthom said:
Not if you check this preference:
[attachment=0:1roooad7]<!-- ia0 -->Hihglight.png<!-- ia0 -->[/attachment:1roooad7]A new Duh moment, thanks Thomas.
Charly
-
Just figured out... For those of you using a Logitech multi-button mouse... map the back or zoom buttom to "middle-click", you can orbit with that button, click back+ left click to pan and lets you keep the middle wheel for zoom - fastest way to navigate ever because you can orbit/pan/zoom at the same time!
-
File............Print..........Tabbed Scene Print Range......SCENES FROM////////////DOH!
A doh! moment because:
1)I always thought/assumed single scene output(single image/not anim. export)achieved only via EXPORT 2D...... .png/jpg etc.2)I had no idea scene tabs alone could be "printed".......in order of course.........2x DOH!
Best,
Charlie -
@unknownuser said:
File............Print..........Tabbed Scene Print Range......SCENES FROM////////////DOH!
wait.. what?
didn't know you could do that... neat[no such thing on mac.. and if there is, i'm about to have a big doh moment]
-
@unknownuser said:
@unknownuser said:
File............Print..........Tabbed Scene Print Range......SCENES FROM////////////DOH!
wait.. what?
didn't know you could do that... neat[no such thing on mac.. and if there is, i'm about to have a big doh moment]
Jeff.
Yup (MS 7).....and of course I hope,......you have same option in Mac world. (see attached)
-
So you can make easily a real "flip book"

-
I always used to export animation as jpegs with no transition or scene time.
-
I've had several cases where I had to modify a component which I could not see clearly because of the external surrounding structure. Layering and hiding was not a good solution, as I needed some externals as reference to the edits, and then all that relayering and hiding had to be reversed out.
Select the component and any reference externals and simply Move/Copy them well into free space.
Do the edits, using temporary layers and hides only on the copies as needed.
When done, delete the copies and any temp layers.
-
Well I can thank DaveR for the "Duh". In another thread he convinced me that using components was the only way to model. So I made a series of components that I wanted to keep in my template file. So modeling away, I had a nice bunch of components for future use.
So I cleaned up the screen because I wanted a clean screen when I open the template file. Than I purged the model components because I didn't want any components that I didn't need in the template and saved the file as template to use.
So, need I say more. The template had no components. "Duh".
Thanks Dave, you did me a favor, I just forgot how to use Sketchup.
-
My Duh! of the day was in this thread: http://forums.sketchucation.com/viewtopic.php?f=22&t=8046
- Use the eraser tool to select some edges
- Don't release the left mouse button
- Click the spacebar
- Release the left mouse button and the selection still remains without deletion
-
That does not really deserve a "Duh". Although it is obviously an extremely nifty trick, that is not the intended use of the autoselect function of the Eraser tool.
So I would have not been ashamed if I had not known about it yet (and I also learned it from the forums of course)
-
Not sure if this qualify's as a Duh!
& perhaps mentioned before..........though I do not recall seeing it.
I have frequently experienced a "slow save" on certain models and not so much on others.
While working my current model with lots & lots of bolts/nuts/washers..it occured to me that the delay in save may be tied to the "redefine thumbnail on save" option in...........Model info>>>>>File>>>>>Redefine Thumbnail on save.
Sure enough.......un-ticking the "redefine thumbnail on save" resulted in a 10x faster "save" than with this selected.
For me the thumbnail being current is no concern......I prefer the quick "save"
Best,
Charlie
PS............wonder if this contributes to the Bugsplat on save/close?? -
Thanks Gaieus, you've sent me here because I've up until now completely missed the "always face camera" component method you provided here:
http://forums.sketchucation.com/viewtopic.php?f=15&t=43251

-
That was actually a semi-duh moment to me as well. I had not known it was going to work but had to try, you have to admit.

-
This thread is one of my favorites, I use it as a guide for really neat tricks which most users will eventually need to find out, except it is a bit disorganized. I think some sort of index would be useful here. I may be setting up myself unwittingly for my d'oh moment like the use of advanced search inside a topic or something.
cheers -
Organization of the D'uh Thread would seem to me to be an Oxymoron. (for me its more Moron than Oxi . . ) but I digress. . .
the whole purpose of the thread is for people to post whatever epiphany they have or discovery they make when it occurs. Ya never know what you're gonna get. . . That is what makes the the SU Forum so much like a box of um . .. um . .. . what is the expression????


-
I totally agree with you on the spirit of this thread. It is just that finding one post in 20+ page (considering forum pages can be quite long) thread is not easy. I usually remember there was a trick as someone's doh! moment to do what I want, I just can not remember who or where the trick was.
-
I totally agree with the fact that Duh moments get lost between posts and is really hard to follow them now.
Advertisement


