[Plugin] UVTools v0.1
-
Maybe. Another way, I guess, might be drawing vertical lines between the corner (which would have to be, errrr, "arc-ular"
 )and the walls it connects. Then use cylindrical mapping on the "corner part". You'd have to sample the texture from the "corner" part prior to painting it to the rest of the walls, I think, as Whaat's plugin seems to mess alittle with the scale of the textures. Hope this makes sense.
 -
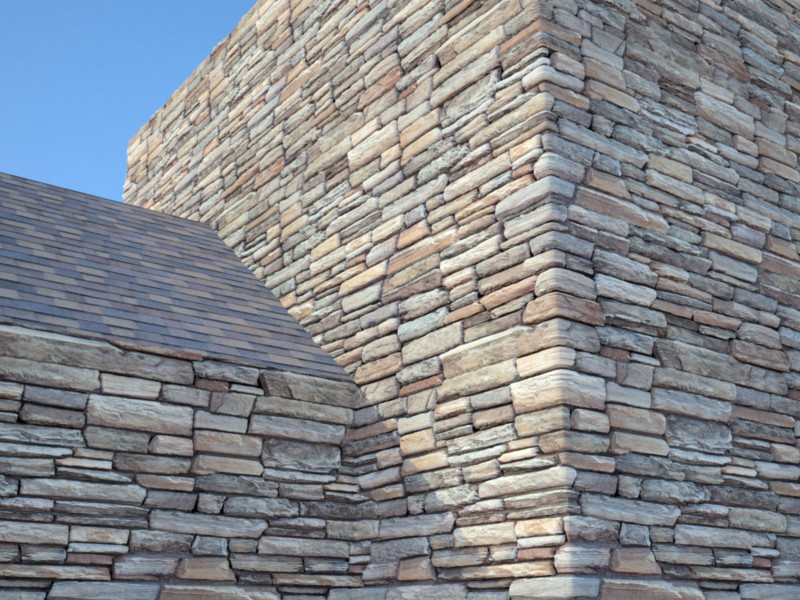
I do not have the right texture, however the one I used should do, I used standard SU mapping (not projected) and got the following result.


-
Looks good. Another problem solved.

-
Thanks my friends.
So the easiest texturing tool of all takes care of this. Sometimes Sketchup surprises me
-
Here's the test I promised.
I only used the built-in SU texture tools as I described in previous post.
Rendered in Indigo 1.1.5 using displacement mapping. Current beta version of SkIndigo may not produce this same result. (This is my unreleased working version)
One extra step that I had to do to keep the edge from 'ripping' apart with the displacement mapping was to 'soften' the edges first in SU.
EDIT: I also should point out that I did not bevel or round the edges at all to get this result.

-
Cool. The "soften" thing's a good tip! Thanks.
-

-
-
I used Vue 6 xsream for the above, I export as .avi and use corel animation suite to create the .gif and optimise.
-
What are you using to make the animated gif, Pete?
-
Cool texturing, Pete, though I think (if the image is tilable) you should scale it down by 2 or 4 or something. With so big craters it suggests that so big bombing of meteorites happened here that your moon would've exploded already

-
Yes, it looks more like Phobos
-
AS far as the stonework on the corner goes, my first thought was that as long as the walls are vertical, there ought to be no problem simply wrapping the texture around the corner using SU's "old" mapping tools. It's basically exactly the same as wrapping a label around a wine bottle...something that's been possible since (I think) V4.
Dale's little experiment seems to bear this out. -
It still remains difficult to get a texture wrapped around an object in a lot of cases.
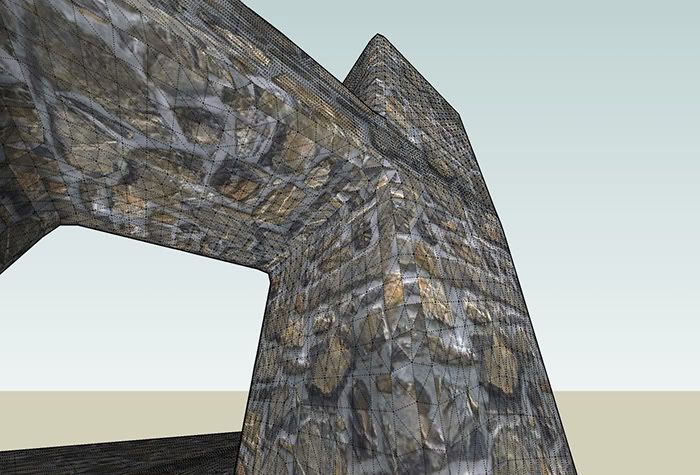
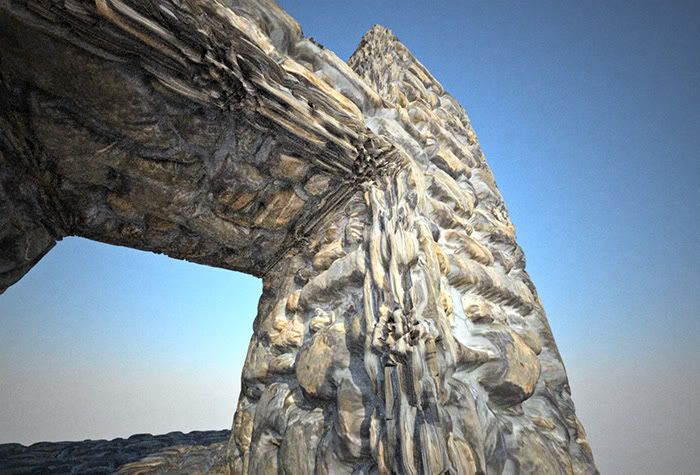
Even though I was able to remake Whaats example, on other, more subdivided structures, it is not that easy.I had to give up on this one:
SU screen:

Indigo:

-
but it nevertheless looks great

honestly, the creators of this impressive ancient arch may have wanted to put an emphasis on the corner by using different stones (it even looks a bit like shells).
which renderer did you use? fry?
-
-
how right you are. I missed that. thanks for pointing out,johnsenior1973.
so thats the new version of indigo with displacement!?!

cool, should try that one out too (but I tink I will wait until the stable release. mine is an office computer after all )
) -
Yes, the latest Skindigo 1.1.5 is pretty stable and the displacement is a nice feature.
I quote Whaat on the Indigo forum to get you going on displacement. His explanation helped me a lot:
@whaat said:
You have to start using Indigo displacement! It's really easy. Try setting your max subdivisions to 9 and then your displacement map 'gain' (b-value) to about 0.1 for starters. Then, keep tweaking the gain until you are satisfied with the depth of the displacement.
Here's a tip for quick tests: Just select the stone material and 'render selection only'.But to go back on topic: I would still be interested in a way to texture (uv-map) the above example....

I can't find the proper 'hack' in Sketchup for it. -
cheers, kwistenbiebel (and thanks to Whaat). I will definitely have a try. sounds indeed quite easy to use.
to the uv-mapping: I am still dreaming of the multiple (and individual) pin mapping. but I am afraid, this is far do complicated to achieve and will remain a dream for now...
-
@plot-paris said:
to the uv-mapping: I am still dreaming of the multiple (and individual) pin mapping. but I am afraid, this is far do complicated to achieve and will remain a dream for now...
Same here.
I love your photoshop simulations for 'yet-to-be-developed' plugins very much though.
They often are spot on !
Advertisement


