The Nadesico A
-
Next up , the Nadesico (A). This one is going to take a while. It has a lot of very deceptive curves and I have nothing to scale it against yet.
If you have not seen this anime, it's pretty funny and old school anime corny. You can watch it for free on Retrocrush.
If this goes well, I'll do the Nadesico B.

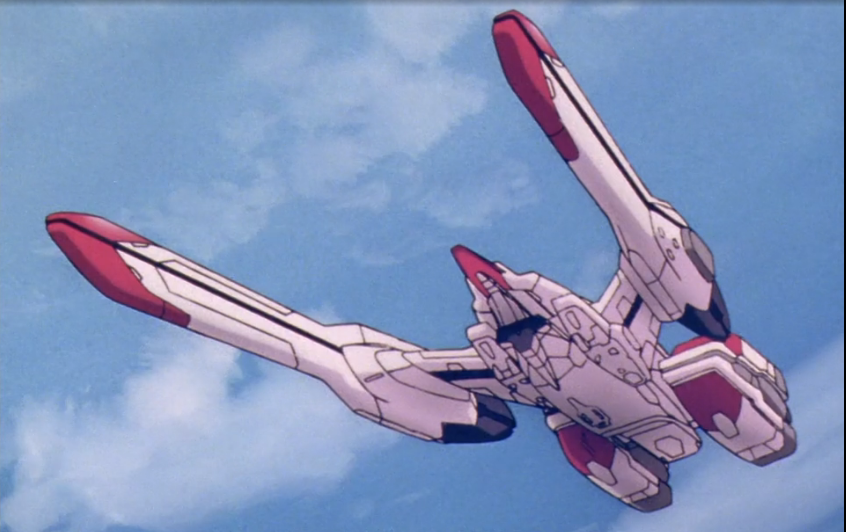
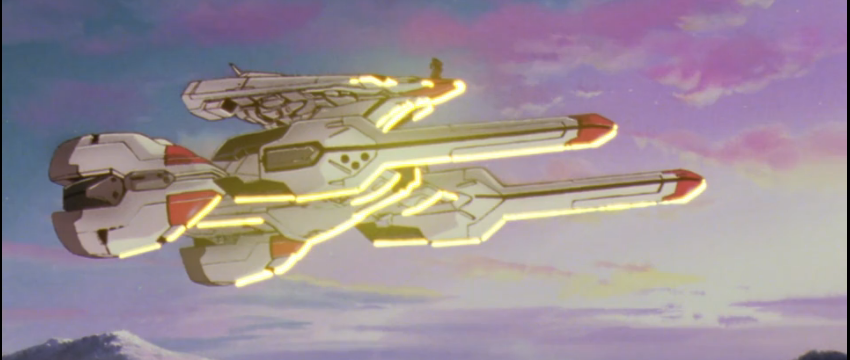
-
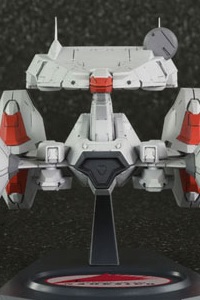
AQUAMARINE Hyper Construction Kit HGK-01 Martian Successor Nadesico Nadesico Class 1st Ship Nadesico 1/1500 Plastic Kit
Pre-order or buy AQUAMARINE Hyper Construction Kit HGK-01 Martian Successor Nadesico Nadesico Class 1st Ship Nadesico 1/1500 Plastic Kit from one Otaku HQ's recommended partners
(otakuhq.com)
When it comes to this type of project I like to see if there's Airfix models on ebay.
In the link above there's some nice pics to use for reference
-
@rich o brien said:

AQUAMARINE Hyper Construction Kit HGK-01 Martian Successor Nadesico Nadesico Class 1st Ship Nadesico 1/1500 Plastic Kit
Pre-order or buy AQUAMARINE Hyper Construction Kit HGK-01 Martian Successor Nadesico Nadesico Class 1st Ship Nadesico 1/1500 Plastic Kit from one Otaku HQ's recommended partners
(otakuhq.com)
When it comes to this type of project I like to see if there's Airfix models on ebay.
In the link above there's some nice pics to use for reference
FANTASTIC! Thanks!
That will help immensely!
-
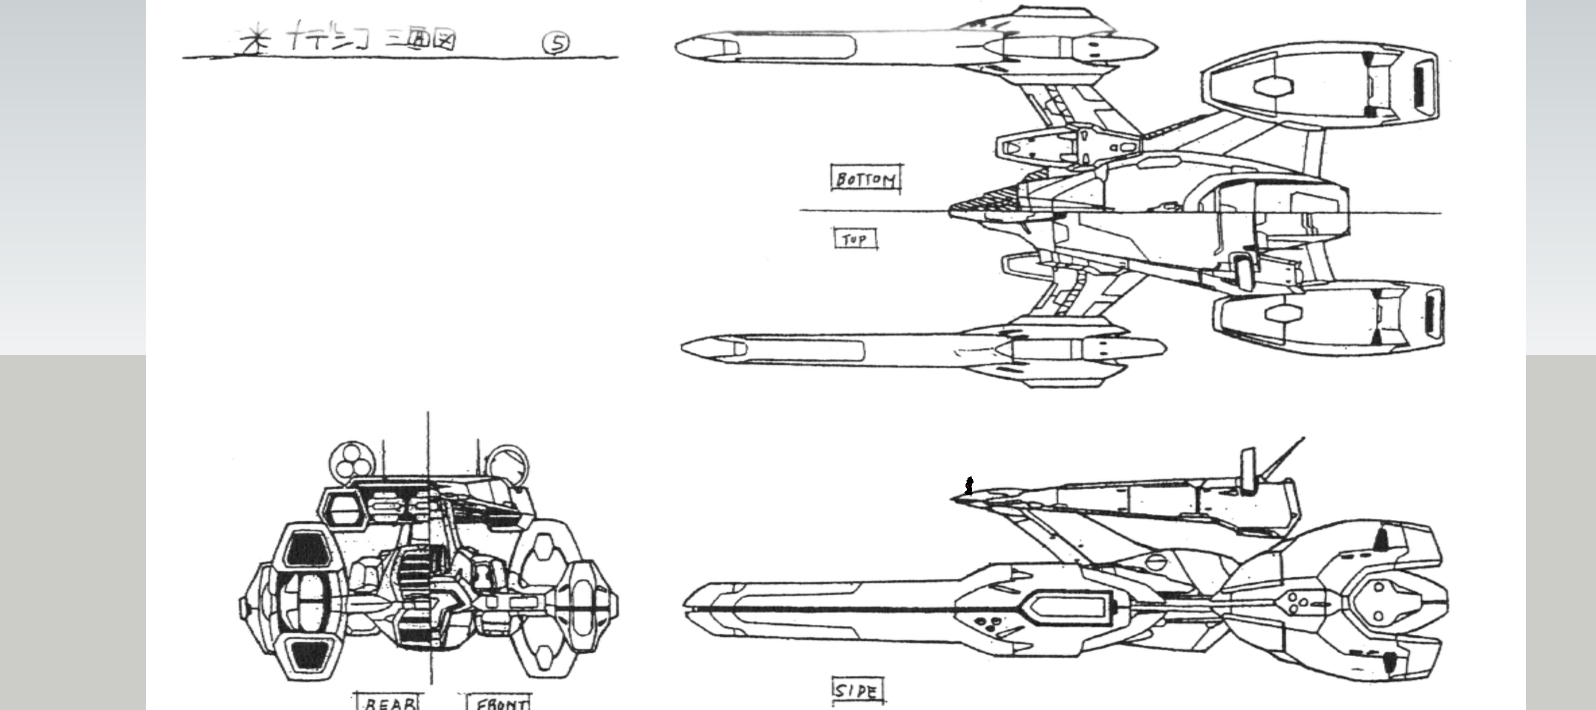
Found the original drawings and now have a very close scale.
-
A great subject you have there, with you eye for detail it is going to be interesting for sure.

-
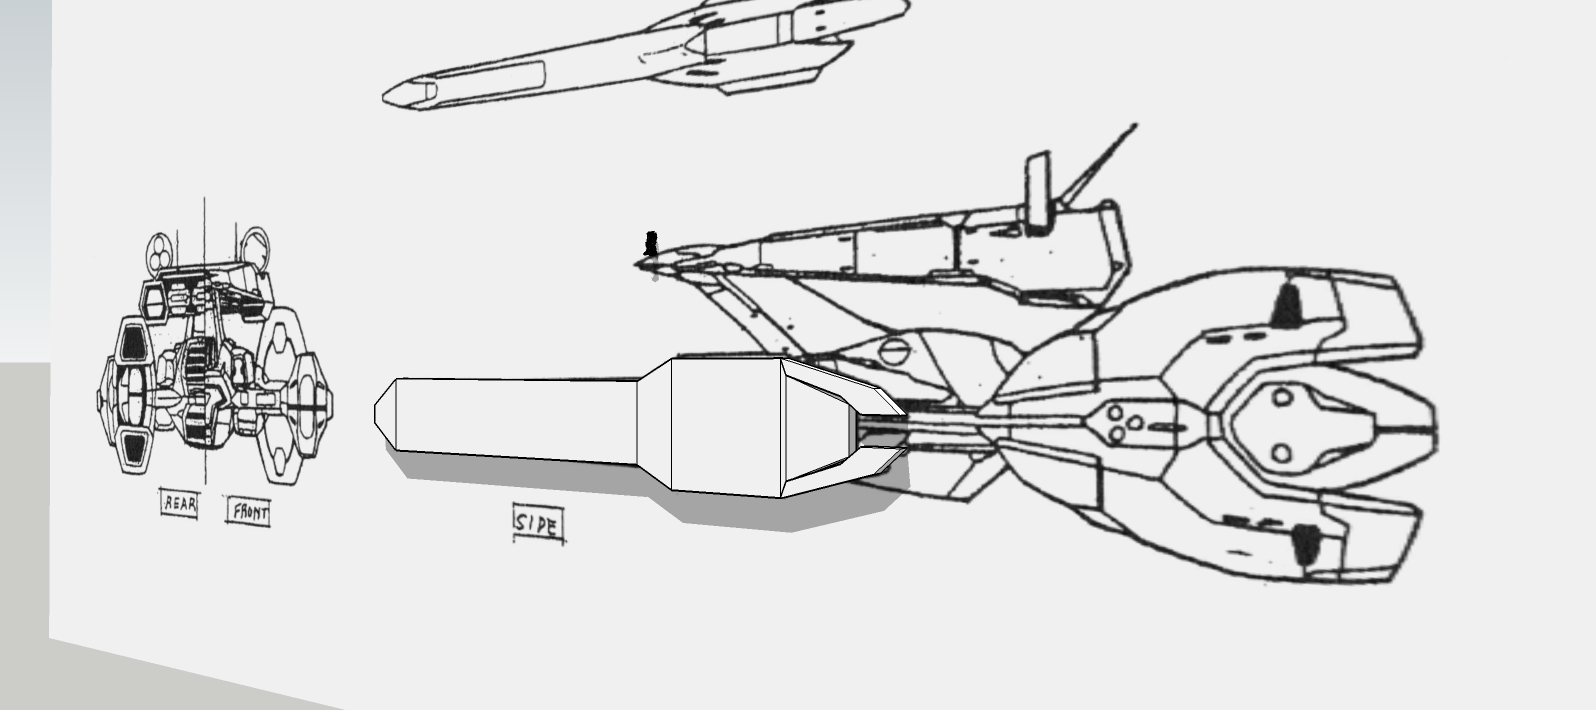
First block-out.
-


Yeah, this one is going to take a while.
-
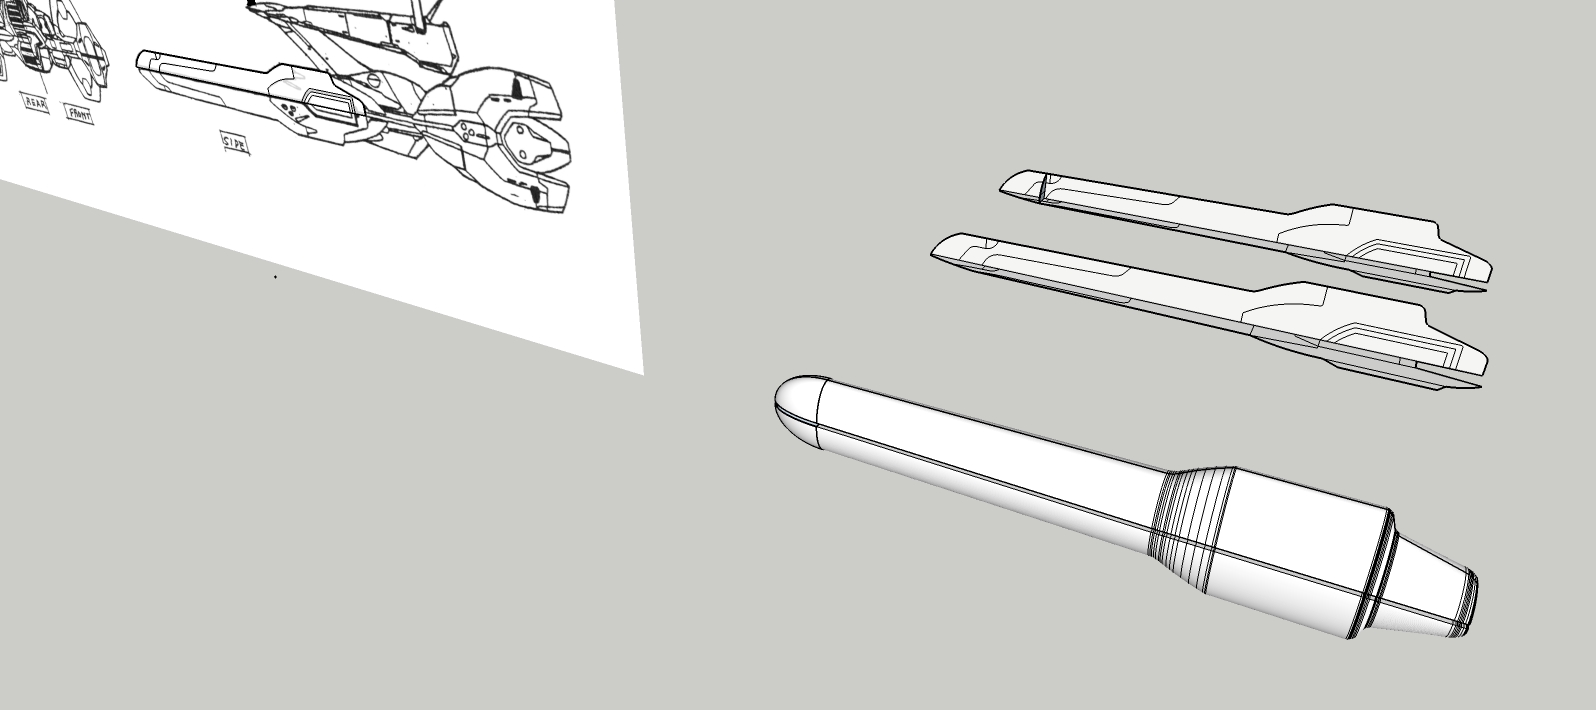
I dunno. It's close, but not quite there.
It looks more curved in the anime, but the model reference shows it as more angular. I'm going to go with the angular and ditch this curving modeling.
-
I've almost got head wrapped around this.
-
I generally am not so interested in anything other than Architecture or Landscape. But I am looking forward to seeing the progress on this project

-
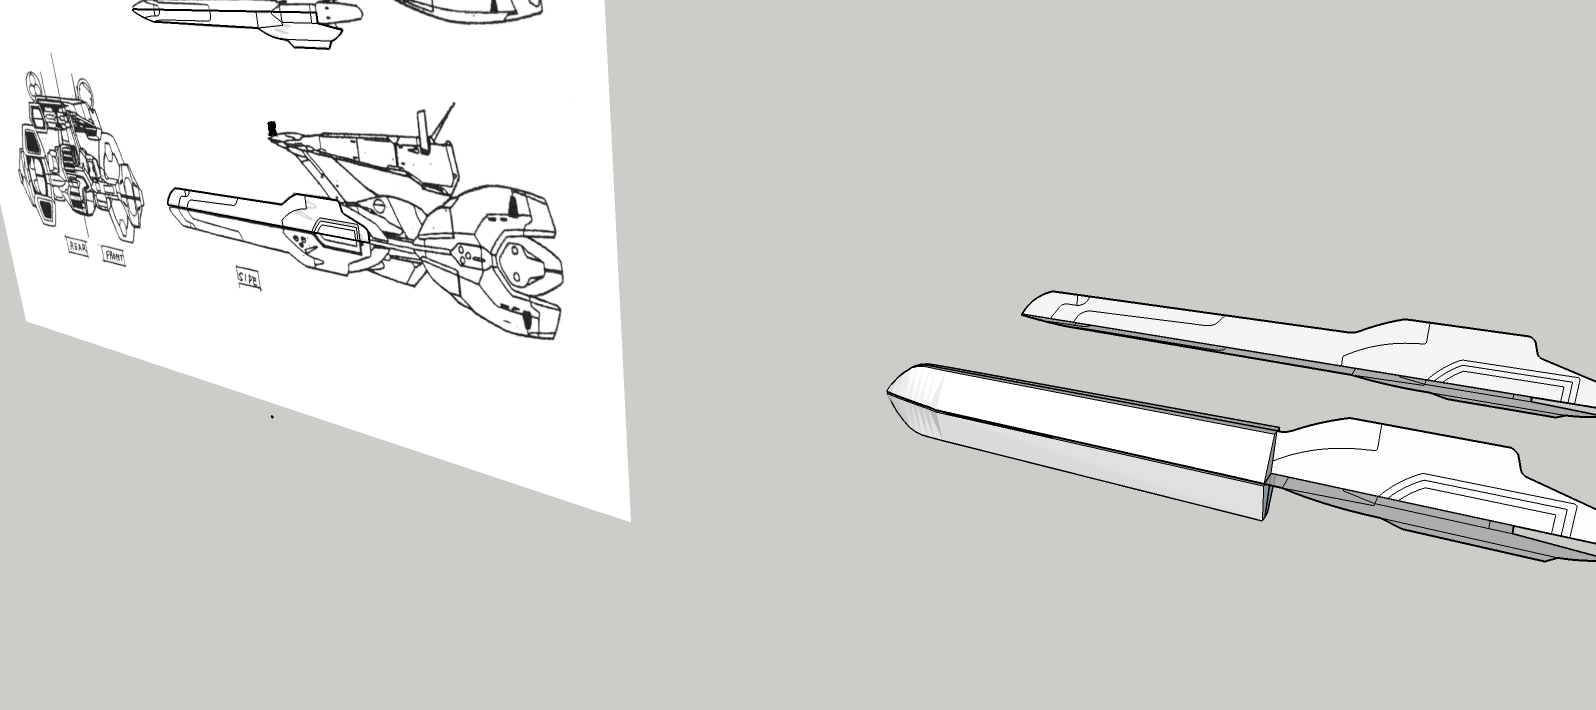
Finally some real progress. Not much to look at, but the overall profile of the nacelle is good.
-
Nice mate, on a roll.

-
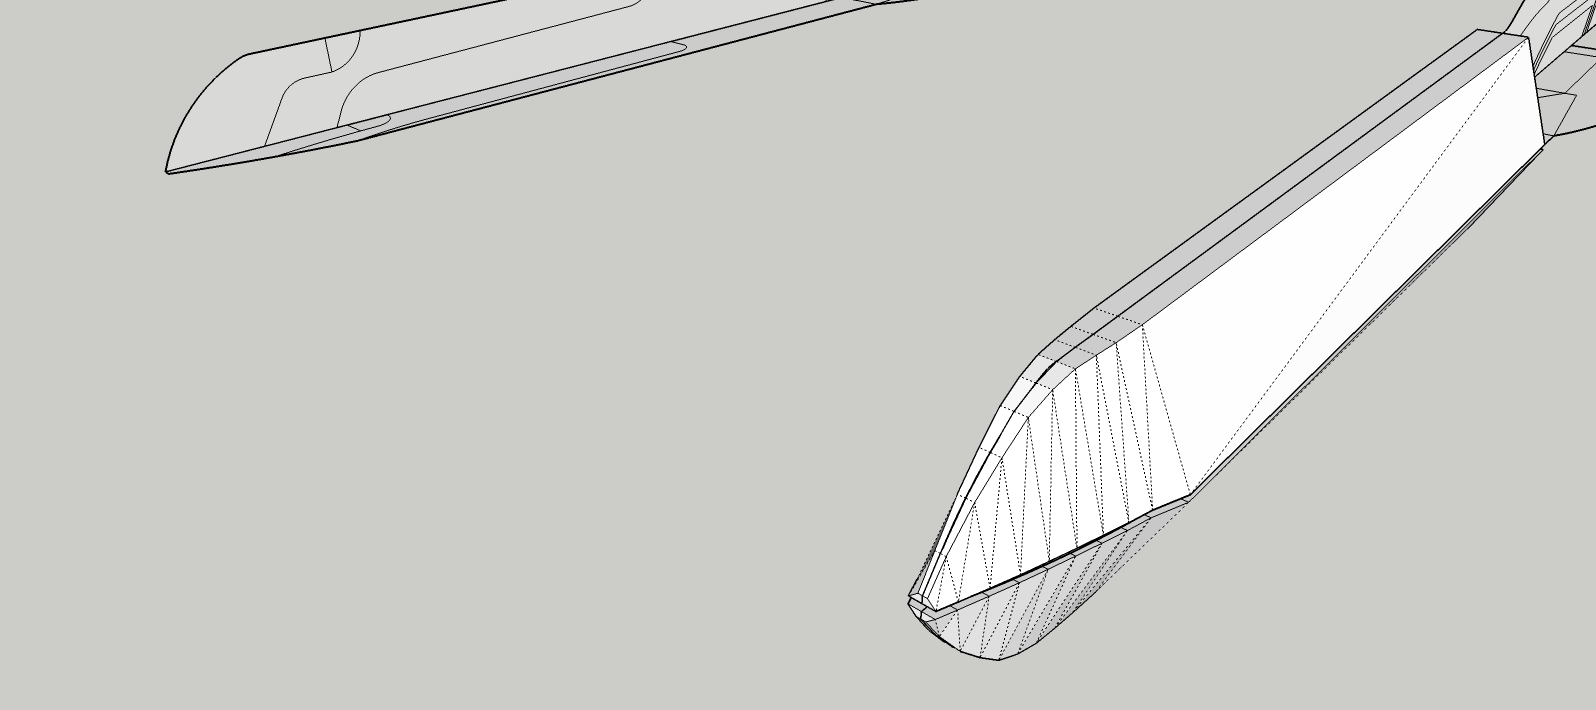
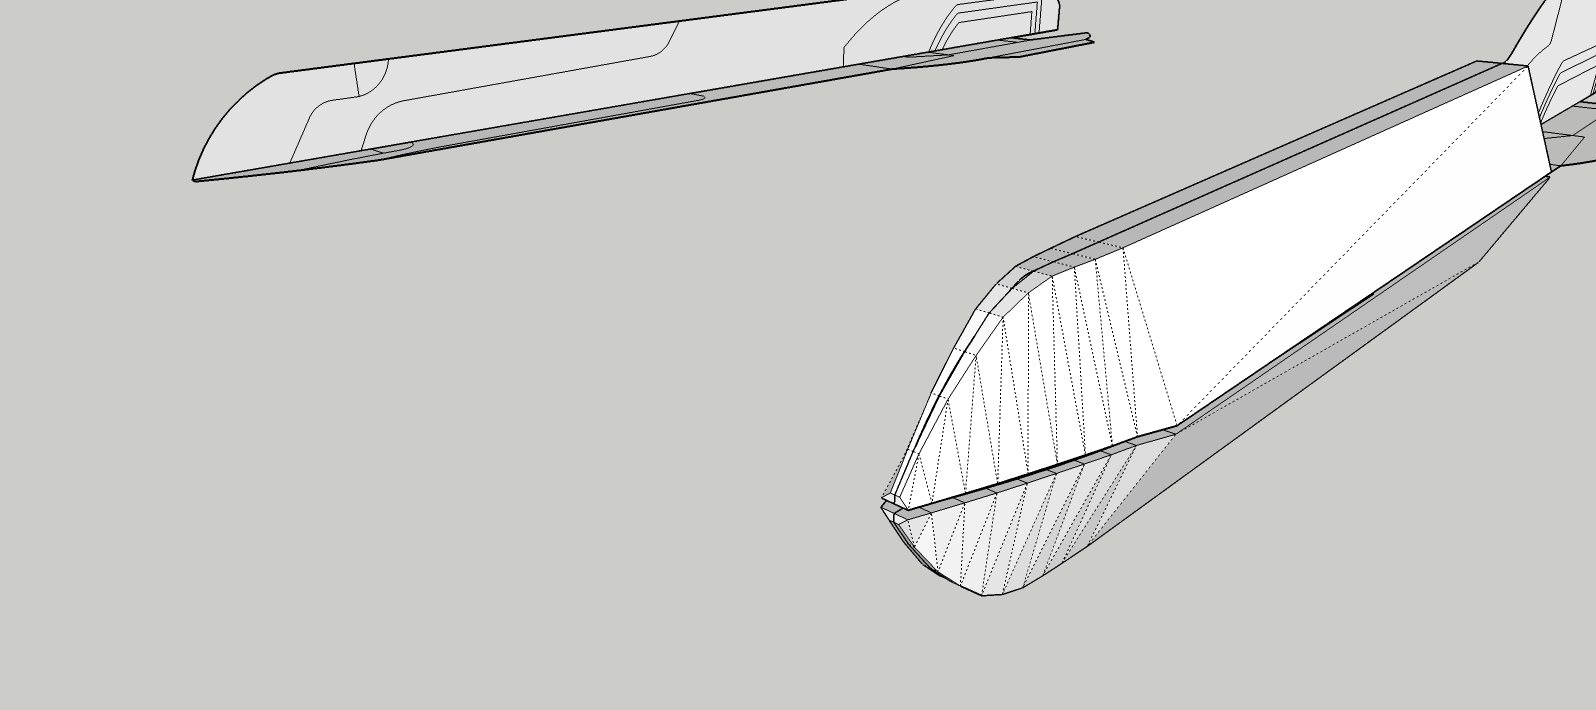
Started with this shape.
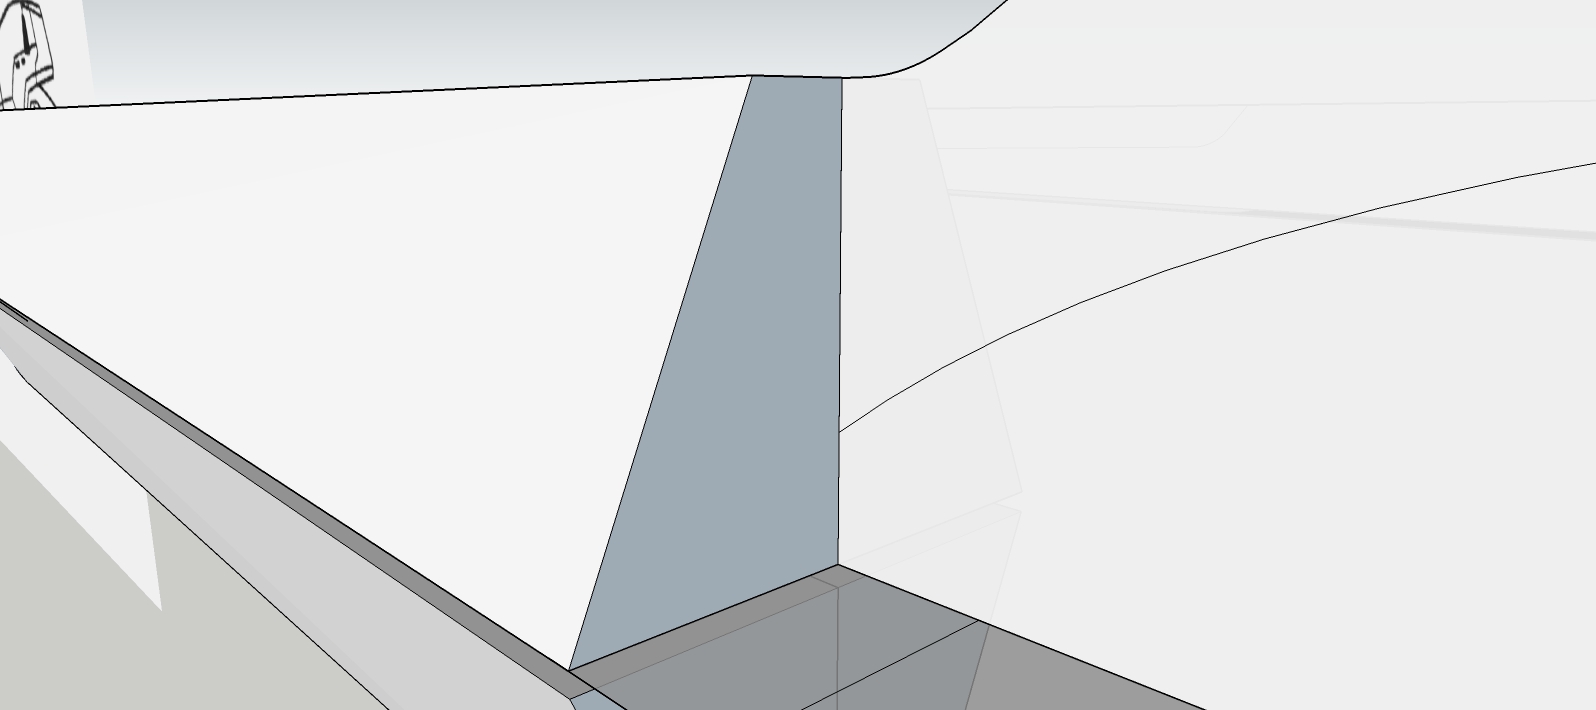
Then +Push/Pull and resized each face along the profiles. Now need to do the indents. Still needs some tweaking on the shape. I see one profile out of alignment.
-
Thanks Mike!
Same technique for rear half of the front nacelles. Started with the same shape, +Push/Pull following the profile working backwards. Make component, then mirror the copies.
Tweaked the front a bit more. Will stop here and and reference the images and tweak before building more shapes.
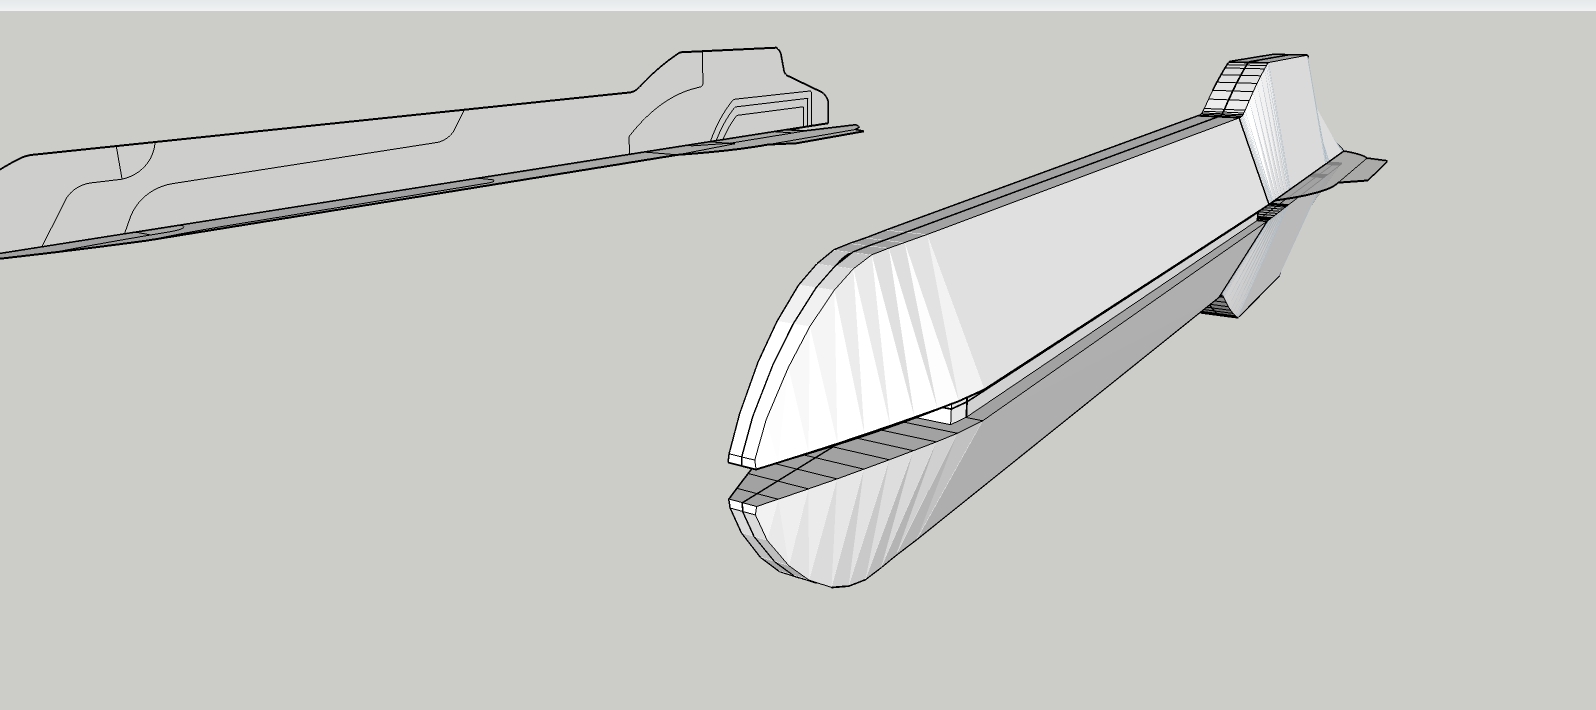
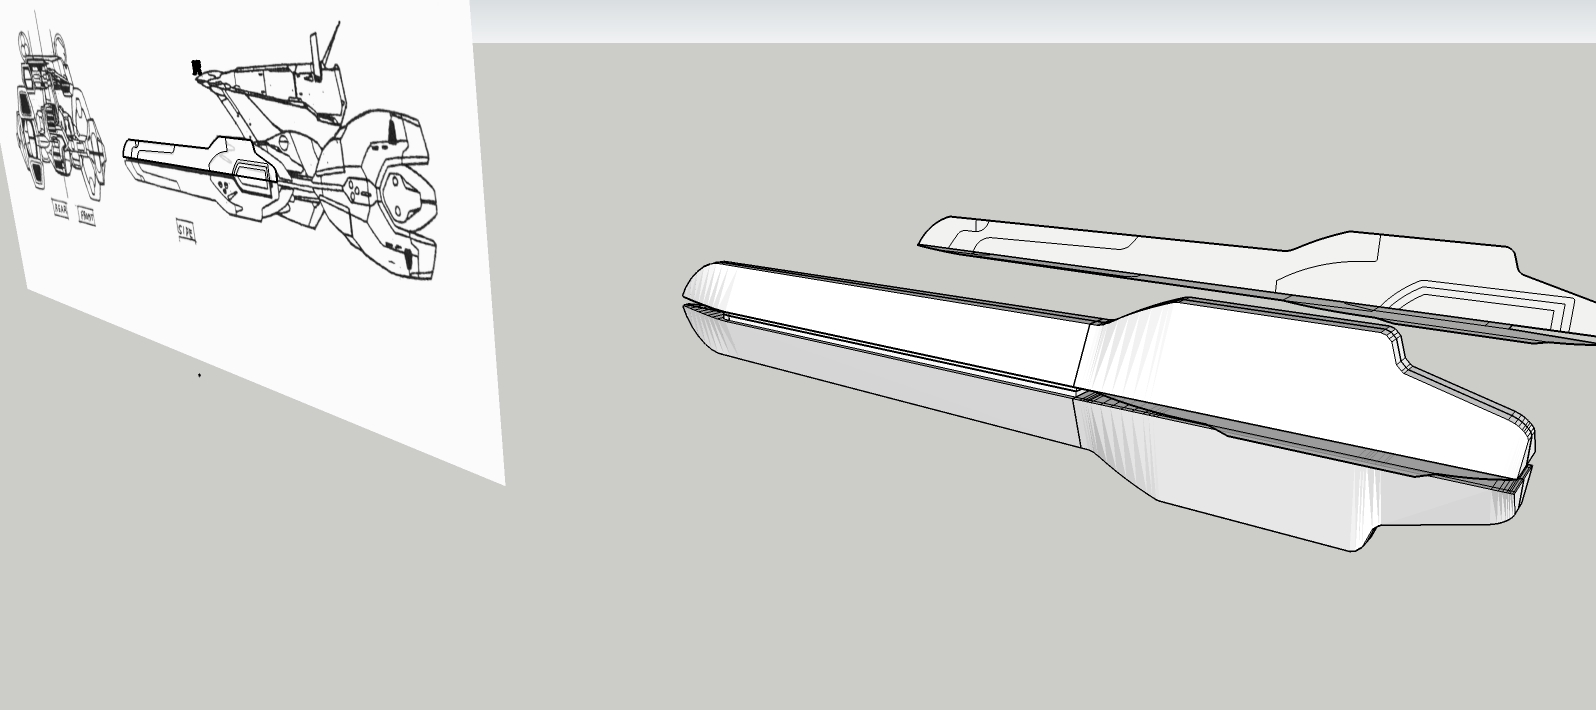
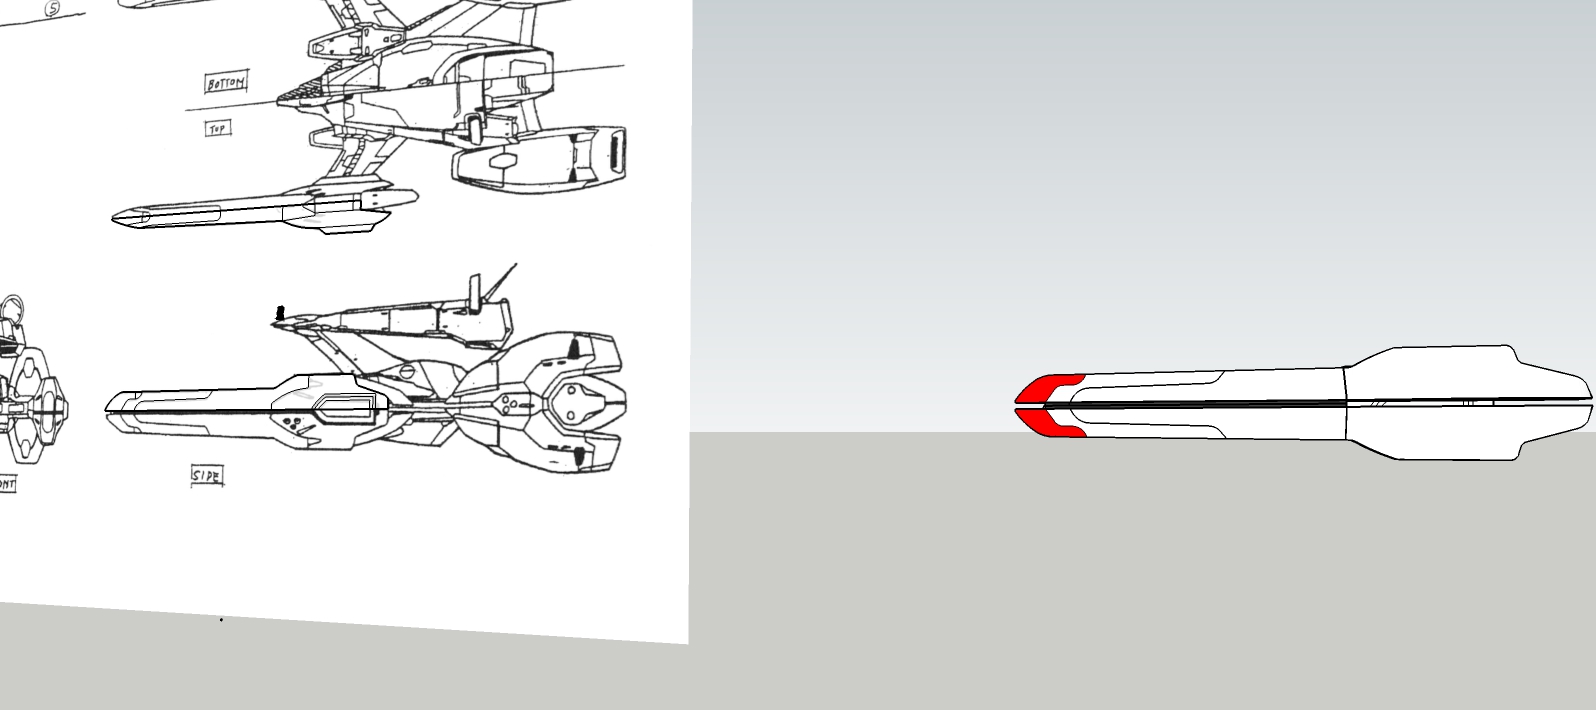
The issue I'm seeing is the drawings are just slightly different from the actual model kit, so I'm going to end up with a hybrid because each reference offers details the other doesn't. The shape and scale will be exact, but minor detail like curves and angles are going to differ. So I'm going to have to find a middle ground. But I'm going to default to the drawing and anime references when in doubt. Hence, the nose is more rounded than the model kit, yet more angular than the drawing.
LOL. No wonder I've only seen one CG model of this ship and references were hard to find. It's a crazy design!
-
Coming along.
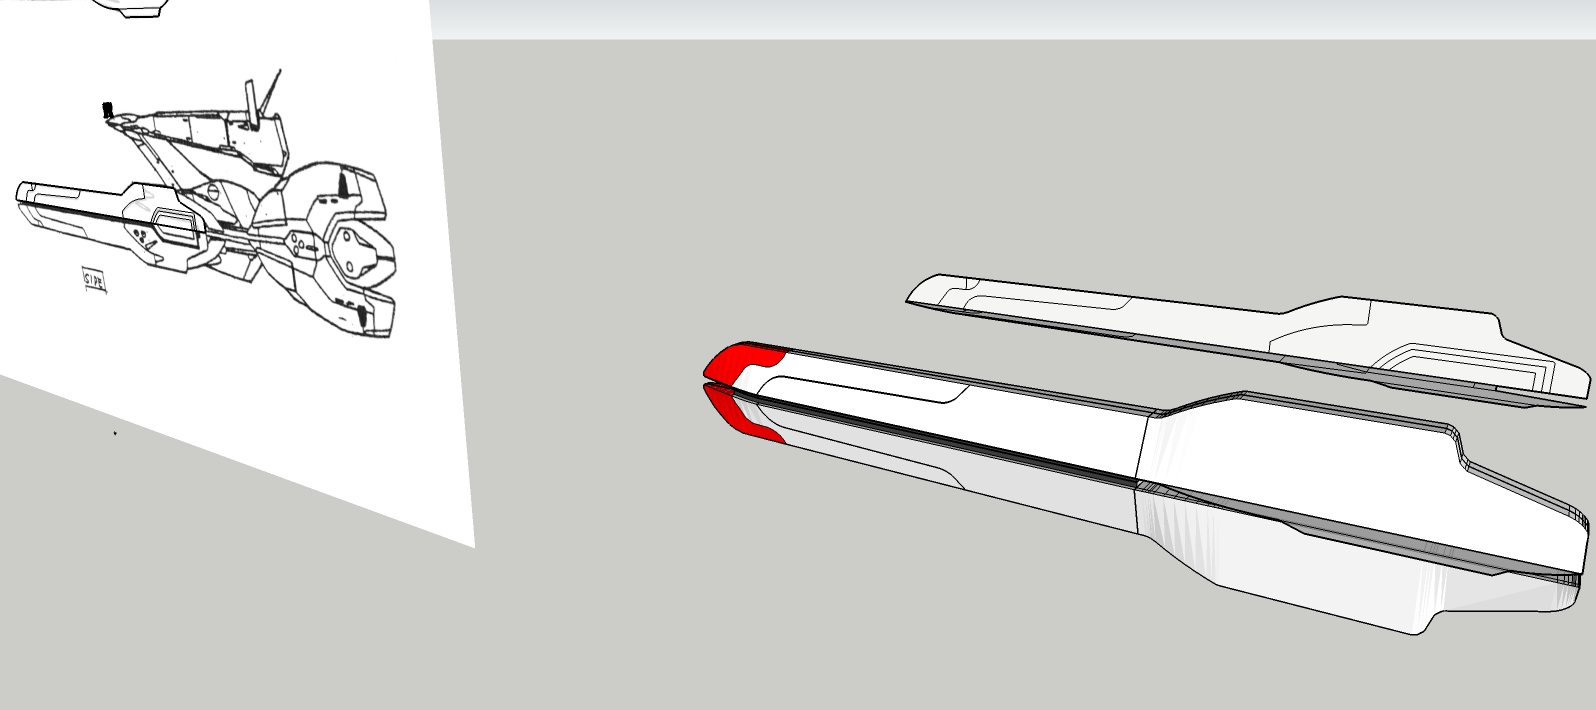
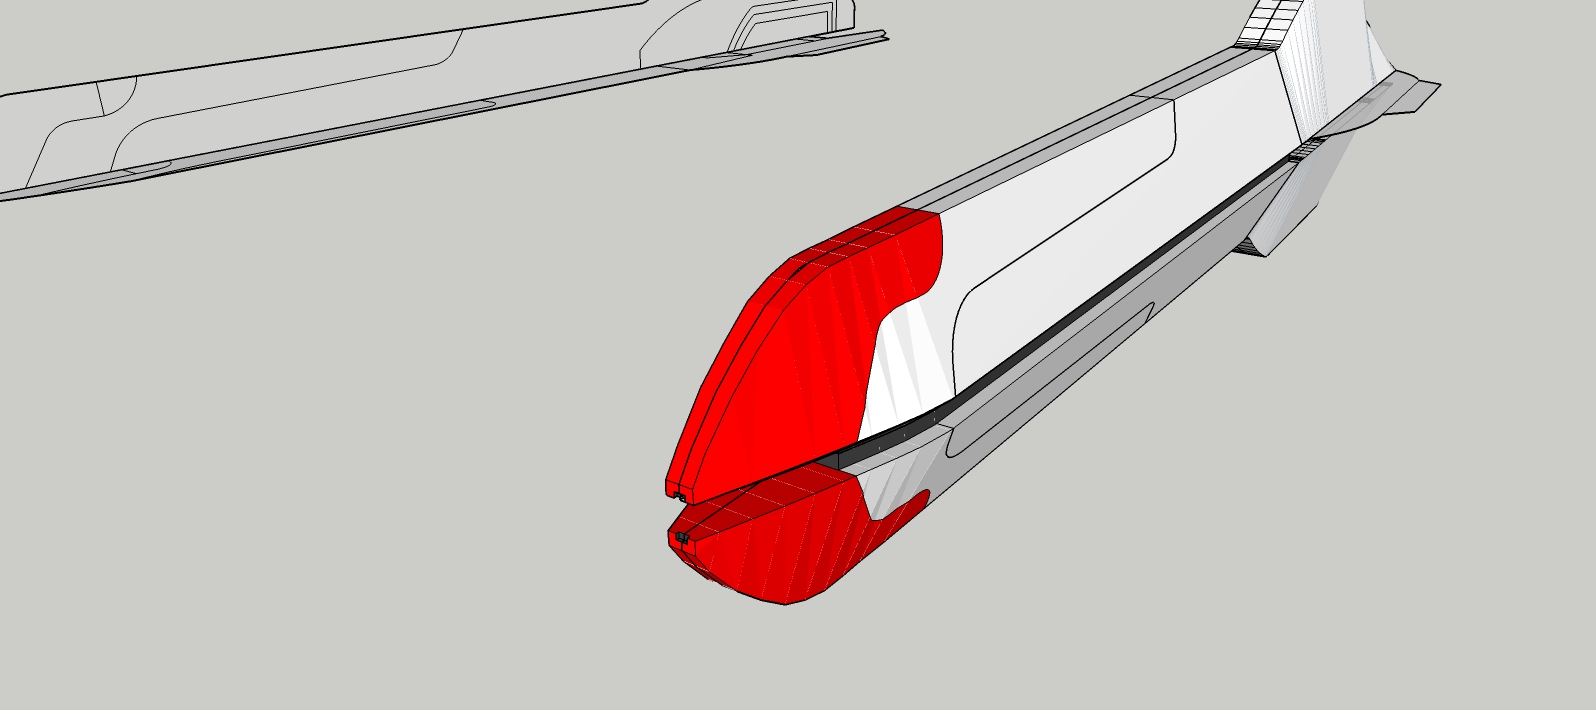
I tweaked the nose some more. Slightly flattened the curve and made it slightly wider again toward the point.
I +Push/Pull'd the vertical profile through the component and then intersected (Selection ONLY). Had to erase a LOT of hidden lines after. Then copy and cut the lines I wanted and pasted into nacelle component and then closed some small gaps, but this worked out as I wanted.
-
Great progress

-
^ Agreed mate, he knocks out great product.

-
Thanks tuna. Thanks Mike.

-
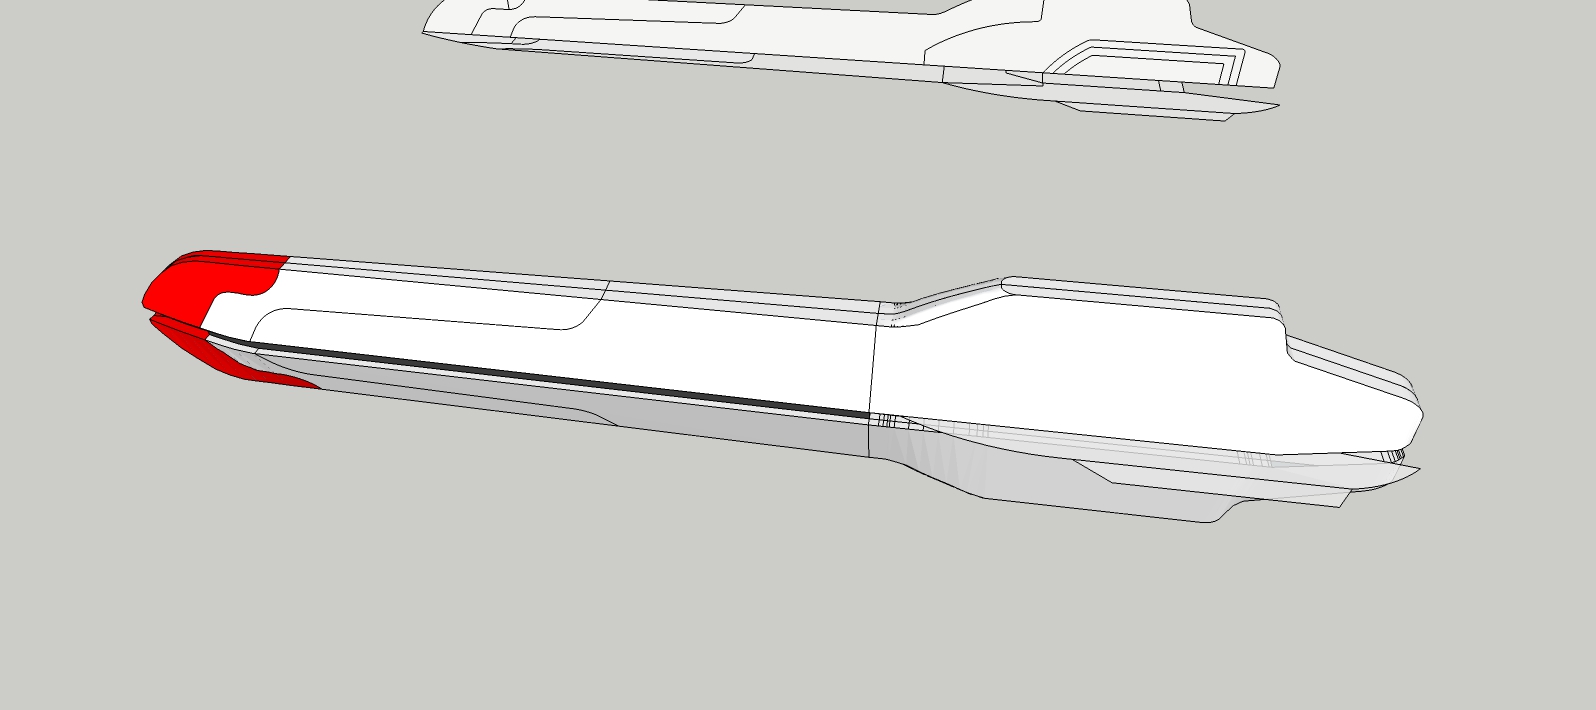
Overview to date.
-
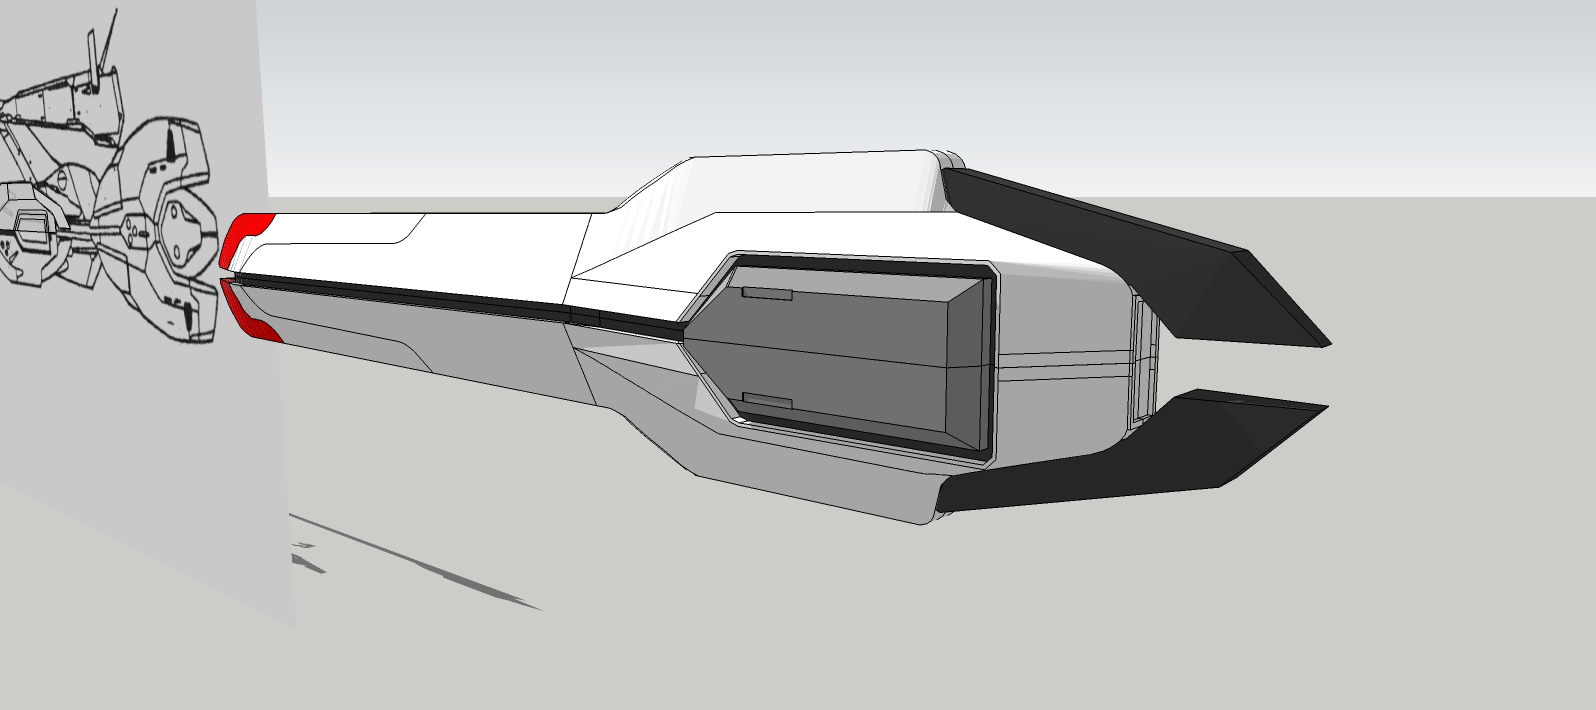
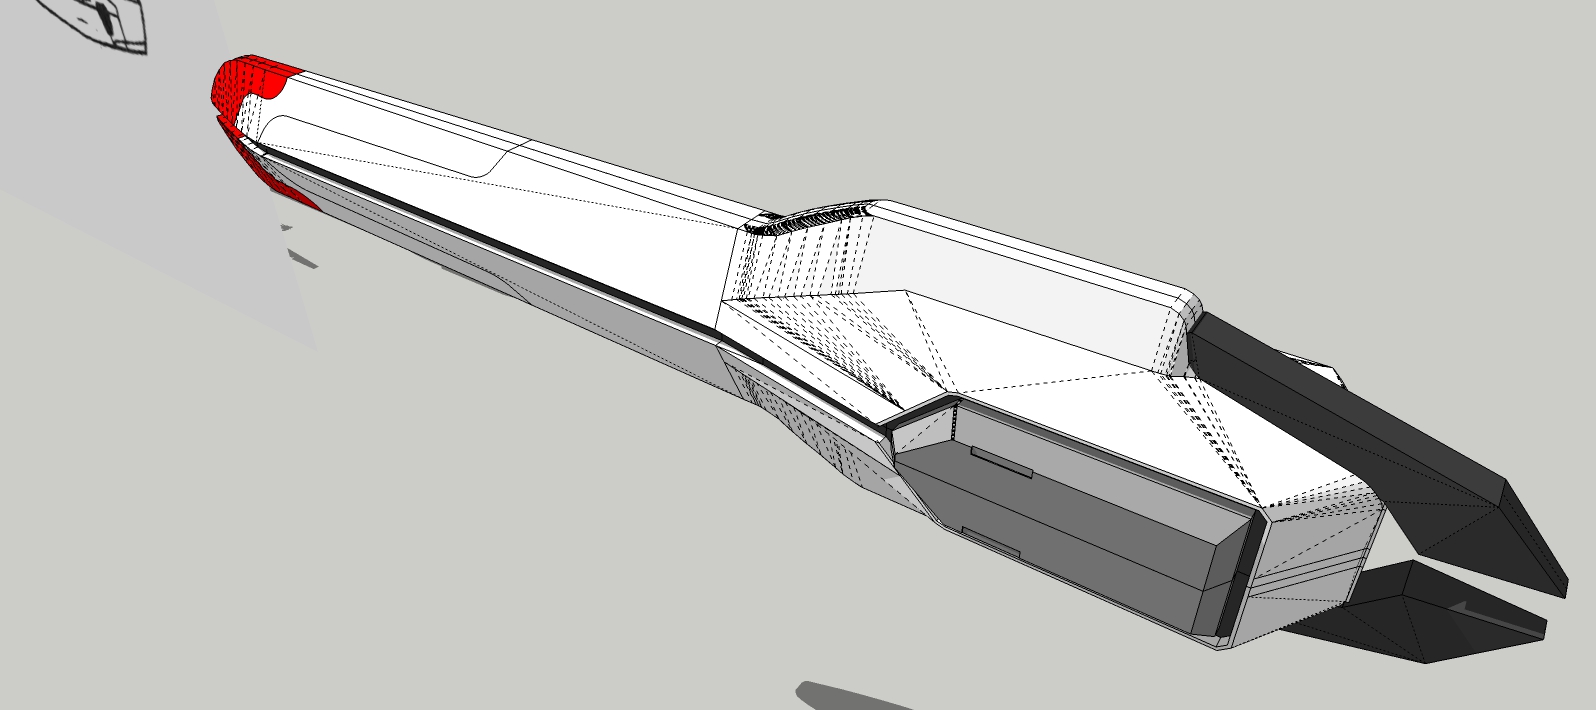
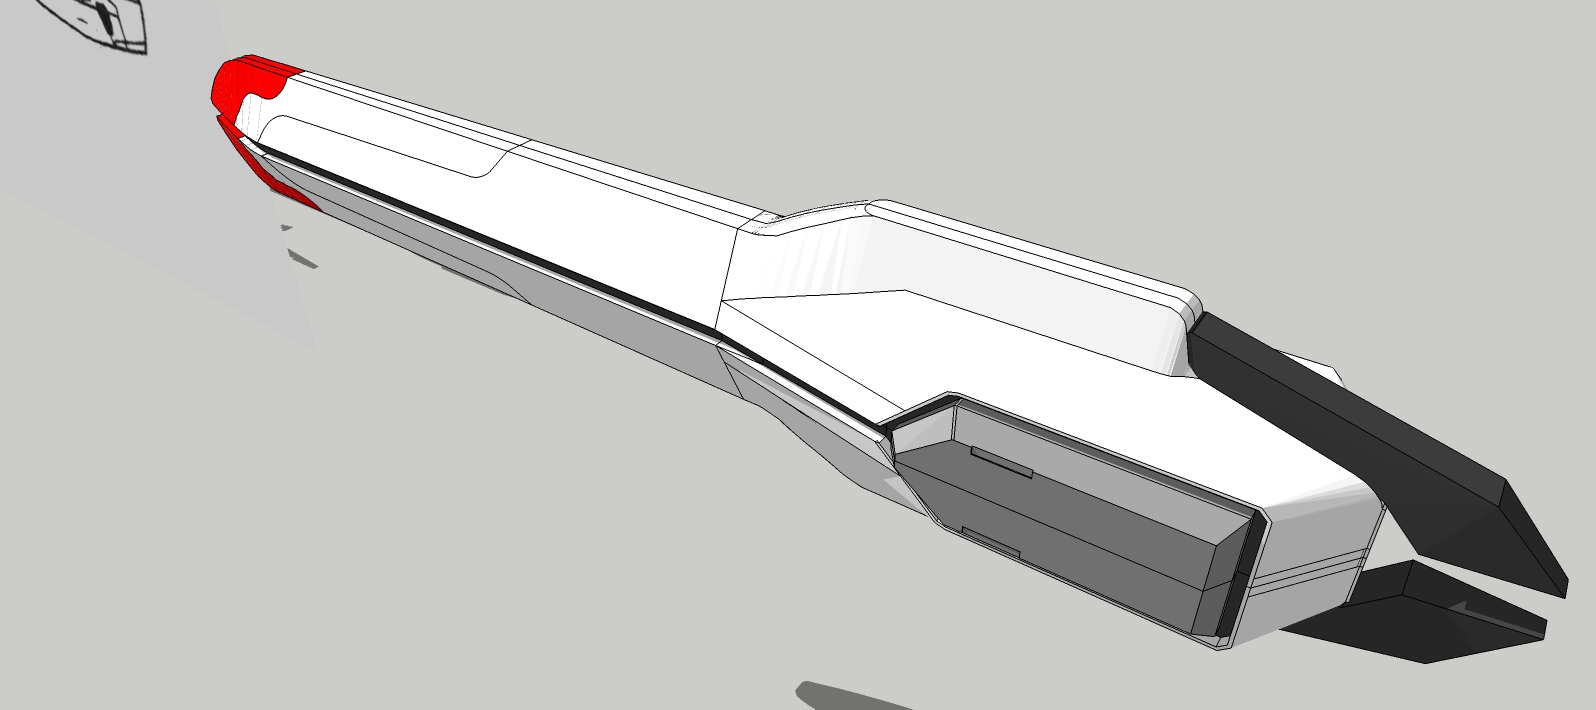
2 more views. And one of the geometry. The crazy, crazy geometry.
Advertisement


