Creating a 3D Wall Panel
-
Hey everyone,
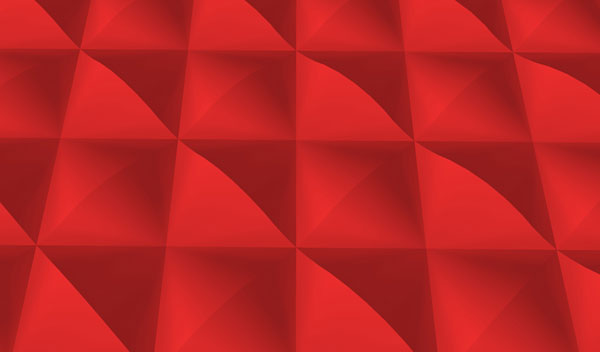
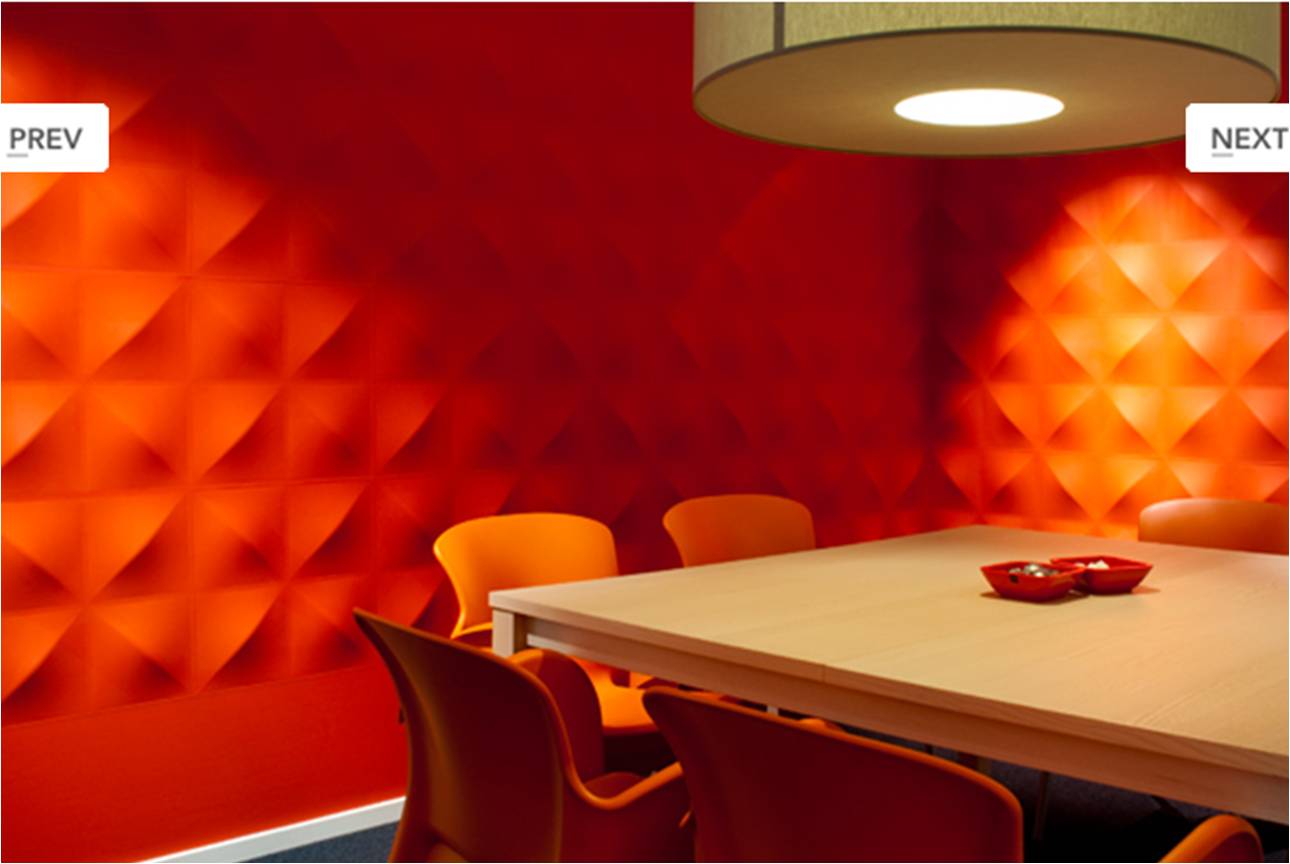
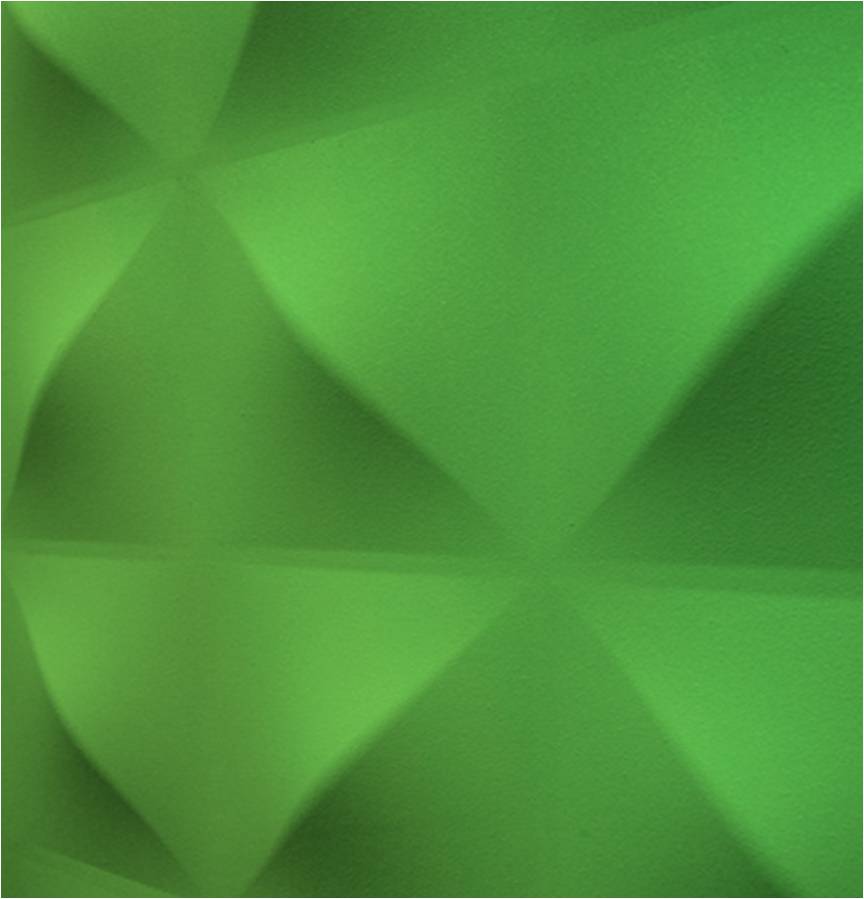
I'm hoping for a little bit of direction on how to create organic forms. I have attached a photo of a wall panel that I'd like to create in Sketchup but haven't a notion how to create it. You'll see that it is like a 'dune' shape, which obviously makes it 100 times more difficult because of the sweeping angles/geometry. Any ideas??
Thanks
Anita
-
Try CurviLoft.
-
It's stretched fabric, so use Ferrari Sketch or Soap Skin Bubble
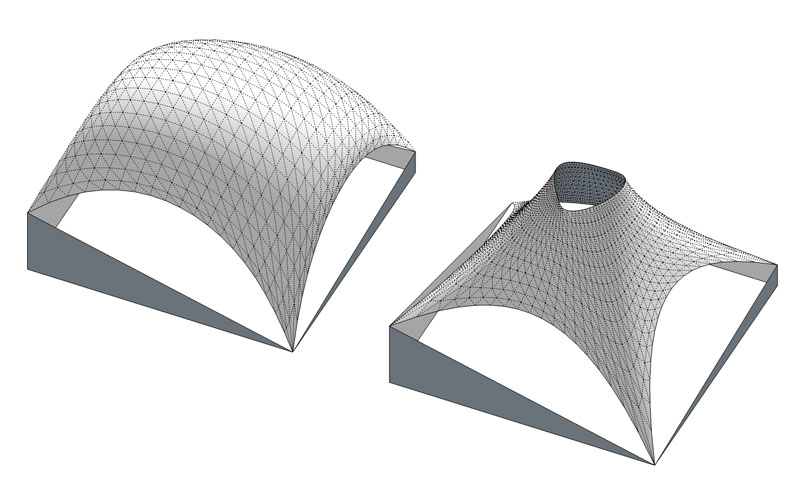
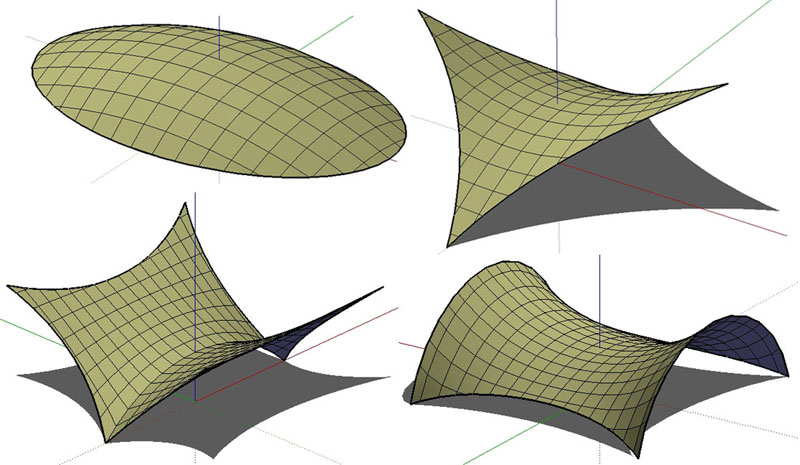
and you can do something like that :
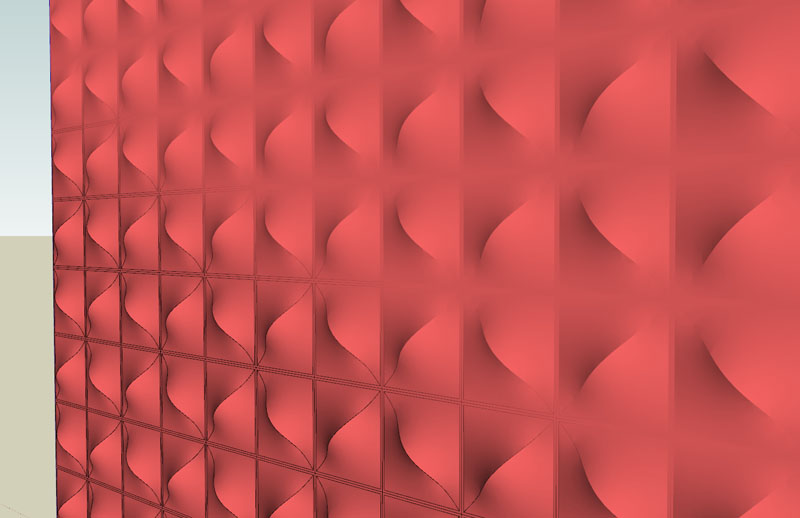
-
Thanks for your replies
 Daredevil....wow, you've hit the nail on the head!! Well done!! Now all I have to do is a little bit of experimentation - see you in about 3 months!! lol
Neets
-
Daredevil, I'm getting nowhere fast - can you take me through how you created that wall panel??
Thanks
Neets -
A simple approach;
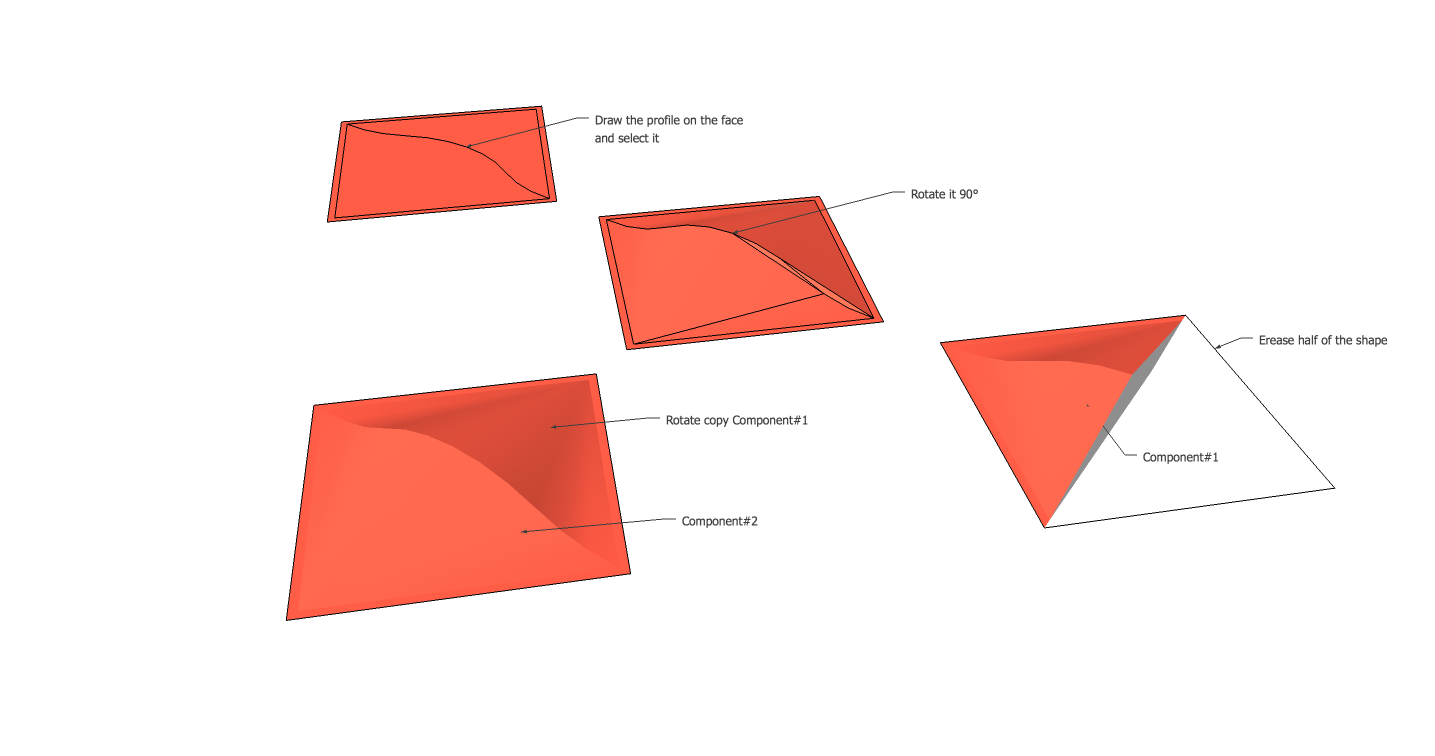
- Create a small say 24"x24" basic tile;
- On that face draw the desired profiles. You can use an ARC, Bezier etc
- Create the face on the surface using the suggestions above, TIGS extrude,ARC tools.
- Make tha tile a component;
- Using that component replicate it in a x y grid, circular array etc. or manually. SU has an native array( linear or circular) function you may find useful'
The attached skp was made with the SU ARC tool and the Soap Skin AND Bubble plugin to create the 1/4 face
Do not try and use the follow me tool if the profile needs to be adapative to follow the edge.
Good Luck
-
-
Anita, welcome to SketchUcation.
All of the methods mentioned are great. One thing I would make sure to do is reduce the polygon count however. If you are going to use this across an entire wall the poly count can grow very fast and slow your model down significantly. Unless you are doing a close up product shot a low poly model should suffice.
Attached is a tut on how I would accomplish this shape. All simple basic SU tools.
Cheers. -

Legend
-
Mac1, Rich and Boofredlay
This is exactly the kind of assistance I need - thankyou, thankyou, thankyou!!
 I will have a go at this myself later (have to do grocery shopping now...ugh) and let you know how I get on.
Boofredlay, as you say I might only use this effect on a small portion of the wall - I was initially going to use it on the entire wall but I felt it might have been too much for SU to handle.
Thanks again guys

Neets
-
Rich - your tutorial was spot on. Thanks for taking the time to do that, it's now in my Favourites - much appreciated

Boofredlay - I followed your steps and was able to create the same shape. Gold star for you

You people are legends!!! My only issue is that you don't live next door...is that a sigh of relief I hear??!!
Anita
#sketchucationrocks -
Glad to help.
-
I did much the same thing except after forming the square and the arches, I then used From Contours.
-
Any chance to see it in v6 ?

-
-
Thx for the V6

Tricky indeed!
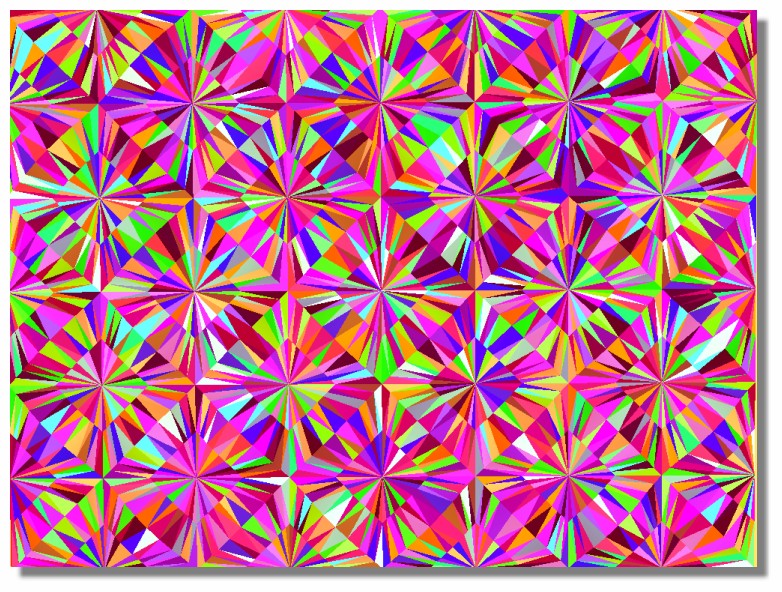
-
That just gave me migraine.
-
Pilou,
Have you been eating those strange mushrooms again..??!!
-
-
Also can use fredo's curviloft skinning following 2 paths. fairly low poly result.

Actually, the result is exactly the same as in gilles method.
Advertisement
