Round Edges with Textures
-
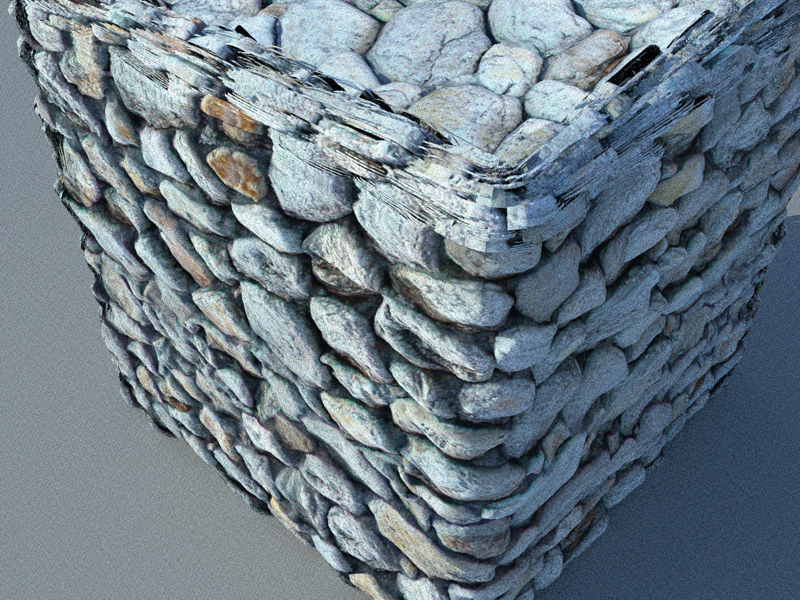
I`ve recently found the pluggin to round square edges, though when i apply a texture you can see the segments in the curved edge.
See Pic.
The front vertical edge is perfect though i dont know how i achieved this.
Please advise how to achieve the texture map to look perfect.Thanks
George
-
Turn on hidden geometry (view menu). Now right click on a facet with correctly positioned texture > Texture > Position from the context menu. Do about nothing but press Enter. This will already give it some UV info.
Now using the paint bucket tool and pressing the Alt key, you can sample this material from that face and paint onto the other faces with incorrect positioning. Sometimes you need to proceed with this facet by facet until you are done but it does not take too much time.
-
Thanks for the info though i cannot get the texture to blend in

-
You will inevitably have issues on the corners. You can either wrap the texture from one direction or from the other. But on the edges, there should not be any problem. Can you also attach the model?
-
Thanks Gaieus,
Worked it out works good now.

I tried posting image, wouldnt upload. -


-
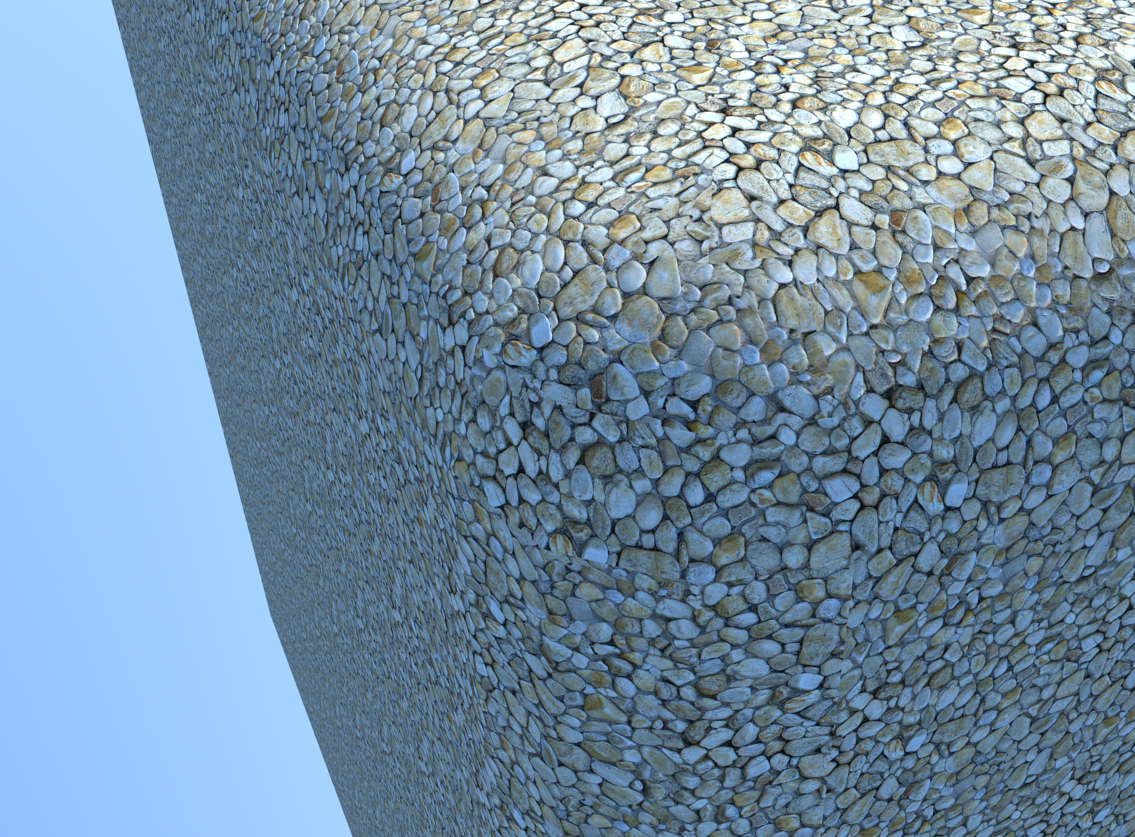
Here is the result.
-
@gelbuilding said:
Here is the result.
Looks great.
We so badly need a plugin to automate this, one face at a time can get very long in the tooth fast.
-
Indeed looks great - not even apparent seam at the corners!

Now as it came from a displacement topic in the Thea forums: have you had any good results with that part?
-
Unfortunately no, if i model in SU it looks great. Though when i use my modeling program Chief Architect it extremely difficult to achieve the same results.
-
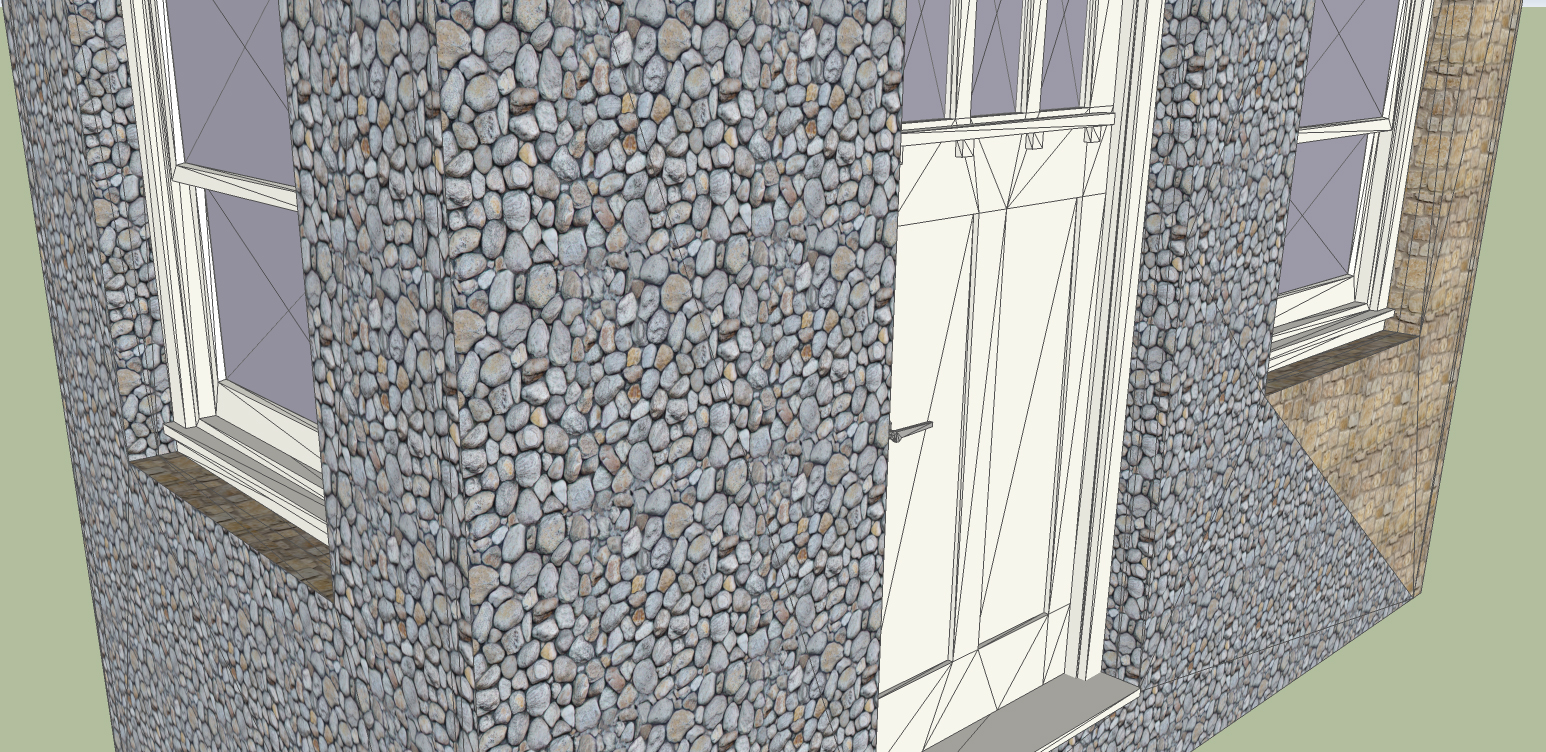
Here is the test model house. Have a close look at the mesh, notice how the stone doesnt match on the corners.

Any suggestions?
-
Could you attach the skp file, too? (And if you have, the Thea mat.pack file as well - rename it to zip to be able to attach)
-
-
-
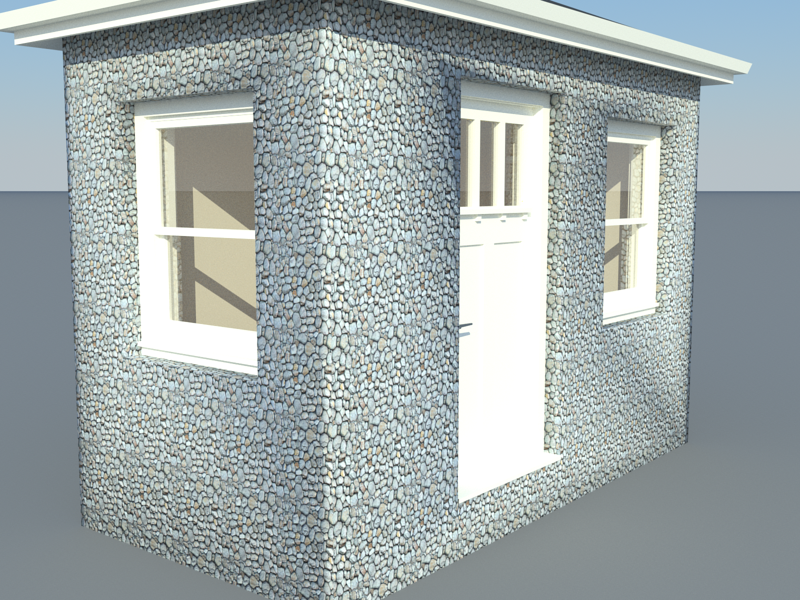
Very tedious to match up the stone with all the mesh.
-
Larger scale stone for better view of corners
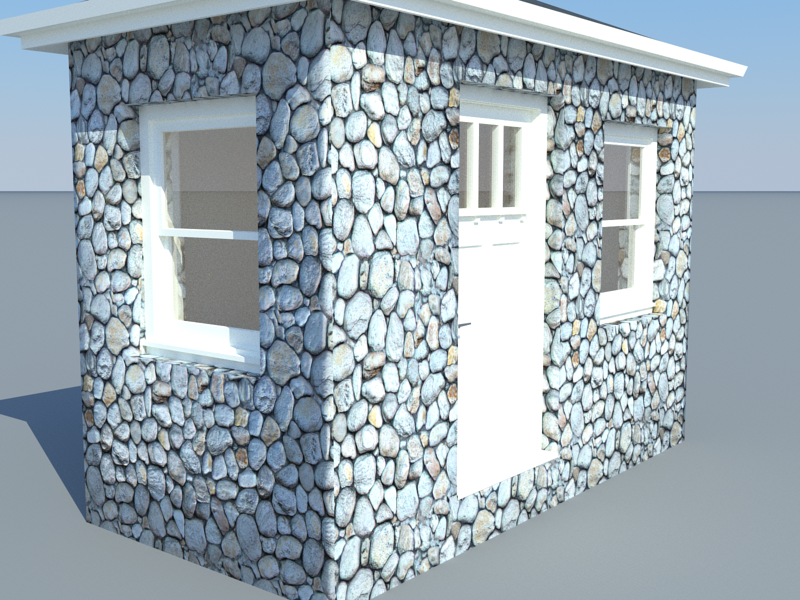
-
If you just 'chamfer' the corner and apply the materials, then use the eyedropper to sample one face's material and if needed then my Texture Tools to adjust the horizontal spacing of any abutting face's texture by a few mm at a time [shift=x10] - you get quickly get this...
The pattern matching will run out at a corner somewhere unless you tweak horizontal scaling carefully to match -
The round edge plugg in is good.
The window looks good, except look at the right side of the door. I dont know how to fix.
Help please.
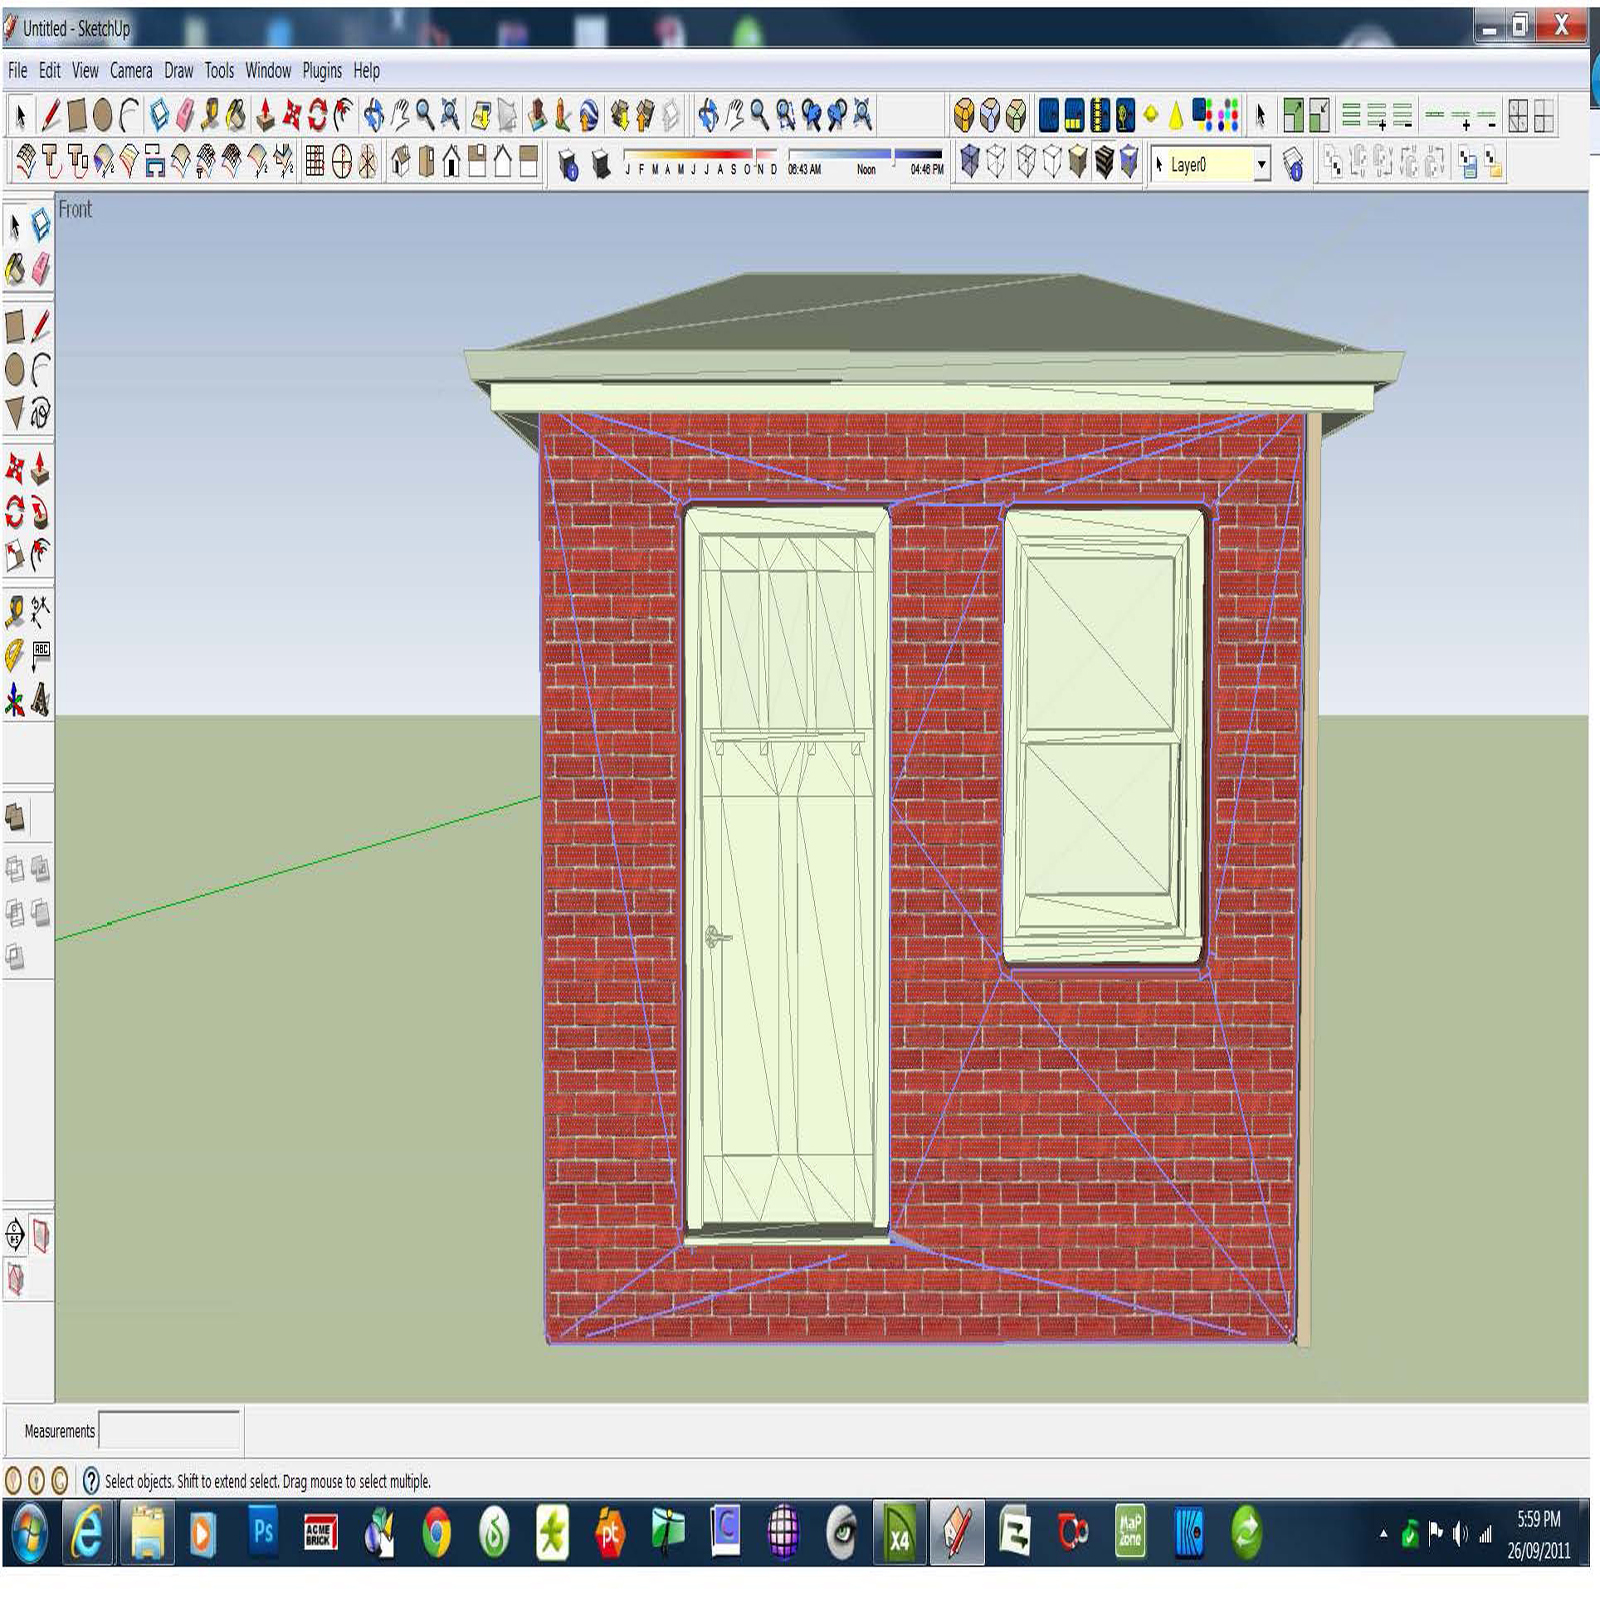
-
Another view
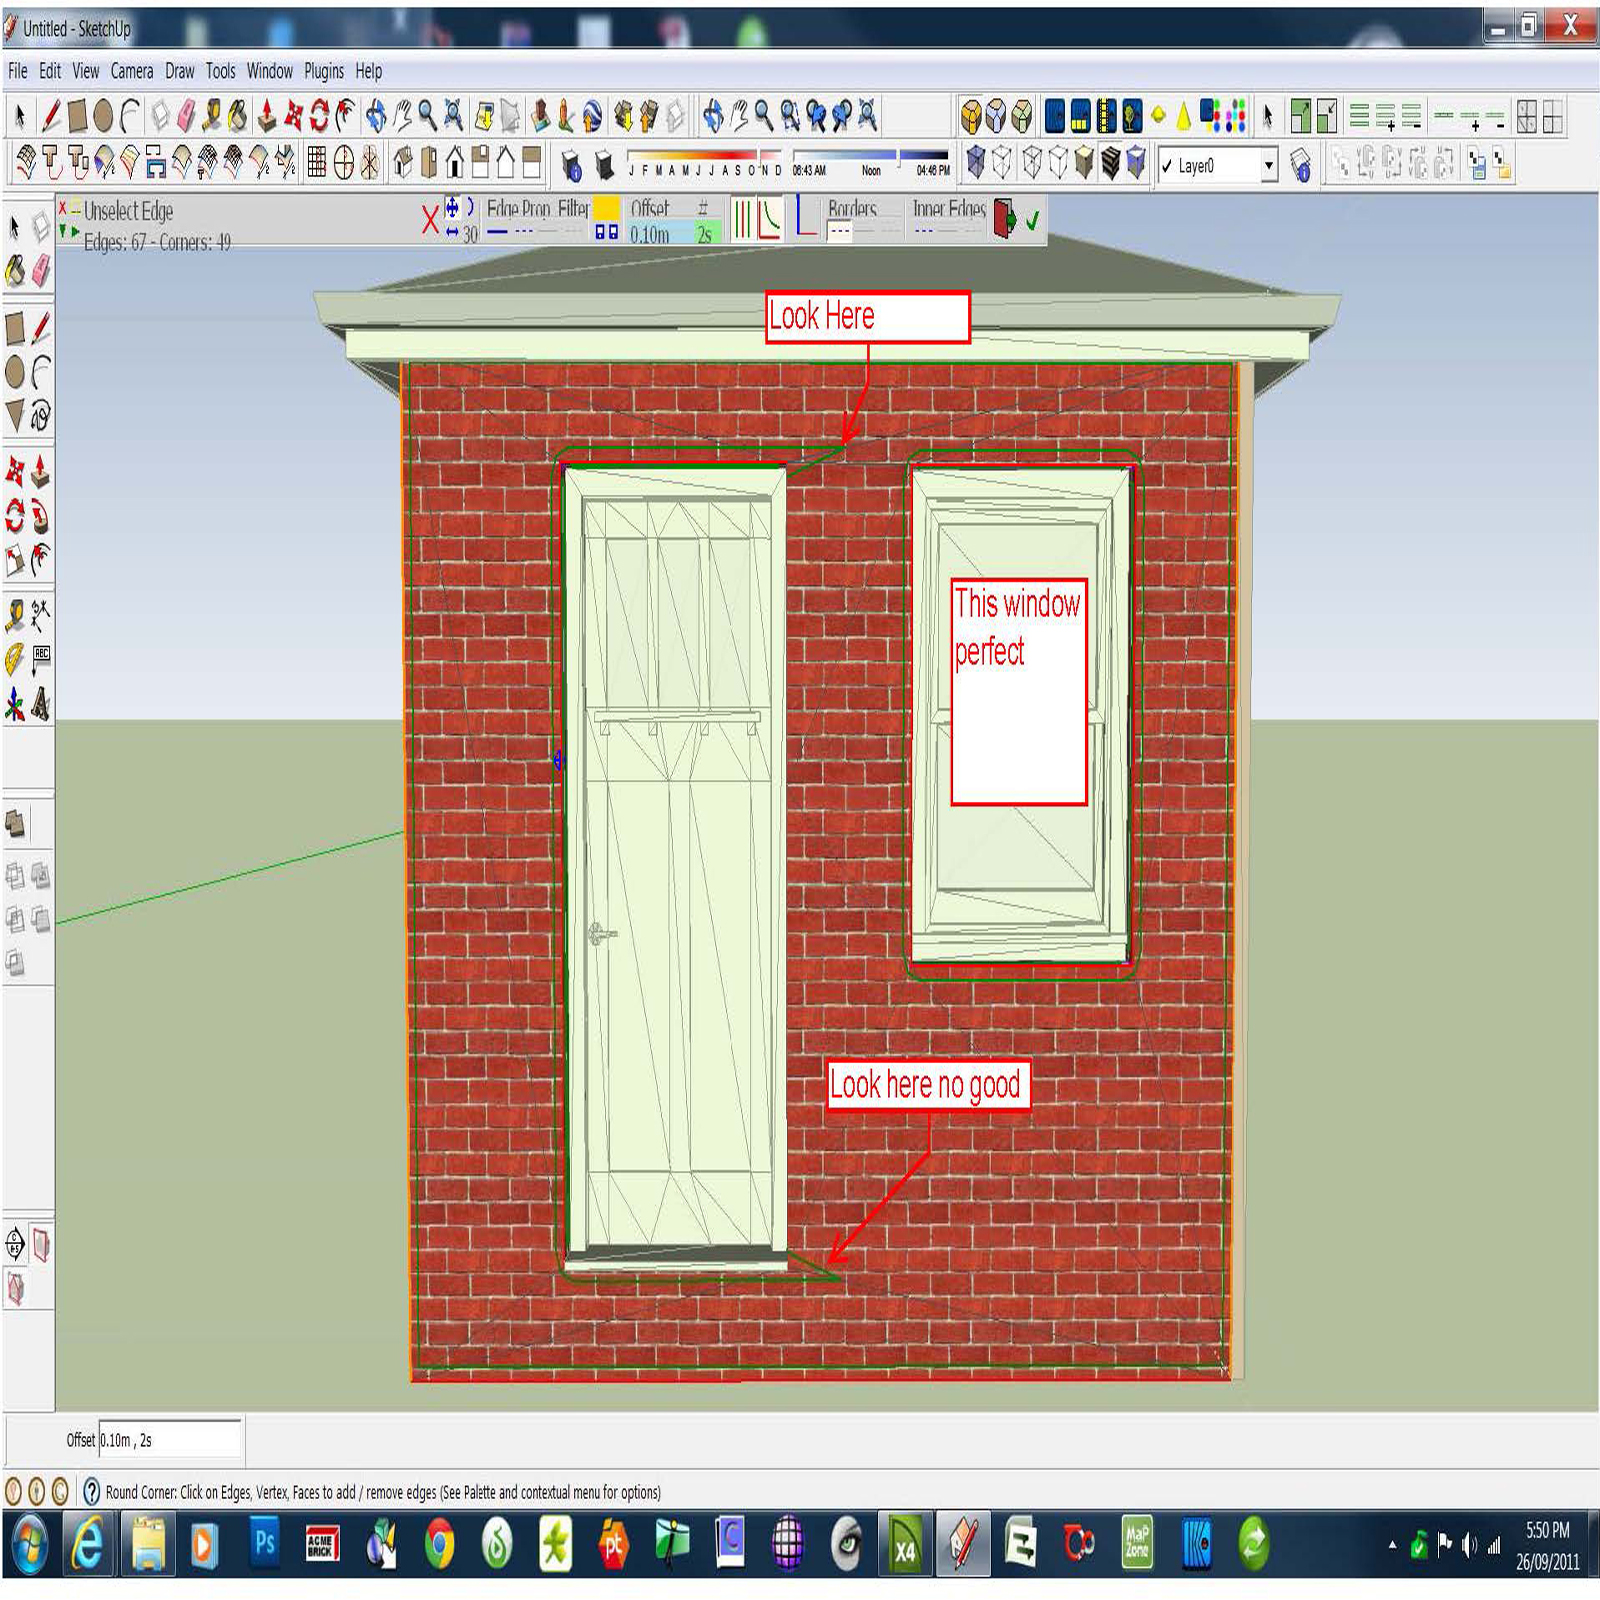
-
There are serious problems with your model. Here are a bunch of things:
-
all faces are triangulated. In SketchUp, this leads to unnecessarily large poly count, texturing as well as problems with plugins like Round corners.
-
You have a layered wall with who knows how many layers inside (I am not talking about SketchUp layers but architectural layers). I know the model is coming from Chief Architect and represents the real building things but for simple visualization (where these inner faces cannot be seen) they are just extra stuff to deal with. "Only model what you will see" - this is visualization, not building documentation.
-
Your wall pieces are individual components (again, from CA) and they should be exploded so that the material can be seamlessly wrapped around (and vertices welded in Thea). Same with your roof pieces. This is one of the reasons CA models are hard to work with in Thea, too.
Basically what you should do is too. -
delete all inner layers (like insulation and all),
-
explode your wall pieces
-
and run these two plugins after each other
http://forums.sketchucation.com/viewtopic.php?t=28087
http://forums.sketchucation.com/viewtopic.php?t=22920
(note that this second one needs an additional plugin library). This is the result after I first ran it:
- although first I would also get rid of the stone and brick materials, too since at some places, the walls are painted with both - depending on triangulation)
Imported stuff is often quite hard to work with before you really clean up what may be useful in other apps but useless in SU - also the export/import process may add a bunch of things that need to be cleaned first.
-
Hello! It looks like you're interested in this conversation, but you don't have an account yet.
Getting fed up of having to scroll through the same posts each visit? When you register for an account, you'll always come back to exactly where you were before, and choose to be notified of new replies (either via email, or push notification). You'll also be able to save bookmarks and upvote posts to show your appreciation to other community members.
With your input, this post could be even better 💗
Register LoginAdvertisement


