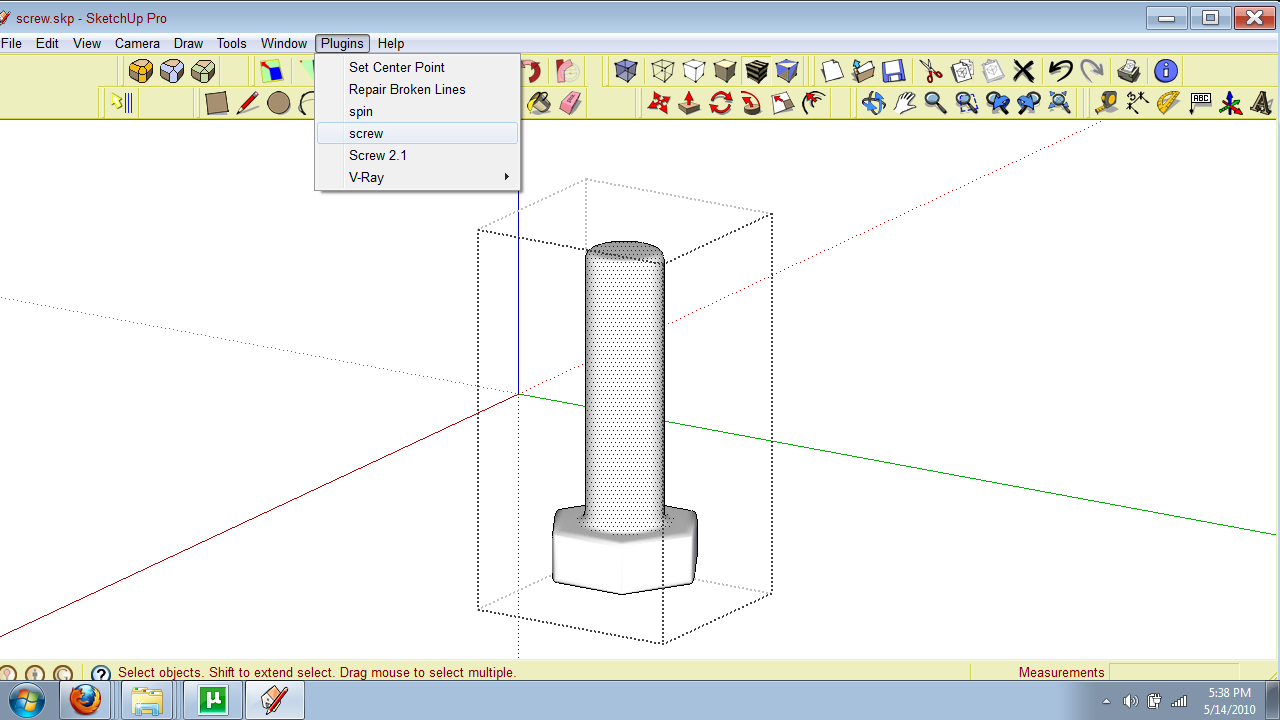
How to make screw threads?
-
Greetings,
I tried this post in the newbie section but it died a long death! So, here's my query, i want to make various thread types for screws and bolts of different diameters, pitch and leads. That is, 'V-Threads, Acme Threads, Buttress Threads' etc.
Is there a plugin that will make my life easier? I've tried 3d Warehouse for components but no luck?Remus kindly supplied the following links to help understand what i'm trying to make
http://en.wikipedia.org/wiki/Acme_thread
http://en.wikipedia.org/wiki/Buttress_thread -
Hi,
With any helix plugins and then using the follow me for instance, the problem is that the follow me will always twist your drawing so that's not a good solution. The general approach with any helical structures (although not with the threads you wish to model but well applicable) is described with different exmples here
http://sketchup.google.com/3dwarehouse/details?mid=b3c74d4c8029c54eb7994a72461fe39a&prevstart=0
here
http://sketchup.google.com/3dwarehouse/details?mid=4aff3ac3dac652077d4ddaa3c8e7429&prevstart=0
and here
http://sketchup.google.com/3dwarehouse/details?mid=ca8bbe1b9994549c1e79542de4b12782&prevstart=0You just need to calculate the elevation of the thread according to the segments of the circle you are using at the beginning.
-
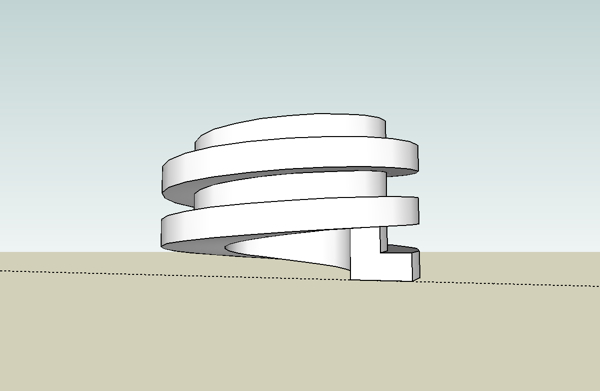
screw1_5.rb is a very simple plugin:
-draw the shape of your thread (notice that the center of the screw will be SU origin point)
-select the shape, then in plugin window choose screw
-enter two point for the pitch
-in the pop-up window specify numbers of steps and number of turns(negative for clockwise)
-enter
-wait few seconds
-TADAA !!you can find it there.
http://www.crai.archi.fr/RubyLibraryDepot/Ruby/EM/screw1_5.rb
-
For a more complex take on it, try the ruby, k_tools/graphs/screwing of lines about the z-axis.
This allows you to draw your own form (that is, a section of the thread) in the proper relation to the z axis, then screw it around once while advancing it a set amount. It generates one turn of the worm around the z axis.
You can find it in the Ruby Depot:
http://www.crai.archi.fr/RubyLibraryDepot/Ruby/EM/k_tools_50.rbBest,
Jim
-
hi,
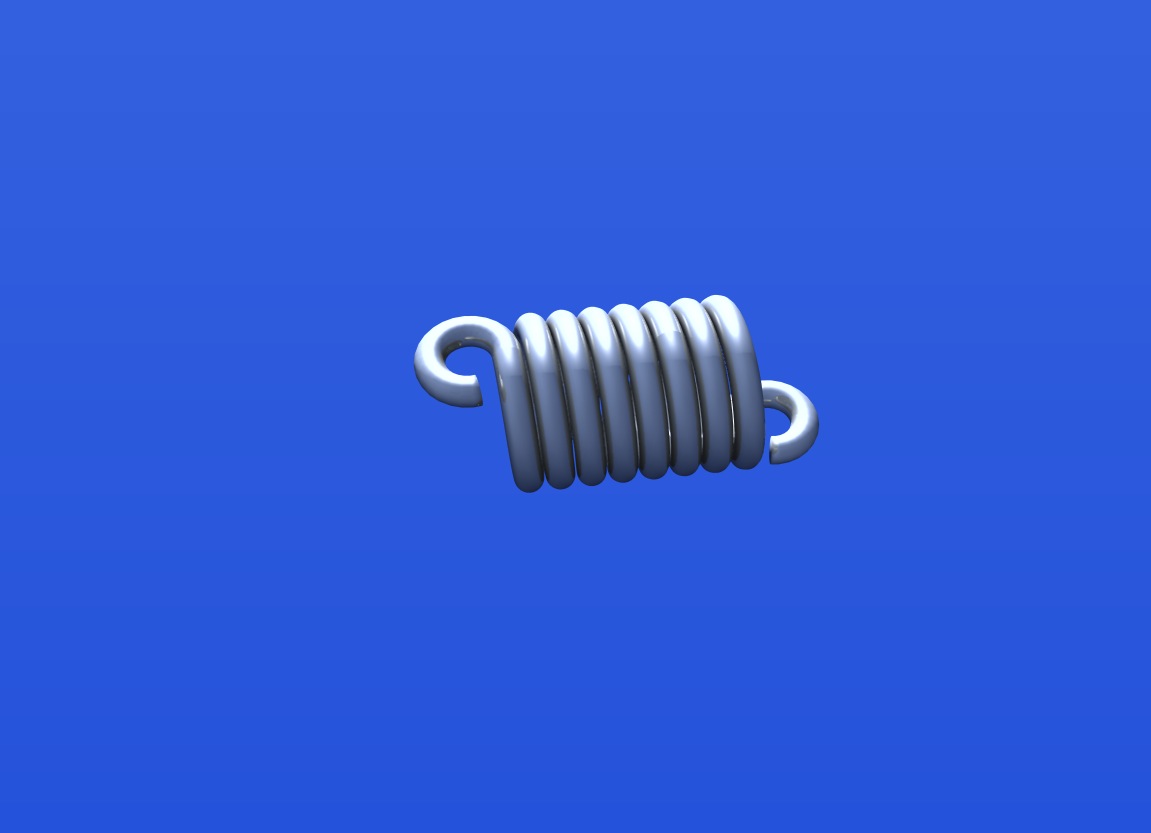
here some simple screw_1.5.rb springs I just made, I'll put up a tutorial if anyone wants..
springs just have a different profile and spacing, and a bigger poly count than treads, but this is a nice easy to use ruby.
Work from center of origin...
animated springs
http://www.youtube.com/watch?v=fMUwcTCpSZQ

-
Hi John,
Thanks for the post. Much appreciated and very impressive.
Looking forward to the tutorial
rgds
Rich -
My pleasure,
I've only been teaching myself SU for the last 3-4 weeks (have dabbled in the past) so as to make animated model of a device I'm designing.
It involves lots of moving springs and threads so I been trying all sorts of rubies out to try and get a good look with as low a poly count as I can,
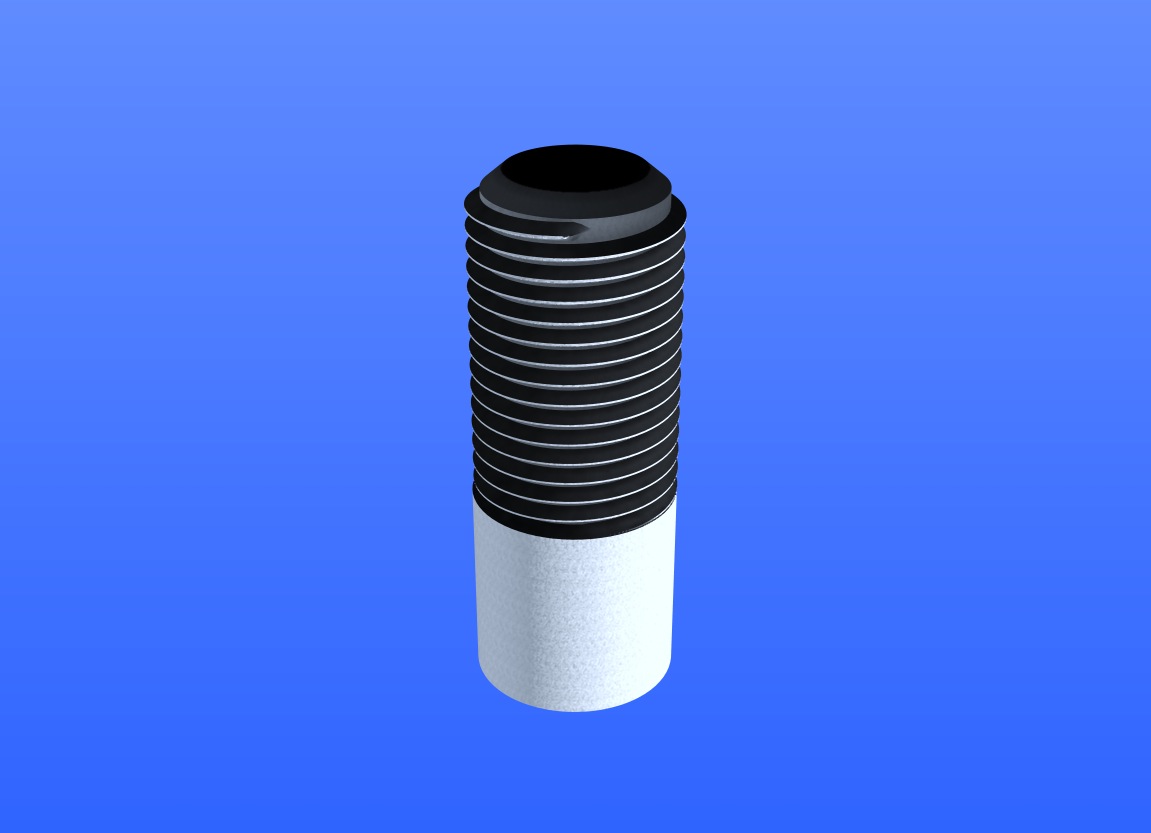
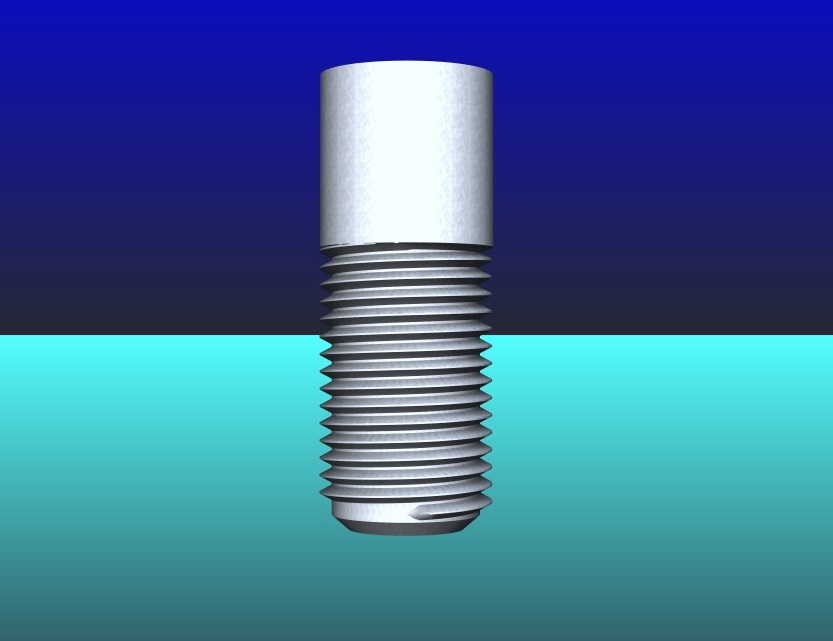
heres a thead I did with arc tool, skin.rb and xformcllone.rb
and there's one using simpleloft.rb at that subject
away working for a few days, will have a tidy of my screen cast when I get back, my lack of speed and basic skills makes me cringe when I watch, but the workflows are pretty good.
john
-
Just a thought regarding your goals. How important is the screw thread in your render? If the screw or bolt is the subject of your render, then all the foregoing suggestion by other members of the forum are valid. However, the purpose of the render is to show a device that is far more important than the screw sub components, I have found that a bit map of horizontal lines (like corrugated metal roofing reduced in scale)can be applied to machine screws, bolts or threaded holes can produce a very convincing render and still remain low poly.
It is all a matter of perception. If the screws are you product or will be seen in extreme close up, then model them. If the roles of the screws is a secondary item to a far more important product, then I say fake them.
-
I gave Screw 2.3 a try but so far am puzzled by it. This version does not offer an entry box for the offset, just a step count and number of turns. I am always getting zero offset -- it just "smears" the shape around into a torus.
I had a look at the source code and though I don't speak Ruby, I got the impression that it was somehow inferring the offset from the geometry of the shape to be smeared -- some kind of slope derived from an edge orthogonal to the axis of the lathing operation. Can anyone confirm?
-
-
haven't sorted screen casting out yet, but I found screw1.5.rb is the most stable on my mac.
it appears to be the same as described in the PDF tutorial for screw2 (http://www.crai.archi.fr/RubyLibraryDepot/Ruby/screw2_1_tutorial.pdf)
Offset is determined by the distance your profile is drawn from the blue axis so construct at origin, in free space.
Use a new page/layer/or hide/move whatever is there already and make it a group or component for further use.
john
-
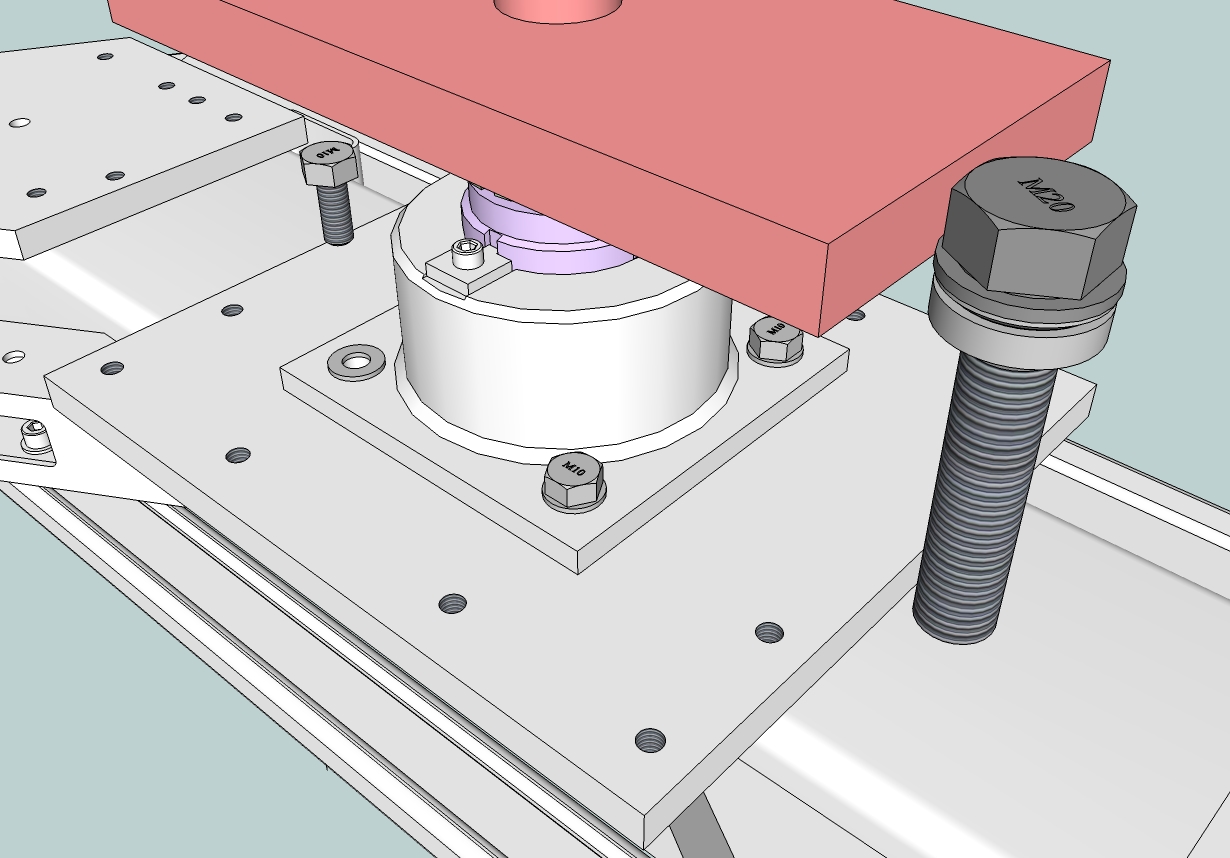
You might find these thread textures useful.
http://forums.sketchucation.com/viewtopic.php?f=40&t=11378&hilit=+threads
They are not perfect, but do the job and are low poly. The attached drawing used the textures.
Regards,
Bob
-
This is something I really want to learn. Is there a video anywhere showing exactly how to do it? All I want to do is show the threaded portion of a bolt sticking out the back of a nut.
ALW
-
From what I can tell the scripts on that are referenced in this thread (screw, k_tools) are no longer available on at http://www.crai.archi.fr. Have they been moved?
What plugins are still available to help with drawing screw threads?
Thanks,
Jim
-
The Ruby Depot moved here
http://rhin.crai.archi.fr/RubyLibraryDepot/Ruby/RUBY_Library_Depot.htm
It's in transition... You can still find the files but the Search function is broken... as it's looking at the old links...
e.g.k_toolshttp://rhin.crai.archi.fr/RubyLibraryDepot/Ruby/EM/k_tools_50.rb -
-
Hi,
Here's how to use this plugin....
Step 1
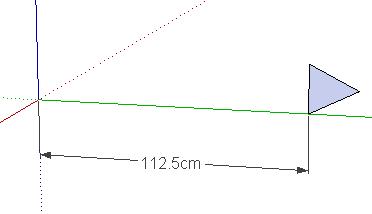
As your bolt has a diameter of 225cm you need to place your thread profile 112.5cm from origin...
Step 2
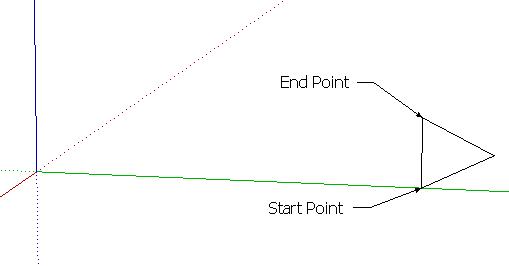
Now double click your thread profile and select Plugins>Screw, at this stage you need to choose a start point and an end point. I chose the bottom of the profile as the start point and the top as the end point...
Step 3
Your bolt was a circle made of 24 segments therefore your thread needs to mimic this for optimum fit so insert 24 into the Step box and choose a whole number for the turns to allow you to align threads afterwards...
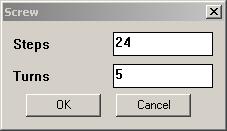
Step 4
Click OK and wait.........
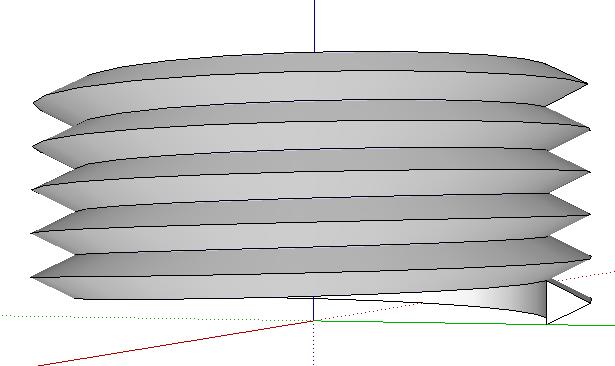
Now you can select your thread and align it to your bolt. This is a basic method of achieving what you need. But you could also align your bolt at the origin at the beginning and then apply the steps.
The only thing that may change is the dimensions of your threads/lead/pitch which depends on whether it's UNC or UNF
Anyway, here's my version to look at...
-
-
Reminds me of the building I passed on the way home this morning. It was the "Pilgrim Screw Company". It seems like a straight line looking for a joke.
-
Here they are.
EDIT: screw1_5 is in fact screw3.0, screw_2.1 is an earlier version.
Advertisement

