Cheers to you all, will see if I can post a few more styles next week.....
@Dave: echo, echo, echo, echo, echo....
Cheers to you all, will see if I can post a few more styles next week.....
@Dave: echo, echo, echo, echo, echo....
rar file containing all styles....
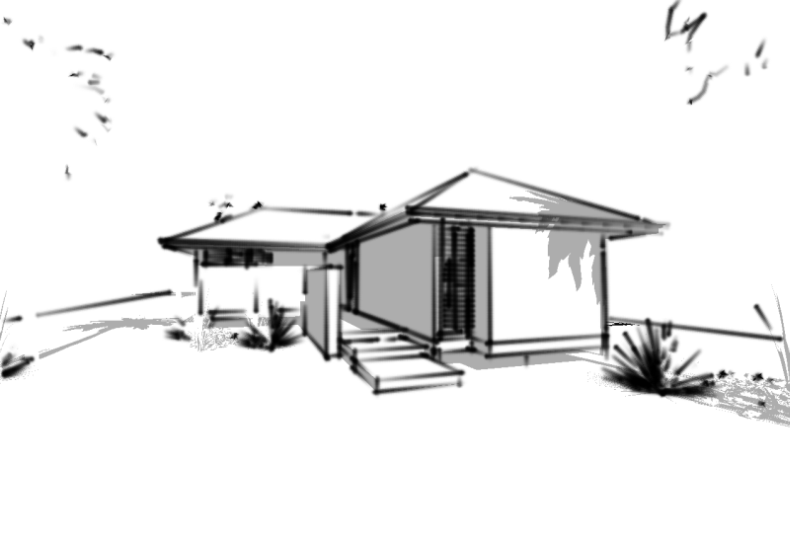
Have done a number of others too;
Pilot Super Fineliner
Pilot Fineliner
Pilot Sign Pen
Will post them when I have more time.....
[and if you want them!!!]

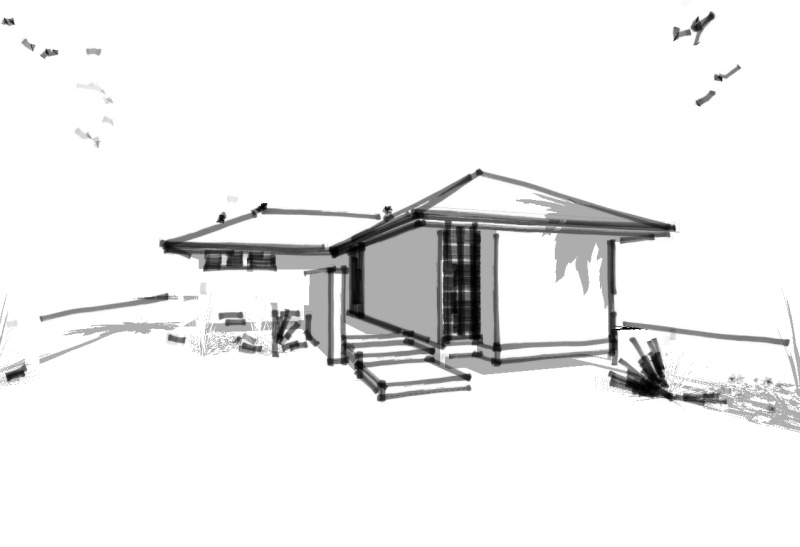
one more....
OHP Marker. This one I overlayed OHP film over the template, created strokes, scanned, cut 'n' paste, etc, etc, etc...
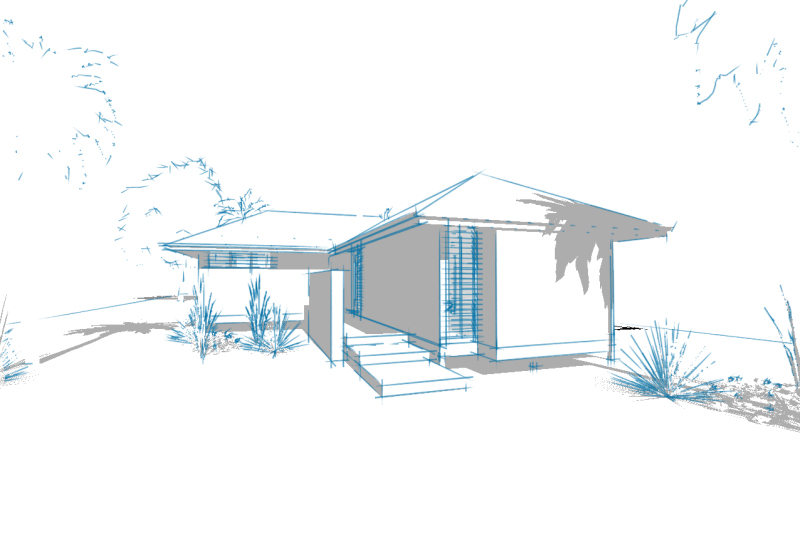
Hey guys, have been playing with Edge styles for different outcomes.
Let me know what you think.
First Sharpie pens...
FAT
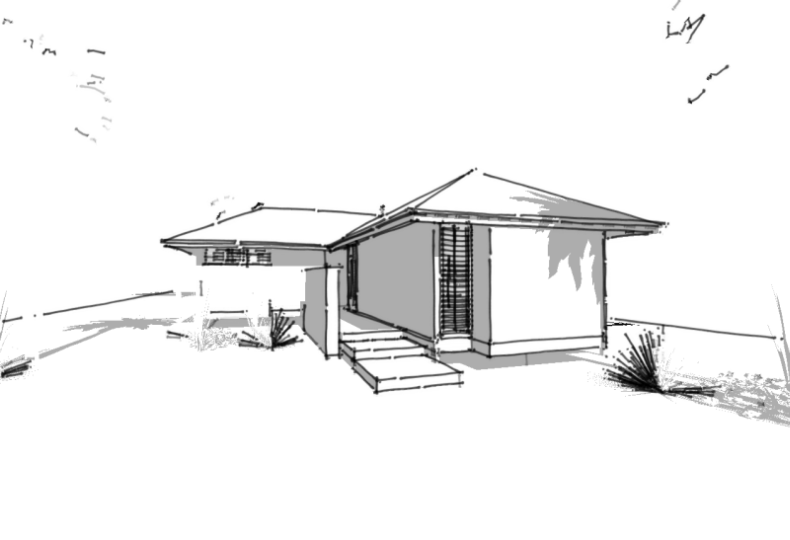
THIN
@unknownuser said:
As a hint, it will be 27 working days before the release of SU7

Big call Fredo!!!!!
Thanks Jakob, I think you're right but I didn't realise I had to explode the 'parent' component...
If this is the case, i think i would rather build the component to cut the external wall and just draw a rectangle at the intersection of the inner face of the wall and delete the face... that way if you need to remove the component, at least the out wall will re-build on deletion...
ditto, I think it is about time i put my hands in my pockets.....
OK, I know this has been discussed at times but do you think i can find it!!!
I recall someone mentioning how they create a section cut plane in a component which creates a second cut in the rear wall face... anyone?
Thanks to you all for your efforts and great suggestions... I want to get into it but have a mountain of work to get through and besides; haven't even got the job yet!!! Will post when I have had a play...
Thanks again, you guys are GOLD!!
Thanks Alan, I'm not a frequent 'image editor' unfortunately.... will have to learn i guess.
So create an image that resembles water in say PS or GIMP [which i have] as you say and paint a shape created in your model that depicts the the spray of water....?
thanks Remus, do you think maybe using that ruby is the way to go then 'reload' with a component containing transparent faces, no edges, etc...
thanks solo,
No, I'm looking at a sketchy marker or watercolor [  ] illustration maybe.....
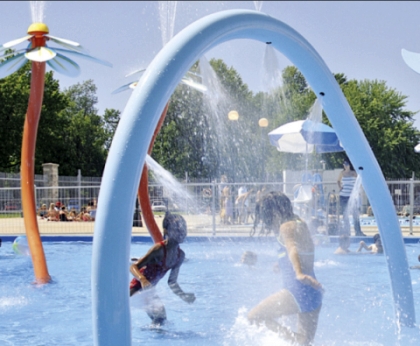
Hey guys,
I'm possibly going to produce illustrations for an aquatic playground in the next week or so [if i get the contract that is...  ]
]
What I am wondering is how to model 'water spray' effectively; I've seen it on a few Fountains on 3DWH and interested in how to do it. I recall seeing a ruby somewhere [can't recall the name] where it produces random lines.
In some cases I guess the water sprays from a nozzle creating a conical shape...
Any ideas?
Cheers....
BTW, looking forward to having fun with the 'follow me rotate plugin' making the equipment.... thanks wikii!!!
Just posted a thread on an alternative use of this great script...
hope you like...
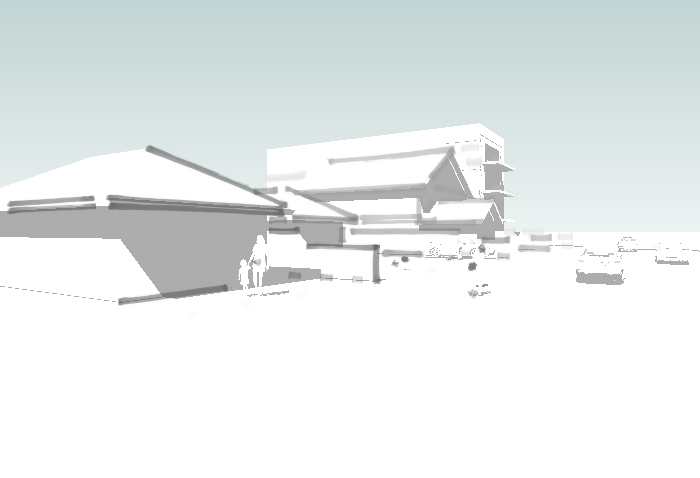
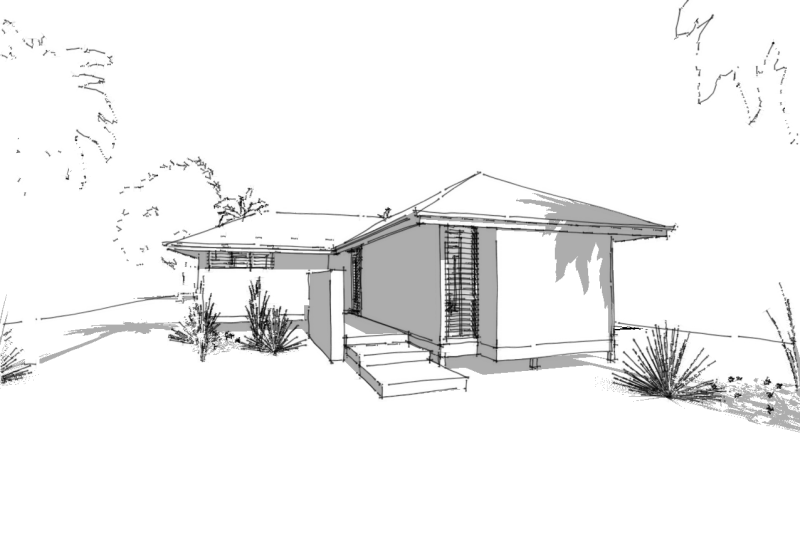
Thought I'd add an intemediate step and larger images to show more detail....
Hidden Line style, view edge styles by material....
Greyscale convert.....

Hey Guys,
at 3am this morning I wondered if this could be achieved using this 'ruby beauty'
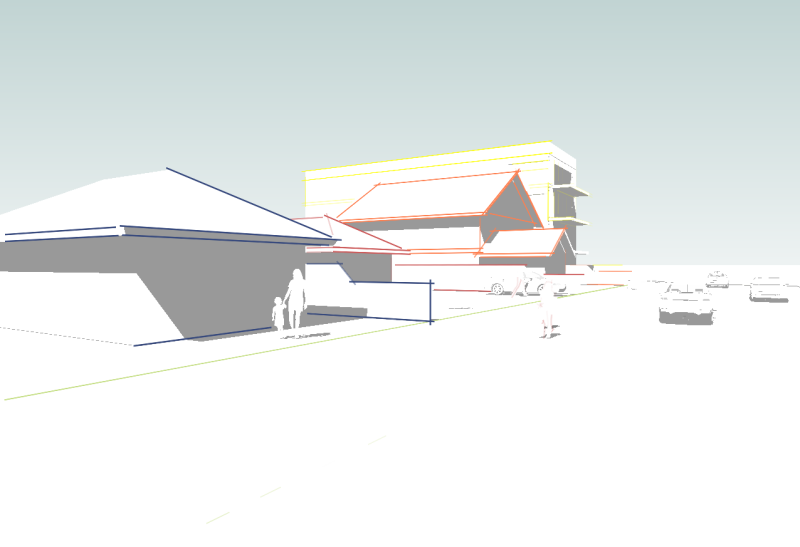
In the past, I can recall users asking if we can create depth in linework with SU. I know we have the ability now with StyleBuilder to set the level of Fade and dropout length but I've worked out a way of do just that for those of you greyscale users...
Say you have a street scape and you want the further most buildings to fade away.
Step 1 - set up model and composition
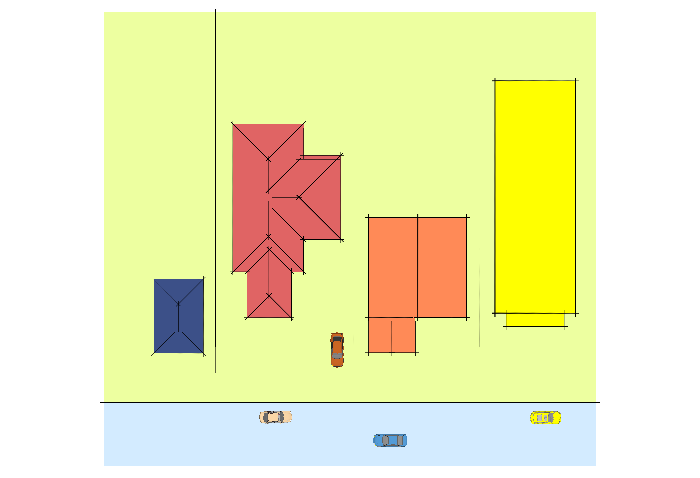
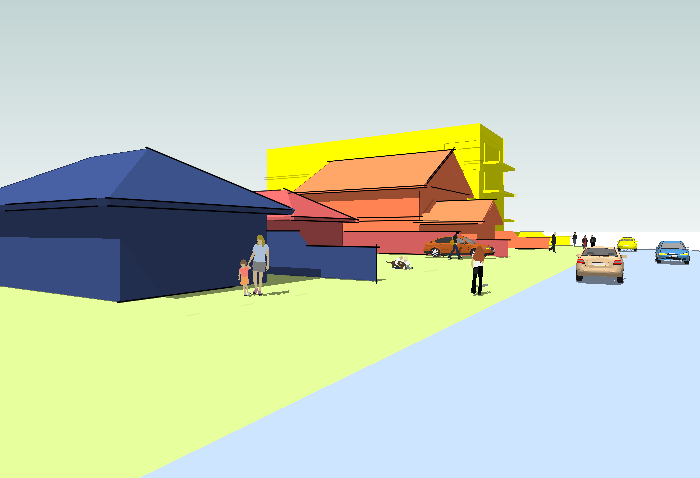
Step 2 - color groups / components in a way that when 'Greyscaled' would shade lighter to the back and darker to the front. for this example I have gone with Blue/Red/Orange/Yellow front to back....
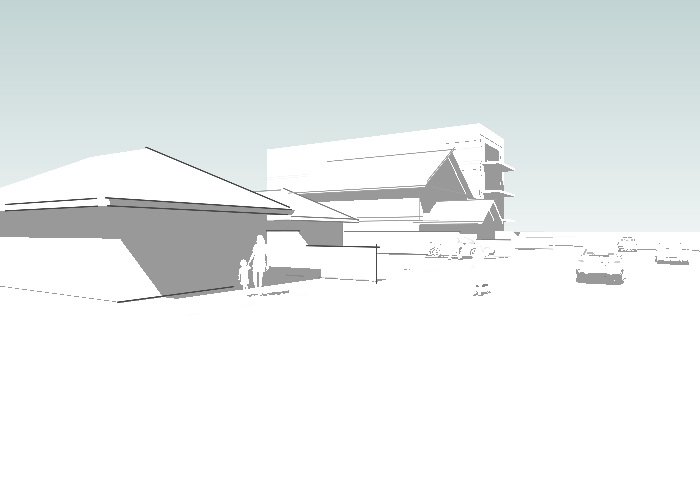
Step 3 Then change your style to 'by material', change to hidden line mode, change to Greyscale mode and WAH LAH!!!!!
Here's a Fat Marker style using the stame technique....