Trying to expand the SU and render skills beyond what I do on my job. First experiment with a house exterior. Far from perfect , but it's a start on learning new stuff.......
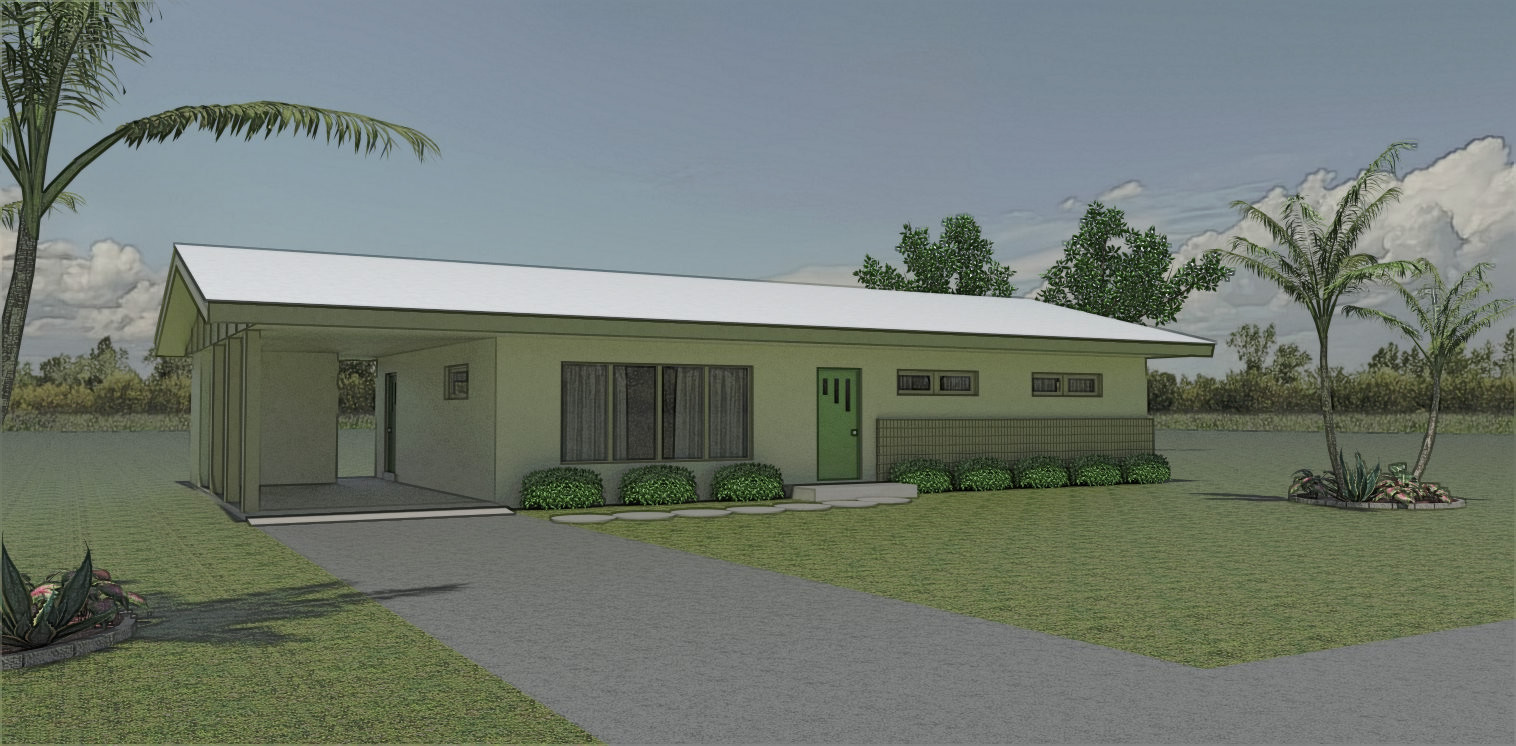
Trying to expand the SU and render skills beyond what I do on my job. First experiment with a house exterior. Far from perfect , but it's a start on learning new stuff.......
Not real sure why you can't push/pull the flower beds etc. to say 1/4" high. If you need to change it's size use the scale tool. If it's grouped use your arrow keys when moving something around, locks the direction no need to zoom in. If you can post an example of what your doing you might get some more helpful input.
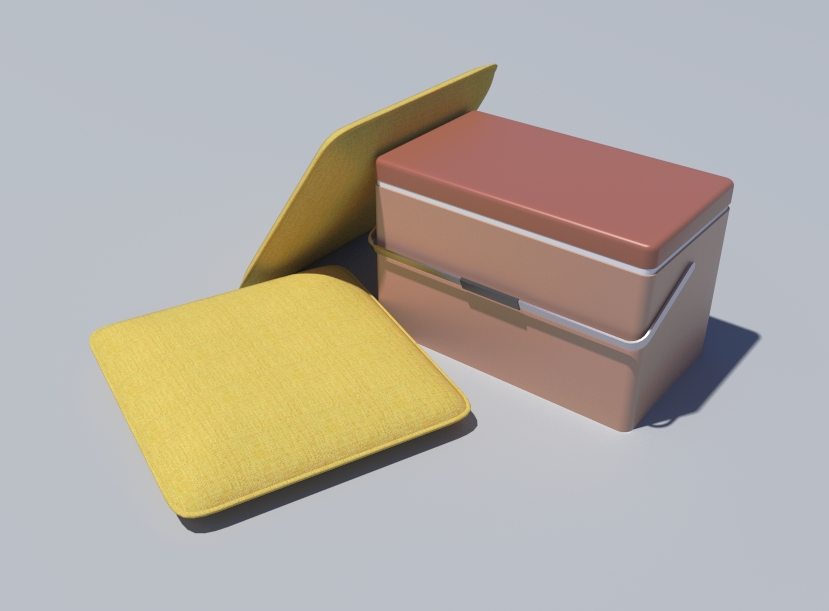
David, great looking patio furniture. 
I've got the ice chest and some cushions for the chairs , I'll be over in about an hour .. 
Bryan, I don't know flaps from flips. Think it's real cool
Thanks Doug , Yeah I'm pretty stuck on the mid century stuff. Dream home would be a renovated Eichler that's full of cool vintage furnishings....... I can dream....
Massimo , Was able to extract the .png file out the .skm file using SU material edit . Converted to RGB in Gimp. Have no bloody clue how to get the converted .png back into .skm ? Imported the converted image into a test model and it rendered fine. Thanks for your help.
thanks massimo , I'll check it out.
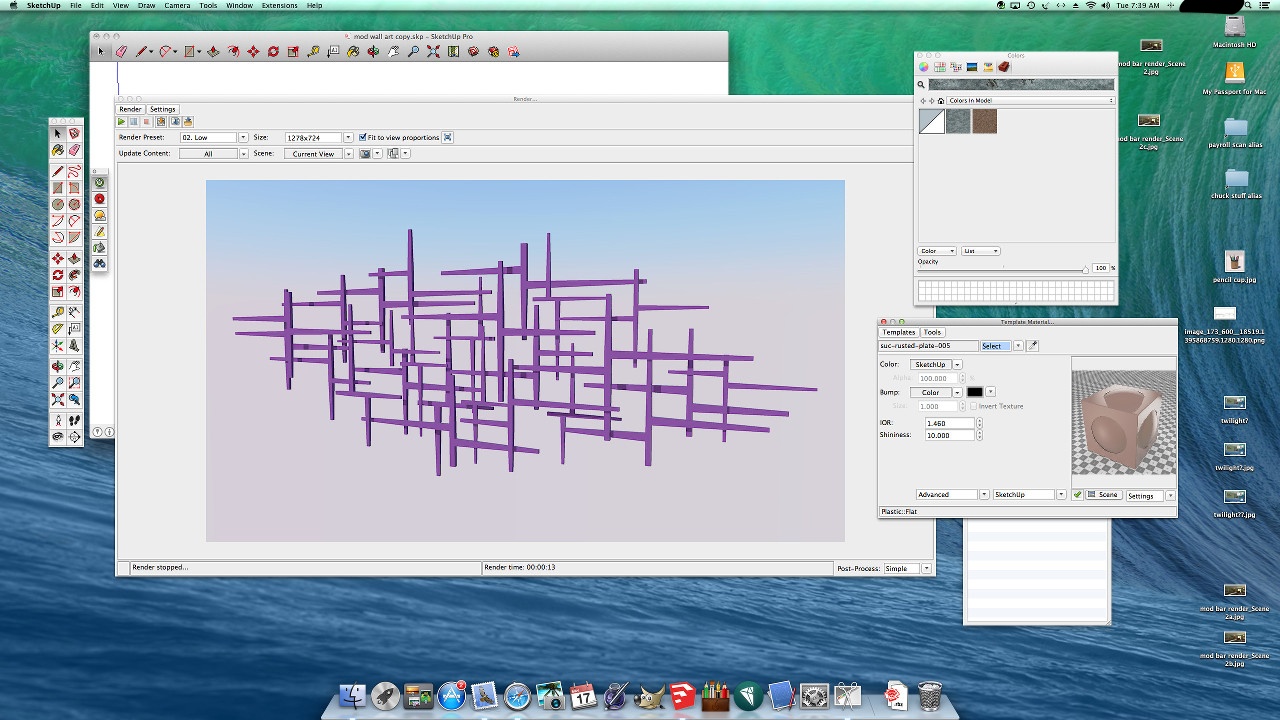
Screen shot of weird behavior between materials out of the industrial metal pack and Twilight Render. When I assign material properties in Twilight it shows a random color ( not the actual material ) and renders with this odd color. Posted this over on the Twilight forum and they think it's something to do with the material file. Asked to post the material. I was hesitant to post the .skm files over there. Don't want to step on copyright toes and such. Any idea what may be going on. Haven't seen this behavior with any of the other material packs .
P.S. I double checked that I didn't have reversed faces and that I bored into the groups when applying materials.
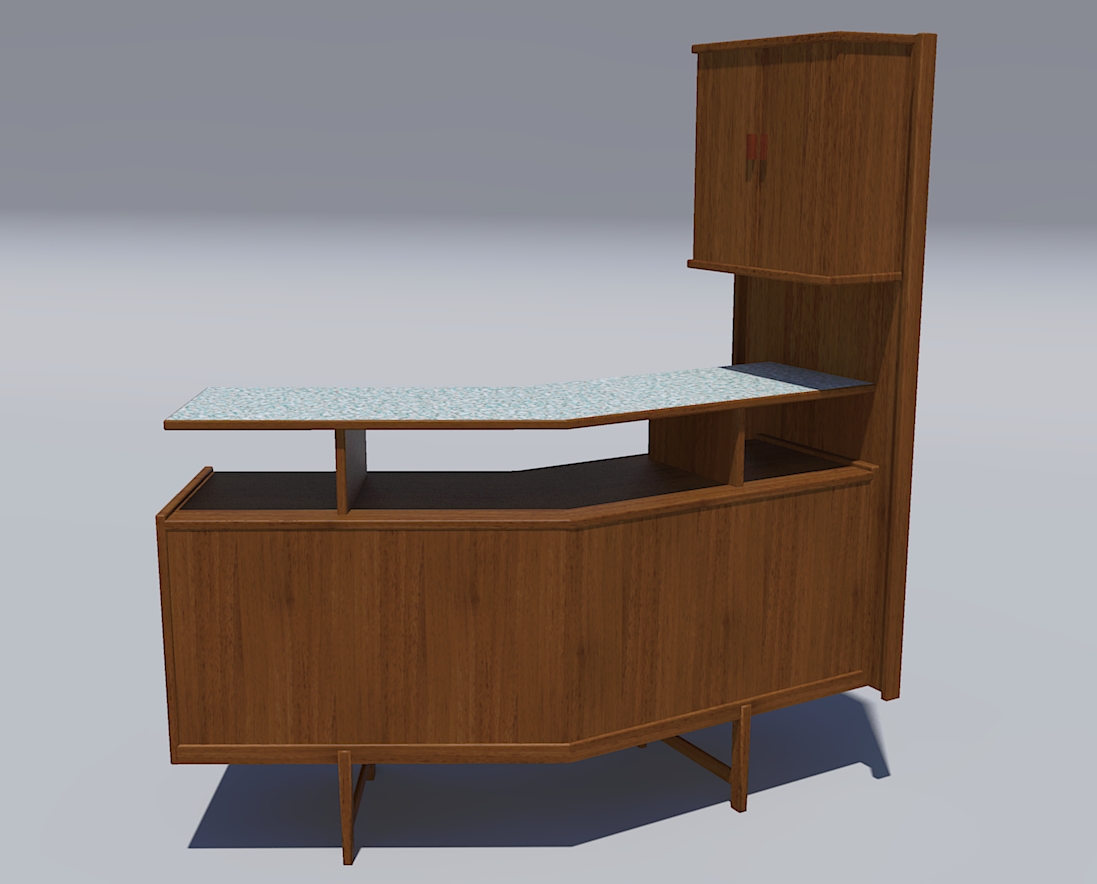
Thank's Dave. About got my 60's den finished. Hope to have some test renders by the end of the week. Be cool to see the bar in actual context of a room. 
Thank's David. I'm working on a 60's style den to drop the bar into for some render practice. Oh, I do have a call out to January Jones for a photo shoot for this...... , waiting to hear back........
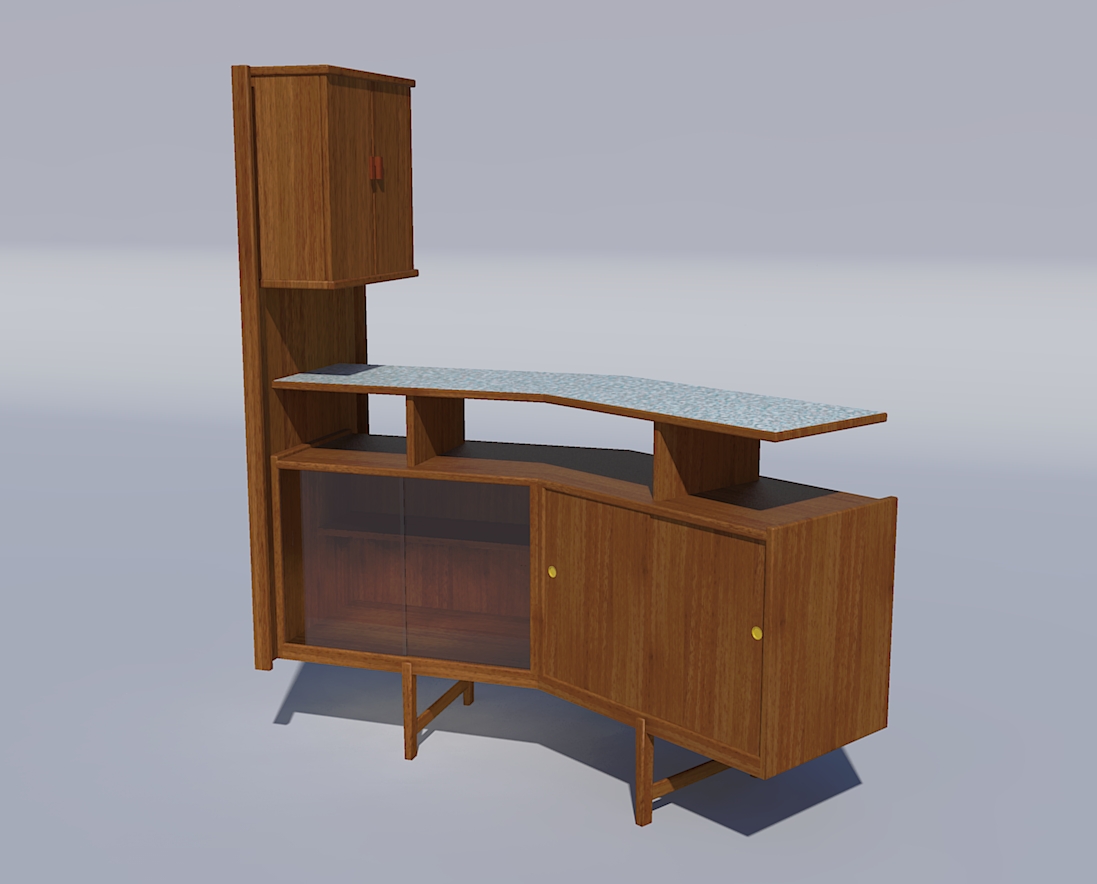
Modeled this mid century style bar based on a couple of pics I saw on the internet. A couple of quick renders in
Twilight. I definitely have to put this in a scene with a bunch of barware and such and do some renders. I want one, no place to put it in the house but still want one
blackdogsketch , not sure if your last post was directed at me but I'll chime in. If I want to do a presentation board with a sketchy line style and the native SU shaded w/ textures this is what I do......
Save my native SU image , shaded with textures. Open the styles window and select the sketchy line style I want to use. Save this image at twice the size as the native SU image.
Import my sketchy line image into Gimp , scale back down to size of shaded w/ textures image. Make background transparent.
Drag native shaded w/texture image into gimp and there you have it.
Reasons for doing this. Sketchy line styles generally look a little to heavy when printed out. Scaling down usually looks better without losing the sketchy effect. I'm also able to work on the line overlay and erase any errant lines that I don't want in my final image. I can also reduce the "strength of lines in the distance if they appear to "strong" by running the erase tool with the opacity dialed down. Don't lose the lines but their not so "in your face" as lines in the foreground.
I've never had issues with the time it takes to save multiple images, but I'm usually not working with massive models. Although the size of the file can run pretty high due to lots of organic models in the drawing. Think one of my bigger files has over 3 million faces in it.
Hope your able to figure things out.
"So if I have a line drawing of a circle, the area outside the perimeter will retain transparency but the area inside will be a "color"? Interesting...OK, thanks for the tip. I'll tell the PS person about this.[/quote]"
Exactly. Do a quick test. Pull a cube in SU, save with transparency. Open with PS, cube will be white, all the background will have transparency.
blackdogsketch, no expert but do a lot of line overlay stuff for presentation boards. maybe I can offer some help.
1 - enabling transparency when exporting a 2d graphic only applies transparency to empty areas of the view. all objects still retain their color. to get transparent image I export my line style image, open in Gimp and run the "color to alpha" operation. wipes out all the white so I can overlay on my other images. I'm sure PhotoShop has a similar function.
2 - Export your line style images at twice the resolution of your view size. Scale back down in Photoshop. Your styles will retain their character without looking to heavy. It seems to be the common practice when doing this type of work.
3 - can't really give any insight into your jpeg question as I always export my stuff in png format.
was trying to look at the positives with my first post. your reply makes me think you missed the point I was trying to make. google cabin and cabin interiors and maybe you'll better get what I'm driving at. When I look at your render I like the lighting, panorama . colors of the various materials but it doesn't say "cabin in the mountains" to me , more like a condo.... I think the average person viewing the image would be hard pressed to say it evokes the feel of a country cabin.
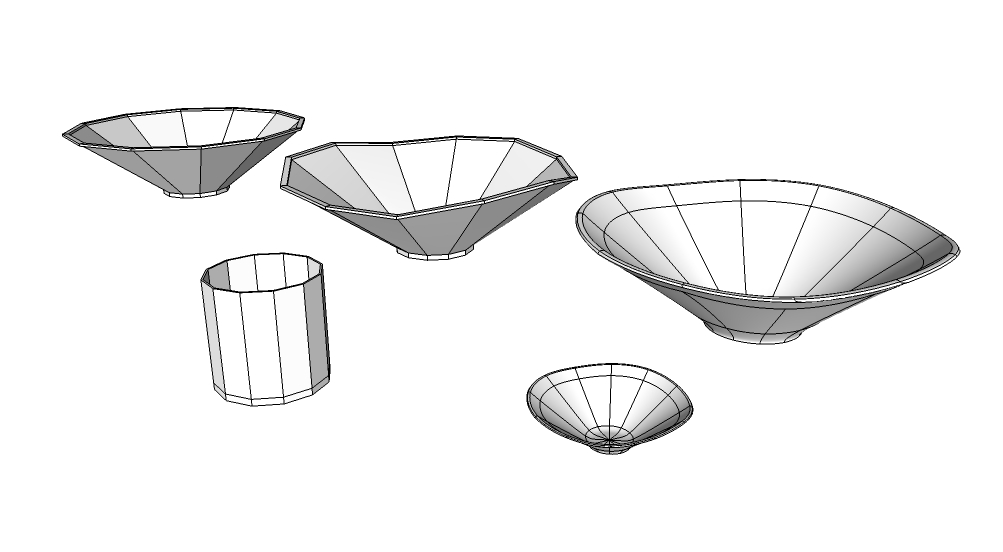
o.k I know it's not a car or godzilla, just started messing about with SubD last night. trying to wrap my brain around a new way of doing things. here's a mod style chip & dip bowl for your next party. copied my steps for the pic.
plain cup in front pretty much native SU tools
far left, base shape of bowl , pretty much Vertex tools
middle bowl , shaped wavy edge , all Vertex
far right , SubD , copied and scaled down for the dip.
I think I really like this, don't think I could have got these shape without Vertex & SubD , thanks thomthom..
a wonderful model , as always. your right about the legs and stretcher. never seen that before. adds a cool twist to a style that can get a little too linear and blocky at times.