sketchucation logo sketchucation
    • Login
    1. Home
    2. pmolsen
    3. Posts
    Oops, your profile's looking a bit empty! To help us tailor your experience, please fill in key details like your SketchUp version, skill level, operating system, and more. Update and save your info on your profile page today!
    πŸ›£οΈ Road Profile Builder | Generate roads, curbs and pavements easily Download
    P
    Offline
    • Profile
    • Following 0
    • Followers 0
    • Topics 21
    • Posts 106
    • Groups 1

    Posts

    Recent Best Controversial
    • RE: Building Walls

      Hmmm. Starting to notice some other anomalies. Maybe they are "design features".

      Imagine a capital T where the top left part of the T is at right angles to the upright but the top right part of the T is angled slightly upwards. When the "road" is built there should be a corresponding bend in the road on both sides along the "top" of the T.

      There is a bend in the lower two parts closest to the upright of the T but the edge of the road on the "top" of the T took a shortcut. Instead of being two separate segments with a kink in the middle it is one straight line, meaning the road is of varying width over that section when created.

      The big problem with that is that when you create a wall then start to make modifications to it, (eg. sloping the top of the wall) things start to get horrible.

      posted in Plugins
      P
      pmolsen
    • RE: Building Walls

      One interesting quirk with Streetgenerator relating to short lines.

      Draw an L shape where one leg is tiny (shorter than the desired road width). When you do the Street Gen you end up with a the long leg being the correct width and length, but is has a corner chopped out of it where the short piece branched off. The hidden diagonal lines are also "funny".

      It is perfectly logical when you think about it but probably not desirable.

      The other problem is that something in the above chain of actions resulted in that piece not having a face at all. Actually it was not an L. It was supposed to be but it was actually a T because the two lines did not quite join at the ends but about 1mm from the end of one.

      The code should probably ignore any short segments at the end of a group of lines to avoid the anomaly.

      posted in Plugins
      P
      pmolsen
    • RE: Building Walls

      Thomthom you are a genius! You must be a Norwegian (as was my father - from Hammerfest). I just installed and ran CityGenerator and Street Generator. Works a dream.

      No need for the radius of 0. Just set the threshold angle to 179 degrees and no corners get rounded.

      It generates hidden diagonal lines across all corners as part of the face generation. They are not wanted but are fairly easy to delete.

      • In wireframe mode turn off hidden lines, select all other lines and move them to a new layer.
      • Turn on hidden lines, select all lines and delete.
        Voila!!!!

      The faces can then be pulled up into a wall with the push/pull tool or all faces can be selected and pulled up into a wall in one step using Joint push/pull (Normal push pull option).

      posted in Plugins
      P
      pmolsen
    • RE: Building Walls

      For the benefit of others, here is the full detailed process for building walls from lines. It looks worse than it is. Once everything has been set up it takes less than a minute to generate walls from a series of lines.

      • The walls do not have to be simple paths. They can be as complex as you like with multiple inter-connected branches and junctions like a maze.
      • They do not have to meet at right angles.
      • There can be multiple disconnected sections of lines.
      1. Install Citygen Core from http://forums.sketchucation.com/viewtopic.php?f=180&t=19492 (CityGen Core.zip)
        Unzip the lot into sketchup/plugins, specifying "Use Folder Names"

      2. Install Streetgen plugin from http://forums.sketchucation.com/viewtopic.php?f=180&t=19493 (CityGen - StreetGen.zip)
        Unzip the lot using "Use Folder Names" into sketchup/plugins/citygen/modules (The instructions on the above page refer to the "citygen module folder" which is a bit misleading.)

      3. If you are doing complex walls install Joint Push/Pull plugin from http://forums.sketchucation.com/viewtopic.php?f=323&t=6708
        Unzip the lot into sketchup/plugins.

      4. Change the StreetGen defaults: (not really necessary)

      • Open parameters.html from sketchup/plugins/citygen/modules/street_gen/webdialog/ using Notepad
      • Change Street Dimension to the desired wall width
      • Change Angle Threshold value from 30 to 179
      • Save the file
      1. Draw all of the required lines by tracing along the centre of the desired walls from GE snapshot or whatever. Ensure all are on the same plane.

      2. Select all lines.

      3. Select Tools/City Generator/Streets/generate. Set width to desired wall width and Angle Threshold to 179 and click Generate on the dialog box.

      4. Delete all the still-selected lines, or move them down out of the way for possible future use.

      5. Select everything, right click and Explode. There will be multiple groups if there are several unconnected sections of lines.

      6. Define a new layer. (Window/Layers, click the + sign)

      7. Change to wireframe view. (View/Face Style/Wireframe) or click the wireframe icon if visible

      8. Turn off hidden lines (view/Hidden Geometry unticked) to hide the hidden lines across all corners

      9. Select everything (all the edge lines), right click and select Entity Info

      10. Use the layer dropdown to move the lines to the new layer you created

      11. Click Window/Layers and untick the new layer to hide it. Everything disappears.

      12. Turn on hidden lines (view/Hidden Geometry ticked). All the little hidden lines appear.

      13. Select everything and Delete

      14. On the layers window highlight the new layer containing the edge lines and click the minus (-) to delete it. Use the default to move the contents back to the default layer, assuming that is where you are working.

      15. Change back from wireframe to normal view (View/Face Style/Shaded with Textures). You should now have a plan view of your wall. It just has to be pulled up.

      16. If you only have a few unconnected wall segments, use the Push/Pull tool to pull up the first one to the desired height, then double click on the others to pull them up the same distance.

      17. If you have numerous unconnected wall segments, use Joint Push/pull to pull them all up in one step:

      18. Select everything. Right-click, select Joint Push-pull/Normal Push-pull

      19. Click on a face and pull it up a bit. You see a purple wireframe. Type a value for the height of the wall in the VCB (just type a number and press Enter).

      20. Press Enter a second time to do the pull operation. Be patient.

      posted in Plugins
      P
      pmolsen
    • RE: Building Walls

      @dtrarch said:

      Pmolsen

      You are just a little quick to judge. πŸ’­
      The boolean mode will join for a T if you need to.
      There is always some cleanup especially for the free stuff.
      Also flatten to 2d is another work-around.
      Works for me. πŸ‘ so you figure. ❓

      dtr

      Dtrarch,

      Please find attached the beginnings of the model I have just started working on. It represents about 0.5% of the total final model. Can you please quickly turn it into walls 2.5m high x 0.4m wide for me and let me know how long it takes.detailed walls.skp

      posted in Plugins
      P
      pmolsen
    • RE: Building Walls

      That is exactly what I need. A plugin to "widen" all selected lines into faces of a given width and delete all redundant lines at the intersections.

      posted in Plugins
      P
      pmolsen
    • RE: Building Walls

      Thanks for the suggestions.

      DTR Arch, Extrude along path is no better than the various other plugins that I mentioned. It can only handle a single path. It cannot handle T junctions, and it creates a redundant bottom face. It means you have to run it numerous times and each time you run it you get overlapping lines at the intersections with previous geometry. It also takes forever to select all the individual line segments and build from them.

      Diegog321, I realise that there is no native way of doing it, but then again there is no native way of doing animated gifs in Sketchup, or converting bmp height maps to terrain, but there are brilliant plugins to do those sort of things. I cannot imagine that doing simple line offsets could be as complex as things like that.

      PS. the image above is not quite correct. The second one does not have the line down the middle. It is a mirror of the top face of the third one.

      posted in Plugins
      P
      pmolsen
    • Building Walls

      Does anyone know of a good plugin for building walls from lines please (or can create one)? I want to be able to trace along the centreline of a series of connected and unconnected walls (house, castle etc) and convert the lines to walls in one step. The lines will all be on one horizontal plane, not up and down.

      I have tried all of the plugins I could find both here, in the Ruby Depot and Smustard and none of them do the job properly.

      • Multiwall tool, Double line 2 and Pathcopy only do a single path. They cannot handle T junctions. Multiwall tool also textures both the inside and outside of walls
      • Walls-from-lines does not handle non-right angle junctions properly.
      • Extrude lines then Joint push-pull can do T junctions but requires push-pull first in one direction then the other and does not delete the original wall outlines, resulting in hundreds of redundant lines on the top and bottom surfaces and internally. It also regularly causes SU (7) to crash when lots of faces are selected. It also pulls some faces out at strange angles to the original walls, not parallel to them. It also leaves many faces reversed.
        -Curves-to-walls-1.3 reverses many faces, cannot handle T junctions and often does not generate a top face.
      • All of them generate faces on the bottom, which are redundant for GE modelling.
      • Most of them leave the original lines in place.
      • Various other plugins have one or more of the above problems.

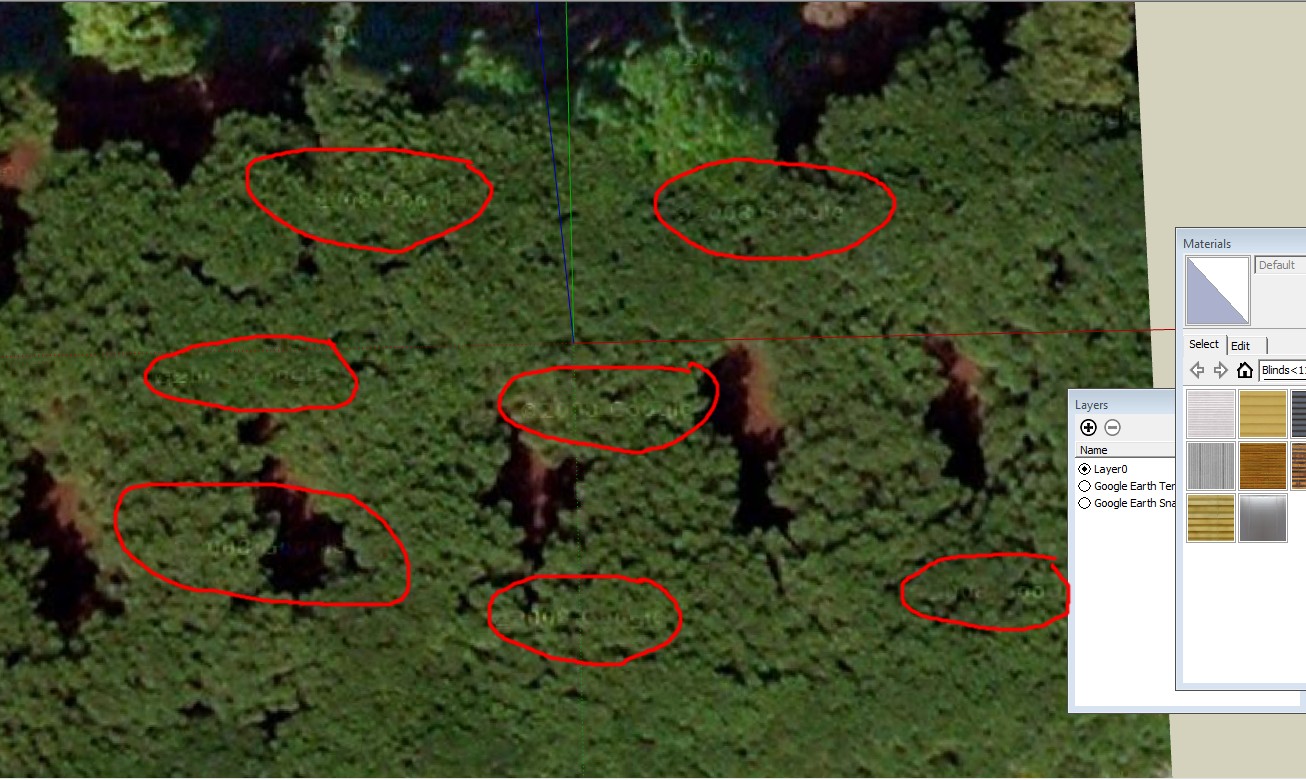
      Attached is a sample file showing the lines then the desired wall to be created in one step. (Wall shifted 30m right so both can be seen but should obviously be generated where the lines are.)

      None of the current plugins are able to create the shown wall, even in multiple steps let alone in one step. All required major modification to the model after doing what they could do.

      With all of the brilliant plugins out there (animations, spirals, bending groups into curves etc) I cannot believe that something as seemingly simple as this has not been done.

      It isn't even necessary to extrude the wall. All that really needs to be built is a copy of the top face of the wall where the original lines are, as shown. The pull tool can then be used to build the wall.testwall.skp

      posted in Plugins
      P
      pmolsen
    • RE: Joint Push Pull Classic (Old version) - v2.2a - 26 Apr 17

      @thomthom said:

      Just don't select the bottom face.

      I do not know what you mean. I do not select the bottom face. I select the single vertical faces and push-pull them one direction. Faces get created all round and top and bottom. Without deselecting the selected faces I then push-pull them in the opposite direction. There is no way of not creating the bottom faces.

      But the problem is the outlines of the original faces remain on the top and bottom, along with numerous other lines generated by the push-pull. How do I prevent them?

      One thing I tried was pulling the faces in one direction with "Delete original faces" on and "No Borders". I then used the Cleanup plugin to delete all the orphaned edge lines from the original faces. I then reselected all the faces and tried to pull them in the opposite direction using Thickening and Borders on Outer Faces Only. It does not work.

      When you pull the wall in one direction using thickening, the original faces stay selected. If you then pull them in the other direction without deselecting them, they all move in the correct direction.

      If you do the first push-pull with no borders and delete original faces they do not stay selected. After you do the cleanup, you reselect them and try to pull them in the other direction but it does not work properly. Some of them pull the correct direction. Others pull the opposite way (the same direction as the first push-pull operation) meaning those parts of the wall end up offset from where they should be.

      posted in Plugins
      P
      pmolsen
    • RE: Joint Push Pull Classic (Old version) - v2.2a - 26 Apr 17

      Another request please. An option to say borders on external faces EXCEPT THE BOTTOM FACE. When thickening a wall for example, a face on the bottom is often not wanted since it will be sitting flat on the Google Earth surface.

      posted in Plugins
      P
      pmolsen
    • RE: Joint Push Pull Classic (Old version) - v2.2a - 26 Apr 17

      Any chance of a new option to thicken a wall on both sides and delete the original wall in one step please?

      Would allow for example tracing the centreline of a complex wall from Google Earth, (eg. the walls of a house) then thickening it in one step.

      At present it is difficult to achieve. You have to thicken it in one direction by half, then thicken it the other way by the same amount. Problem is when you do the second step it leaves the original faces there, or at least the outlines, even if you specify delete original faces, meaning you wind up with a line down the centreline of the wall top and bottom which you then have to delete. For a long complex wall that can be painful.

      posted in Plugins
      P
      pmolsen
    • RE: [Plugin] UVTools 0.2 Pro (Beta) (Updated for SU6)

      Wow, that looks easy (Not!) 😞

      Shouldn't take more than a year to learn to use Blender. Another year and I might manage to unwrap my first model. Another couple of years and I should manage to texture it and import it back into Sketchup.

      Obviously not quite as straight forward as I had imagined. Guess I'm just a slow learner.

      posted in Plugins
      P
      pmolsen
    • RE: [Plugin] UVTools 0.2 Pro (Beta) (Updated for SU6)

      Ok, so I have a model of a human head and 4 photos of each side of the head. I export the surface to a UV mapping program which rips it apart into a flat surface. Now what? How on earth do I distort the photos to match the weird-shaped surface, so the eyes are where they should be and not where the ears go etc? And how do I seamlessly join the photos together first?

      Is there a good tutorial on all of that somewhere please, because a head textured with black and white squares or bricks, like in the examples, just doesn't look right somehow πŸ˜„

      posted in Plugins
      P
      pmolsen
    • RE: SketchUP 8

      @unknownuser said:

      Looks like a fantastic model. Why can't I download it (no download button)?

      It will be made available for download at some point, dependent on discussions I have been having with the Peruvian Tourist Bureau (Promperu).

      (Linked at http://www.peru.info/en/culture/archaeology/machu-picchu-1140-2-576-4.1.16.7 )

      posted in SketchUp Discussions
      P
      pmolsen
    • RE: SketchUP 8

      Google requires or at least strongly recommends that models be textured with their imagery for models submitted for inclusion in the 3D Buildings layer. Failure to do so can result in the model being rejected. Naturally for other purposes it is irrelevant.

      When texturing built-up terrain it is essential to use the GE image in order to achieve a seamless result.

      I have in the past recommended (and if Google is reading this, I recommend again) that Google add a new texture option to Sketchup called "Google Imagery". Any texture with that attribute would have the standard GE imagery (full resolution, not a grainy substitute) automatically applied to it when displayed in the 3D buildings layer. When viewed independently it would have whatever texture is actually applied to it.

      The big advantage is that when the GE imagery is updated the model and built-up terrain etc. would automatically receive the new texture without the need for the user to re-texture it. It would reduce model size and would also result in perfectly seamless integration of models and built-up terrain with the underlying Google Earth imagery and terrain.

      Naturally if there was a significant sideways shift in the imagery it could require manual adjustment of the building location by the modeller but for built-up terrain that would not be a problem.

      This model of mine is a good example that would benefit from that: http://sketchup.google.com/3dwarehouse/details?mid=736735667eaa157548846c67671d9660

      This is another one, which I have had to completely re-texture twice already due to new imagery: http://sketchup.google.com/3dwarehouse/details?mid=8f0ba6075e797f2248a0c60ecb66c42

      posted in SketchUp Discussions
      P
      pmolsen
    • RE: SketchUP 8

      The copyright notice is all over the image, not just in the corners. See attached. (Click on the image to see it in full size).

      Grabbing a much larger area results in a much less detailed image. When used to texture built-up terrain it looks terrible.


      copyright notice.jpg

      posted in SketchUp Discussions
      P
      pmolsen
    • RE: SketchUP 8

      The "Get More Imagery" Google Maps replacement for the old "Get Current View" from Google Earth is even worse than I foreshadowed in my previous post. Not only can the view not be rotated to line up with the building, the imagery has the Google copyright notice splattered all over it. How is one supposed to use it to texture built-up terrain with writing all over it?

      With that backwards step plus all the other bugs introduced in V8 I cannot see any benefit in using it at present.

      posted in SketchUp Discussions
      P
      pmolsen
    • RE: Let's have a Hardware speed test for SU

      Ran it successfully on SU7.1 and SU8. Medion akoya MD97310 (from Aldi). 15.4 fps on SU7.1. 27.6 fps on SU8.

      speed test1.jpg
      speed test2.jpg
      speed test SU7.jpg
      speed test SU8.jpg

      posted in Hardware
      P
      pmolsen
    • RE: Plugins for Model Tidying Up

      What do you mean loose to group?

      posted in Plugins
      P
      pmolsen
    • RE: Plugins for Model Tidying Up

      @thomthom said:

      It repair sets of edges that are co-linear.

      CleanUp does implement this feature, but I wonder if I have broken it somehow...

      The problem is not with co-linear lines but ones that are not co-linear. Maybe something that CleanUp could check for and highlight rather than deleting.

      posted in Plugins
      P
      pmolsen
    • 1 / 1