It looks like you are seeing the reflection of the sky. Try giving something to reflect to your reflection layer.
good luck
Ogan
It looks like you are seeing the reflection of the sky. Try giving something to reflect to your reflection layer.
good luck
Ogan
Though not very important I think your glass material needs refractive layer. Overall the greatest benefit would come from some warm colored lights coming from behind the camera. I agree with TomDC on the bumps, bevels, towels, and reflection. You should be able to finish this render quicker with your hardware, without losing quality (I think).
good luck
Ogan
Using vray. I essentially kept the original materials, just added reflective layers and bump maps. The fake caustics on the shark are added to the shark skin texture before the render using gimp.
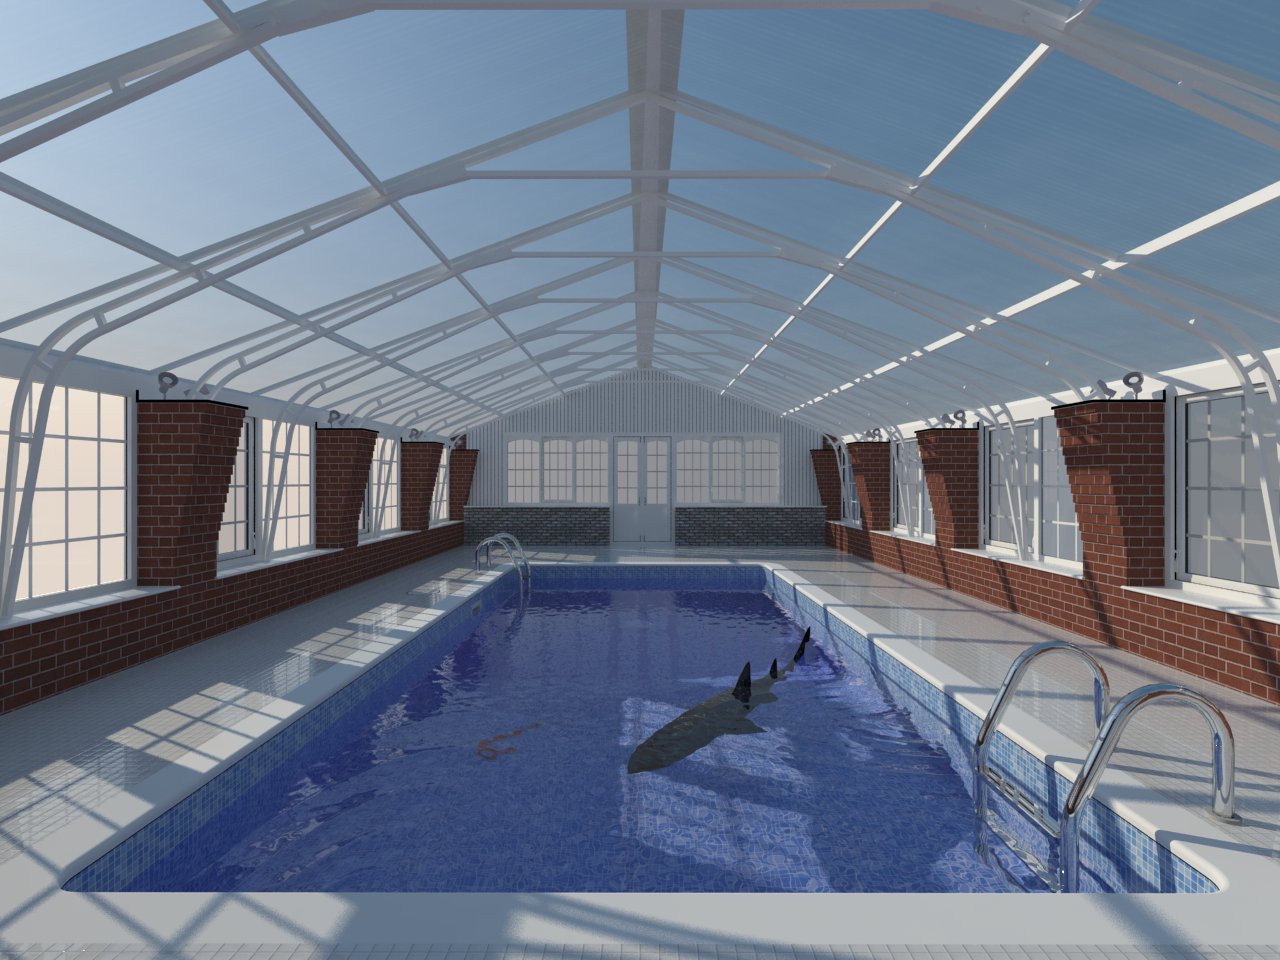
@man: I just saw your post. I think I understand the issue, for the bottom of the pool I merged the cake caustic pattern with the bottom texture "before" rendering as a texture, I think this was not the original idea but worked fine for me. I am attaching the skp file.
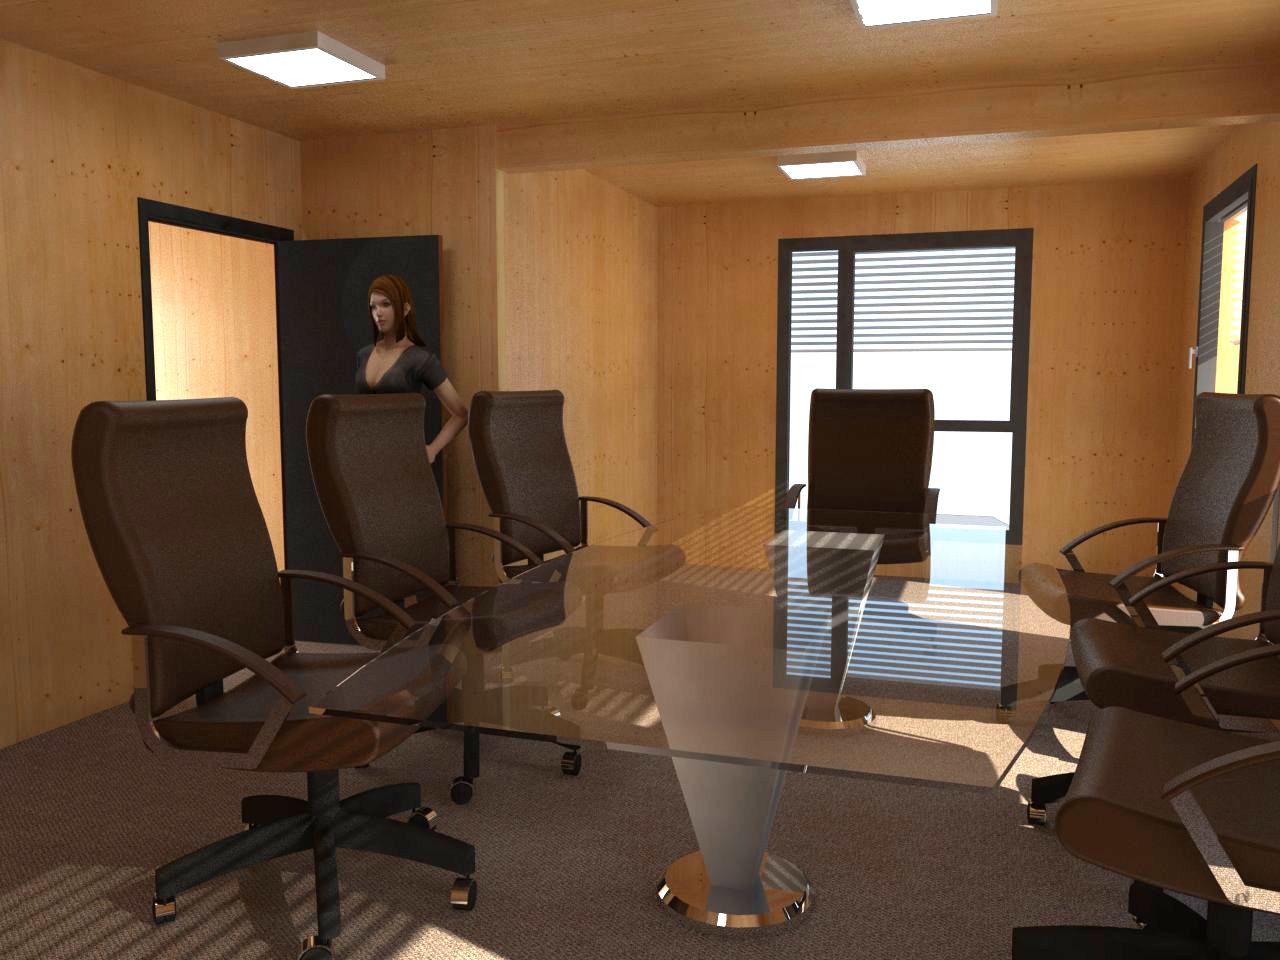
Render at noon, no background. vray + gimp(for contrast+brightness adjustment). I only added a few reflective layers and studio lights.
Real nice; I wish there had been a renderer that had the capability to render a model directly to a panorama(s), rather than taking individual renders and stitching afterwards (pardon my grammar). It would be really neat.
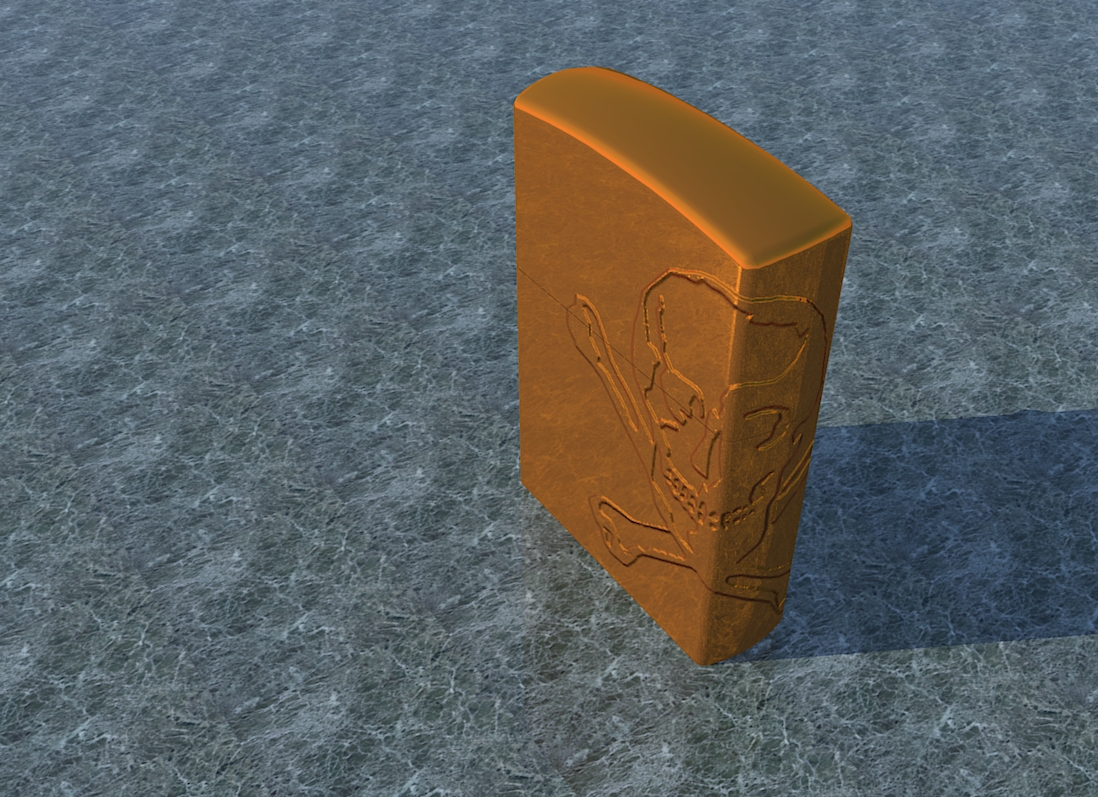
I gave this a try using Kerkythea ( I am trying to learn Kerky). I basically texture mapped the skull and bones image onto the lighter (I may have messed up the hierarchy in the process). In Kerkythea I converted the diffuse map to a bump map and added some metalic quality where needed. Not very easy but doable. Having the skp file you can map any kind of image onto the lighter.
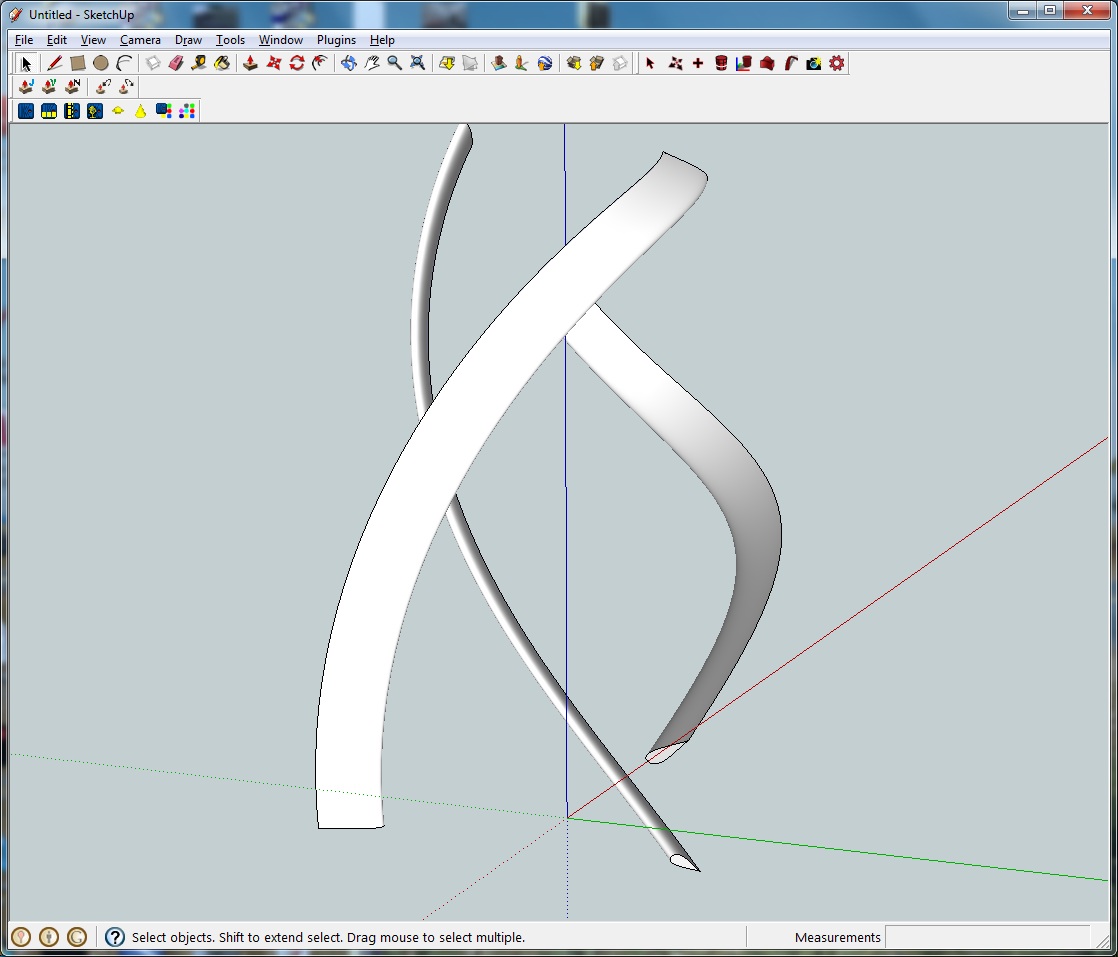
Here is a quick attempt at the blades. I suggest you learn to draw this with the help of a few plug-ins.
i: draw the profile of the blade using some sort of Bezier curve plug-in (there are many alternatives).
ii: draw a helix (using follow me helix plugin (just do a search on that name))
iii: perform extrusion using the regular follow-me tool.
rest is copy rote the blades.
"Sun and shadow study": Solar energy planning.
I recently showed a solar energy company how to find energy hours using geographical features from google earth and date and nearby buildings obstructions etc.
Tgi3D selection tool supports expanding line/edge selection. The expansion stops at line ends, line branches, or already selected edges/lines. To activate expanding edge selection you need to switch to Tgi3D selection tool (somewhat like a fat version of the default selection icon) and press Ctrl key while left clicking on a seed edge (from which the selection will expand).
Tgi3D training version is free and unlimited for this feature.
In Step 5 while snapping, my sketchup refuses to snap "exactly" on the endpoint no matter where I pick, are you sure it is exact?
Nice challenge by the way, at first I thought this should be easy but then...
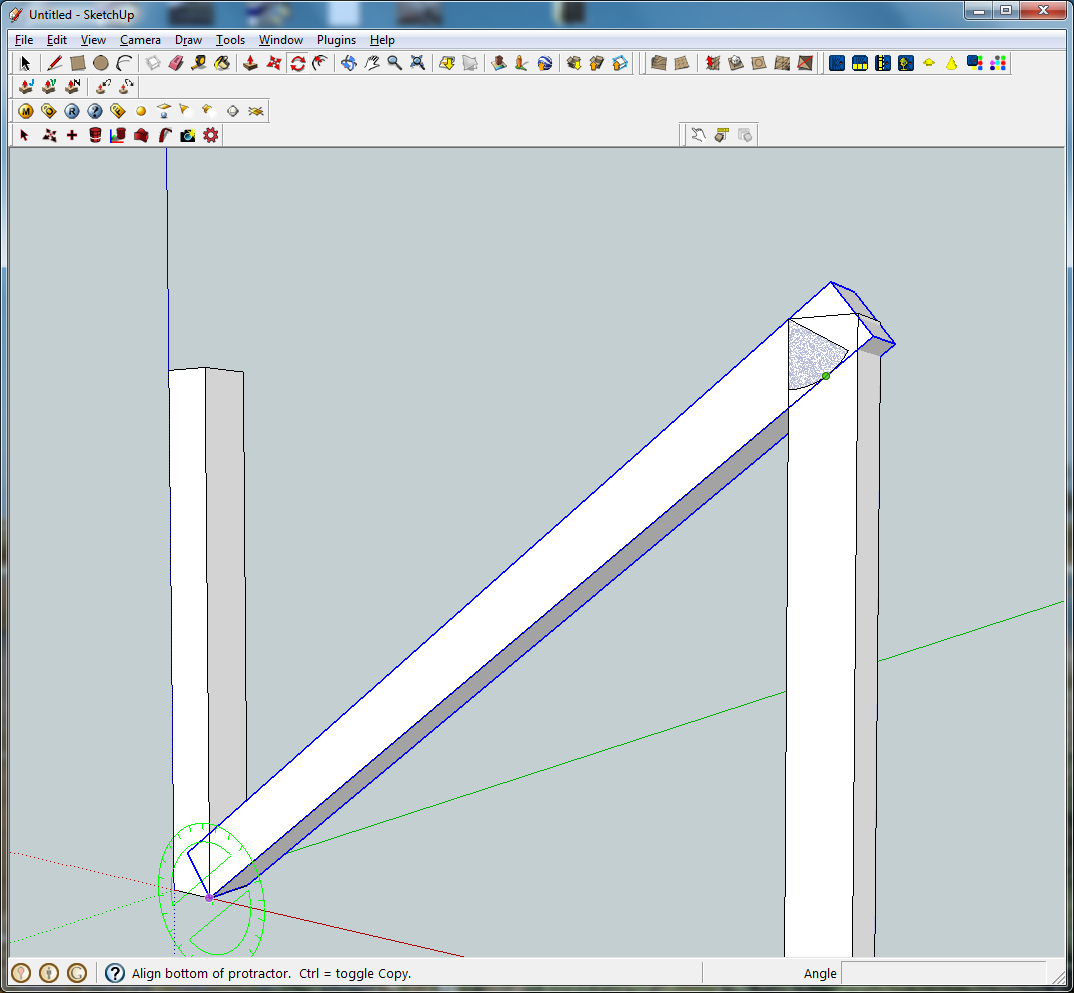
You can also perform the rotation as a tangent to the drawn arc, (referencing the vertices on the arc). Of course it is not exact but the angular error is vanishingly small (approximately a^2*t/l ; t,l thickness and length of the rail, a is angular resolution on the arc (total angle/number of segments) in radians)). The final rotation accuracy increases with the square of the number of segments on the arc. After a few hundred segments SU makes the structure ideal at explode.
Ogan
I am not sure why sketchup does not like faces with too many sides. Modifications on such a face takes forever. A single face with 65K edges is on the too much side. You can always add redundant softened planar edges to divide the whole face to faces with each one having manageable number of faces.
Just a warning here, SketchUp does not like faces with too many sides (internal and/or external).
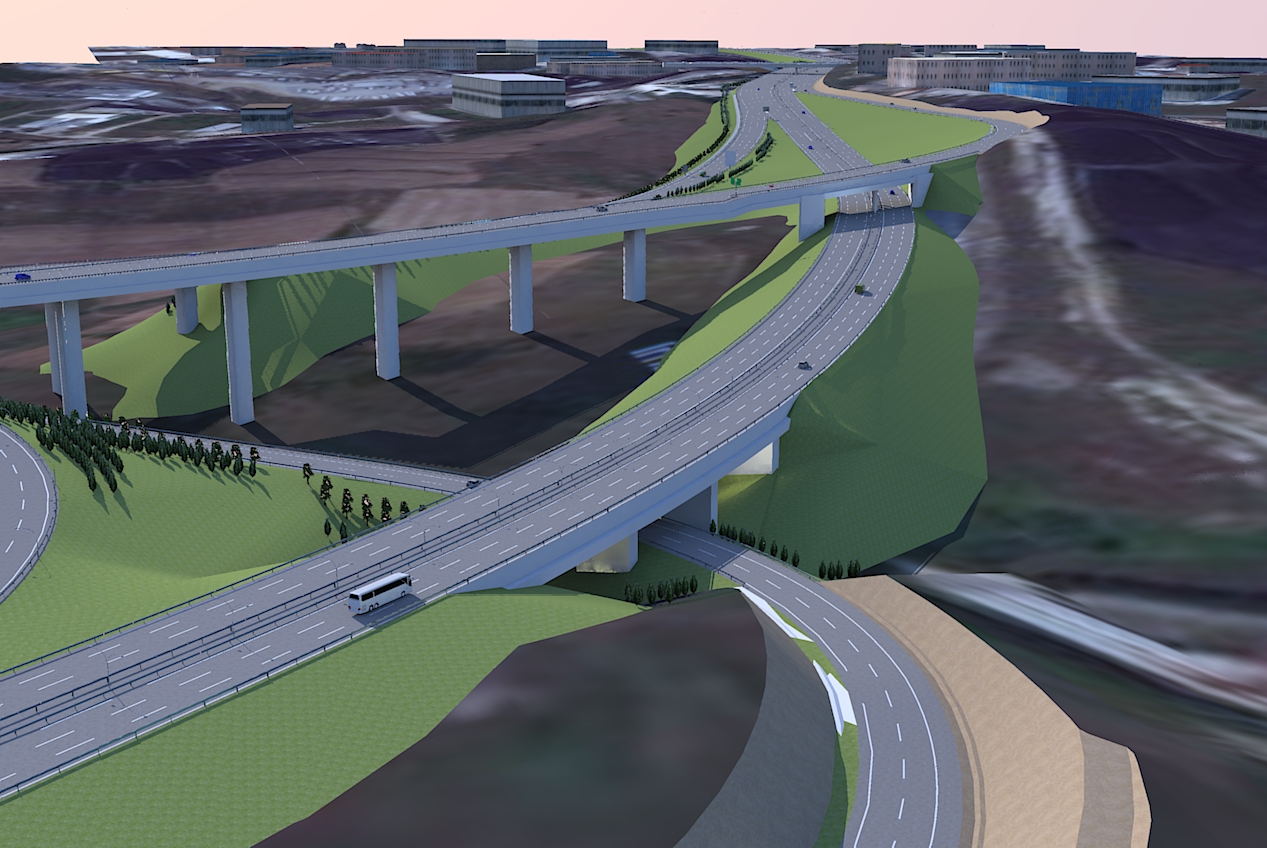
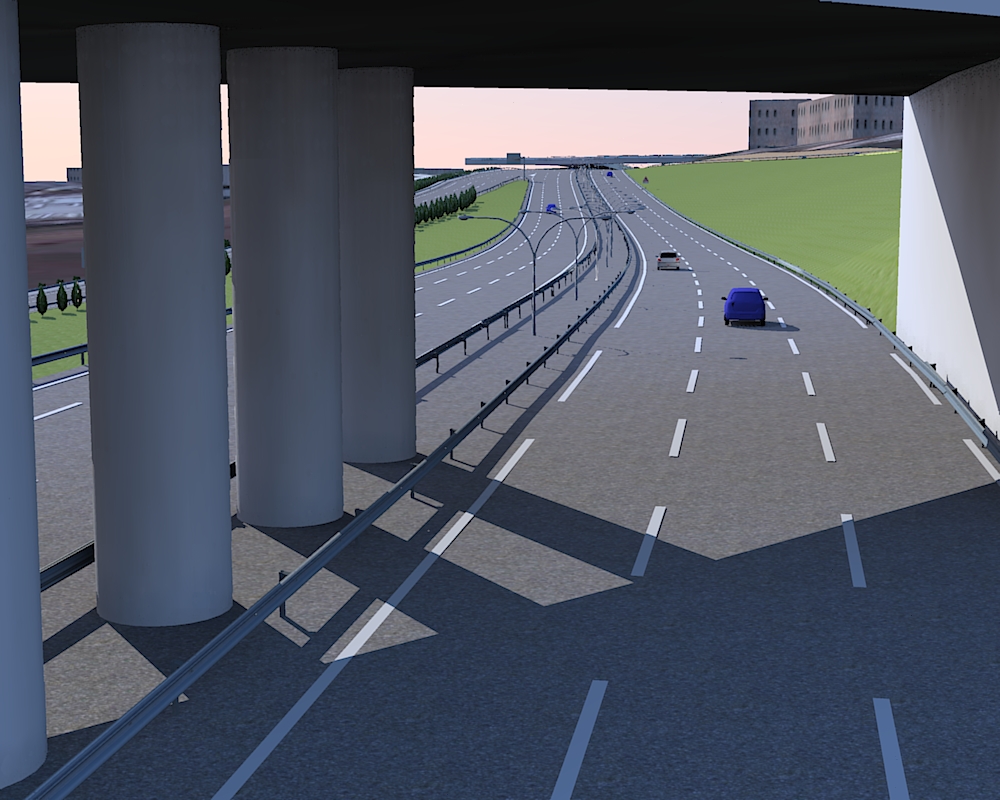
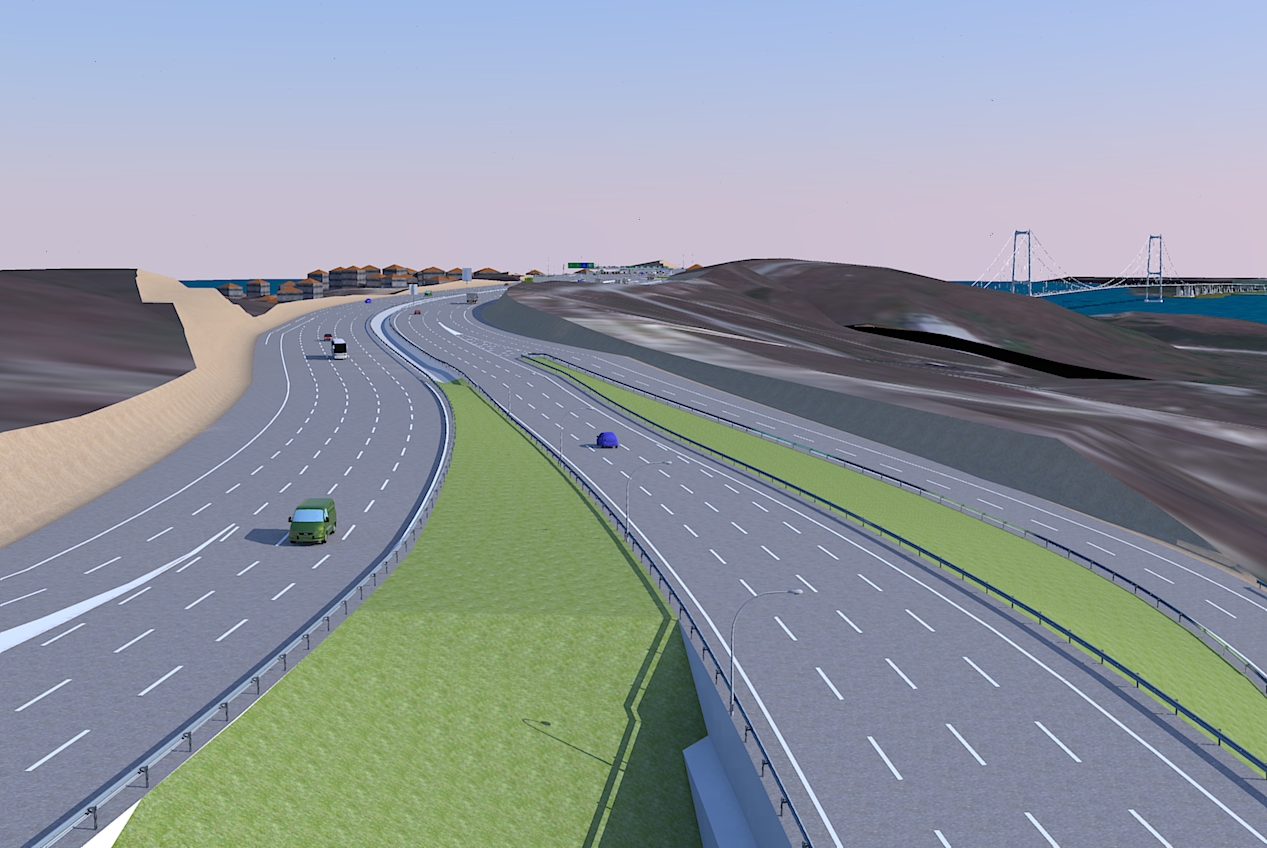
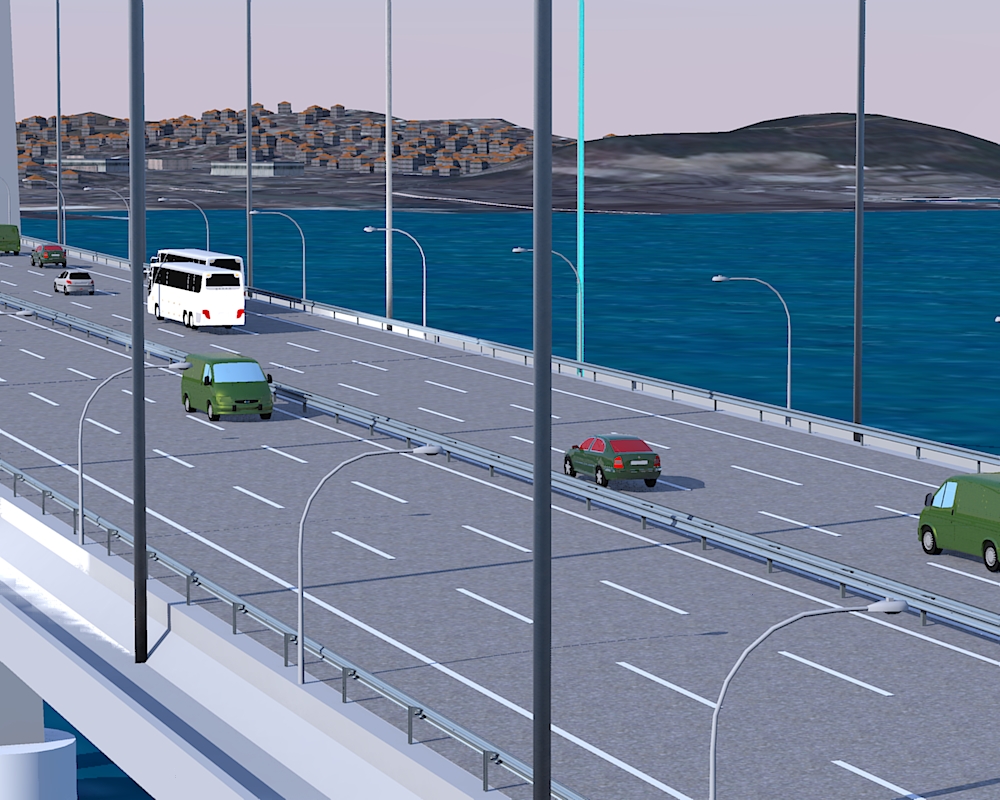
A friend/customer brought this file to me, this topic seemed fitting. This file is a few miles segment of a highway project designed by yet another company, so the challenge was to draw the model according to their specs (which was 10 gig worth autocad/netcad drawings.) Basically their customers wanted to see what they were designing.
By careful component instantiation and grouping this model file size is 56 megaytes.
427 component definitions
297 materials.
14 top level instances (each one is a piece of the design)
In not-instanced mode Kerkythea generates close to 3 Gigabytes of xml file, taking close to an hour (instanced is a few minutes). ( I messed up their model a little, playing with car paint/window materials). Here I am mostly impressed with Kerkythea's ability to handle such a large case.
A few quick renders
Real nice render and model. I especially like the window drapes and the overall feel. I am a little confused by the light blob(s) on the bed from under the sheet, is that intentional and normal or some sort of artifact? To me it looks like there is some lighting fixture or a shiny metal surface under the sheets.
If you already have 3d text at low-fi you can also use Tgi3D amorph upsample utility.
(unlimited trial is free for 30 days)
You need to set the curve-crease angle properly from the global tgi3d options (45 for this case) similar to the edge softening critical angle.
Just say no to extra smoothing.
Up-sample will create some redundant soft edges, some of which you can remove using remove unnecessary edges utility.
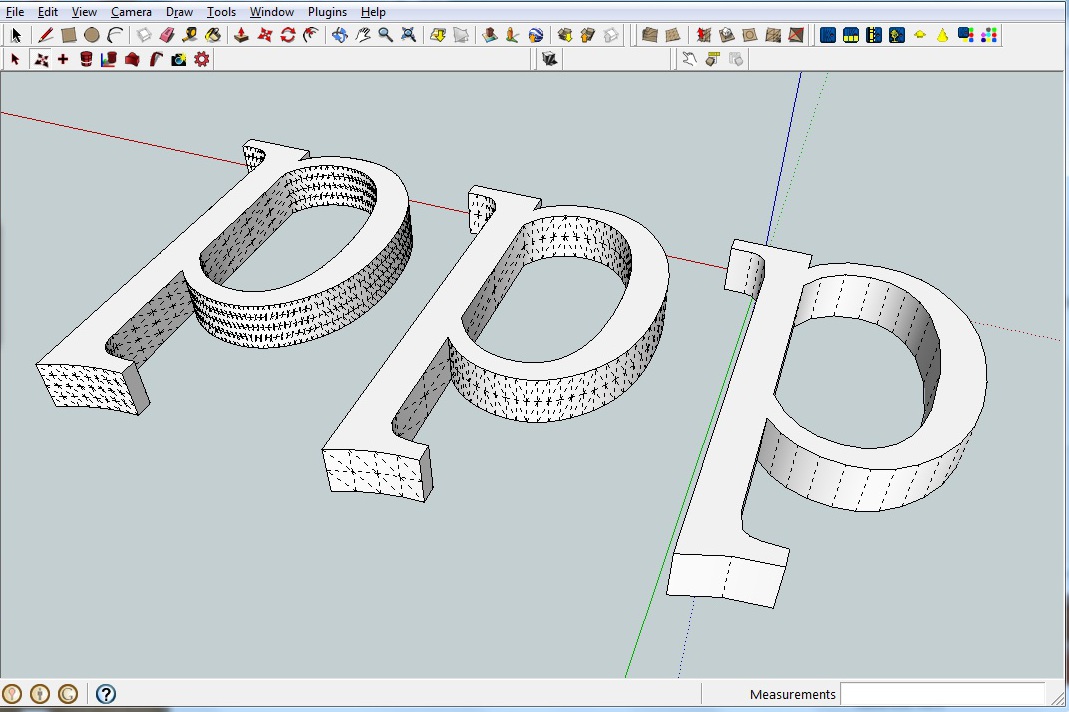
Hi,
Create texture feature of Tgi3D may be doing what you want (for certain types of surfaces) if the faces already have textures on them. Training edition has this feature with a face count limitation. You can also try using the unlimited free trial version .
You need to
select the faces
and
create texture
It will ask for a few options, projection type, image type face orientation etc.
good luck
If you are planning to use the computer for rendering purposes too, a multicore processor is worth considering.