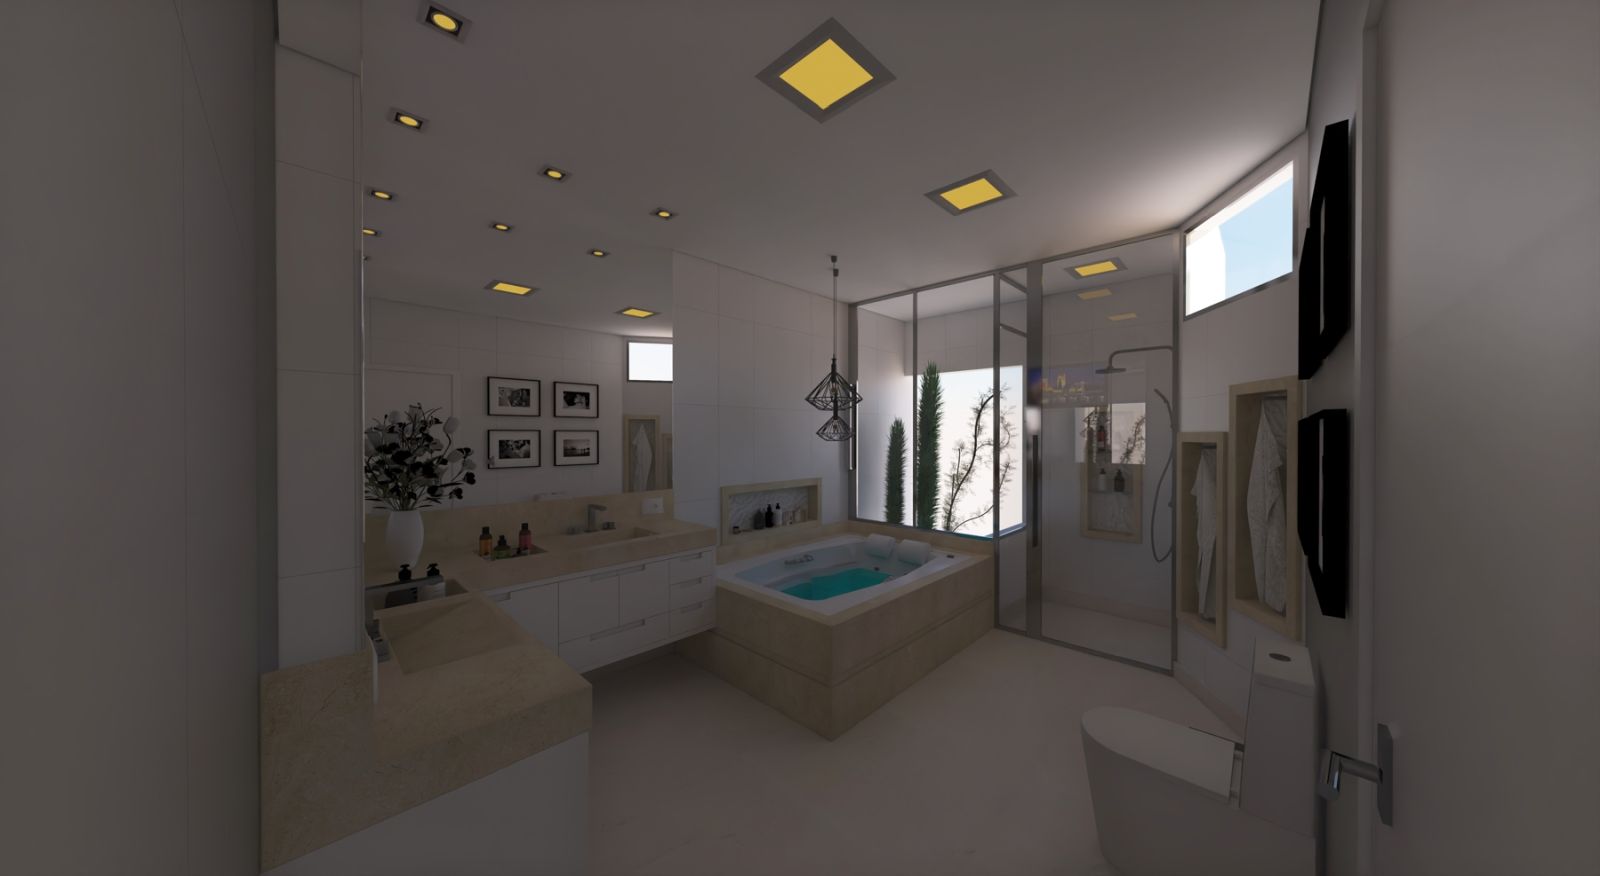
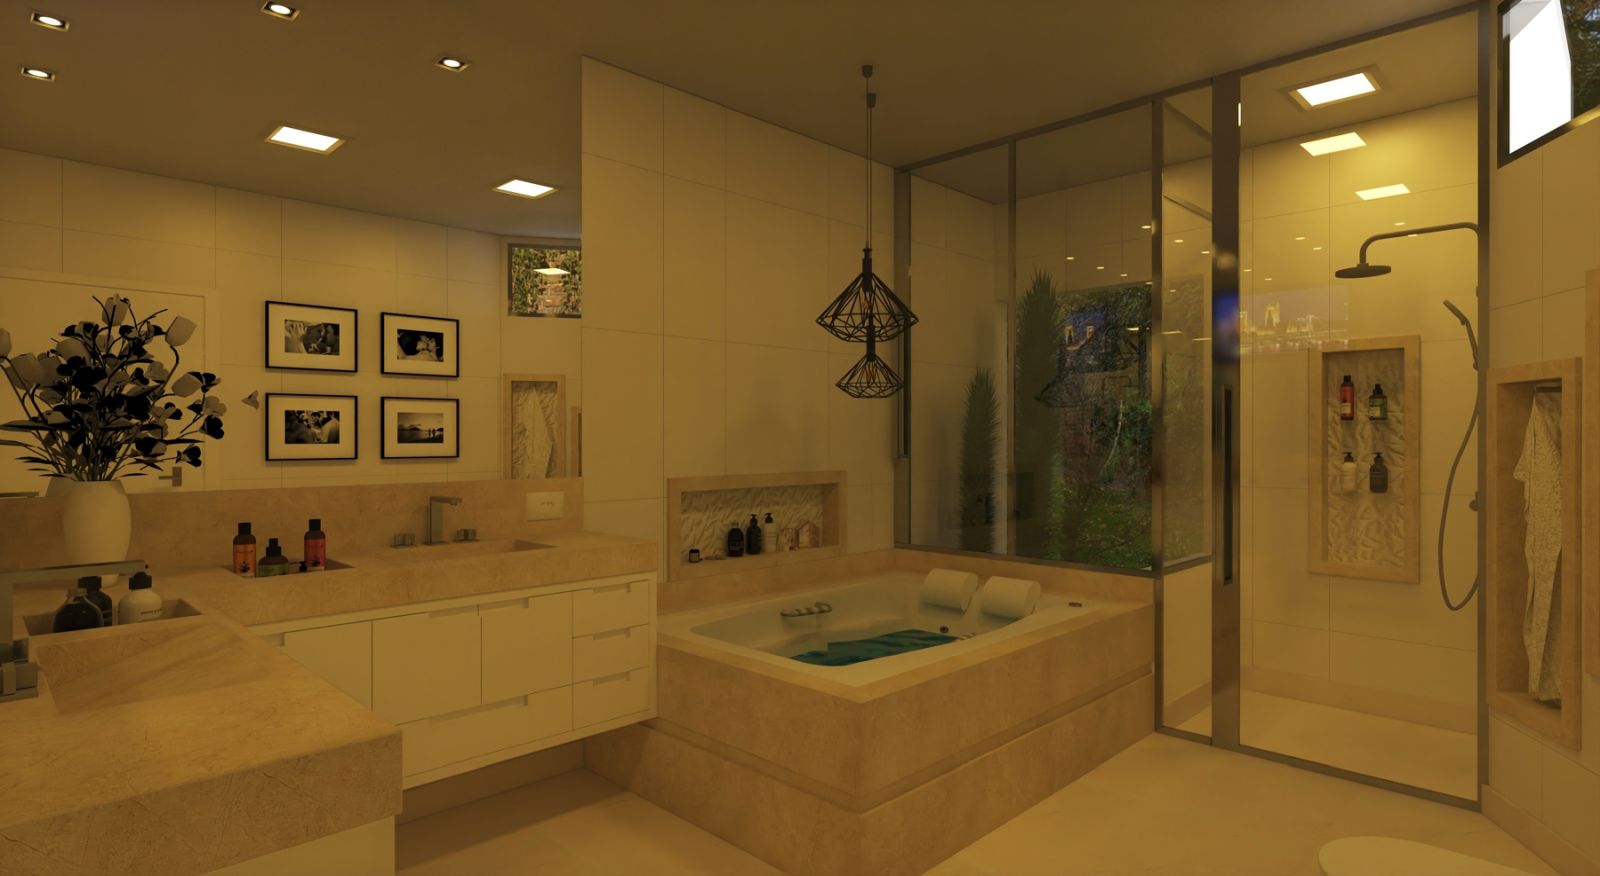
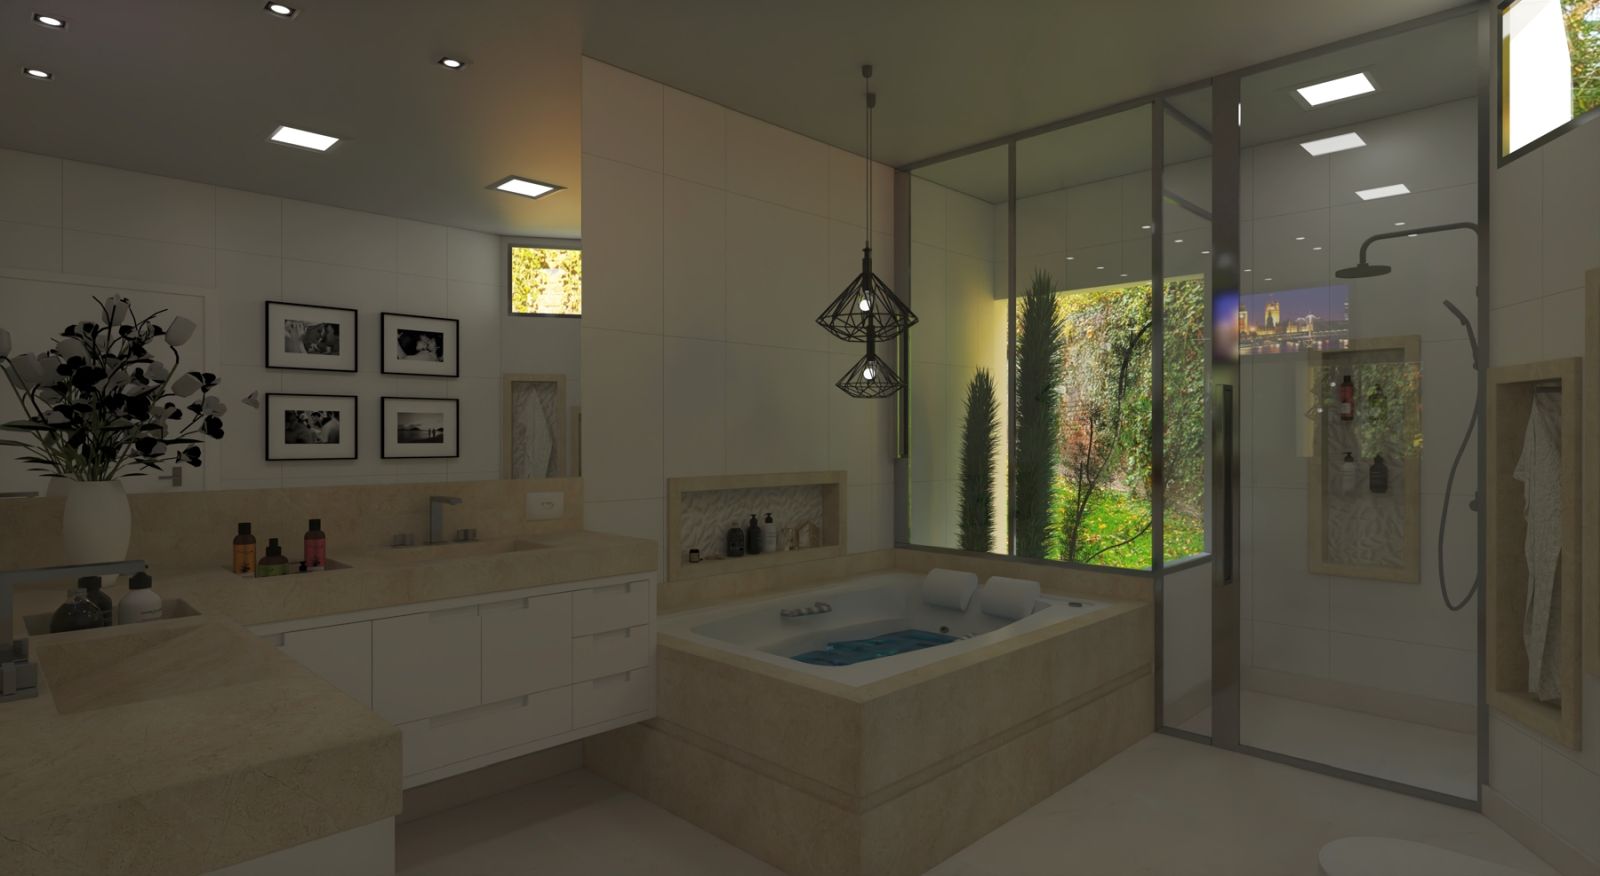
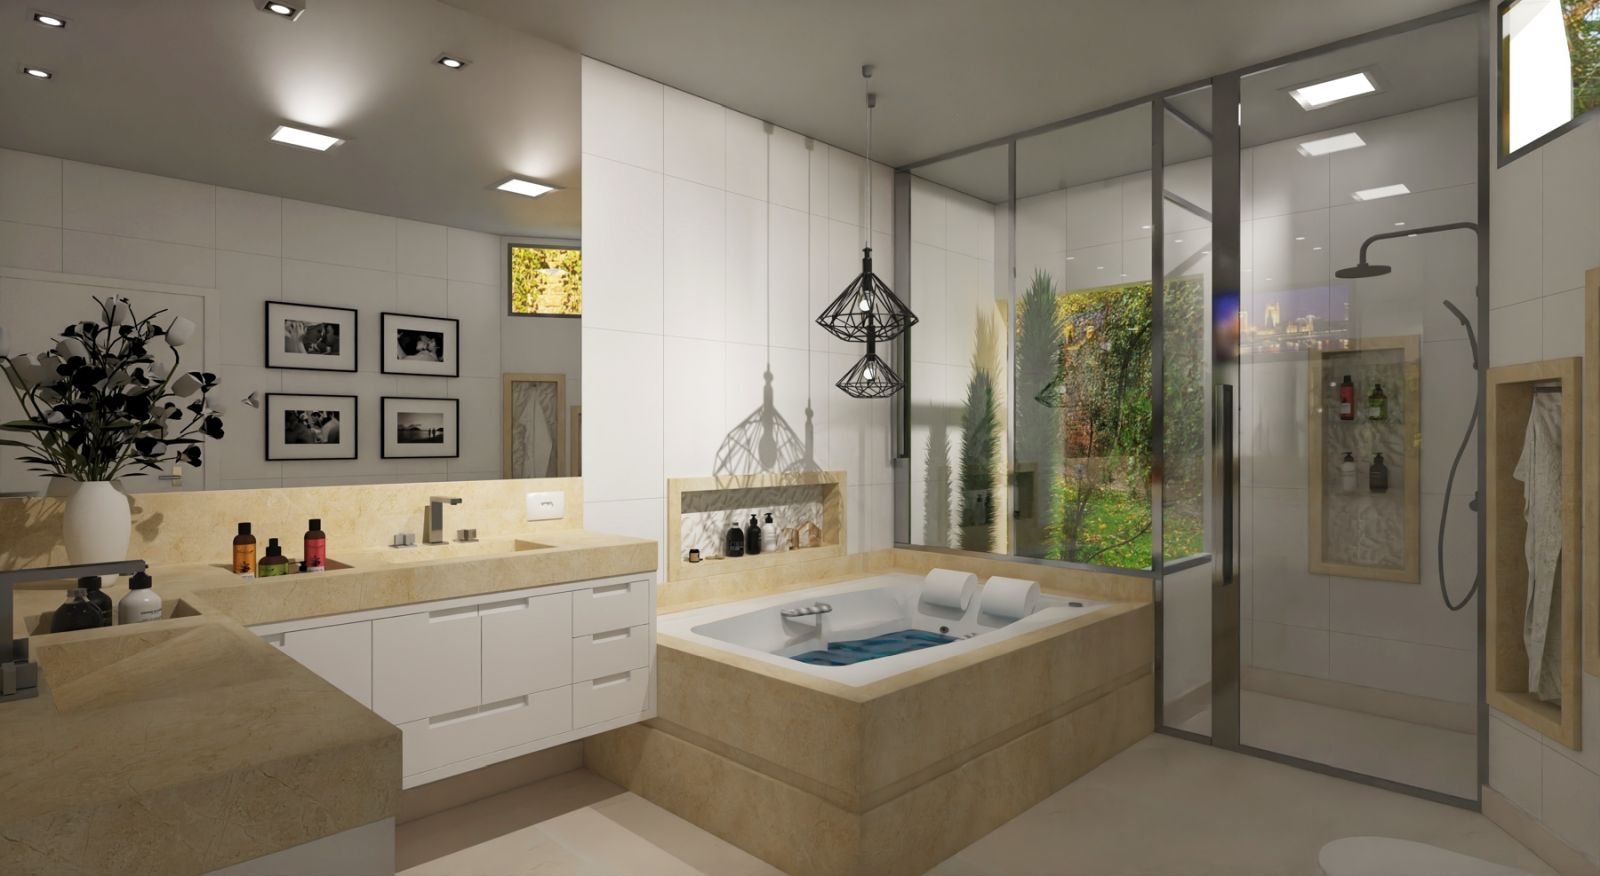
Simple bathroom.
-
A mix of natural and artificial lighting but not much by way of complication.

-
Looks like a good room but is a little dark for mr (at least on my iPad). Seems to me that a bath room would be pretty bright.
-
Ta mate, it comes out pretty brightly on my monitor as per but white balance etc to do again.
I feel like I am doing a certain amount of this from scratch.
-
I ran a simple hdri background to see what would come out, have to laugh. Some days, we are indeed, the Pigeon.

-
What are the properties of the lights? Are they emissive materials?
It's all gone very yellow on my screen.
Have you tried a clay render with just HDRI to see how that lights space? All those highly reflective objects are raising your render times when all you need is some lighting tests.
If that little window is the only path for environmental light to enter the scene then that is also time consuming.
As for your HDRI what file format is it?
-
The hdri is fine, my mistake was to lower the value too far, I wanted a realistic looking backplate rather than washed out. I also ran the lights too bright which is where the orange hue came from.
My issue has been that to get the lighter renders classified as 'architectural' they need to be brighter than I really like. Part of this comes from the monitor settings, we all have different settings so renders can be inconsistent in appearance.
There is an indented balcony behind the jacuzzi as well as the window 'light' on the right hand wall.
The reflective surface on the left (The mirror) is the only large/excessive surface reflector imho, the lights and hdri level were my big errors. Back to experimenting to get a better hdri/backplate balance.
-
Are your lights emissive planes or actual lights?
-
They are emissive, I have adjusted the colour of the lights and the orange is gone. The rest will take some figuring out.
-
Mesh lights by nature are hard to get right because they don't behave like a bulb.
Try an IES light if your render app supports it.
https://ieslibrary.com/en/browse
Less messing around with values and much richer and accurate lighting.
Still use emission but only to fake a glow effect not to flood space with light.
-
Nice design and render!

Once you sort out the light color, it will be perfect!
-
Thanks folks, Rich I'll give the ies a go. I had tons of them at one time, guess I'll just have to rebuild the collection.
I altered the light/emissive colour which reduced the reflection. To get the lighter render popular I need to push up exposure which leaves a little 'misty' overtone' I am not fond of.
It does keep me off the streets etc and it's a bit parky out there now.

-
Oh there you go!

Just a suggestion, but I would I would increase the camera exposure just a bit.
-
Thanks Bryan, standard exposure on Twiglet render is 1:00 and I have already pushed this to 6:00. Looking to the ies shot later today.
-
-
@mike amos said:
Thanks Bryan, standard exposure on Twiglet render is 1:00 and I have already pushed this to 6:00. Looking to the ies shot later today.
Oh wow. I see.
-
Thanks folks, moving onwards as we all do.

-
Well, as they said on Ground Force, day one. I used an ies ligit and had to put my welding goggles on to enter the living room.
Much more than meets the mark one's with this here ies lark but I will let you know how I get on folks.
-
Well, I have knocked the lights back to 70% of nominal value. I have left the original light sources as fake emitters.
I have found that the result is brighter and takes up to half the render time so these ies things are worth sticking with.
The only problem I still have is a format of classification so I can properly choose which files to go with.

-
This is TwiLight Render you are using?
If you Right Click your light and choose set target what way is it facing?

-
I have Twilight, yes. I did check orientation too but still the bounce on the ceiling. The light in particular has an odd shape to the light component which is going to change when I go to the next test to have a more consistent orientation.
Hello! It looks like you're interested in this conversation, but you don't have an account yet.
Getting fed up of having to scroll through the same posts each visit? When you register for an account, you'll always come back to exactly where you were before, and choose to be notified of new replies (either via email, or push notification). You'll also be able to save bookmarks and upvote posts to show your appreciation to other community members.
With your input, this post could be even better 💗
Register LoginAdvertisement


