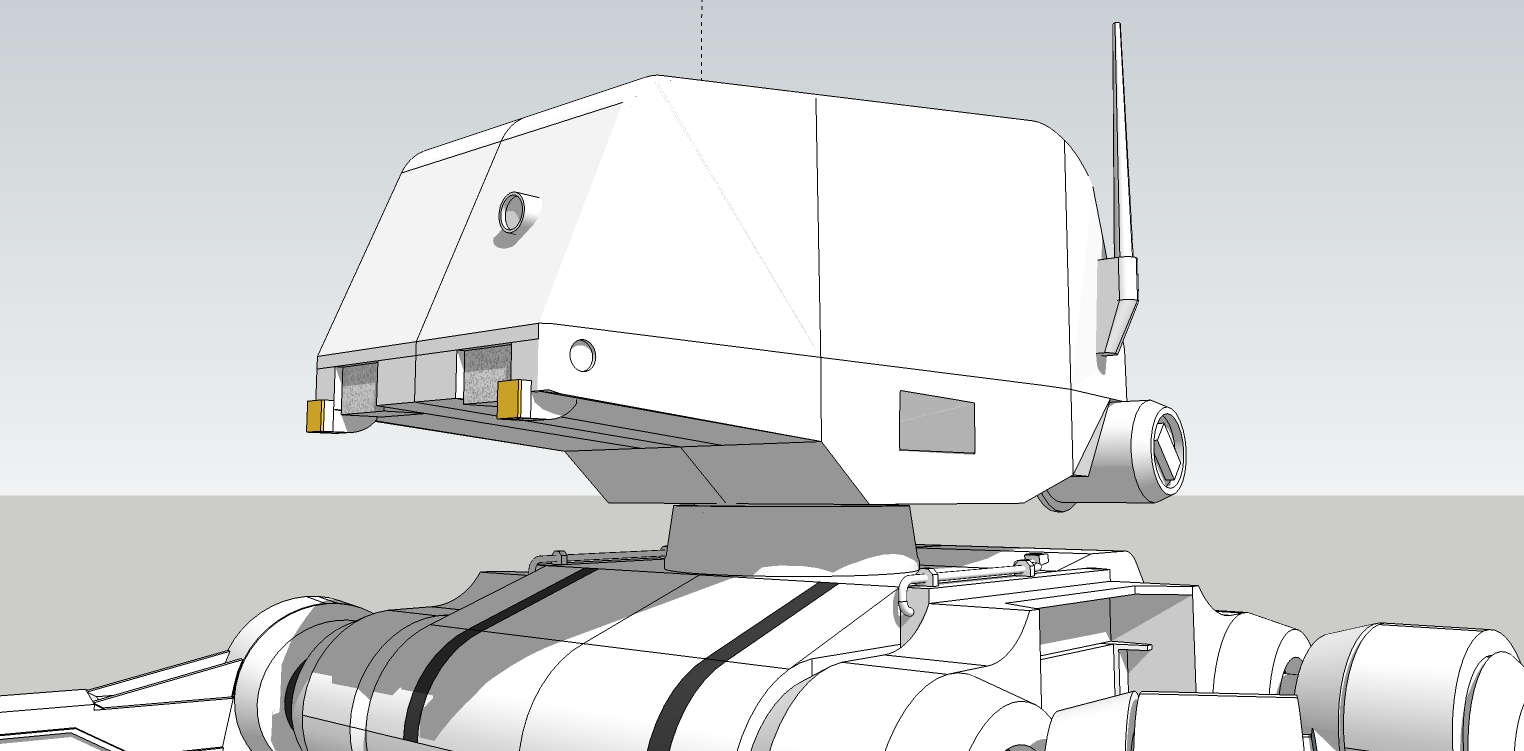
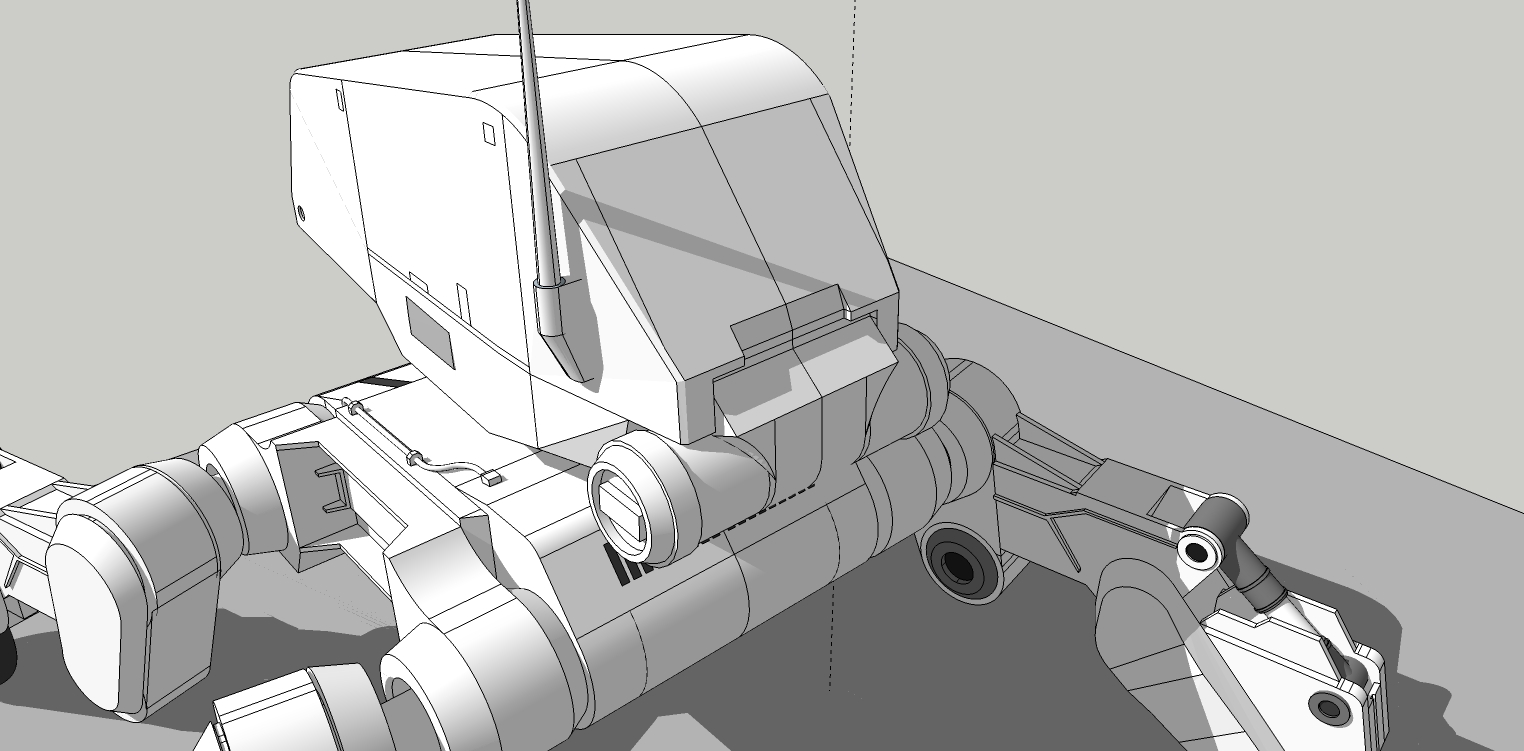
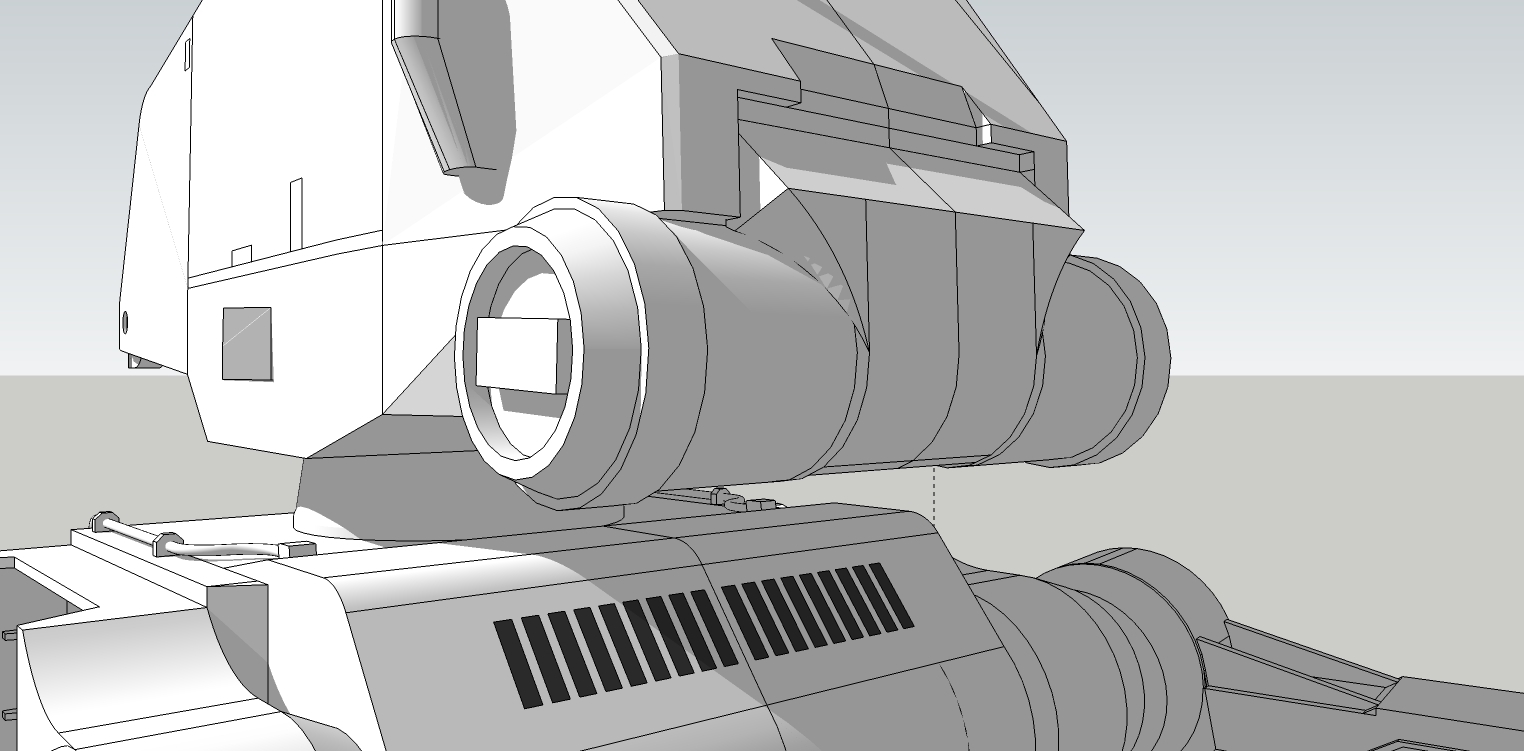
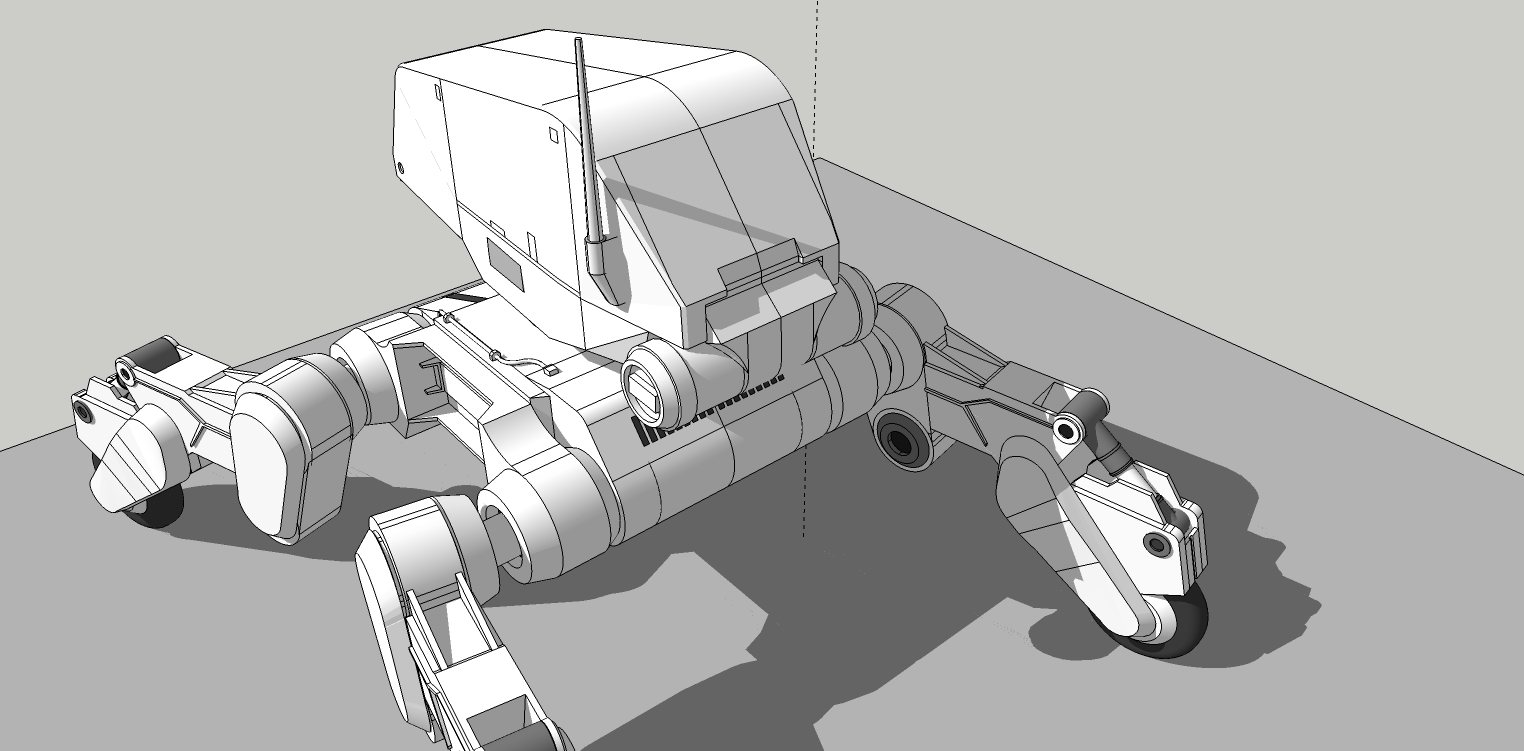
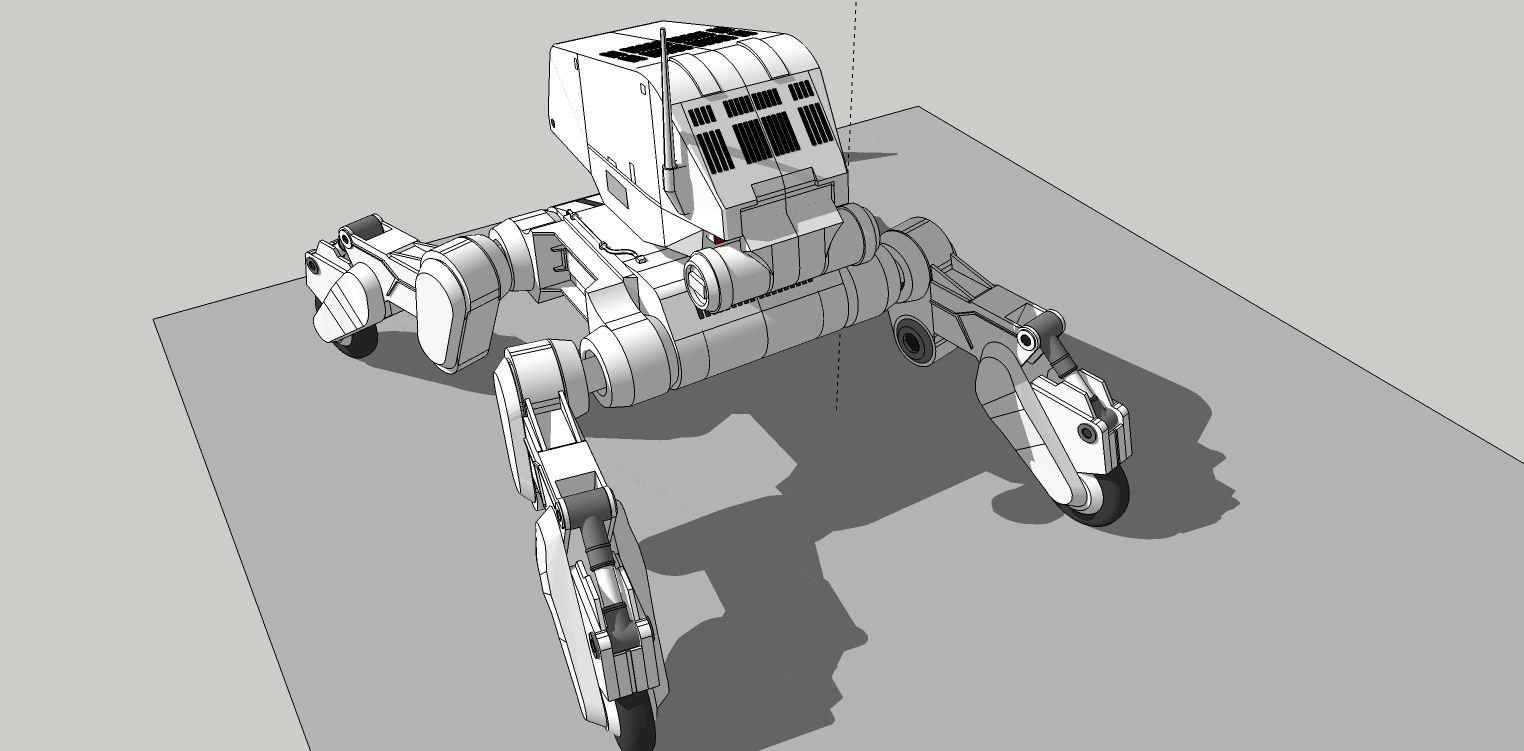
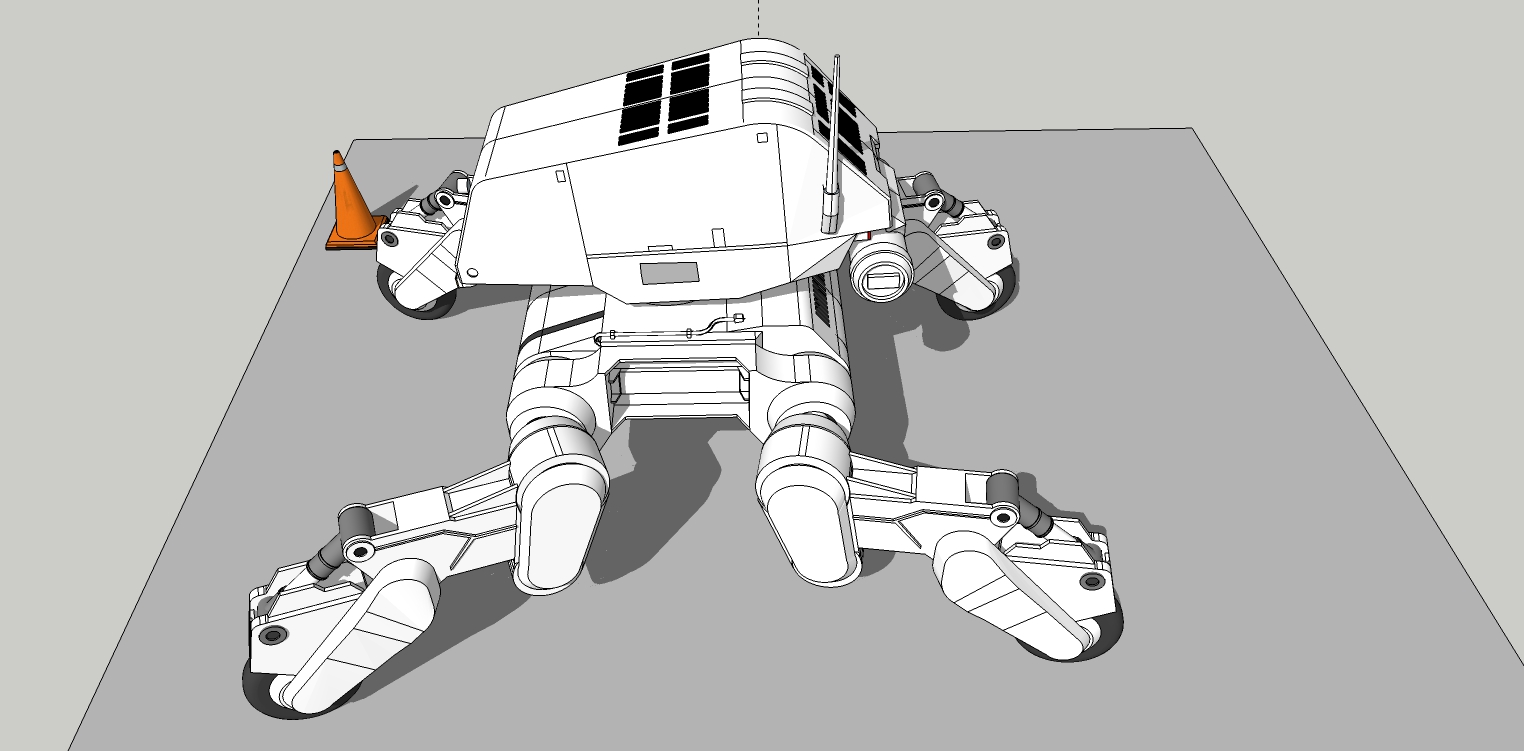
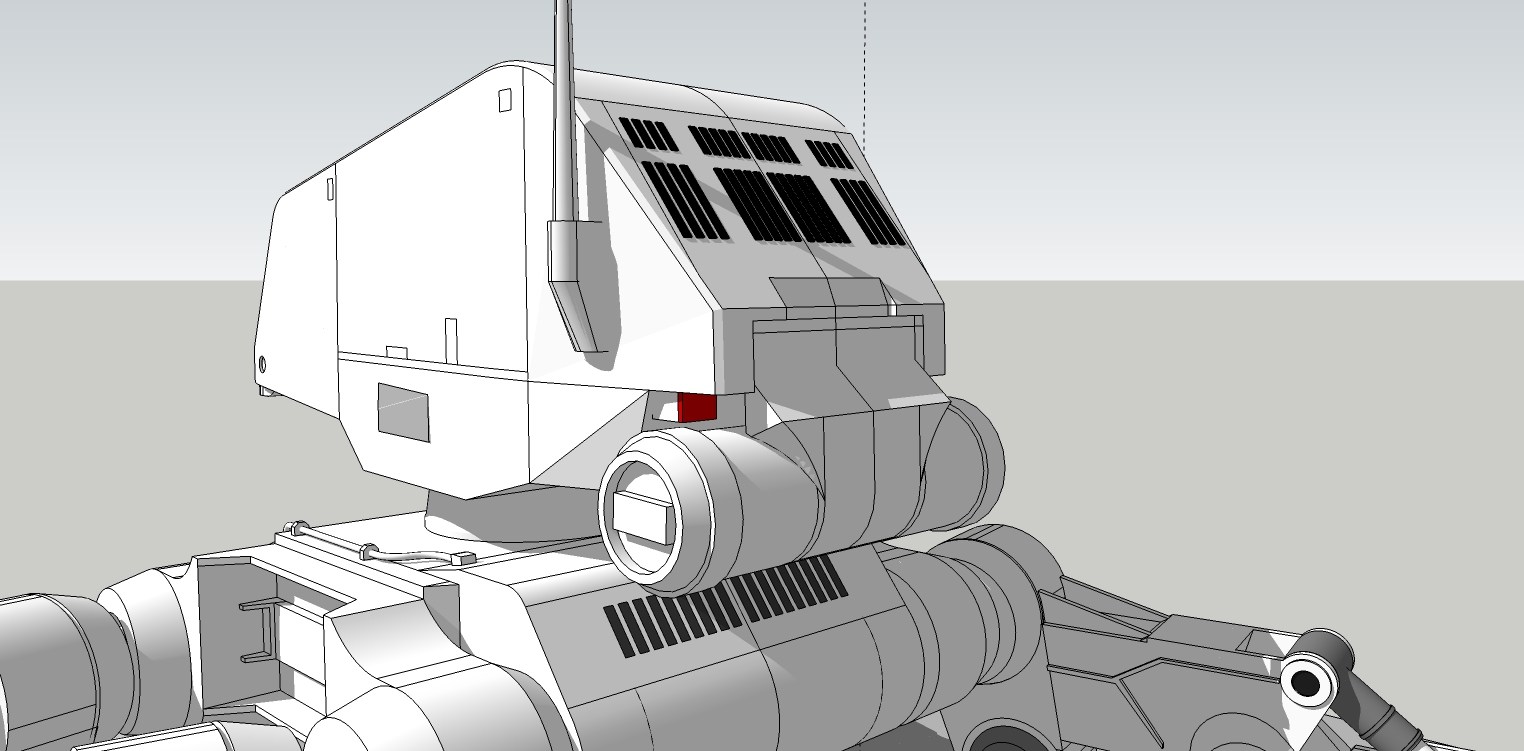
Junji Okubo Scout 23GN
-
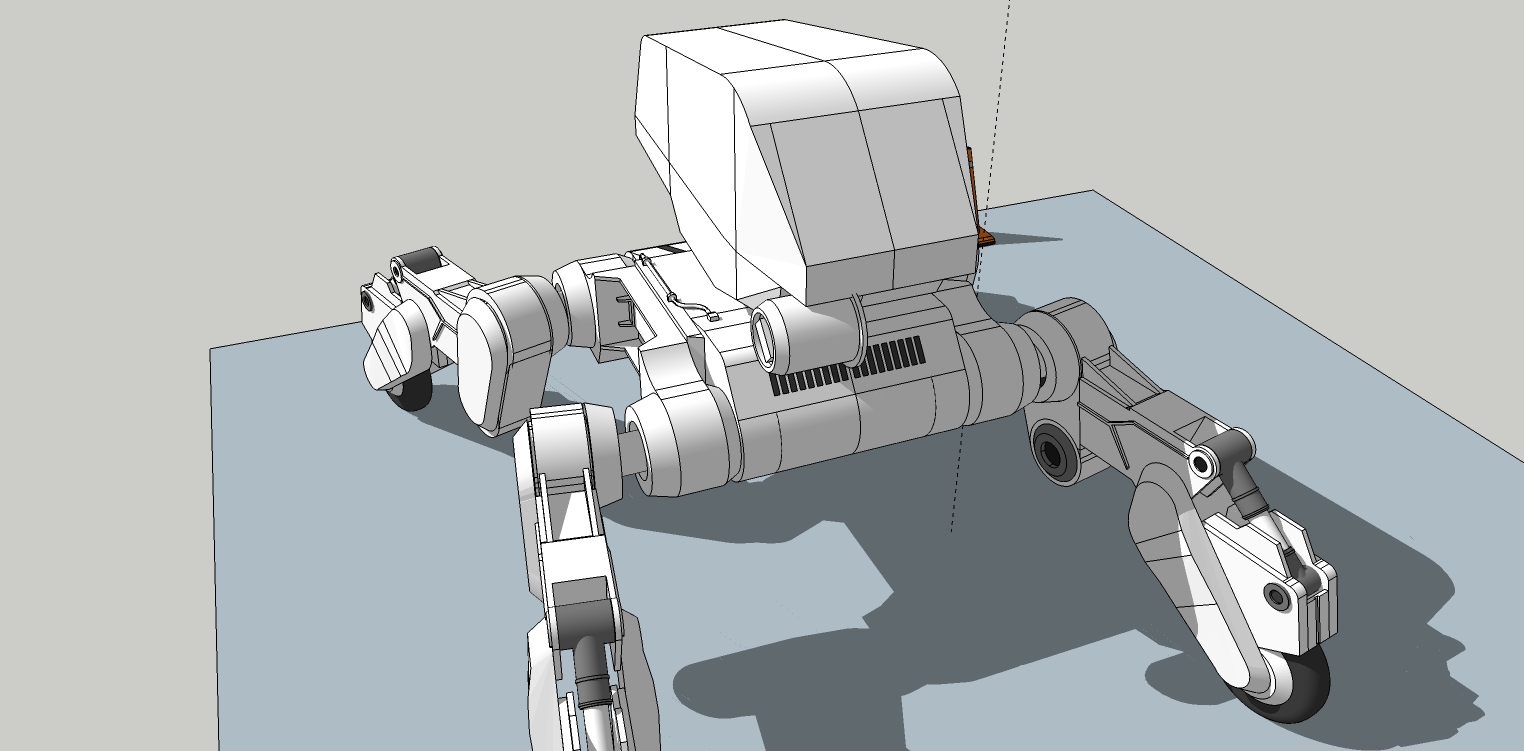
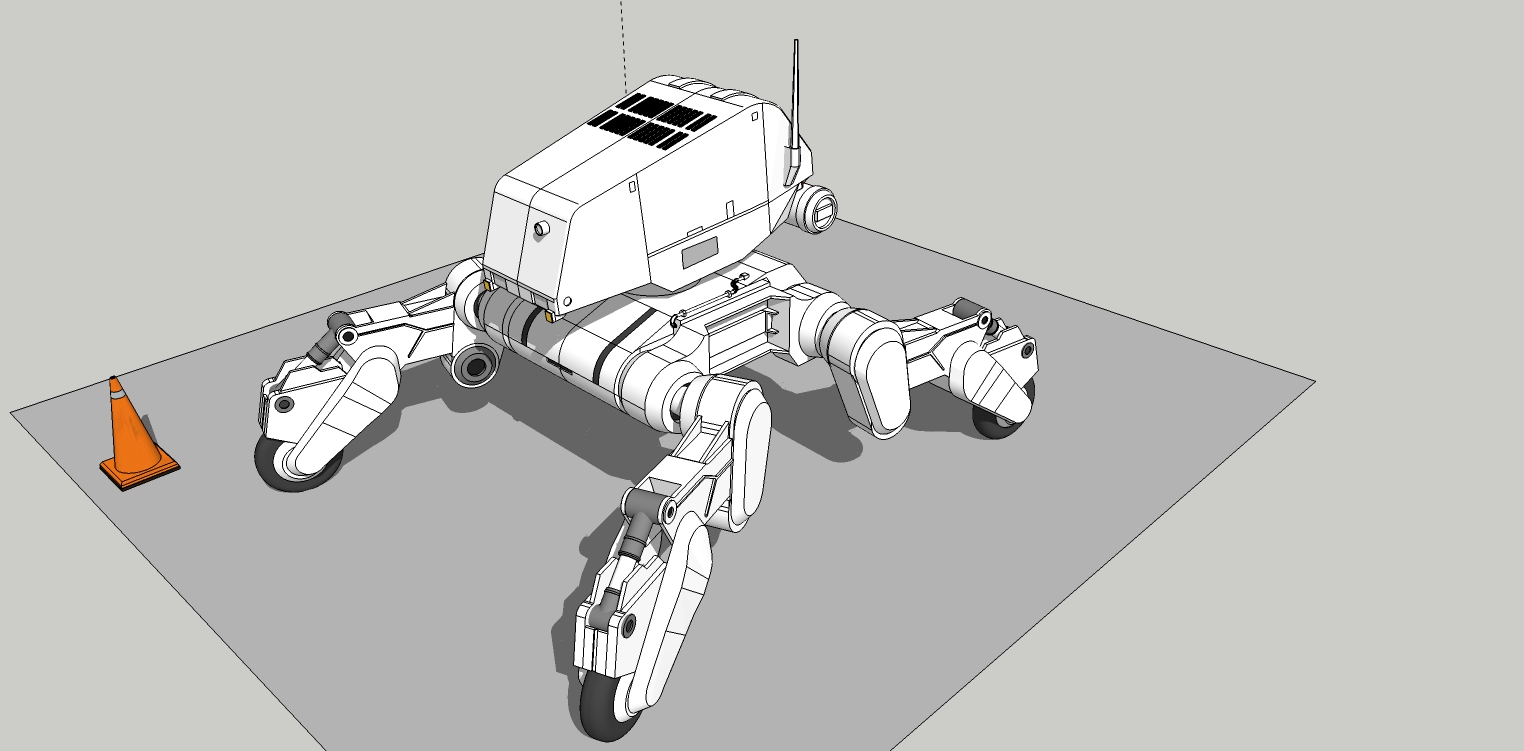
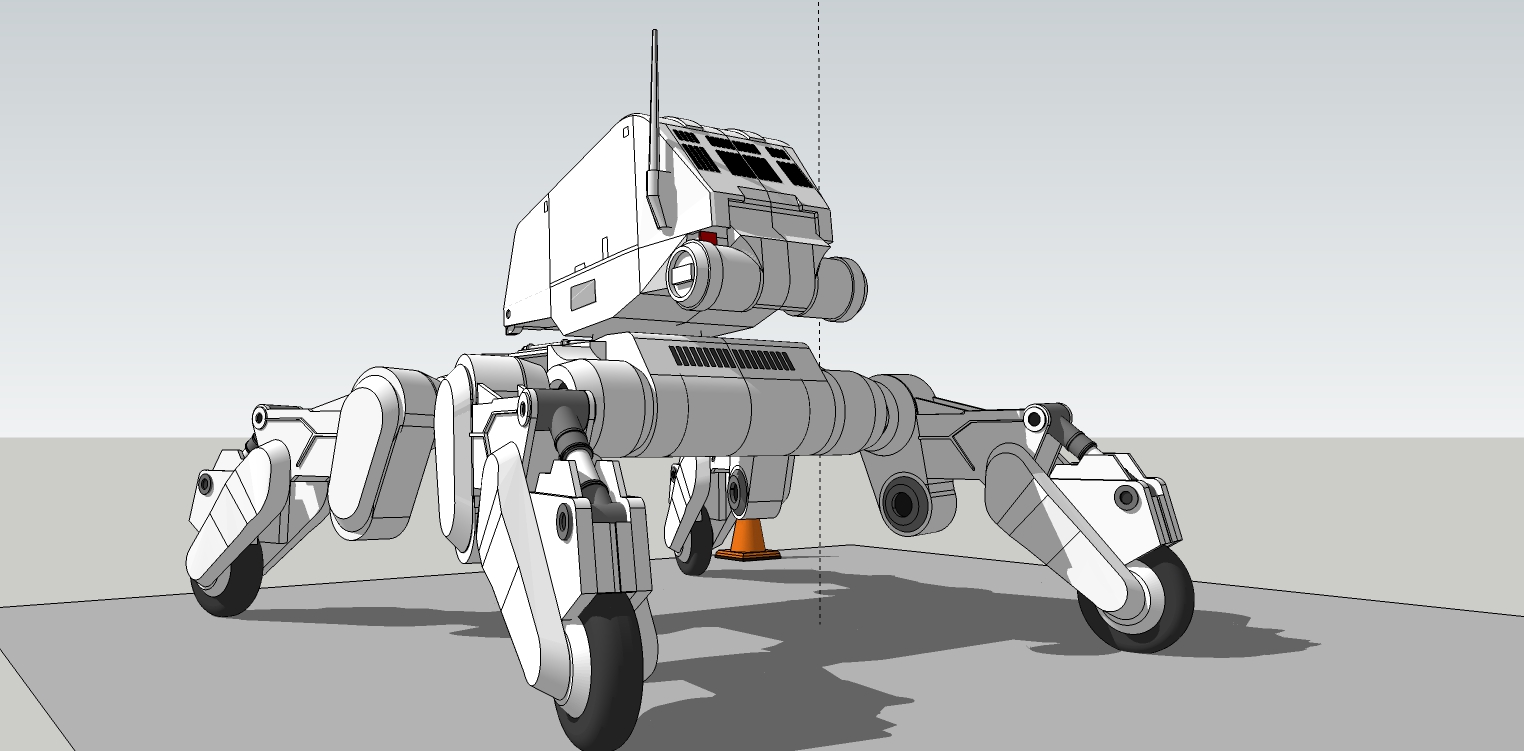
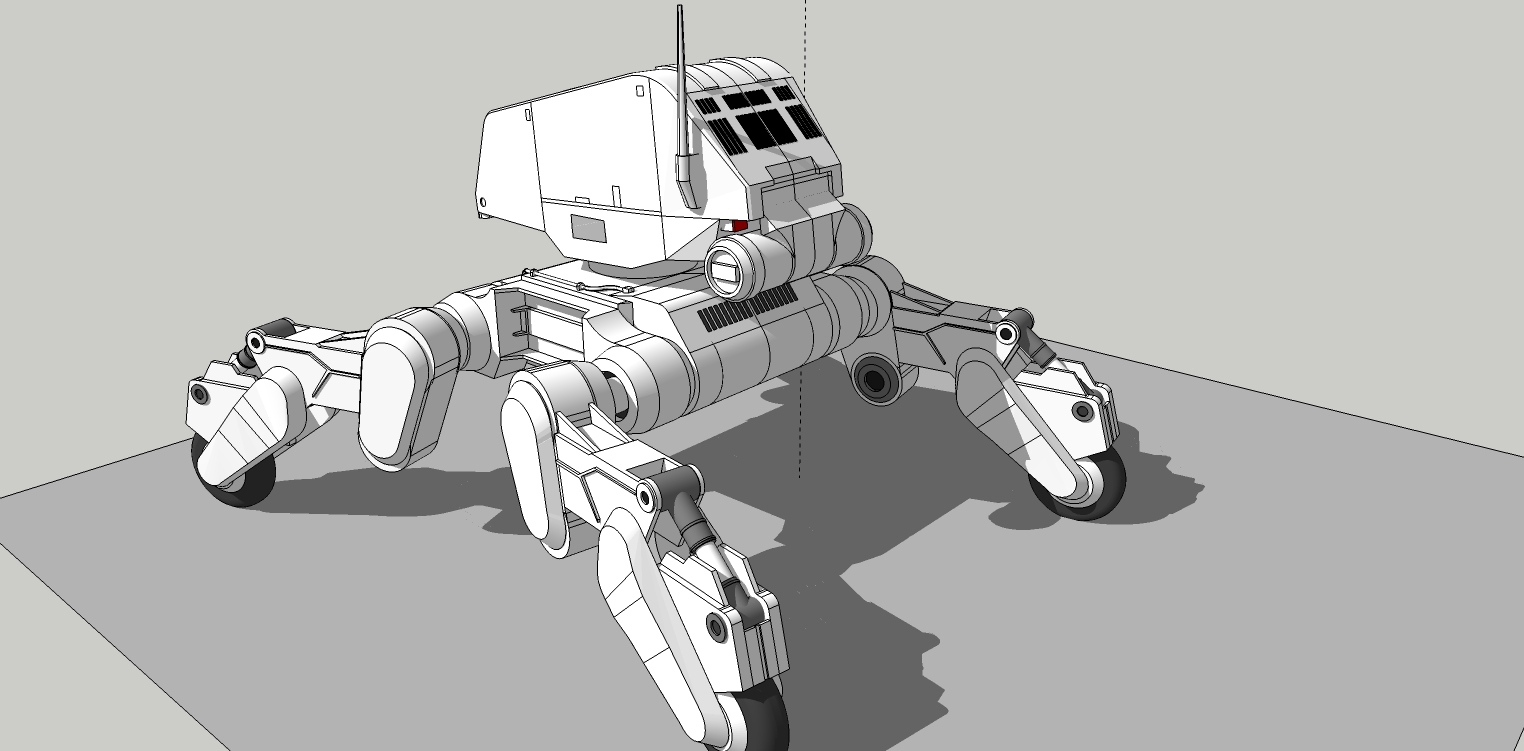
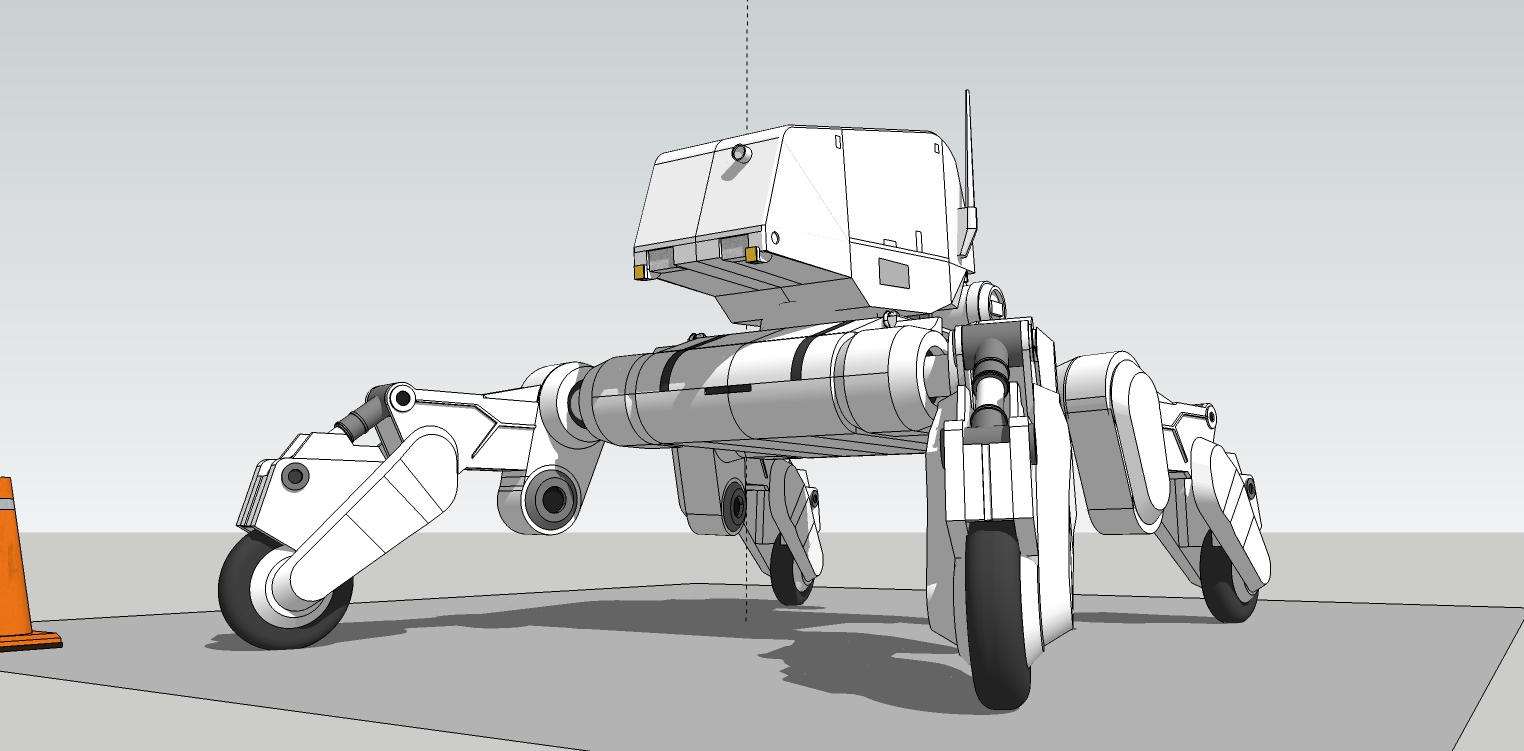
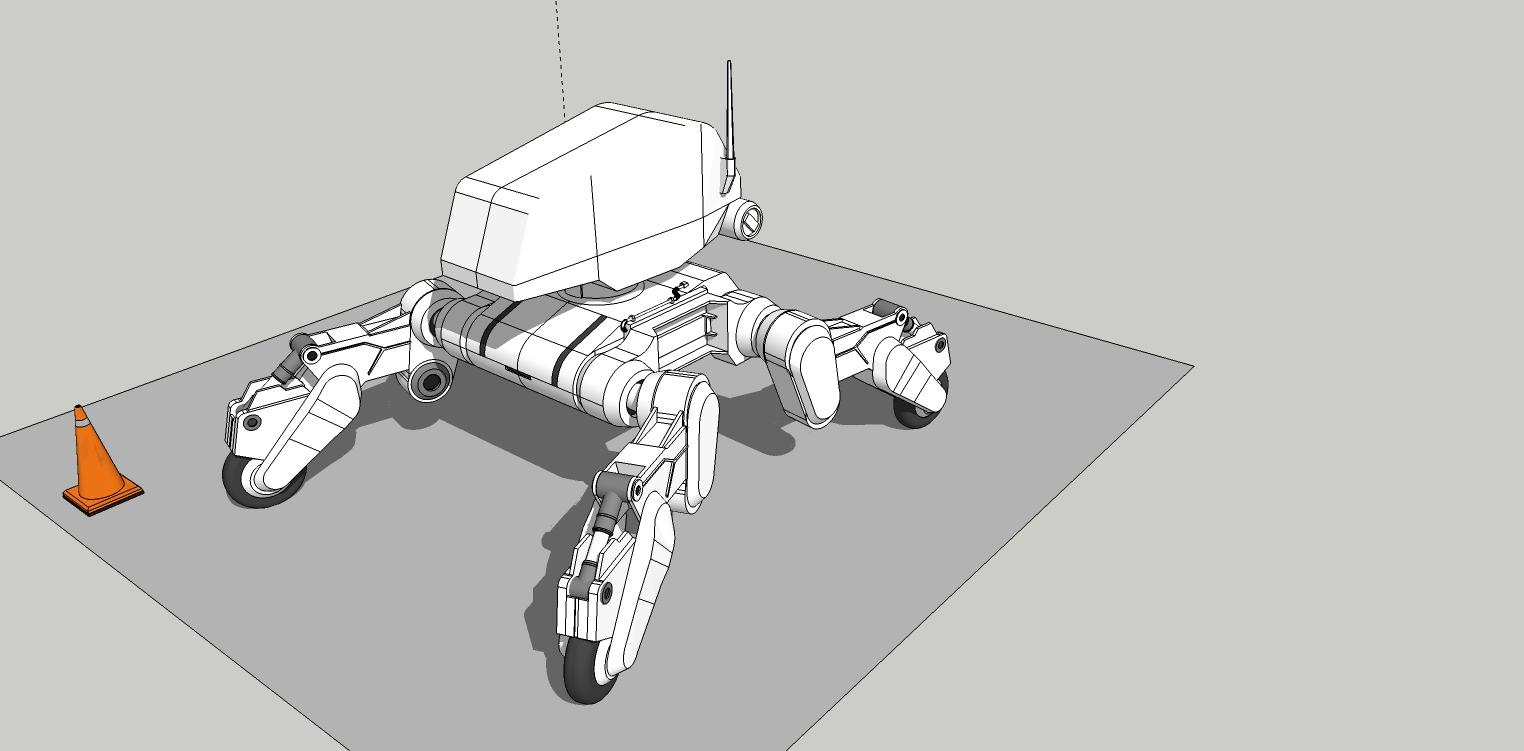
Robot number two. Scout 23GN.
Using the previous designed chassis.
Very, very rough block out of the legs.
-
Roughing out the legs and making sure the proportions are right before starting the details.
-
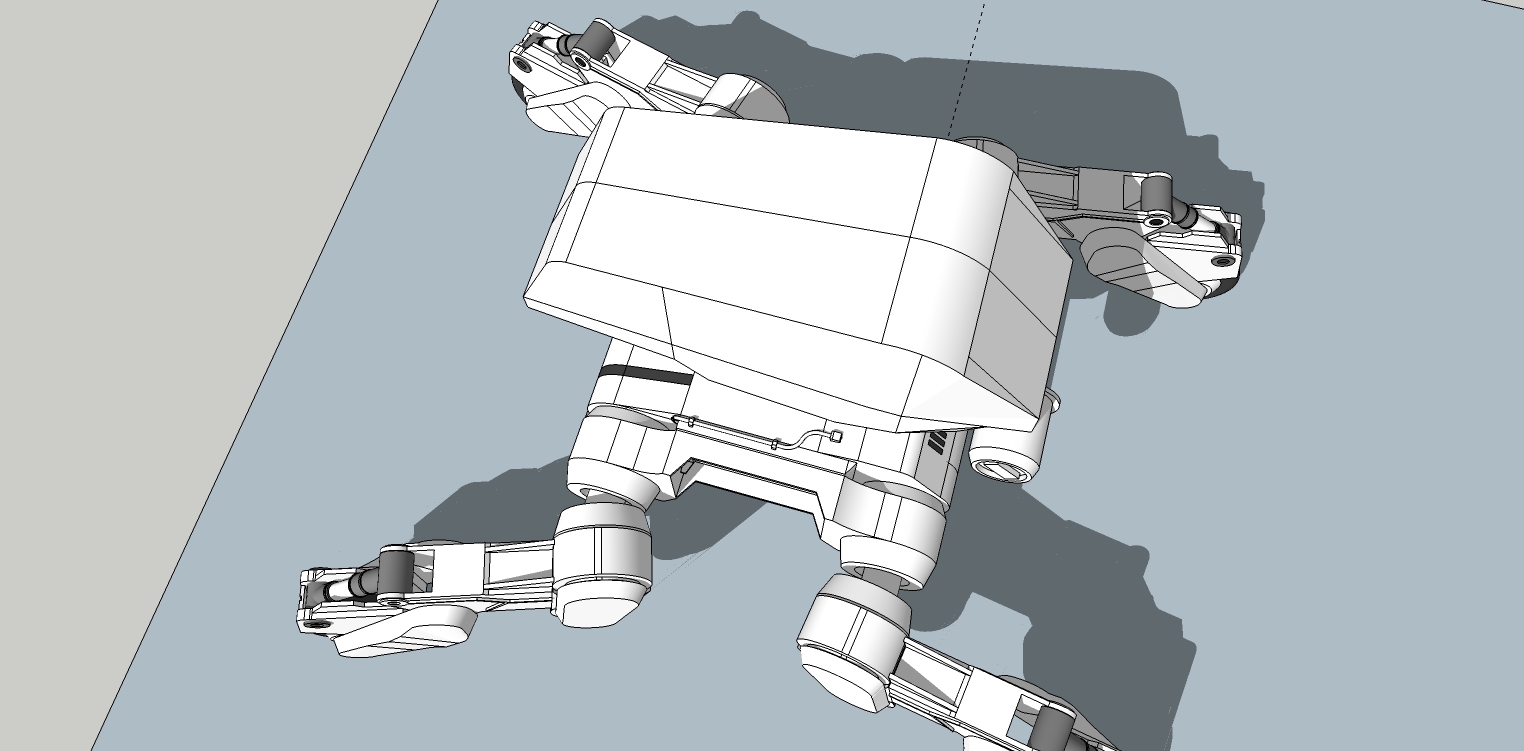
Rough out of upper body proportions and shape.
Again, VERY rough.
-
Still roughing out scales and proportions.
Center chassis has not been touched or changed.
-
I like where this is going, wheels, well it would be very handy for the weekly outing to the supermarket for a start.
-
As always, thanks Mike.
-
Fairly happy with the leg proportions, so I've started on the details.
-
Nice work, Bryan.
What's the purpose of the safety cone? To signify that the work is under construction? -
@hellnbak said:
Nice work, Bryan.
What's the purpose of the safety cone? To signify that the work is under construction?Thanks!
I'm using the safety cone to create and show scale. It's from the original spider robot artist's drawings, so I included it to get approximate scale when I did the spider robot model and it's just carried over.
-
More leg details. One last block to detail.
Lots and lots of fiddling.
-
Wheel details completed.
One last detail block on the leg to finish. I can't wait to finish it because there is one more trick to the legs.
-
For some reason groups and components went crazy. I must have accidentally moved things into other components.
Anyway, the legs are finished except for the connecting axles to the chassis.
YAH!
Again, it's not exactly like the reference drawings, but it very, very close. And considering the reference drawing aren't consistent either (and some are even fuzzy), this is close enough.
-
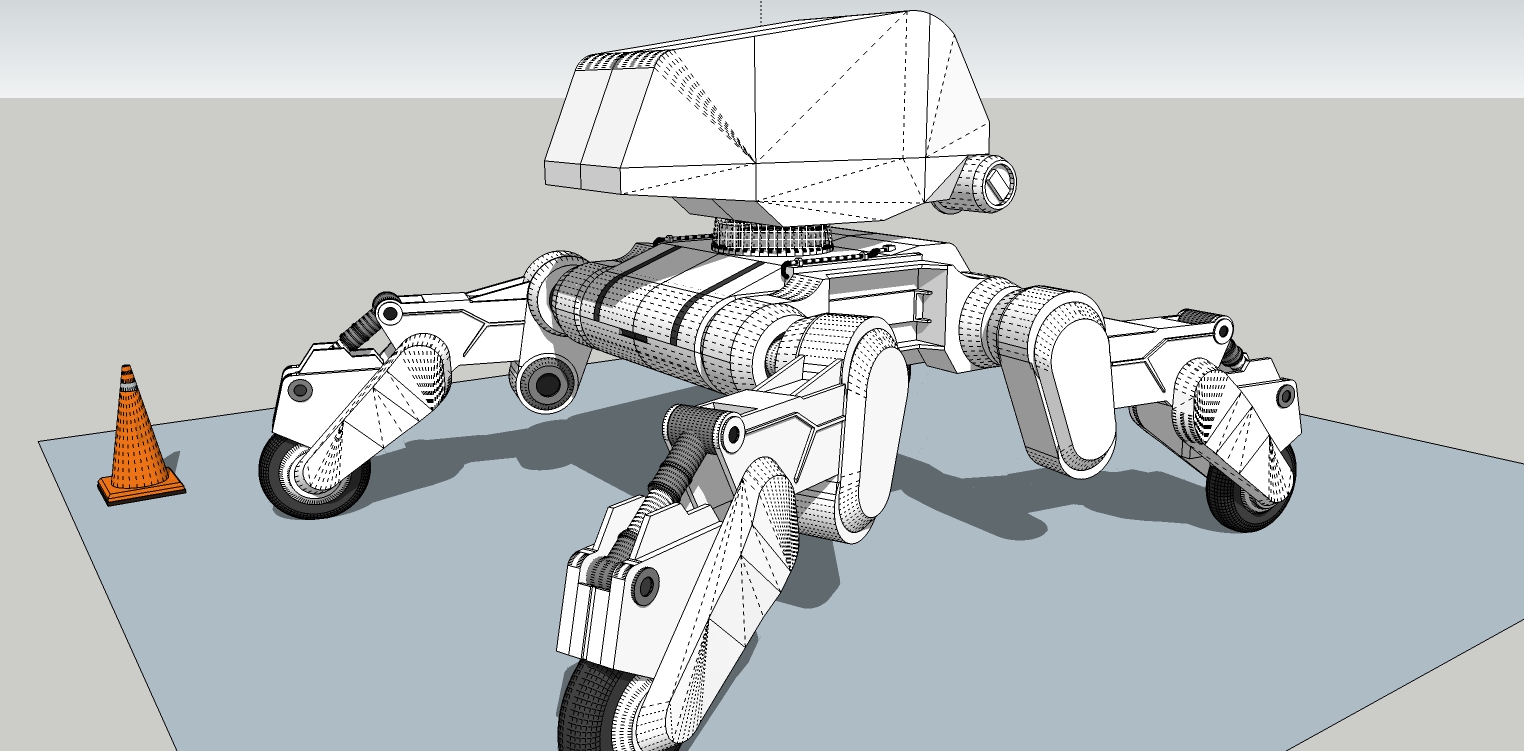
Legs completed and positioned at angle.
Upper body roughed in for proportions. It will change a lot before it's finished.
-
Looking great
-
Thanks tuna!
-
Lots of lovely detail, it's a cracking model mate.
-
As always, thanks Mike.
-
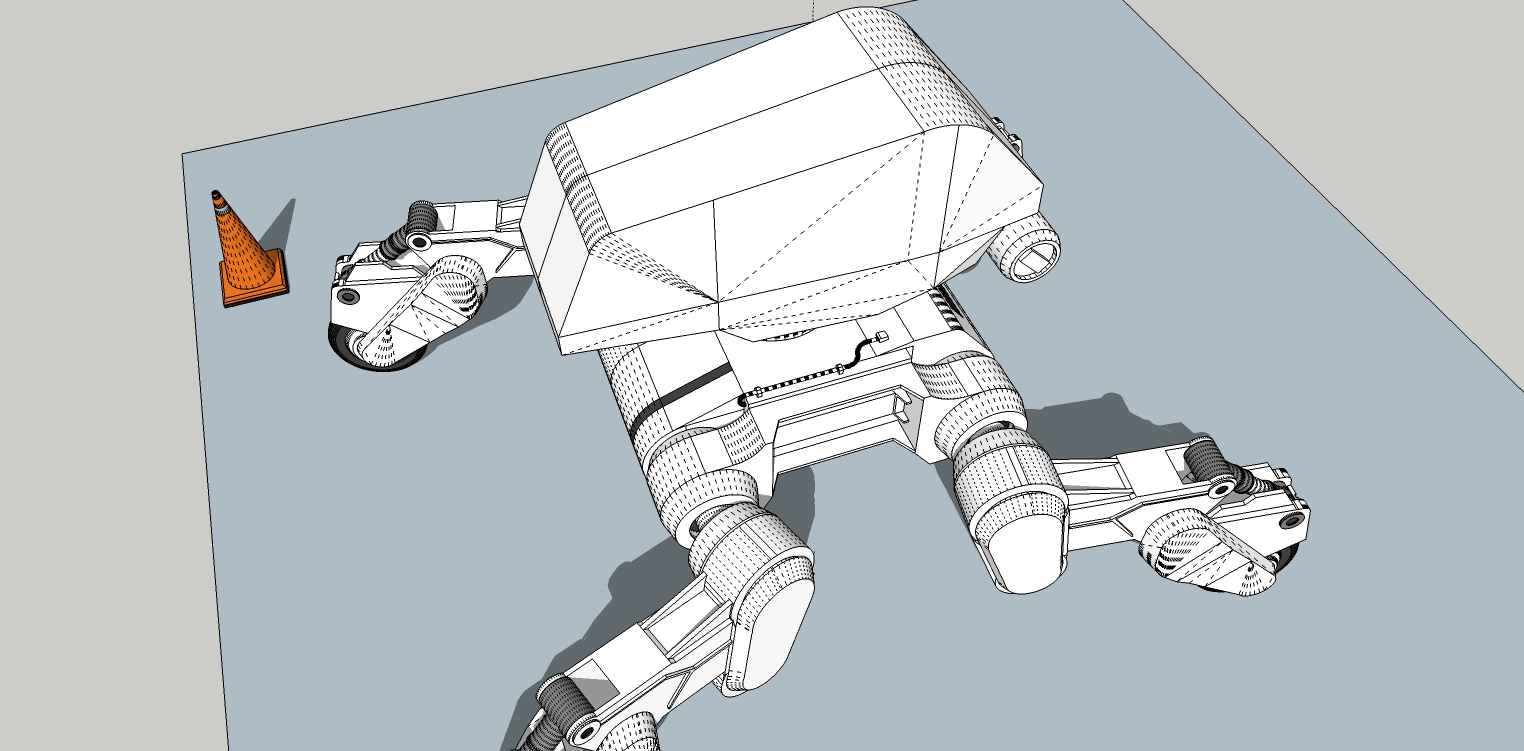
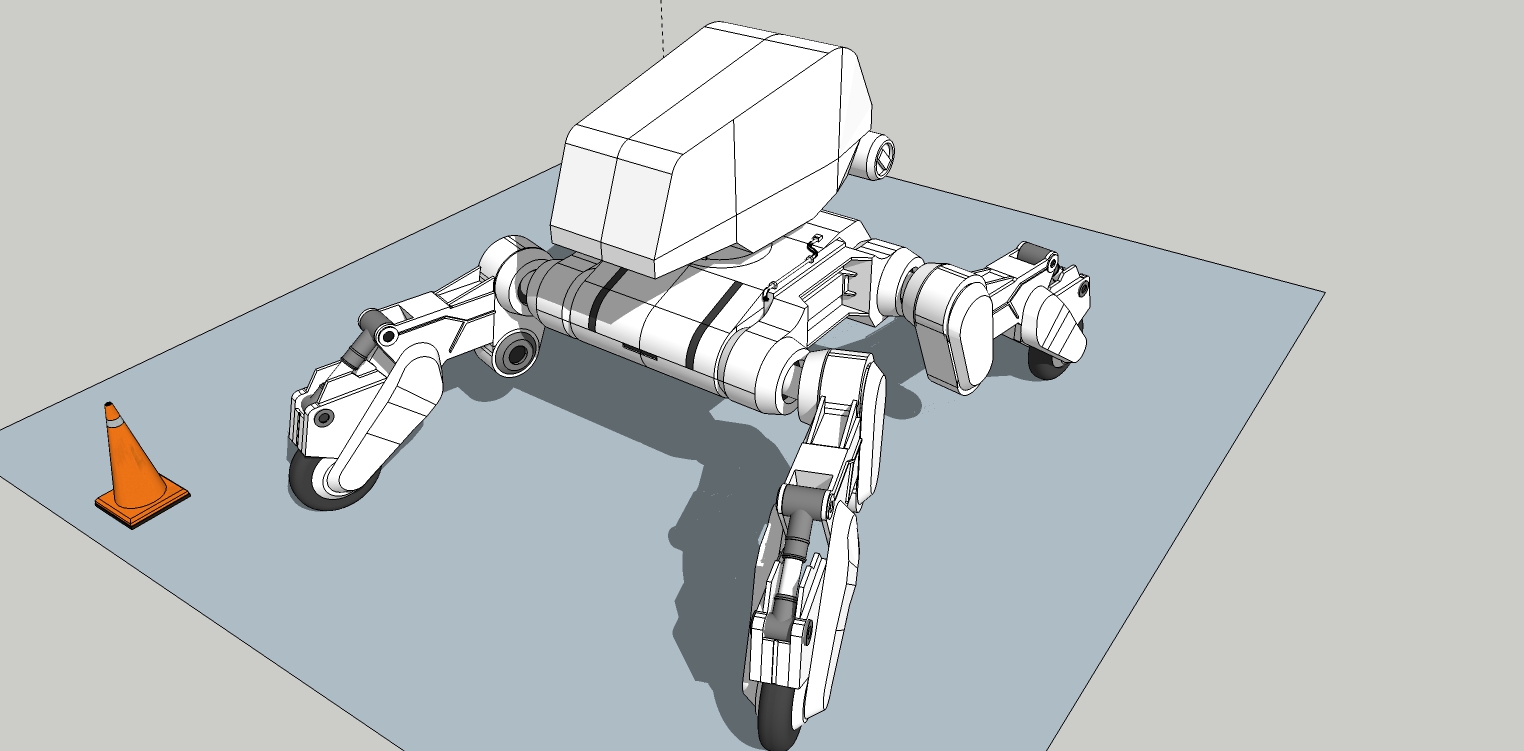
PHEW! What a pain. It took me a long time to figure out the upper body shape because the artist drew it with "impossible" angles.
I show the hidden lines in the last picture to demonstrate all the lines I needed to make to get the angled planes to create faces. I then Shift-E erased them to get the smoothed body.
I can now start detailing the upper body.
This will have to do to. Again, it's not exactly like the drawing but it's very close.
-
Edge beveling on upper body completed. Partly bevel tool, partly by hand to reconnect the faces where it broke on the curves.
Antenna added.
-
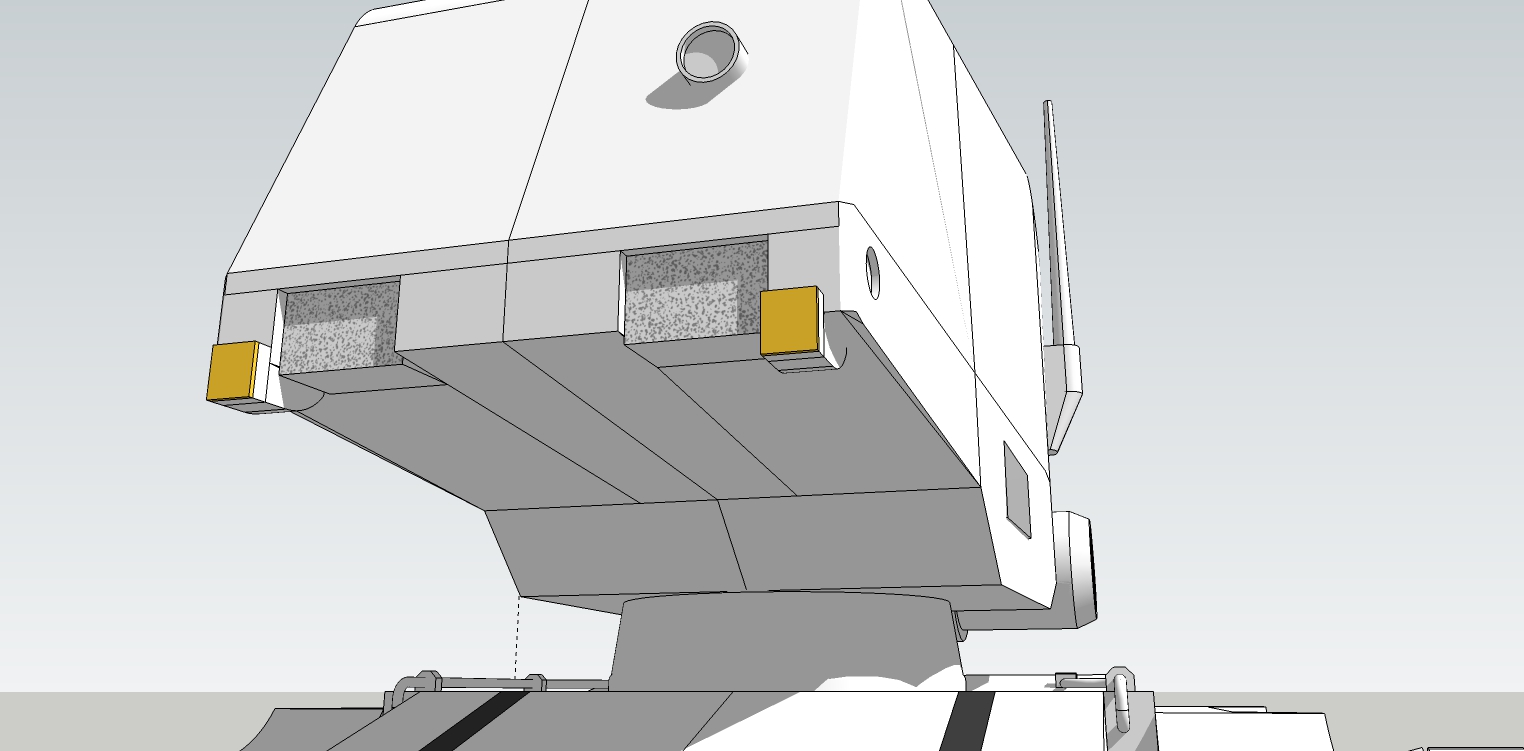
Starting the front details.
Advertisement