Medeek Floor
-
Version 0.9.9c - 10.03.2024
- Enabled diagonal deck boards with the addition of a Board rotation parameter.
- Enabled 2-Ply rim joists with our without an air gap.
-
Version 0.9.9d - 10.03.2024
- Fixed critical bugs with saving of floor presets.
- Improved robustness of floor attribute library and data lookup methods.
Some incremental improvements but necessary.
IMPORTANT
Note that the last few updates prior to this update introduced a number of new features that effectively disabled the saving of floor presets. Please download this latest update to restore the ability to save floor presets. -
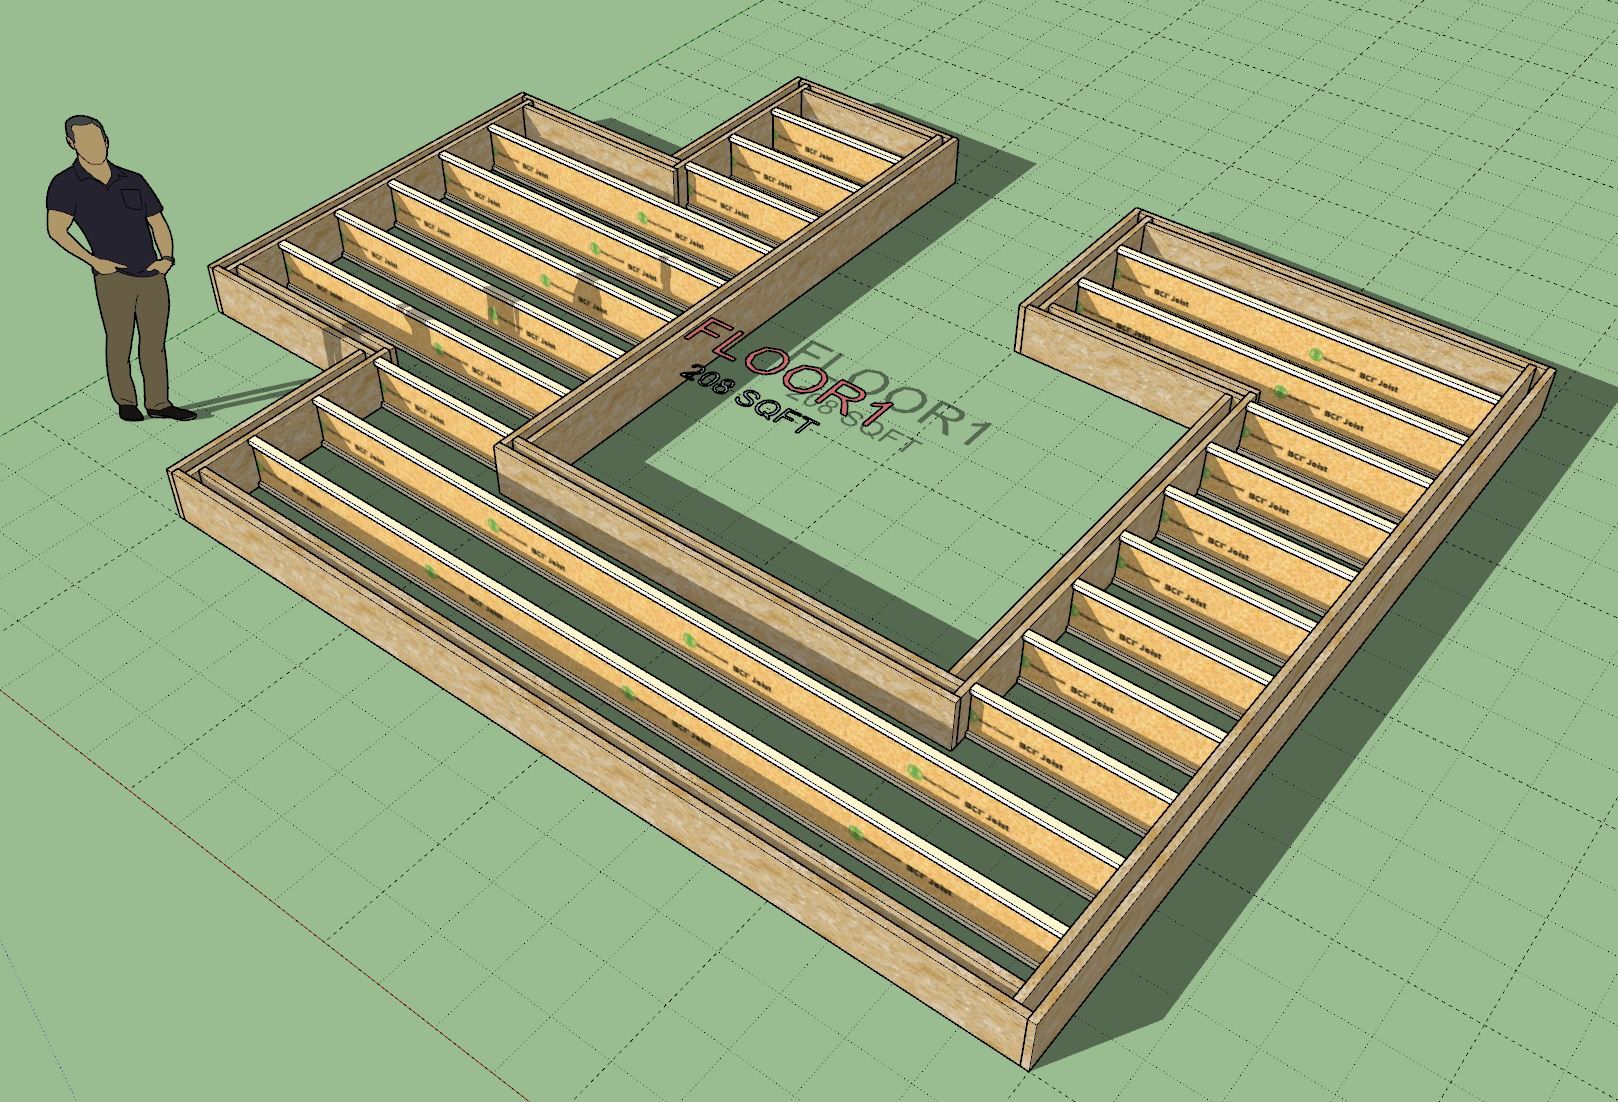
Double rim joists with air gap, lapped and extended:
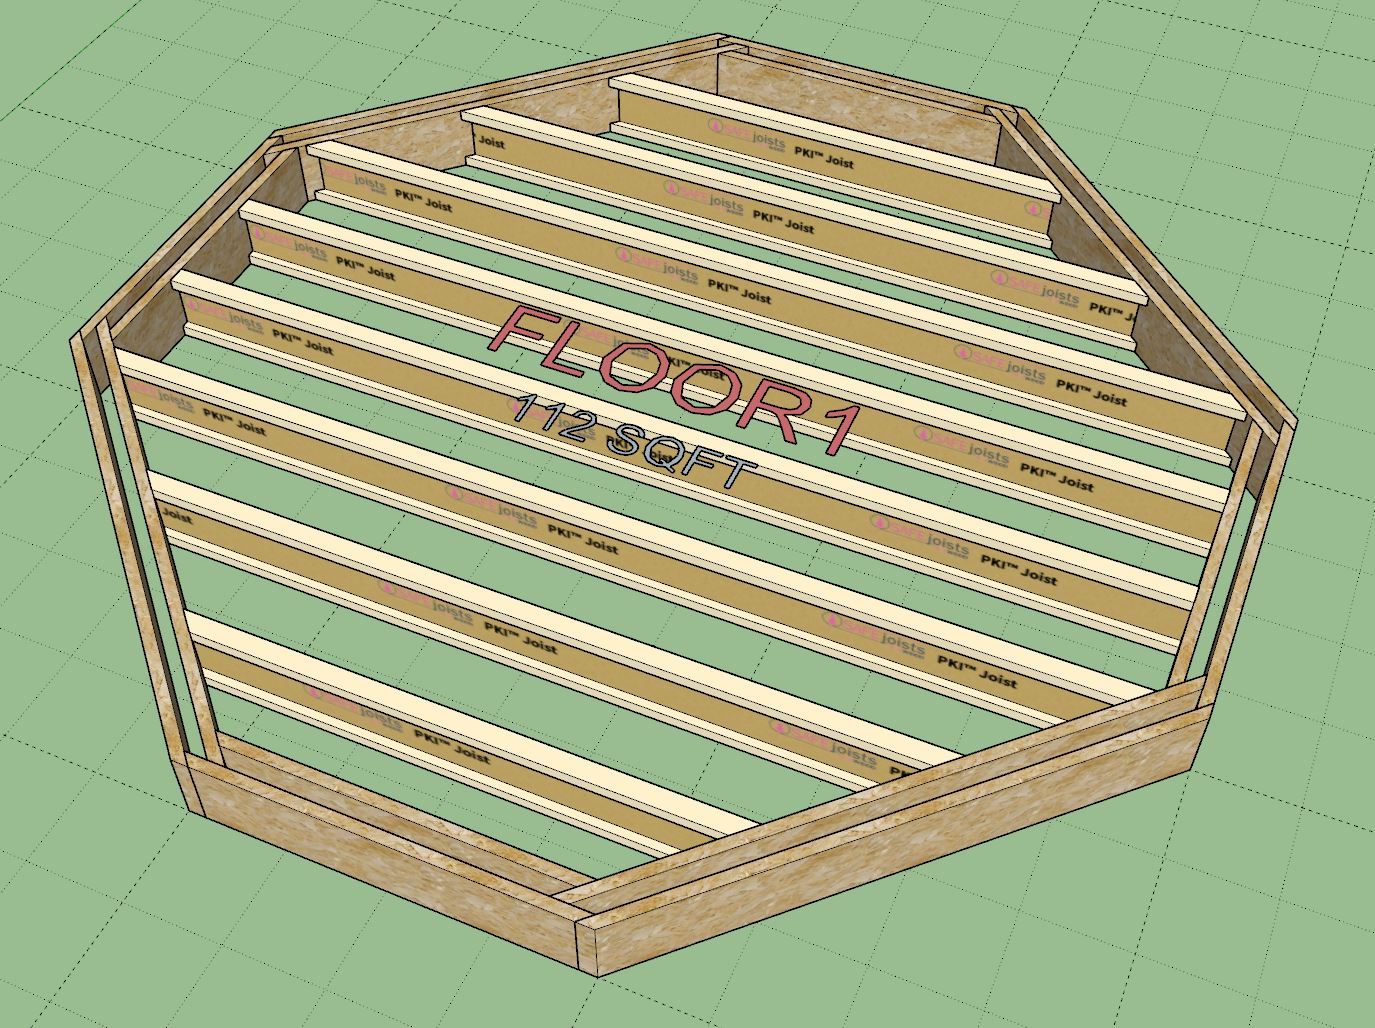
A quick test of the non-orthogonal floor types shows that the algorithm holds up as it should:
-
Version 0.9.9e - 10.04.2024
- Updated 2-Ply rim joists with air gap to extend joists that are in a lapped configuration.
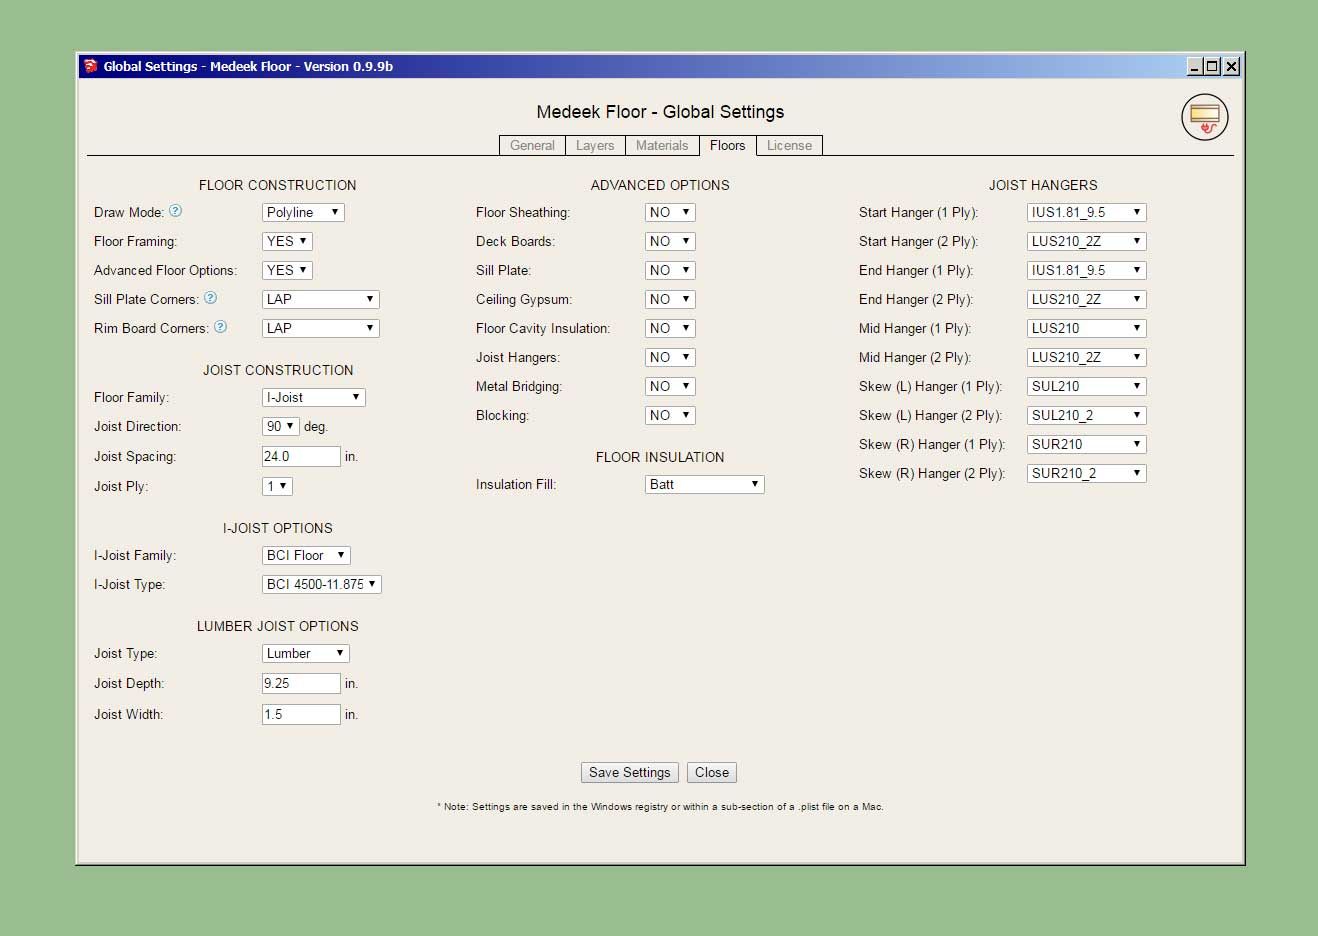
- Updated the Floor tab of the Global Settings with even more parameters for joist construction.
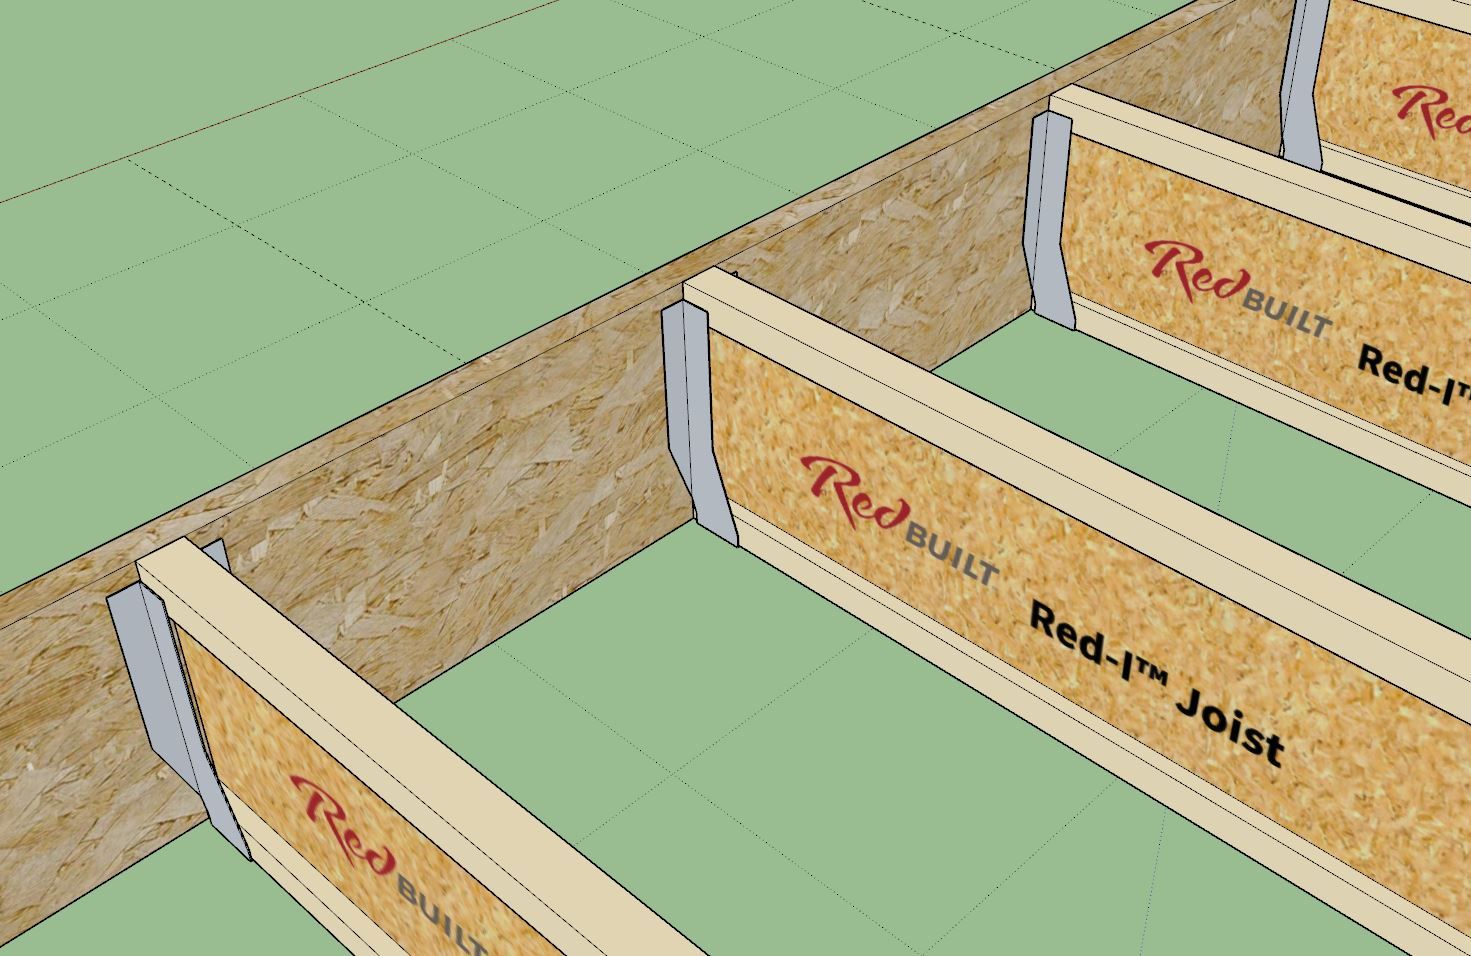
- Added the following face mount Simpson hangers into the built-in library: MIU1819, MIU18111, MIU18114, MIU18116, MIU18118.
-
Tutorial #4: Deck Boards (6:42 min.)
-
Tutorial 5 - Rim Joists and Sill Plates (5:47 min.)
-
Tutorial 6 - Skewed Joist Hangers (5:03 min.)
-
Tutorial 7 - Subtractive Geometry (10:57 min.)
-
Tutorial 8 - Staggered Joists (5:06 min.)
-
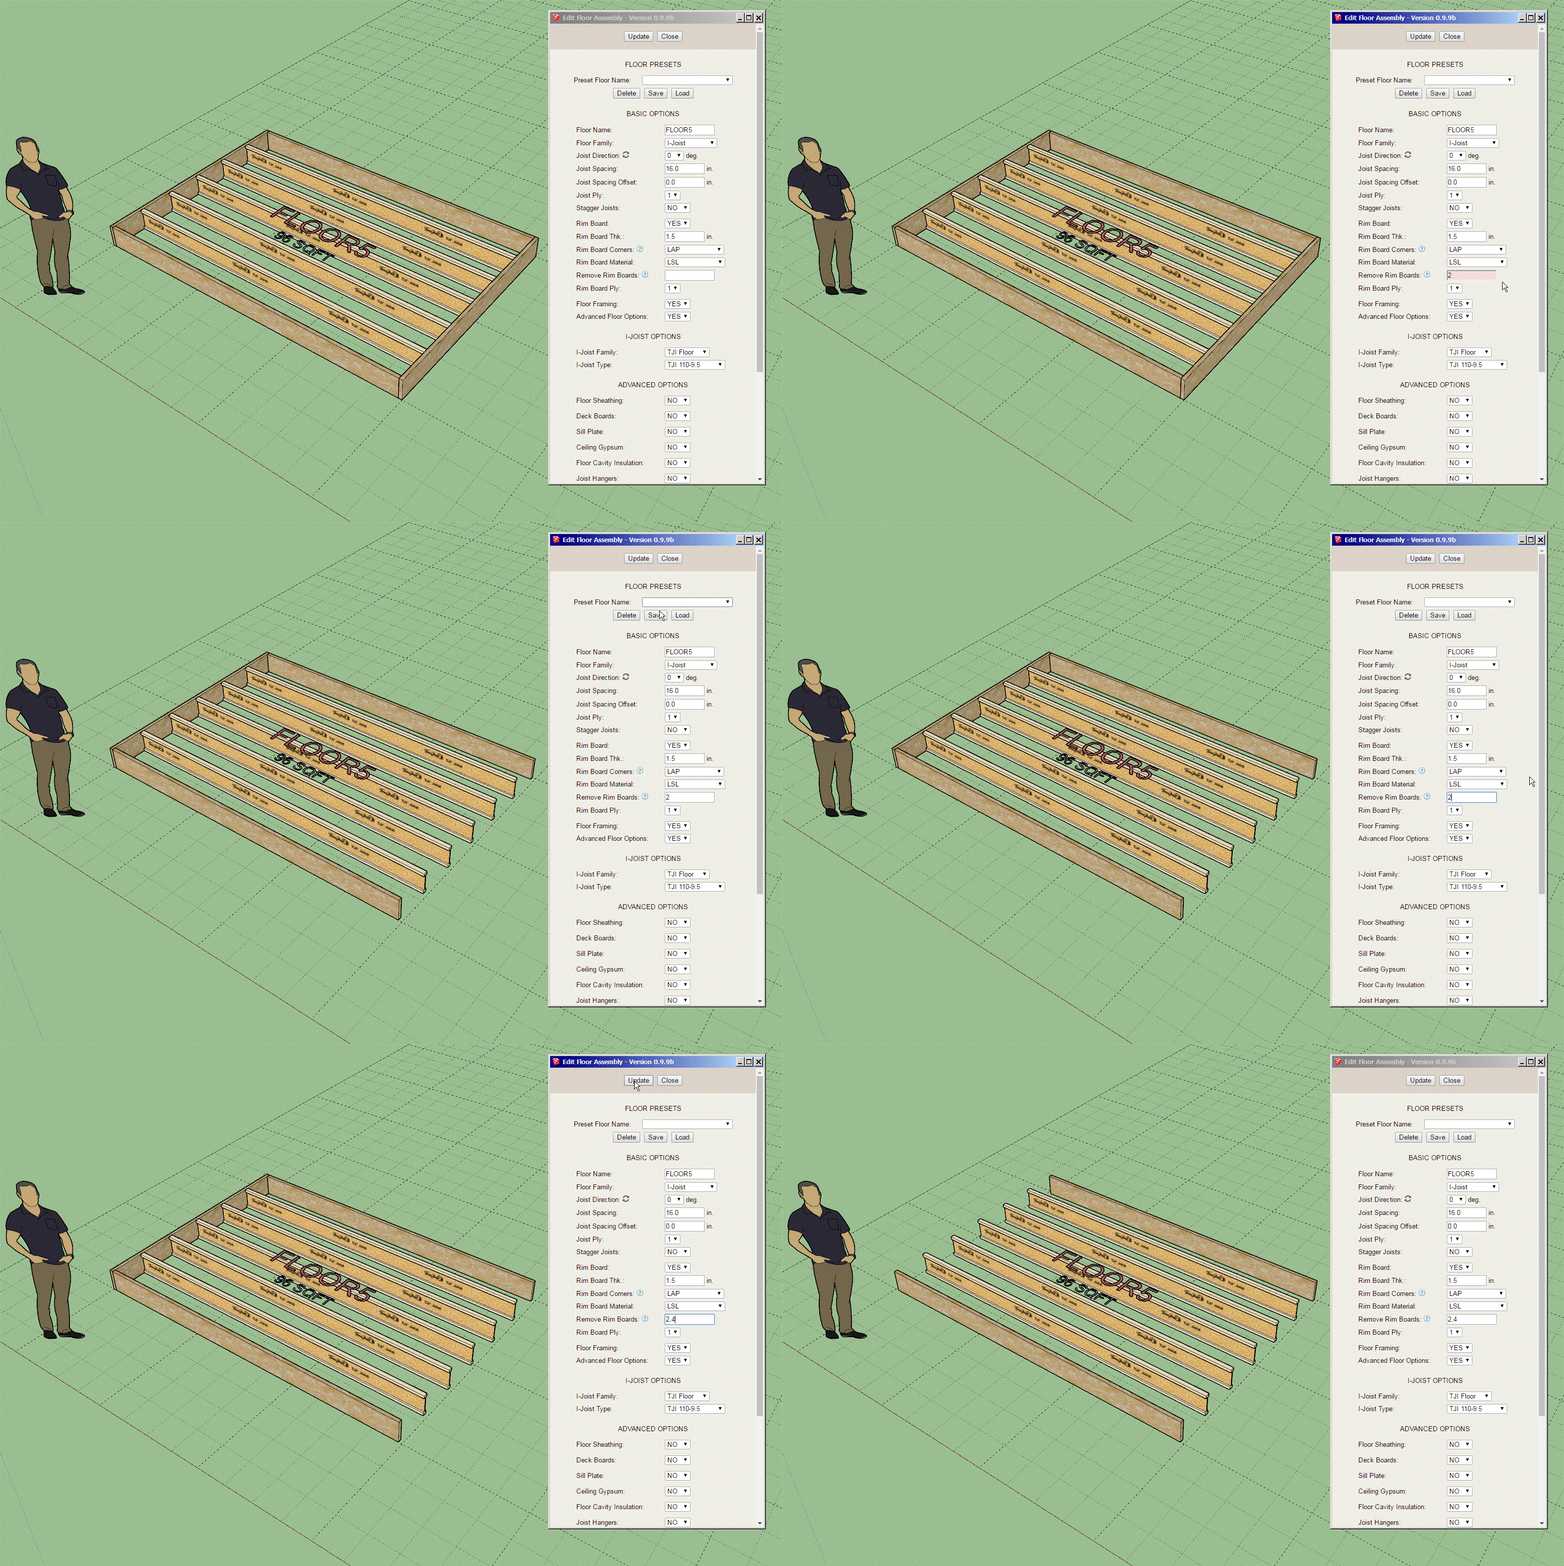
One additional parameter for removing specific rim boards:
-
I am currently working on the floor covering tool which will then become the code template for the floor opening tool. Once I have those two big items completed I think we will finally have a mostly usable plugin.
I am sure there will be requests for additional features and/or changes to the functionality but the core of the plugin will be mostly in place. At that point I will test the plugin in as many states as possible and attempt to discover any final bugs or issues, then within a couple days I will probably release Version 1.0.0.
Further integration with the estimating module will also be something on the todo list in the weeks ahead.
As always please feel free to chime in with any specific requests or items you feel need to be addressed. I take all feedback and suggestions very seriously and I take everything under consideration. Ultimately I will weigh every idea in the balance and based on its relevancy and time considerations your ideas may quickly become a reality within this plugin or any other plugin in the Medeek family.
-
Is 8,000 sqft too large? I'm going to say yes, at least for most people.
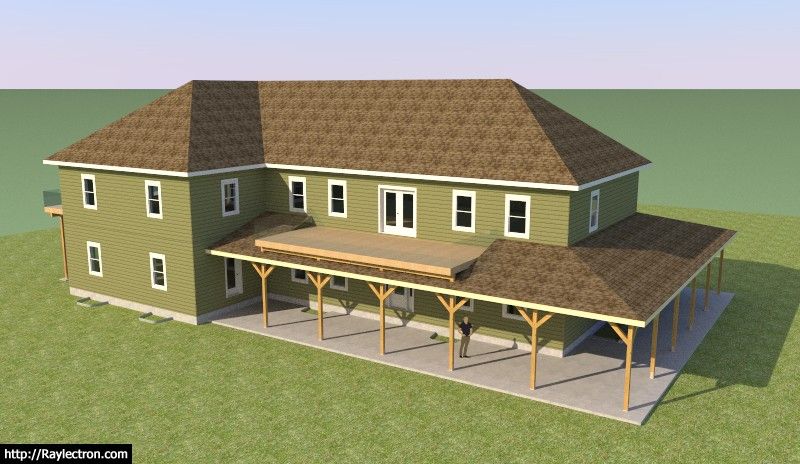
Besides the regular mdkBIM plugins I also used the grid tool (Medeek Project), but the regular SketchUp grid tool works just as well. A grid tool is a requirement in my opinion, you really need something like this for laying things out correctly.
I also used TIG's mirror tool for certain manual modeling tasks.
The trim and extend tools in the Medeek Project were also very handy for creating my diagonal braces.
-
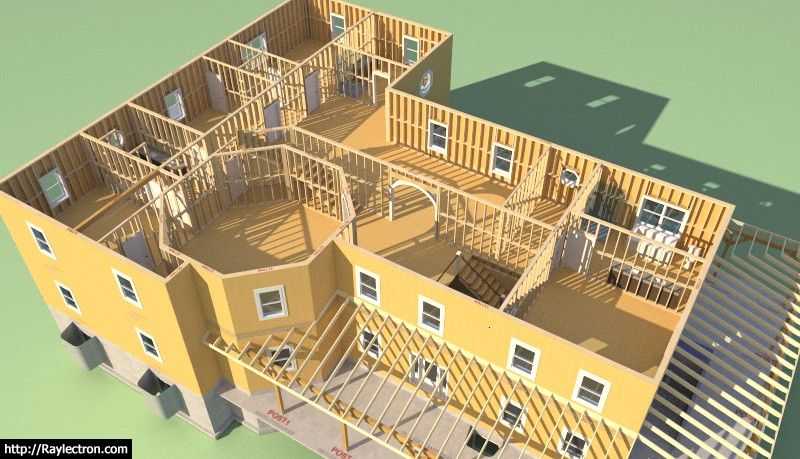
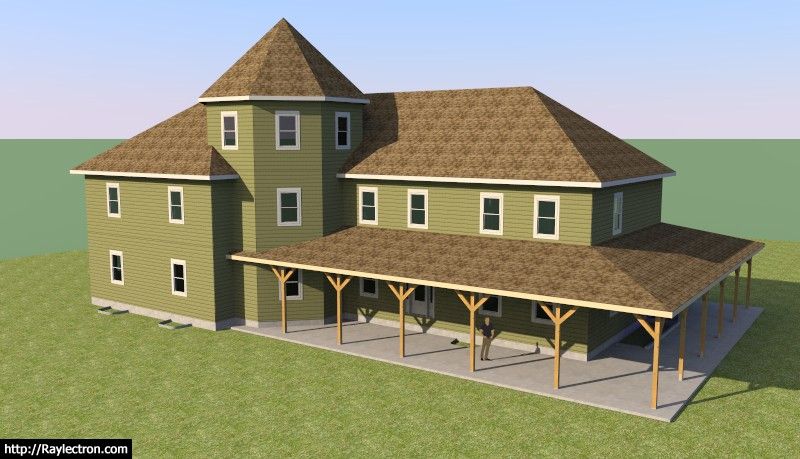
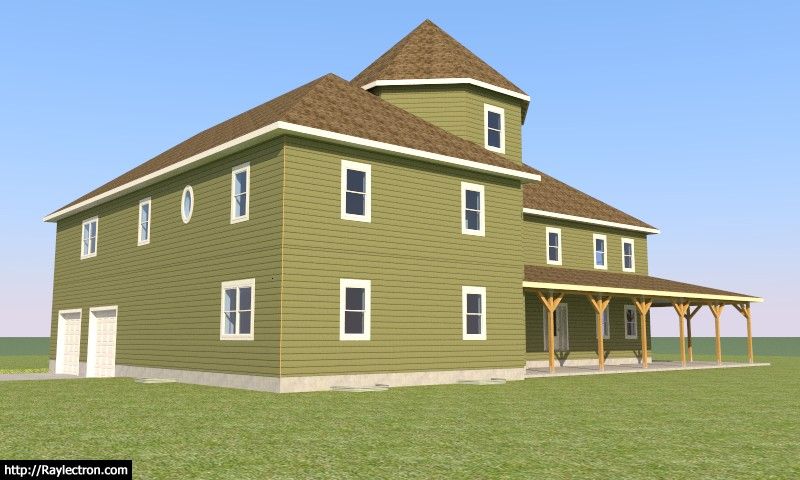
My wife said my design was boring so I saved a new version and let her try to come up with something a little more interesting…
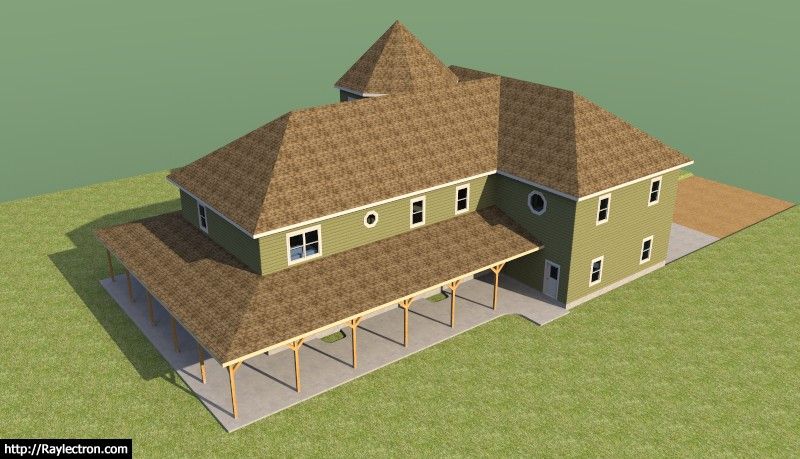
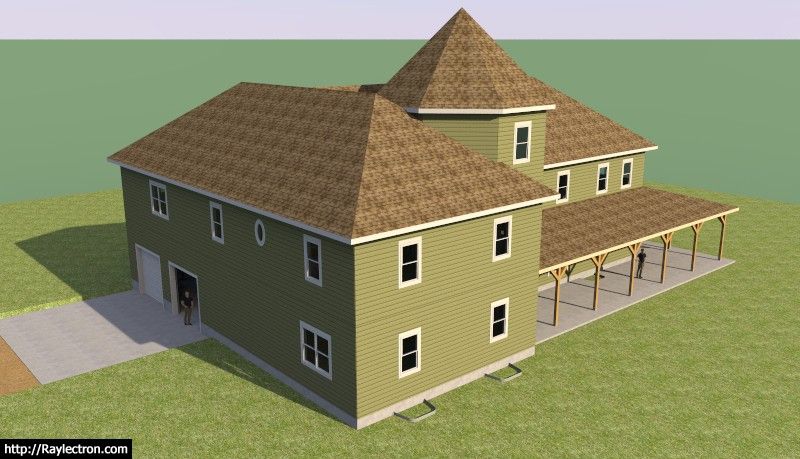
-
@medeek Its a hotel!
-
That's what my daughter said it looks like or a very serious bed and breakfast or even a small ski lodge.
-
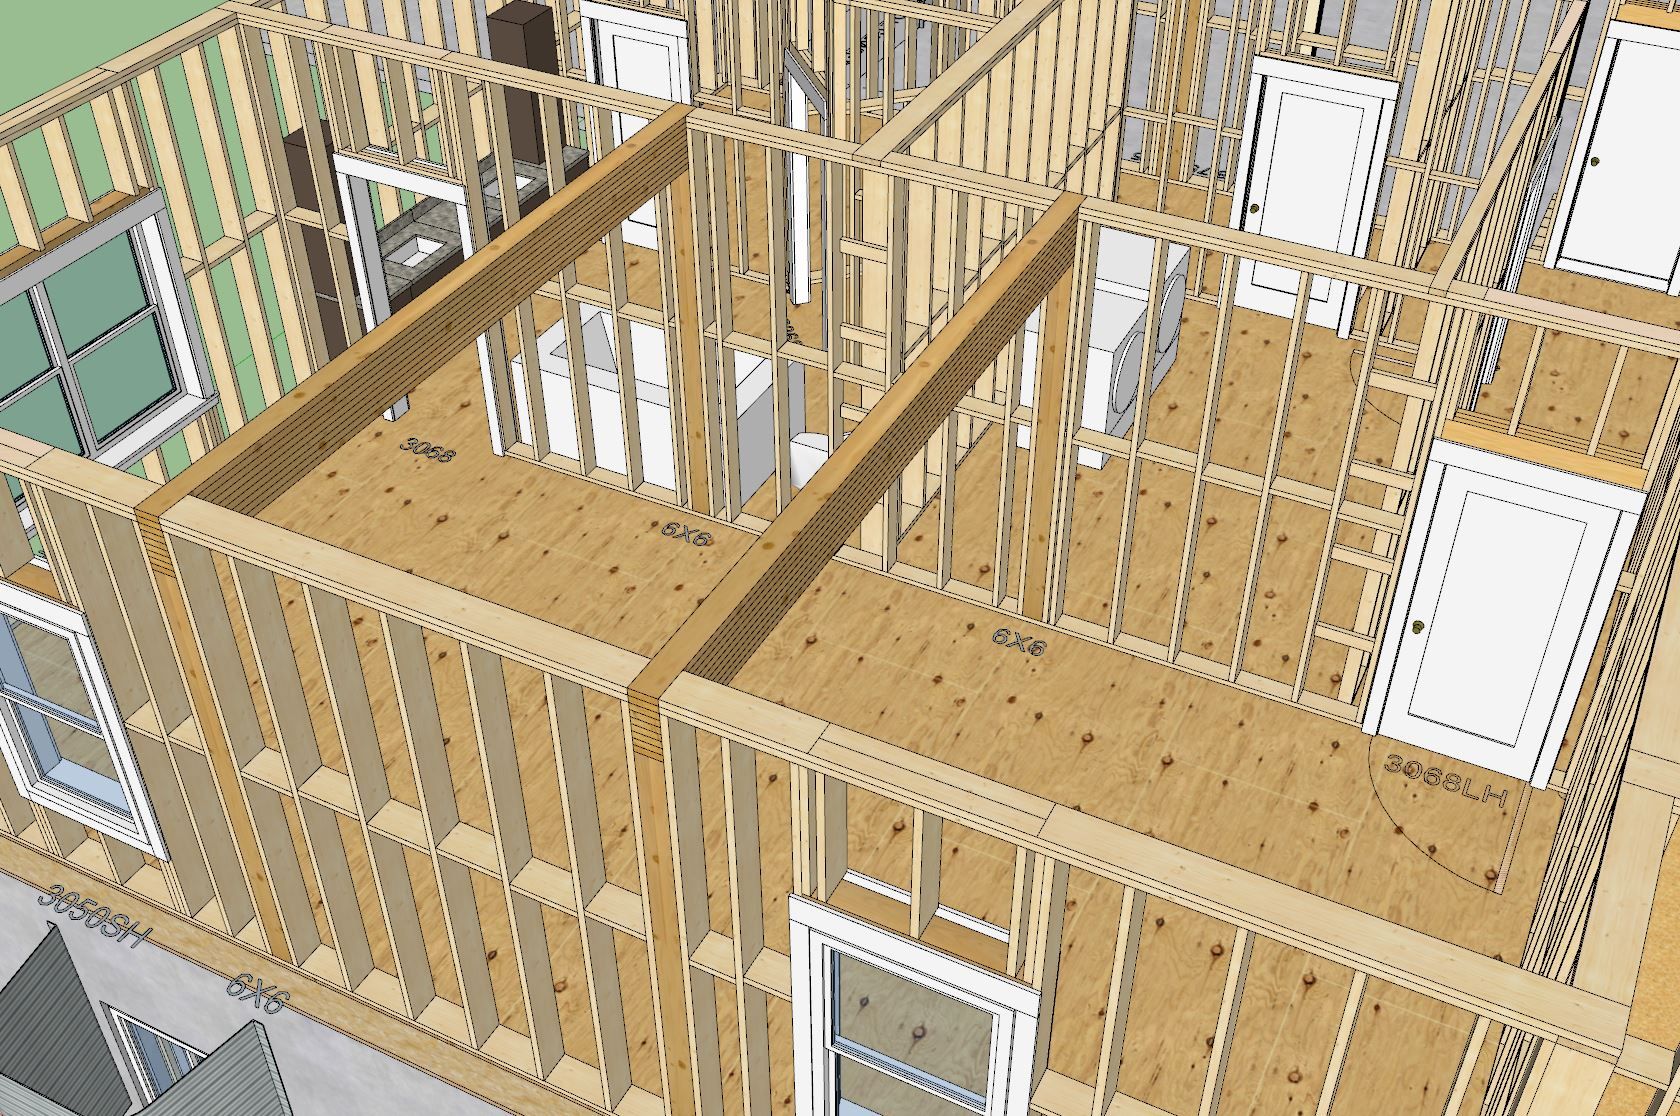
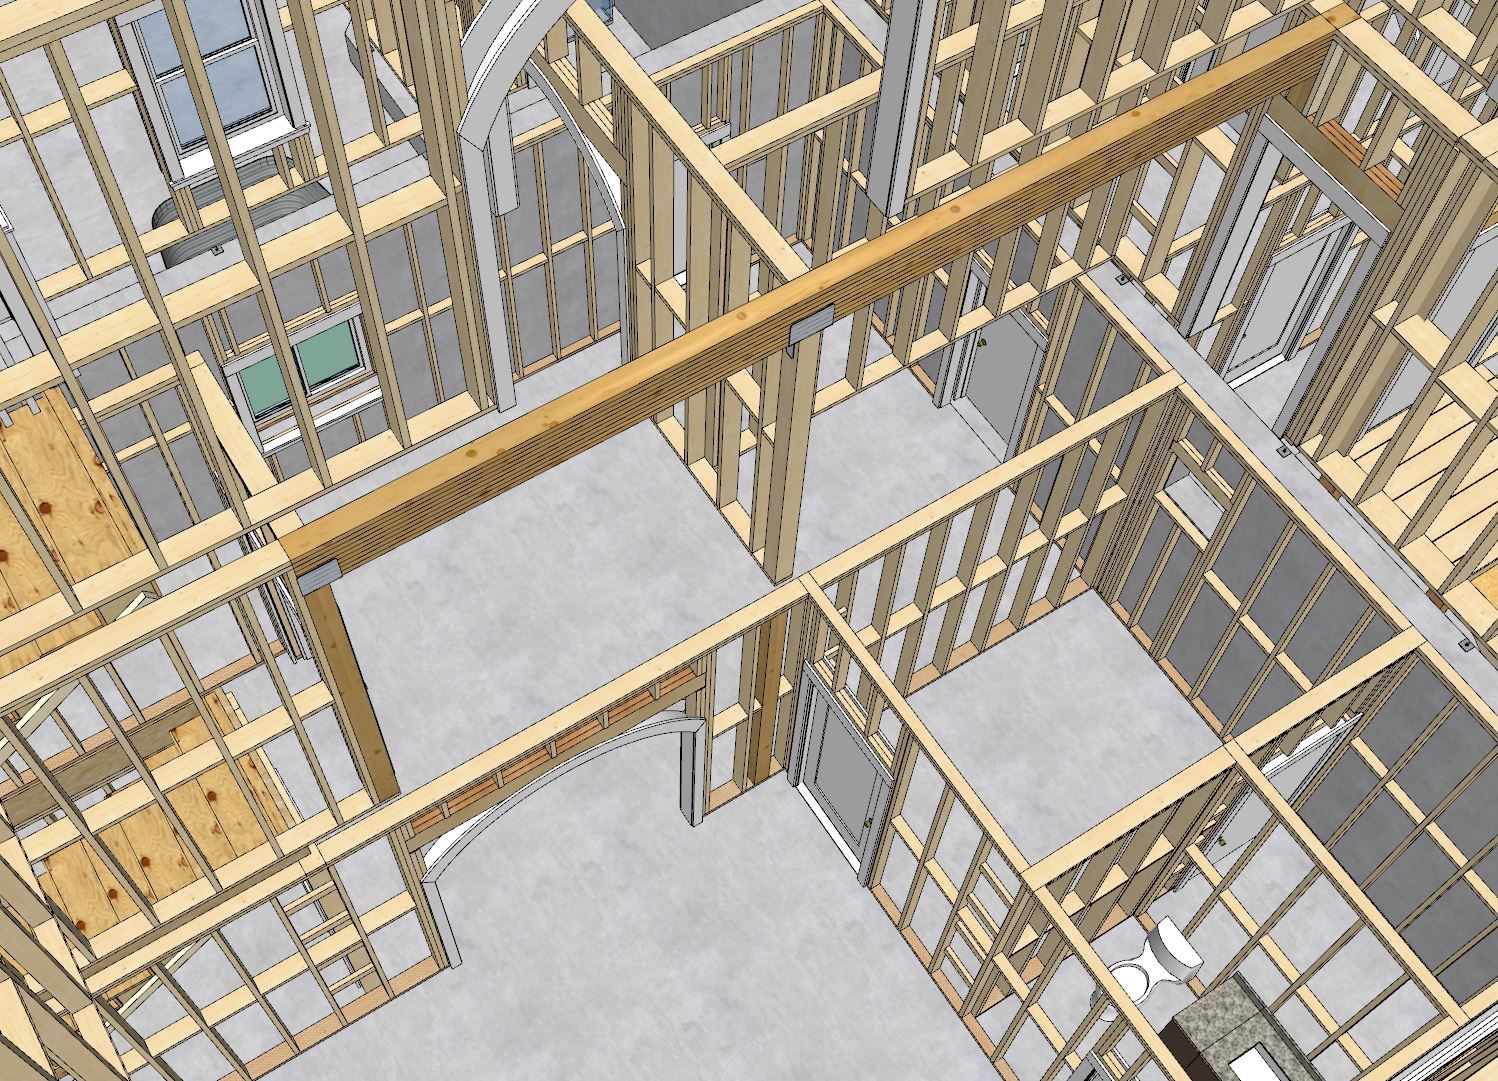
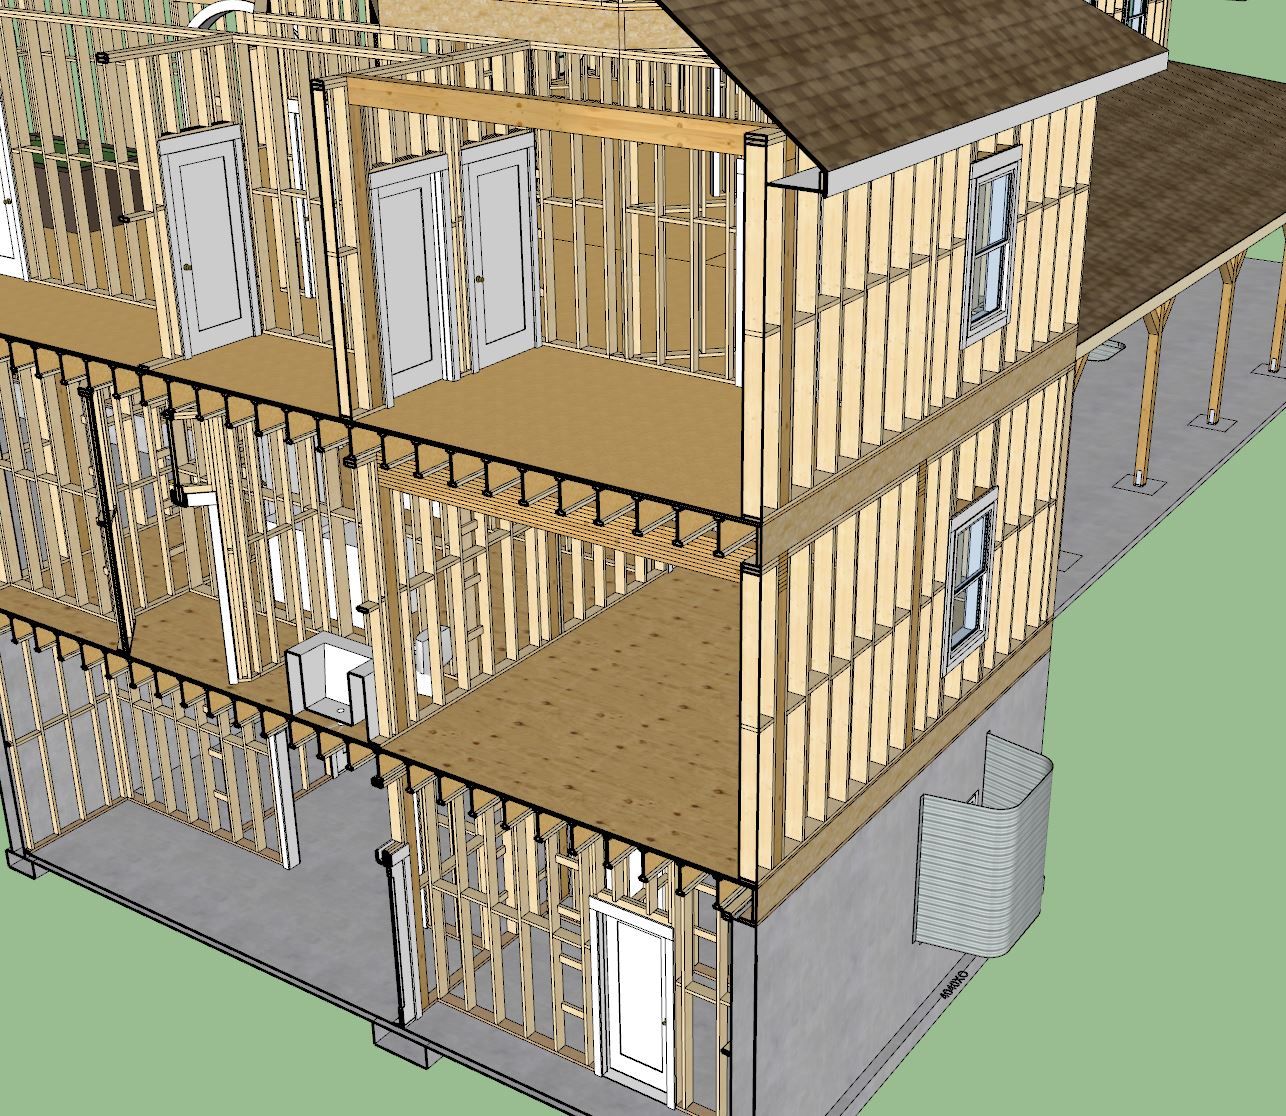
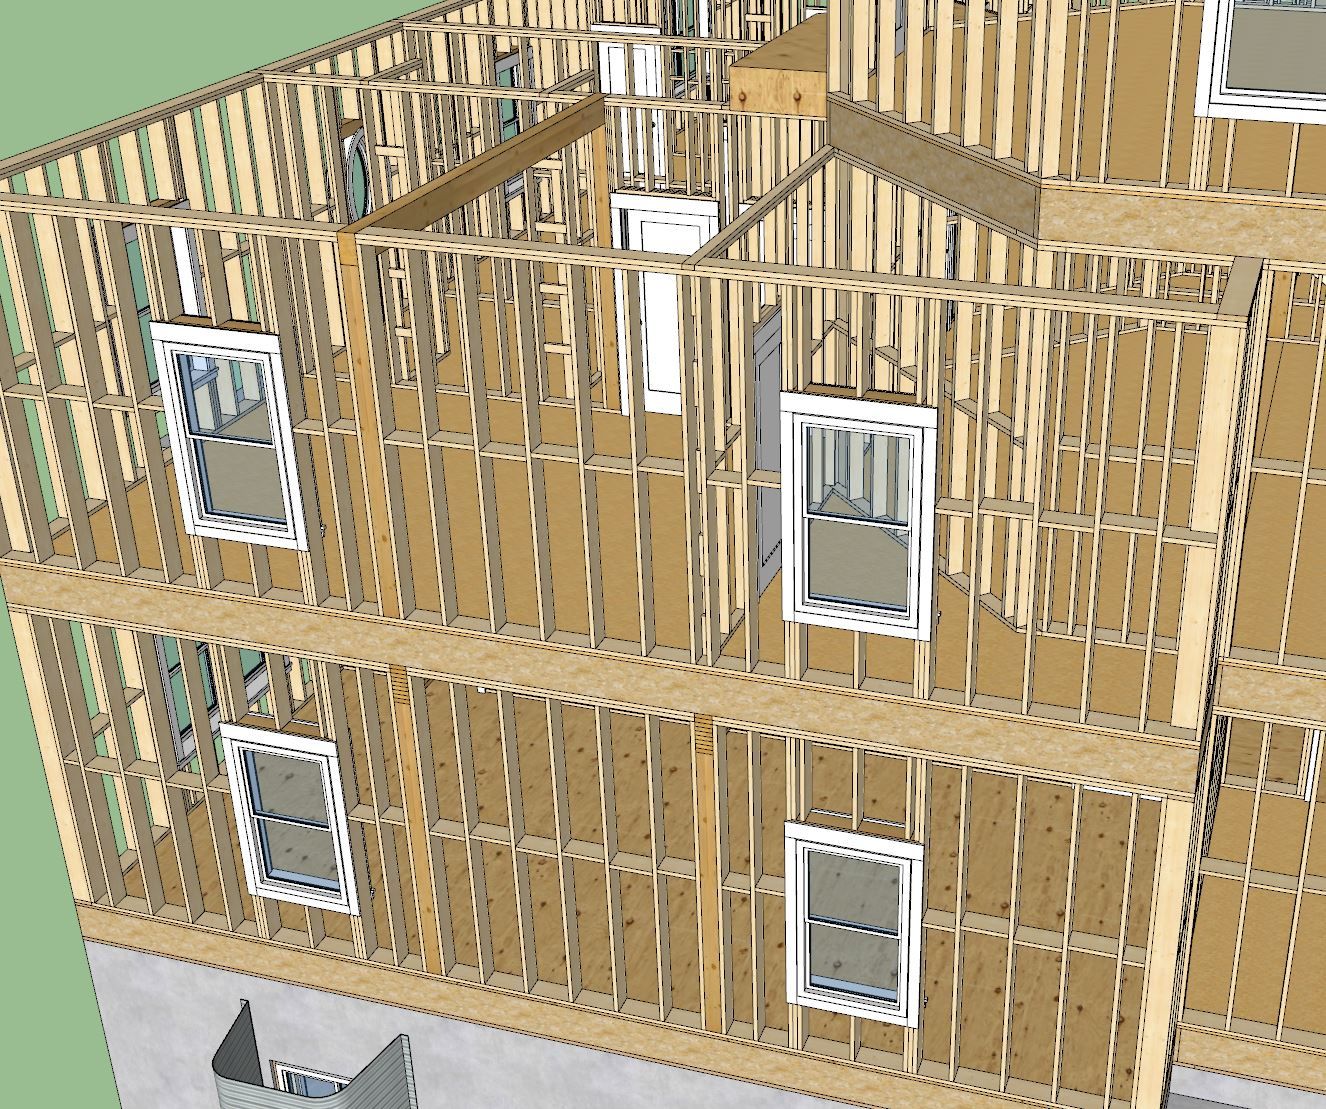
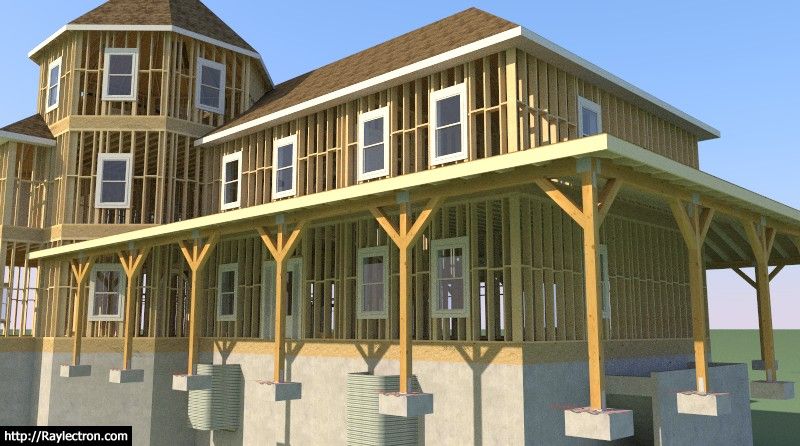
Just a few more screenshots showing how I am stacking posts and beams to ensure a valid load path to the foundation:
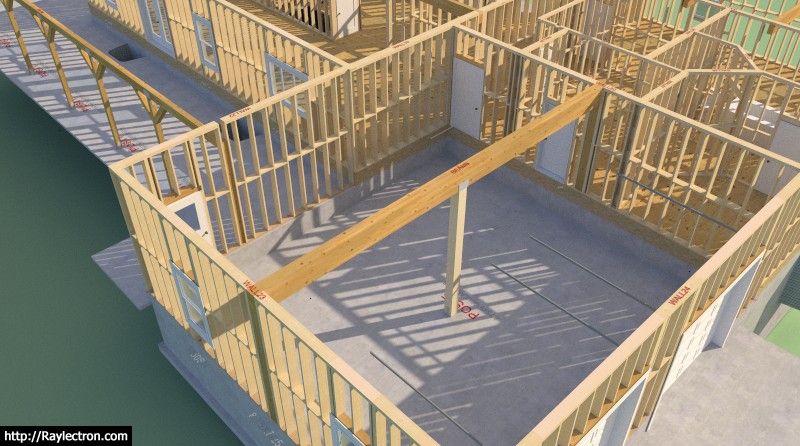
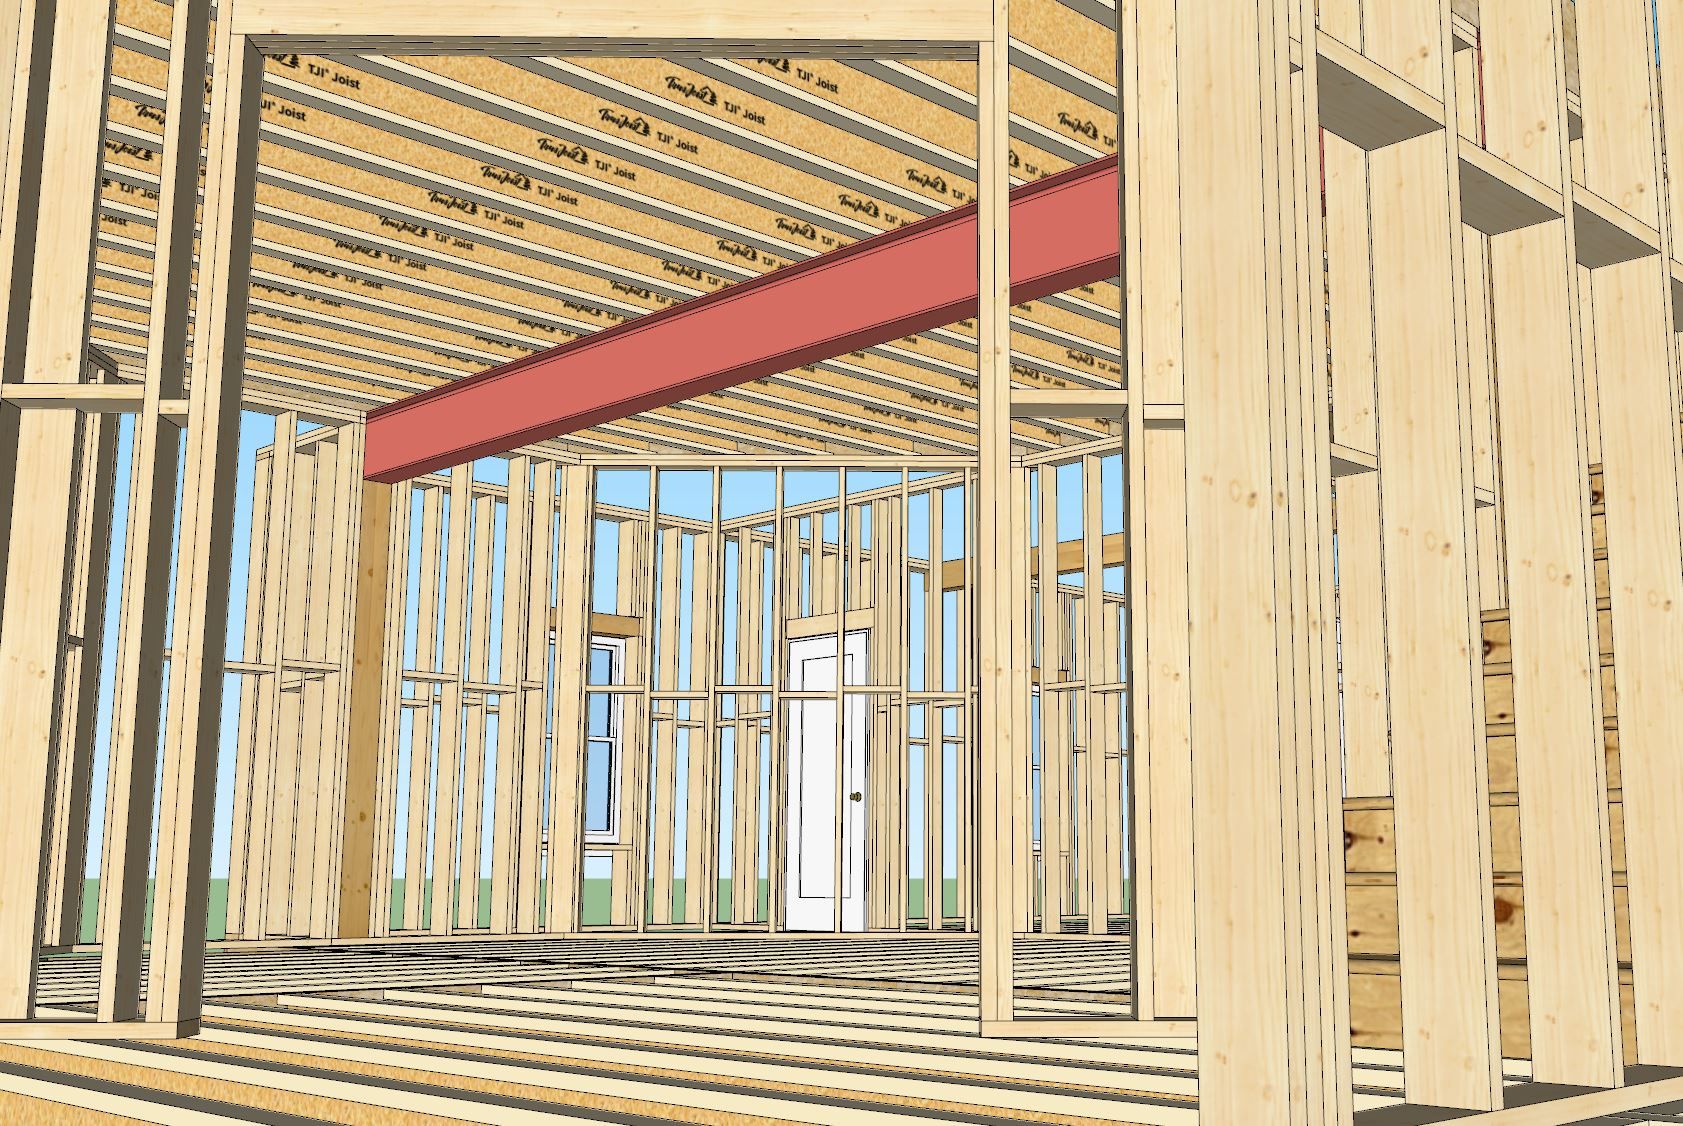

-
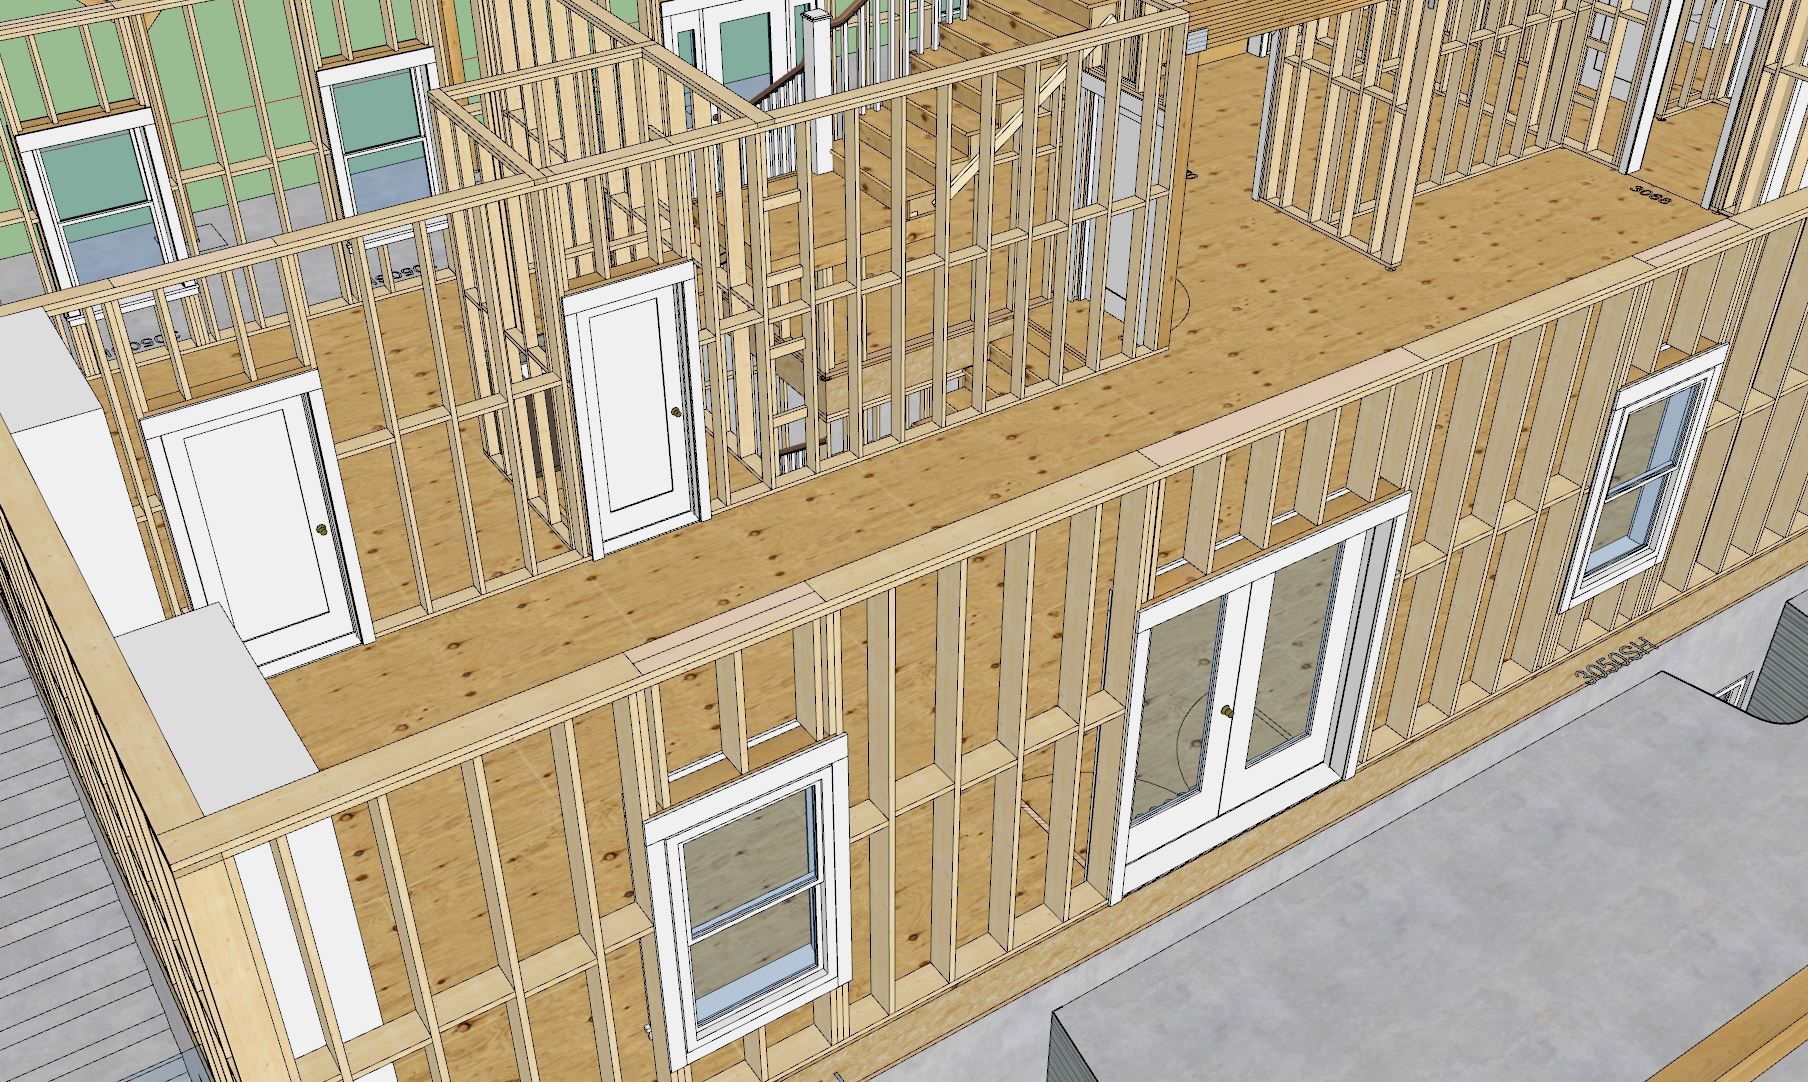
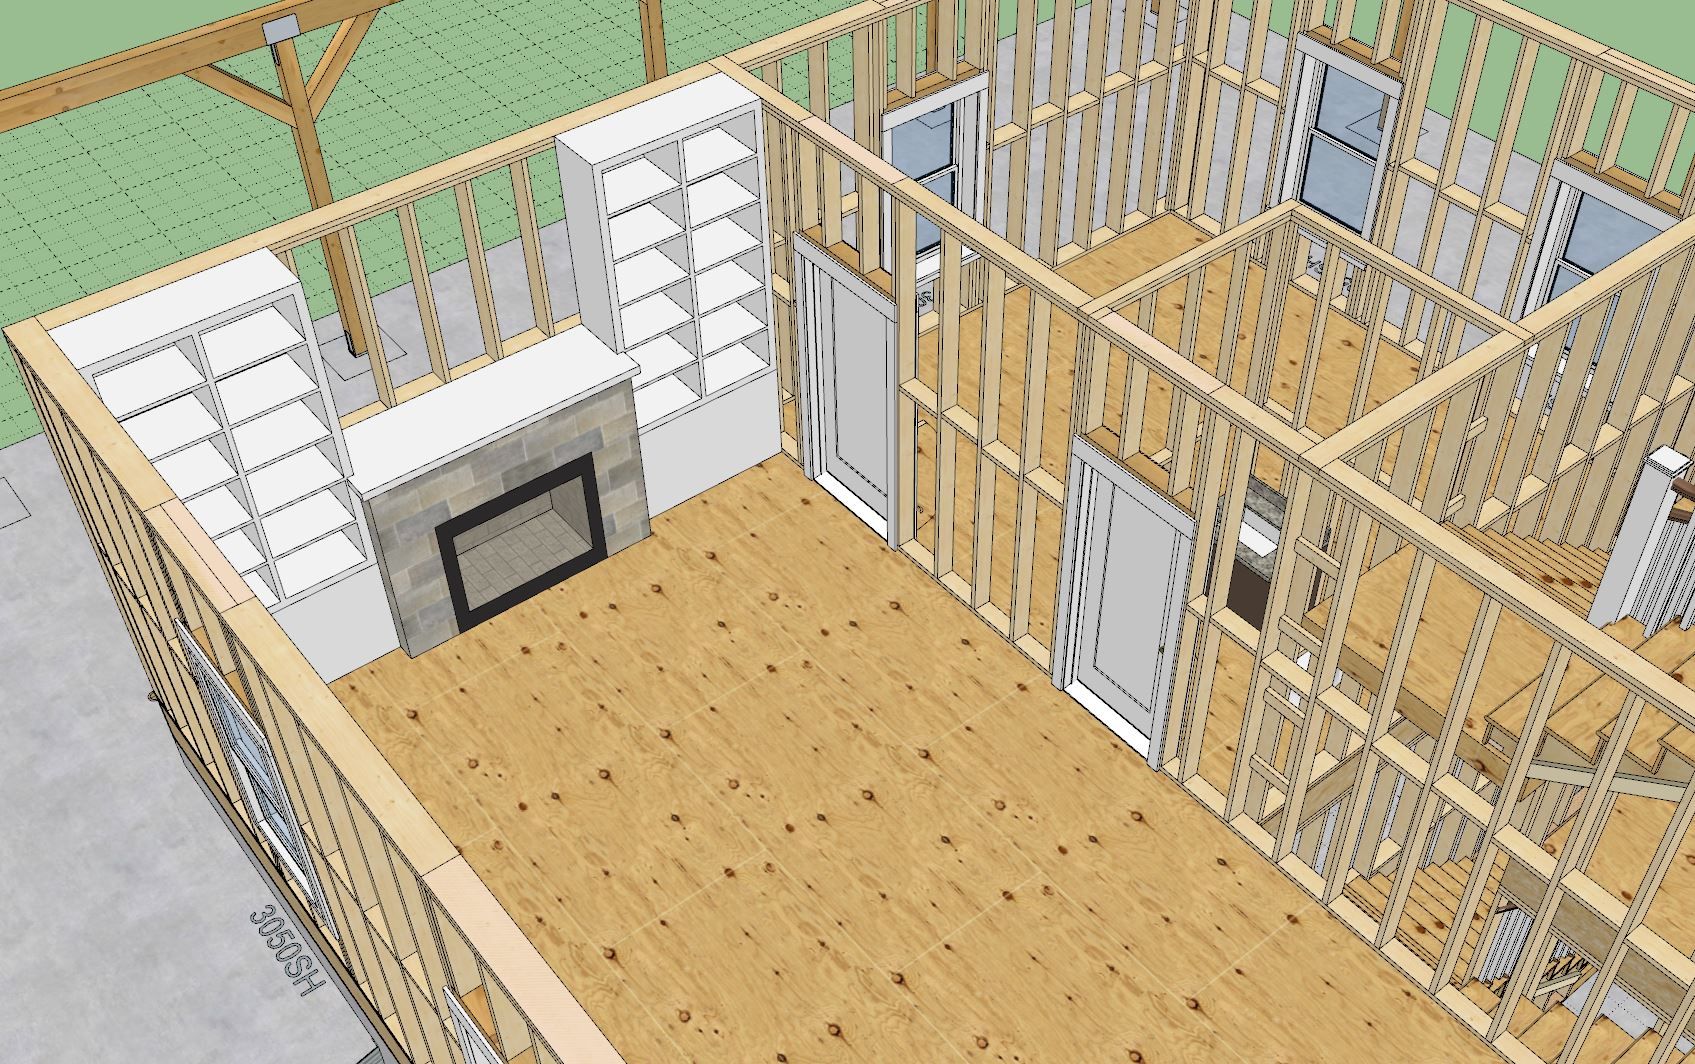
And a few more cross sectional views and interesting screenshots:
-
Tutorial 10 - Creating a Deck with a Face (9:33 min.)
-
Version 0.9.9f - 10.17.2024
- Enabled (cosmetic cutting) of individual deck boards.
- Enabled removing of individual rim boards.
The cutting of deck boards was per user request.
Tutorial 11 - Cutting Deck Boards (6:05 min.)
-
Very interesting how Tony is using ChatGPT to create the random string to insert deck board cuts, never even considered this possibility.
Advertisement


