Medeek Wall Plugin
-
Version 2.9.9 - 08.21.2022
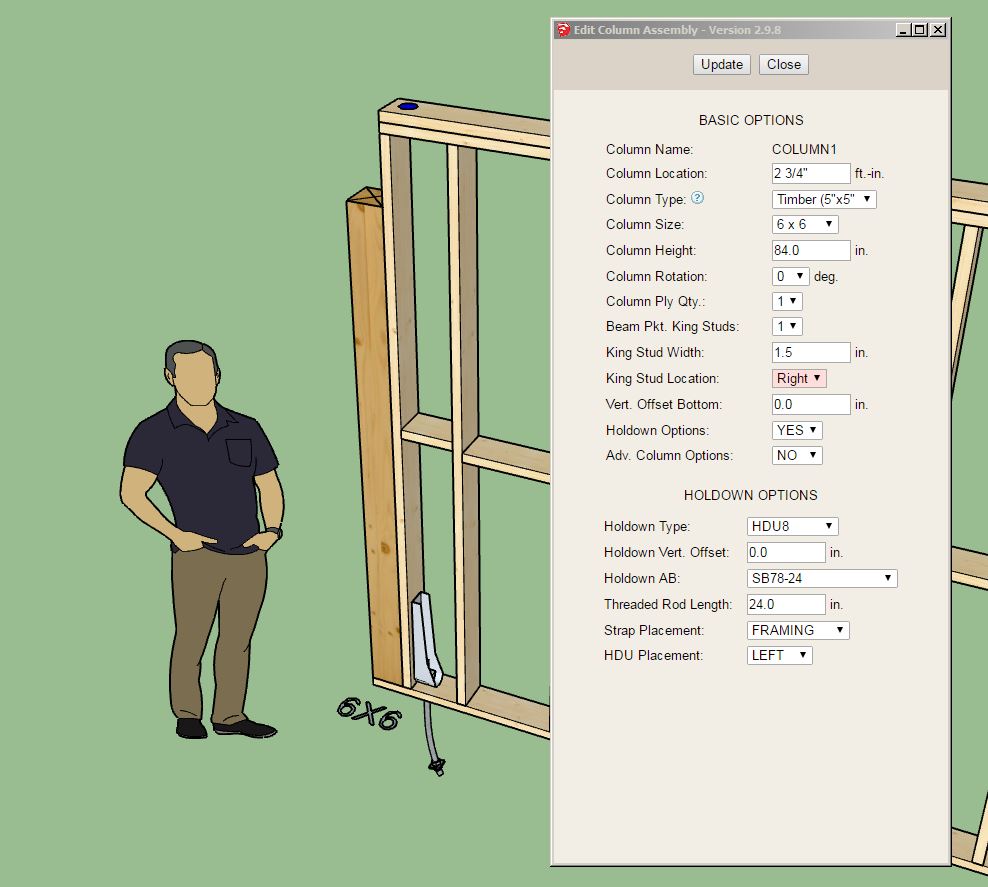
- Enabled an option to specify the location of beam pocket king studs for in-wall columns: LEFT, RIGHT, BOTH.
- Fixed a number of minor bugs related to in-wall columns.
-
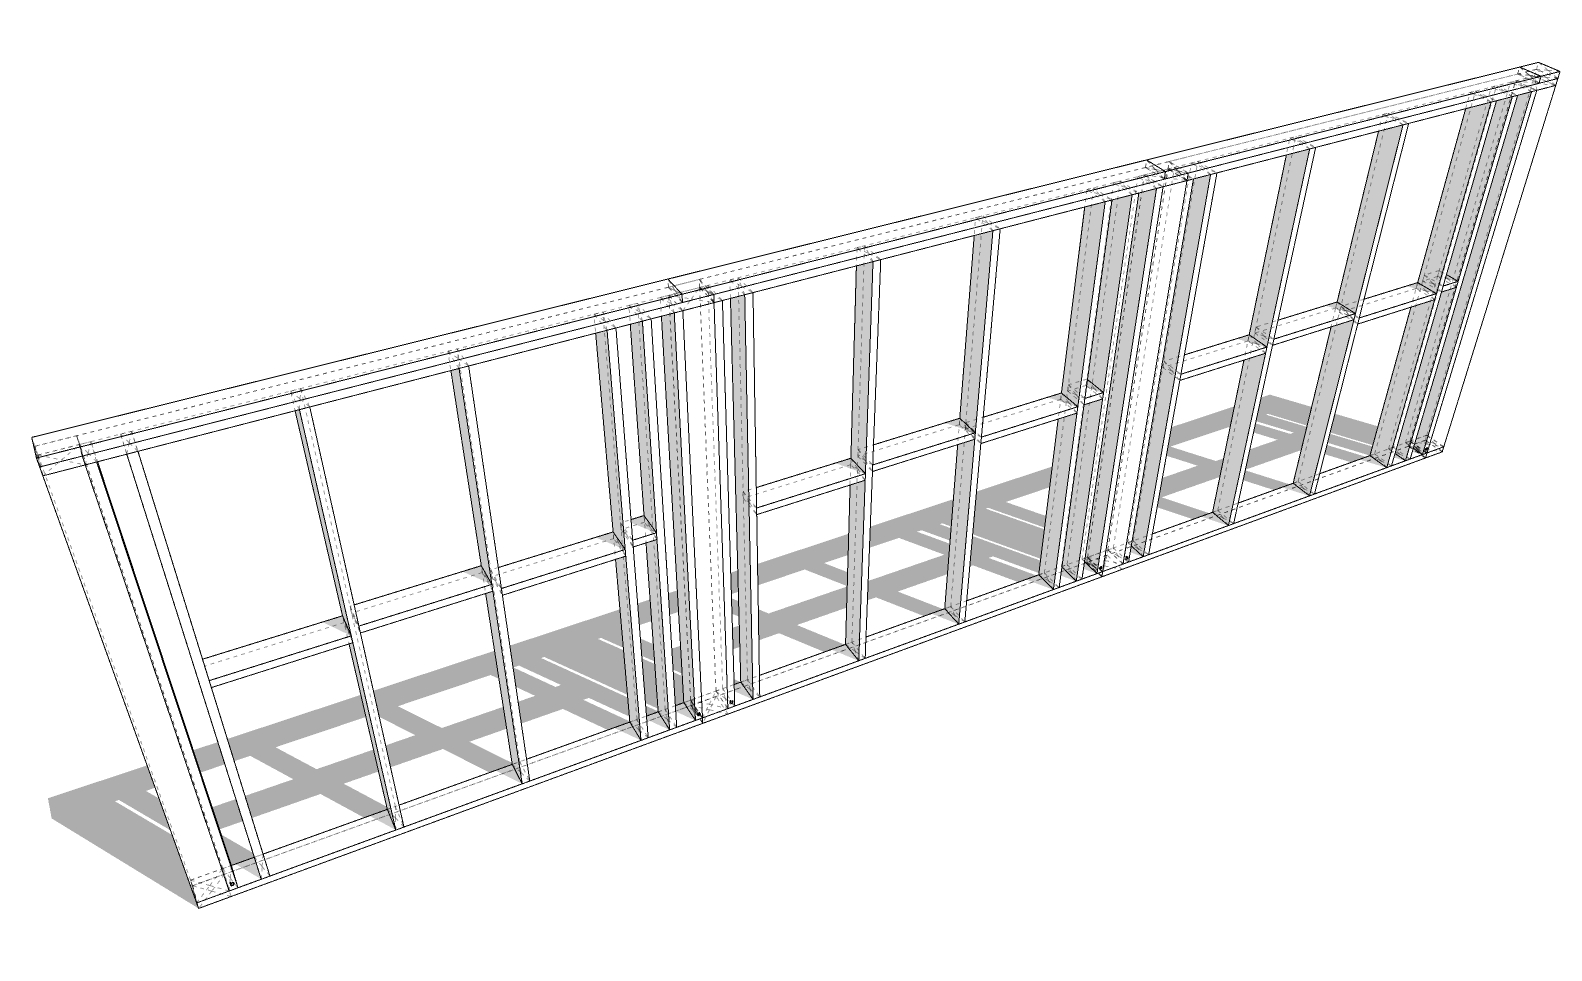
one thought - setting o.c. for column space - e.g. columns on 8' o.c. for a 24' wall could accommodate 4 columns (each end + spaced 8'). as an example, my personal DC wall assemblies, i would make 3 separate sections.
-
Version 3.0.1 - 09.03.2022
- Added a "Label Location" parameter for windows: AUTO, INT, EXT.
- Added a "Label Location" parameter for doors: AUTO, INT, EXT.
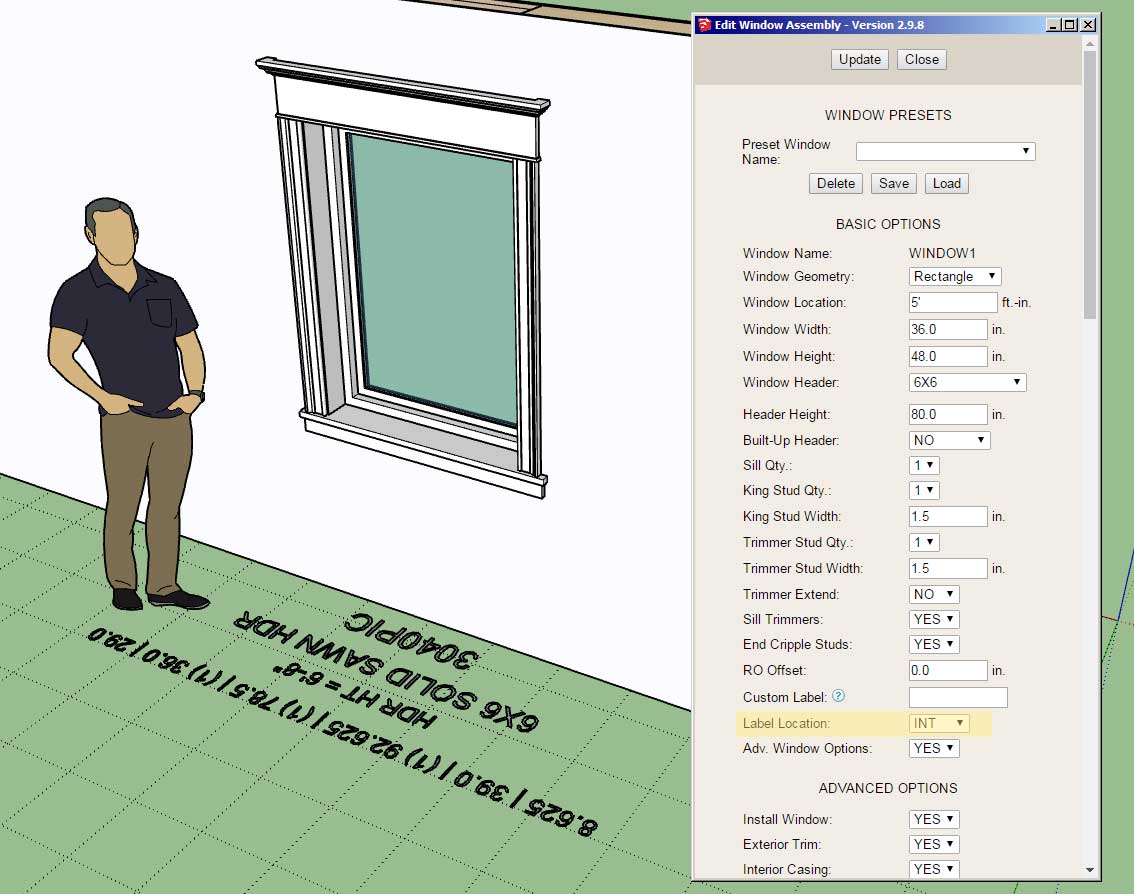
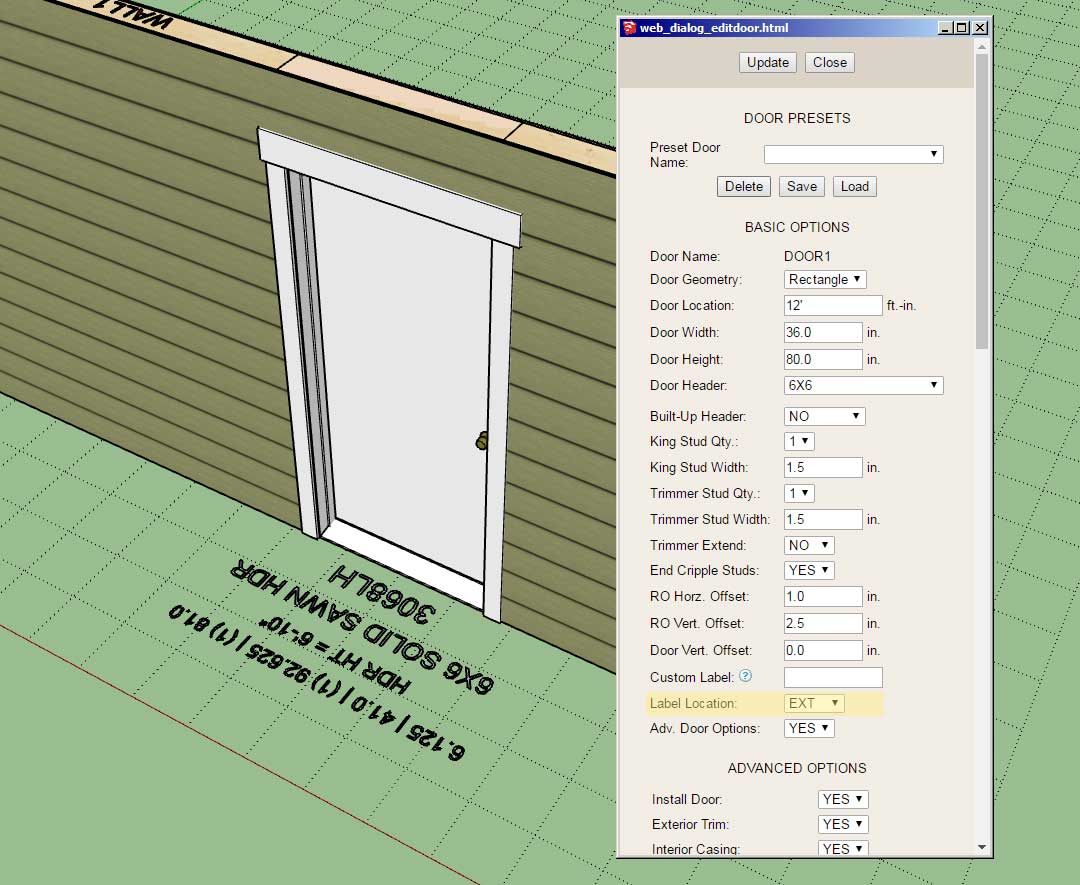
You can now manually configure the window and door labels to be on the interior or exterior of the wall on a per opening basis. The feature added per customer request.
-
Version 3.0.2 - 09.05.2022
- Enabled custom materials for wall framing within the global settngs.
- Enabled custom materials within the "Wall Framing Material" parameter for all wall types.
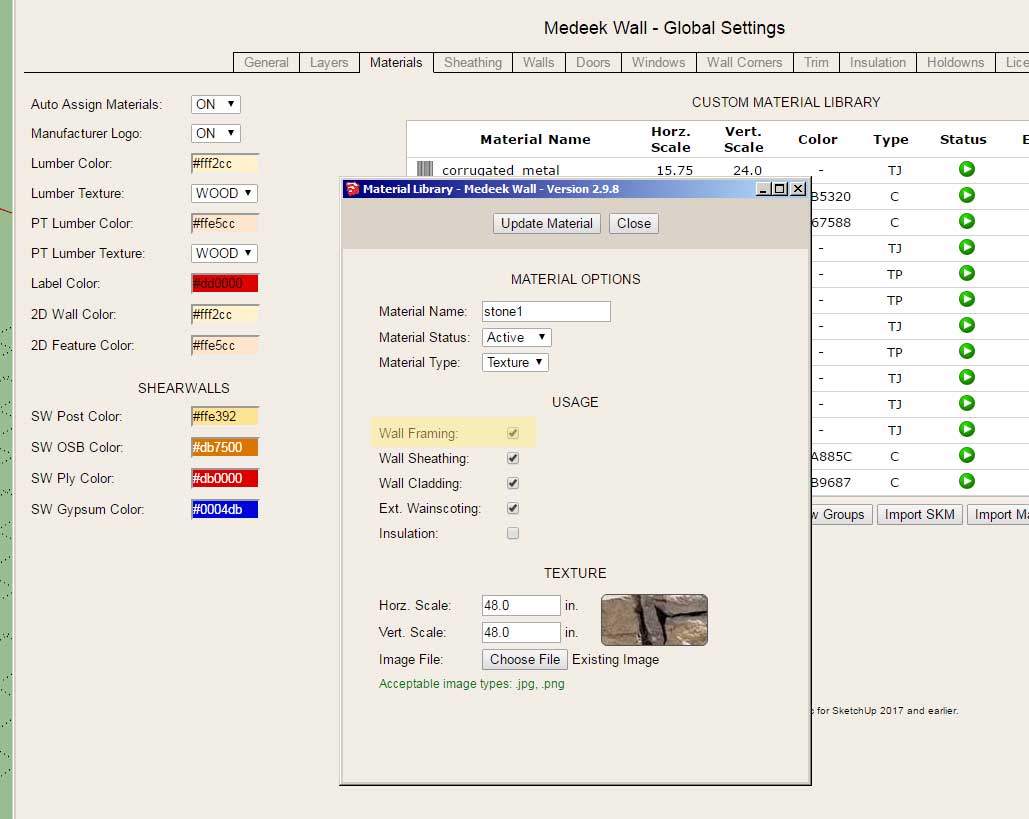
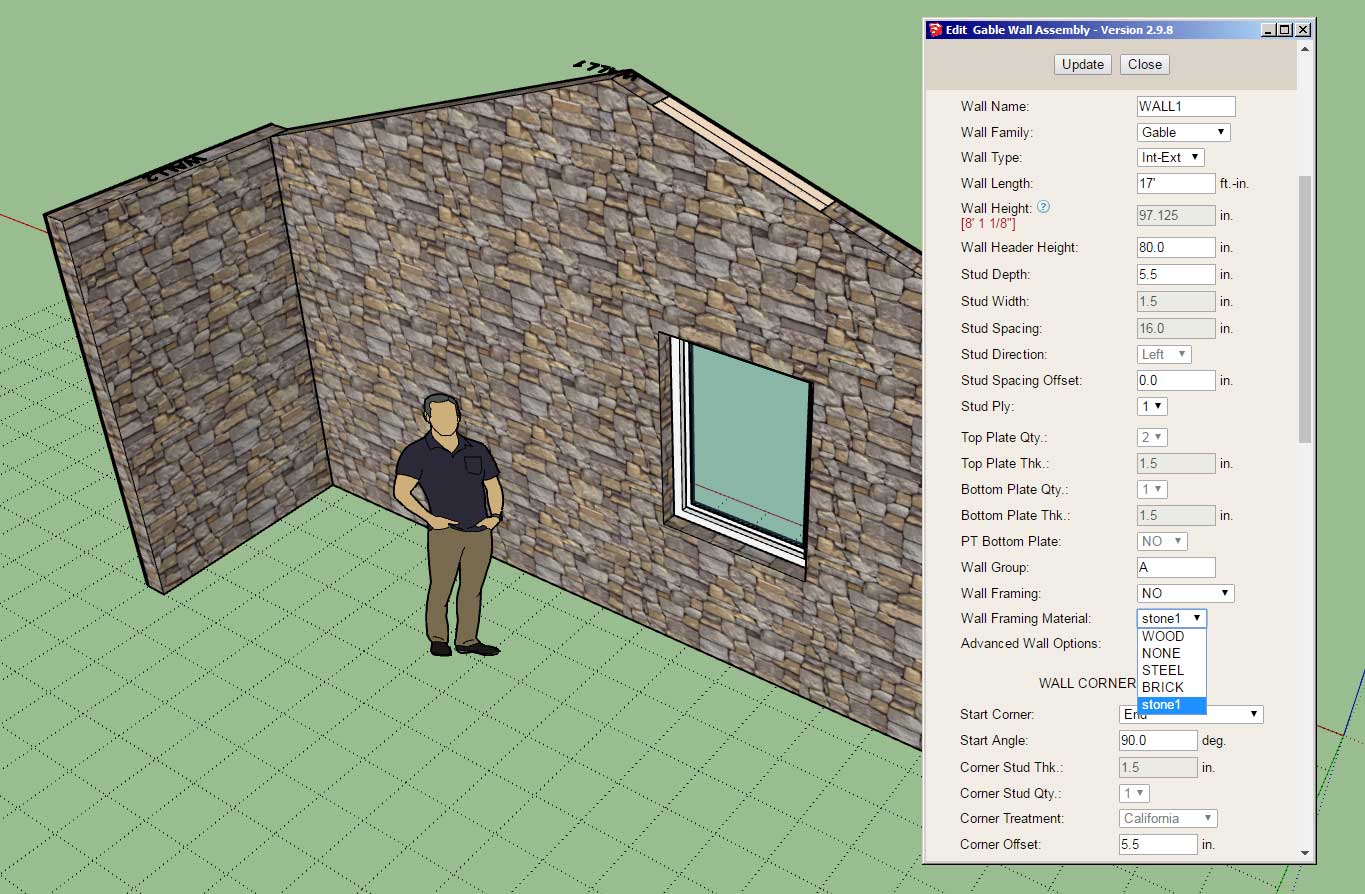
With this update you are no longer constrained to set number of material/texture options for the wall framing. You can now use your own custom material for wall framing. The update was also per customer request.
-
Version 3.0.2b - 09.06.2022
- Fixed a bug with wall presets introduced with the addition of the Label Rotation parameter from Version 2.9.8.
!!!! CRITICAL BUG FIX !!!!
This bug affects wall presets within the "Draw" menu only. The issue was already correct in the "Edit" menu. I strongly encourage everyone to upgrade to this version of the plugin if you have Version 1.9.8 or later currently installed. -
Version 3.0.3 - 09.12.2022
- Reorganized the door draw and edit menus to include an annotations section.
- Added a "door swing angle" parameter for single and double doors.
- Added the door swing angle parameter to the Door tab of the global settings.
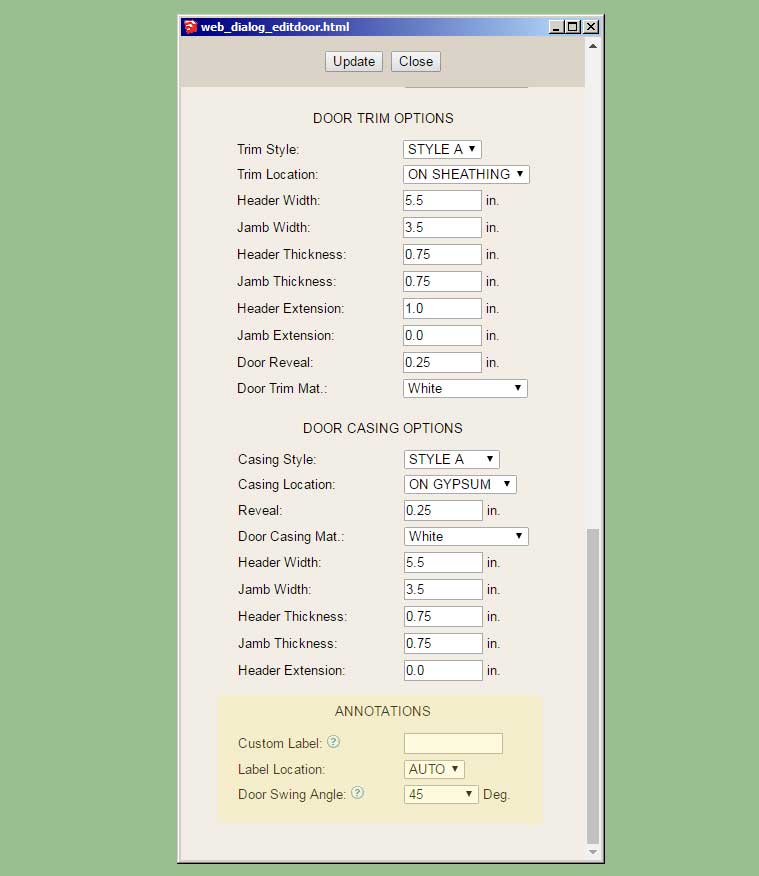
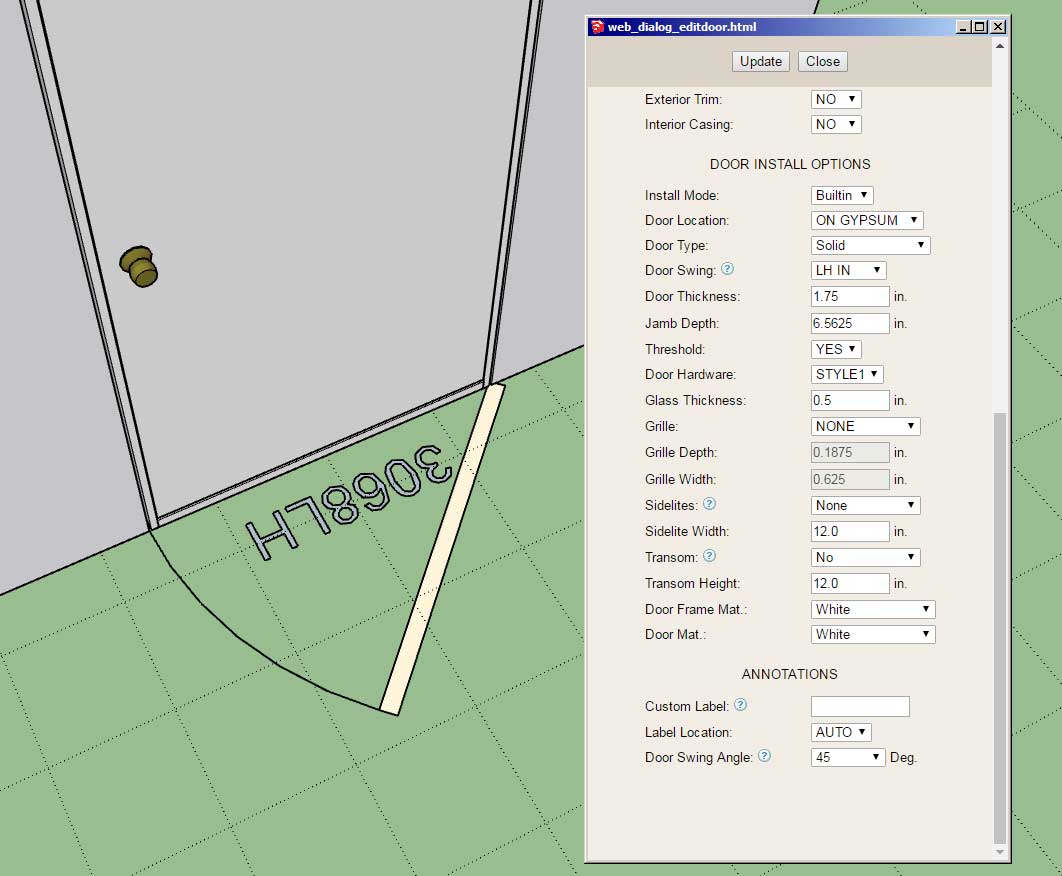
The preset angles are: 30, 45, 60, 90, 120, 135. The door swing angle for the door symbol can be set on a per door basis and can also be set to a default value within the global settings. This update per customer request.
-
Version 3.0.4 - 09.15.2022
- Added XPS foam insulation as a built-in cavity insulation option.
- Added XPS foam insulation as a built-in sheathing option.
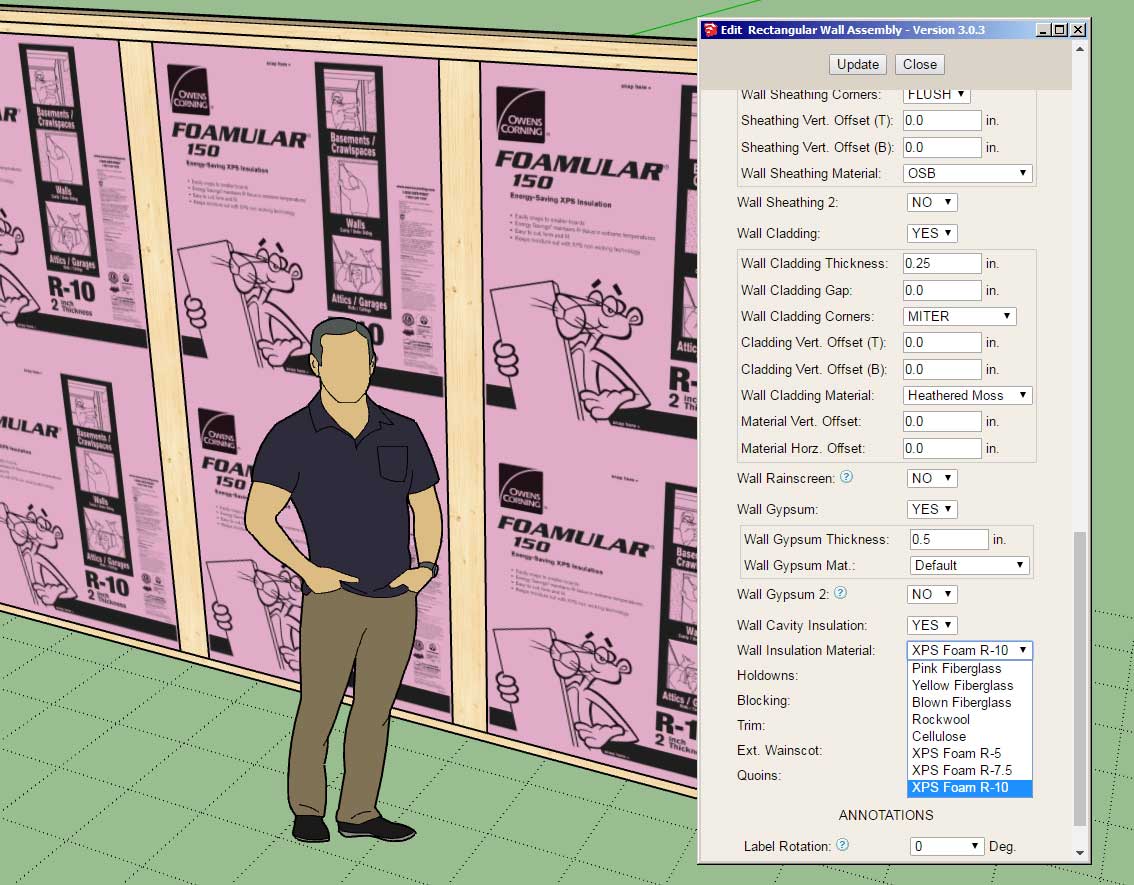
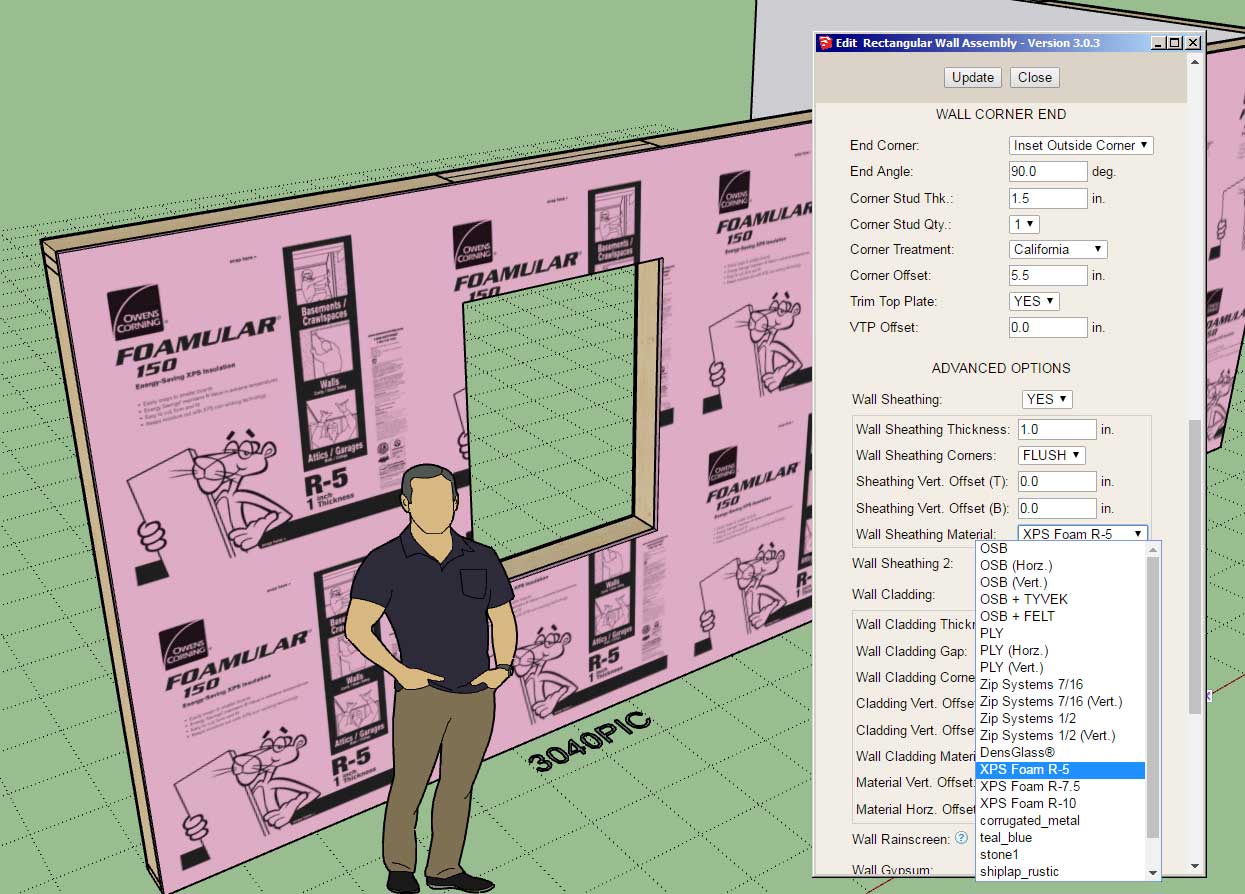
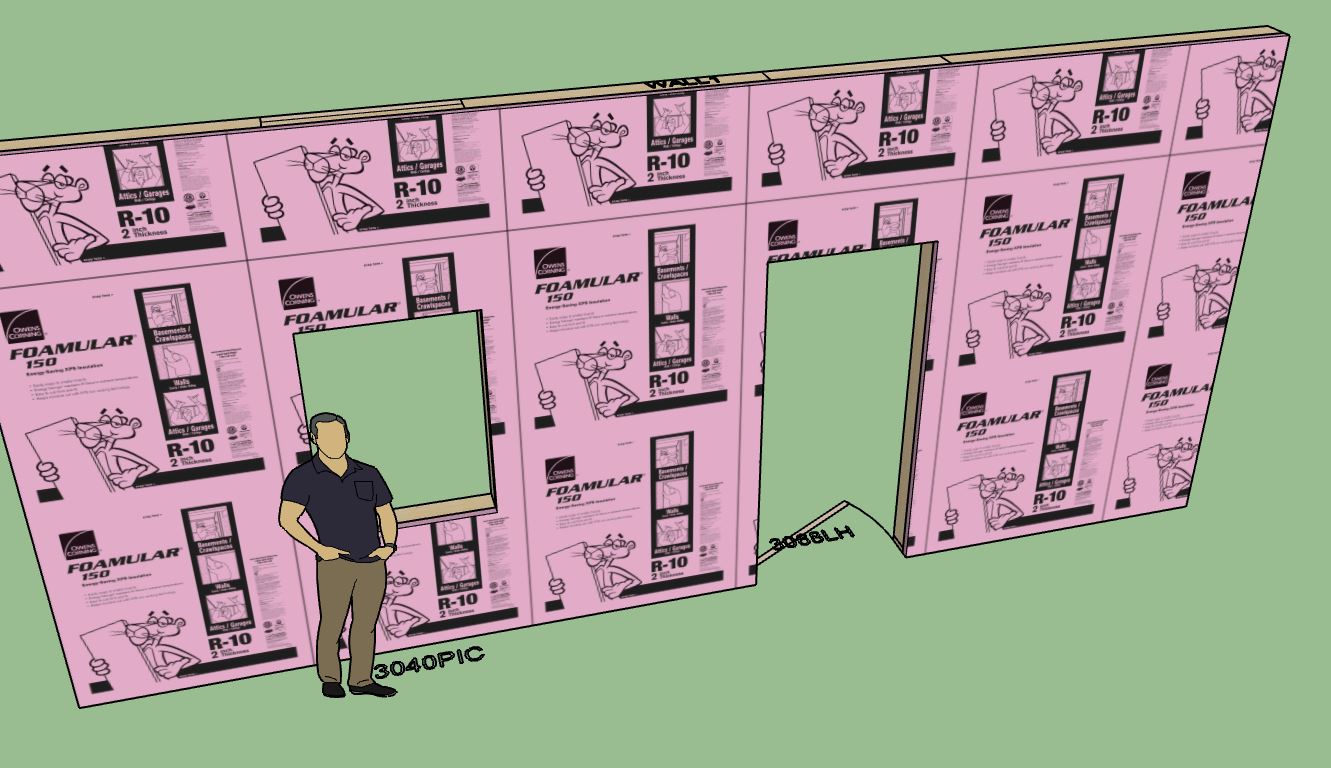
In the material folder I've also included a zero-border version that can be utilized as a custom material.
-
I will be running a thanksgiving promotion beginning Nov. 23rd until Dec. 1st. with 35% off of the regular mdkBIM bundle price (permanent license) using the coupon code GIVETHANKS22.
This will reduce the bundle price from $280.00 USD to $182.00 USD. This promo code does not apply to any of the extensions purchased separately or for the electrical plugin. The offer ends on Dec. 1 and no rain checks will issued thereafter.

I will also be running a separate renewal promotion for existing customers, the details will be sent out in a bulk email.
-
Due to popular demand I have decided to extend the renewal and mdkBIM promotion until Dec. 5, 2022.
-
Version 3.0.5 - 12.15.2022
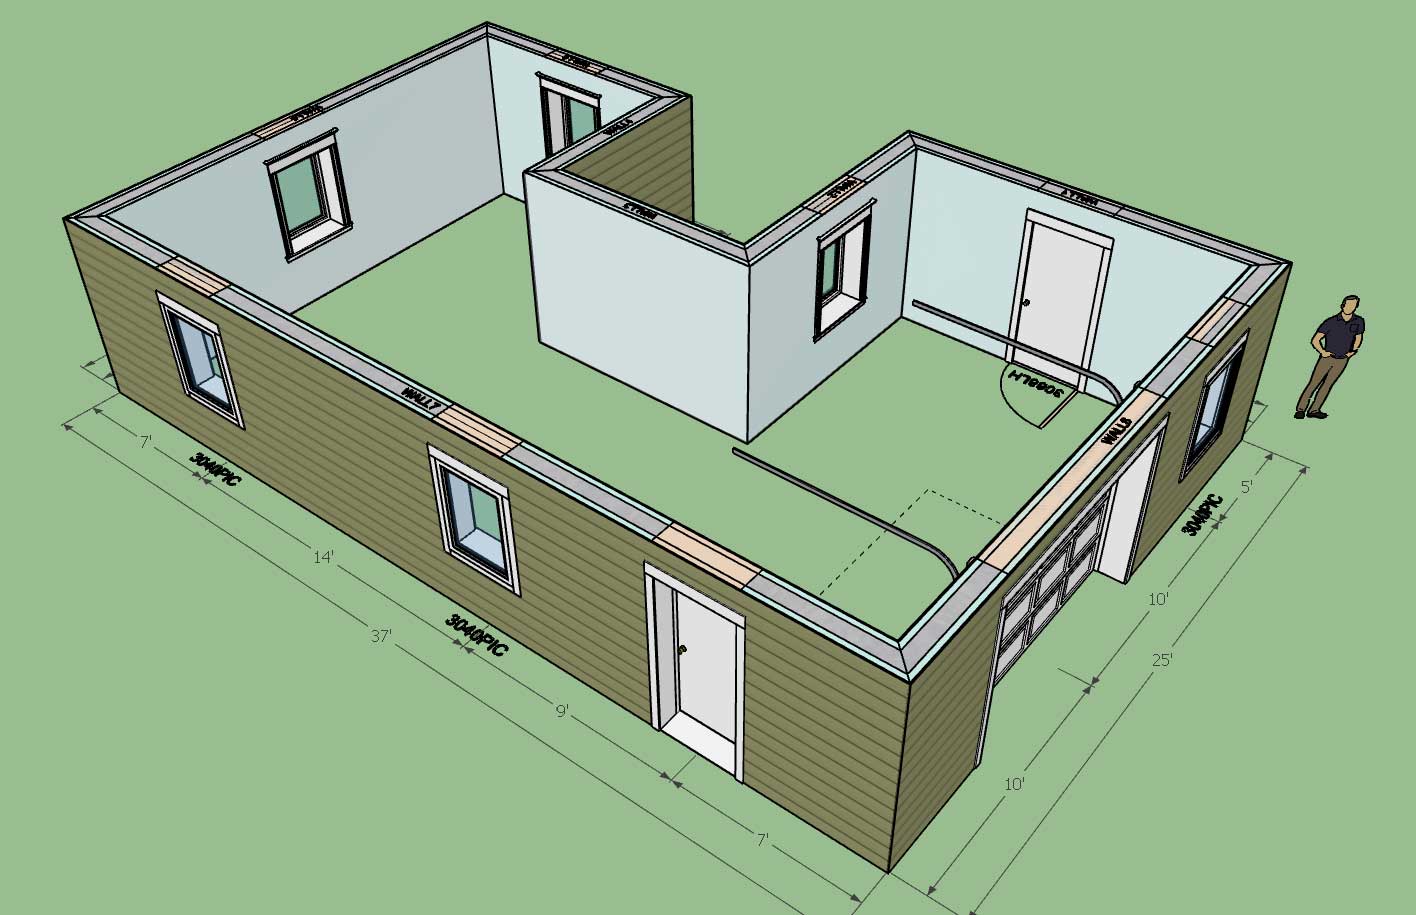
- Enabled auto-dimensioning for plan views of all wall panels.
- Added the "Dimension Offset 2" and "Plan Dimensions" parameters to the General tab of the global settings.
- Updated the Add Material and Edit Material HTML menus so that commas cannot be used in Custom Material names.
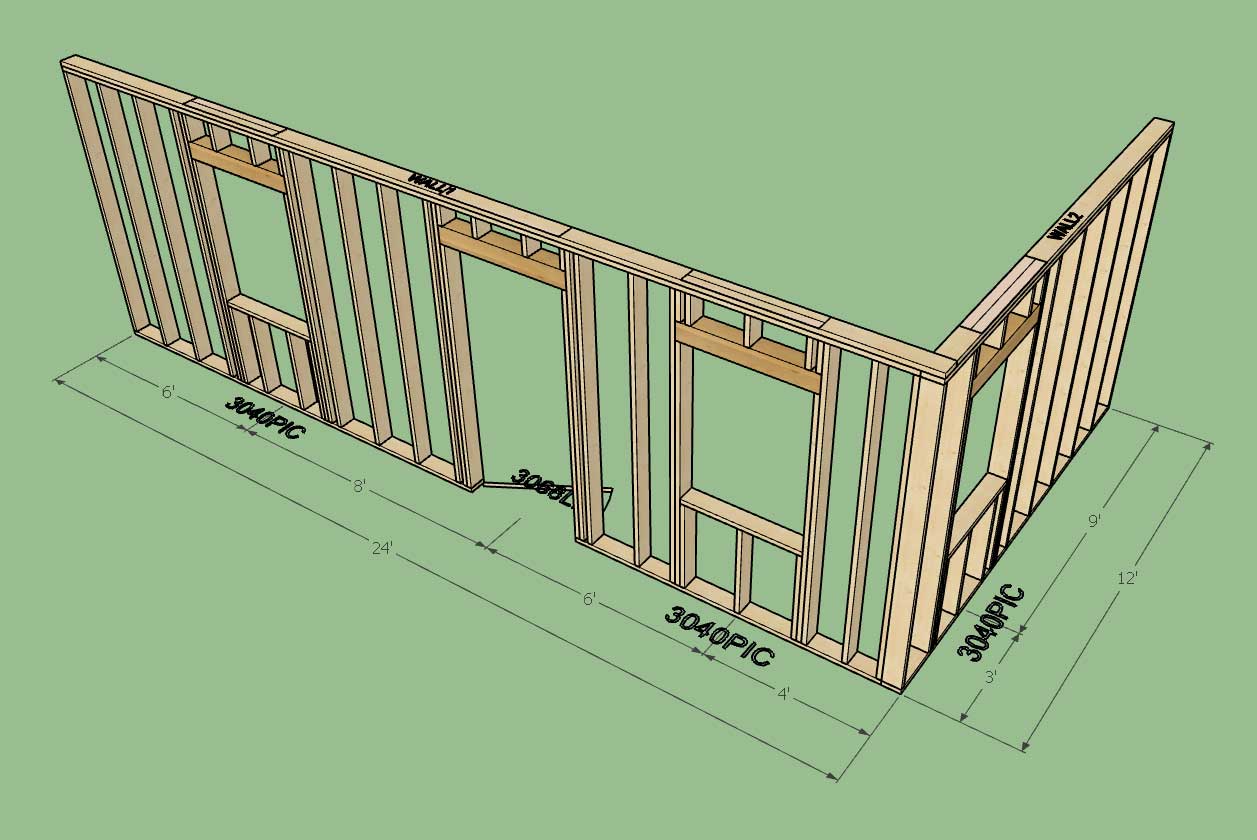
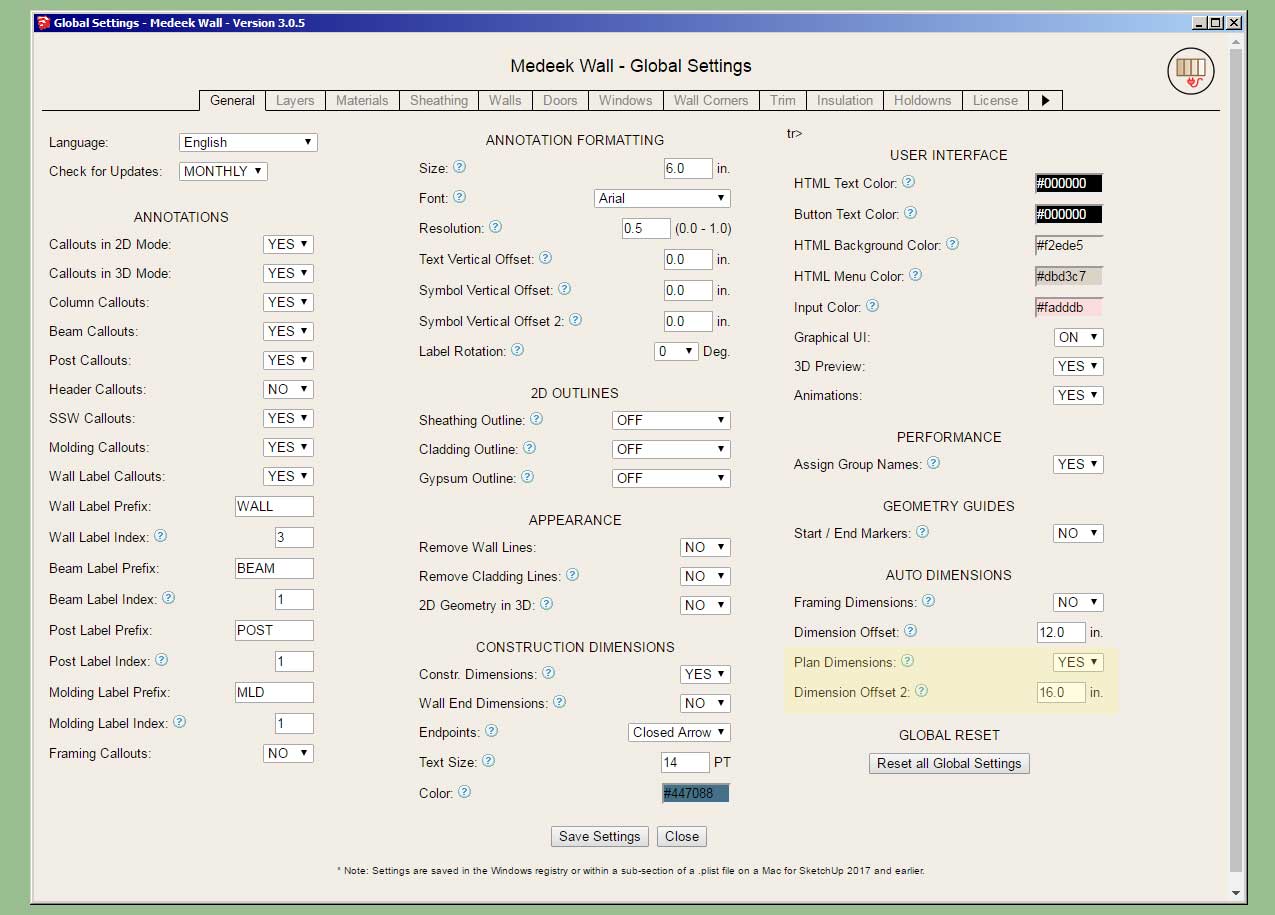
Note that framing dimensions (elevations) and plan dimensions (plan view) can be turned on and off independent of each other in the global settings. Also the additional offset parameters allows one to adjust both offsets independently as well. However both dimensions are placed on the same layer (at least for now).
Currently the plan view dimension option will assign an overall dimension for the wall length and then separate dimensions for windows, doors and garage doors. I do not have it inserting dimensions for more custom features like Simpson Strong Walls or in-wall columns.
This new feature is per customer request.
-
Version 3.0.6 - 12.28.2022
- Added a "Jamb Interior" parameter into the Draw and Edit menus for doors.
- Enabled this parameter for both rectangular and arched doors.
- Added this parameter to the Doors tab of the Global Settings.
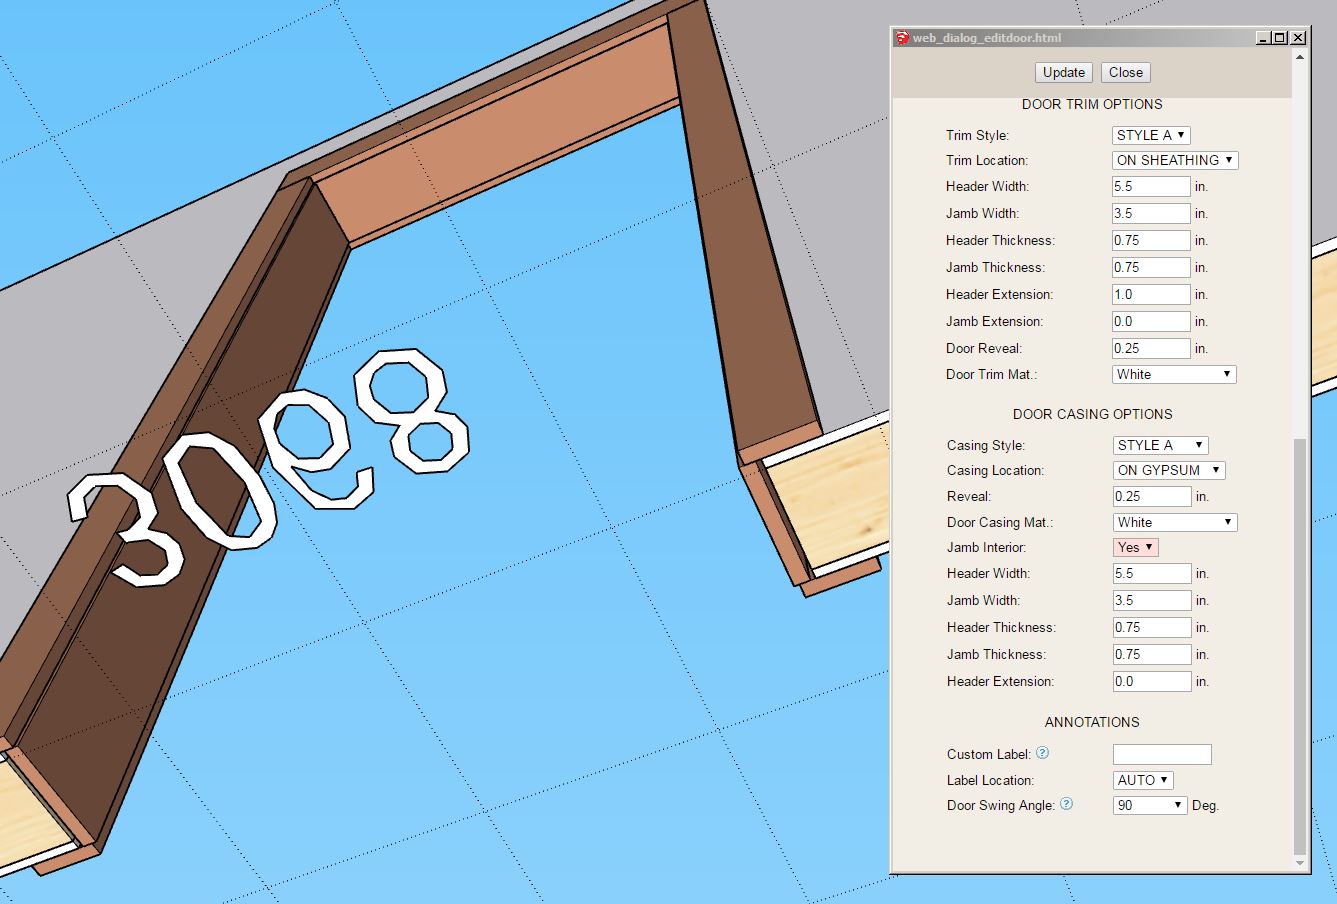
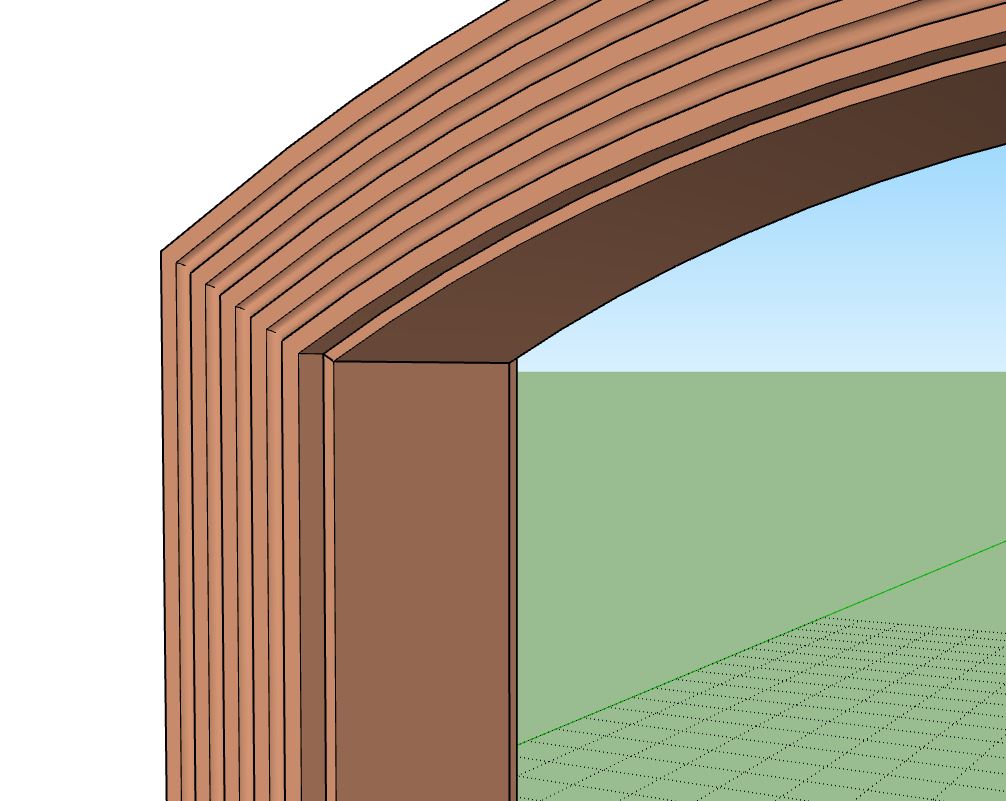
This update was per my previous notes and per customer request.
-
Just cleaning up some loose ends before the start of the New Year.
One issue that is sometimes encountered is when a custom material is defined in the Material Library and then after using it in a Wall Preset it is subsequently deleted.
When this happens and that particular Wall Preset is loaded the plugin tries to assign that custom material in the Draw or Edit wall menu. If you try this you will quickly notice the drop down box for the material is blank and no valid material is selected. This inevitably leads to an error either being thrown within the plugin code itself or within the javascript of the HTML menu pages (not sure which at this point).
I need to devise some error checking in the HTML/Javascript to detect this problem if it pops up and gracefully resolve it rather than locking up the plugin. If I can fix this it will not only save the end user from annoying headaches but also eliminate unnecessary support calls and emails for myself.
-
some thoughts -- unless the custom material is saved as an SKM, it has the potential to be purged from the memory space and thus not readily available again (unless some other means of caching it - e.g. a persisted JSON of custom materials containing the RGB values - presumably if images are involved, then saving it as an SKM would seem the better option + may be more compatible in terms of management compared to the built-in materials).
(as a note -- i stopped using materials in my own DC because of the purging etc -- so i just got better at organizing the SKM content. some DC have basic color "materials" applied and then i replace them later, most are default material so i can paint them all quickly)
-
Version 3.0.7 - 12.30.2022
- Added error checking code into various HTML menus to detect non-existent custom materials used within wall, door and window presets.
- Updated the Wall Stretch tool with an improved wireframe preview.
- Changed the default value for the header extension parameter to zero for doors, windows and garage doors.
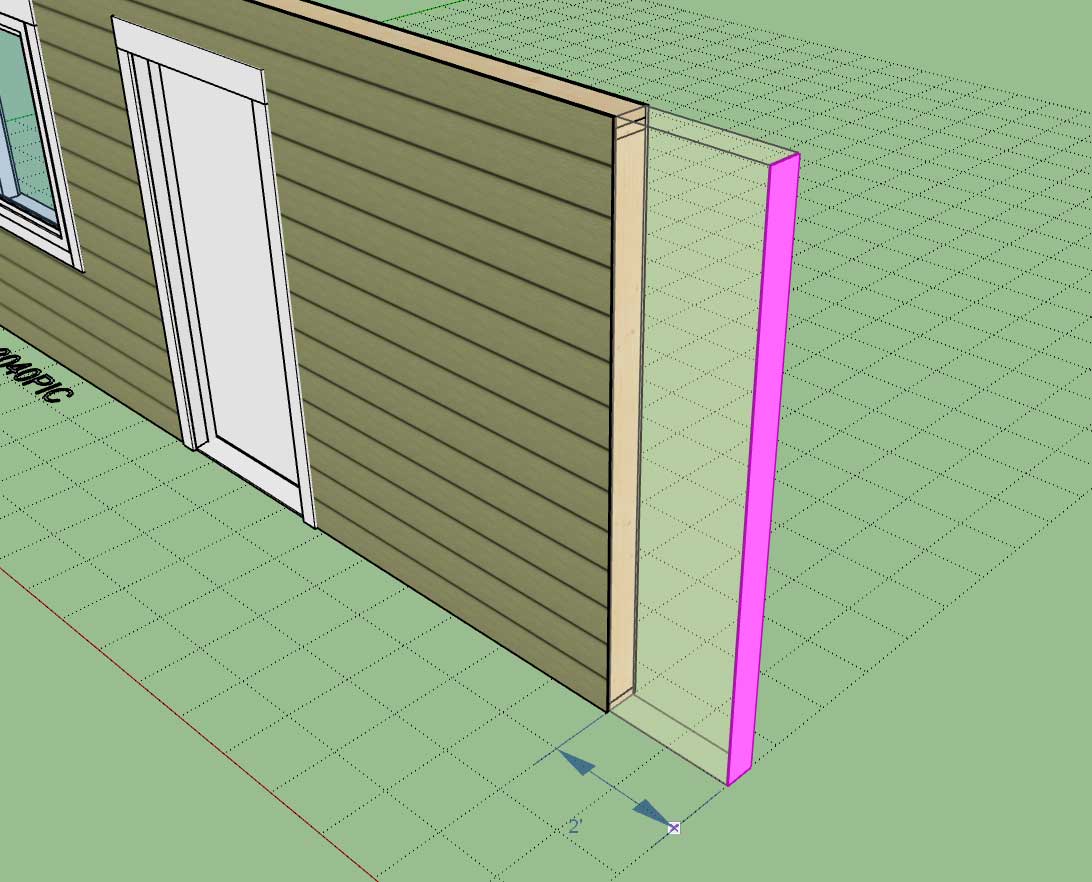
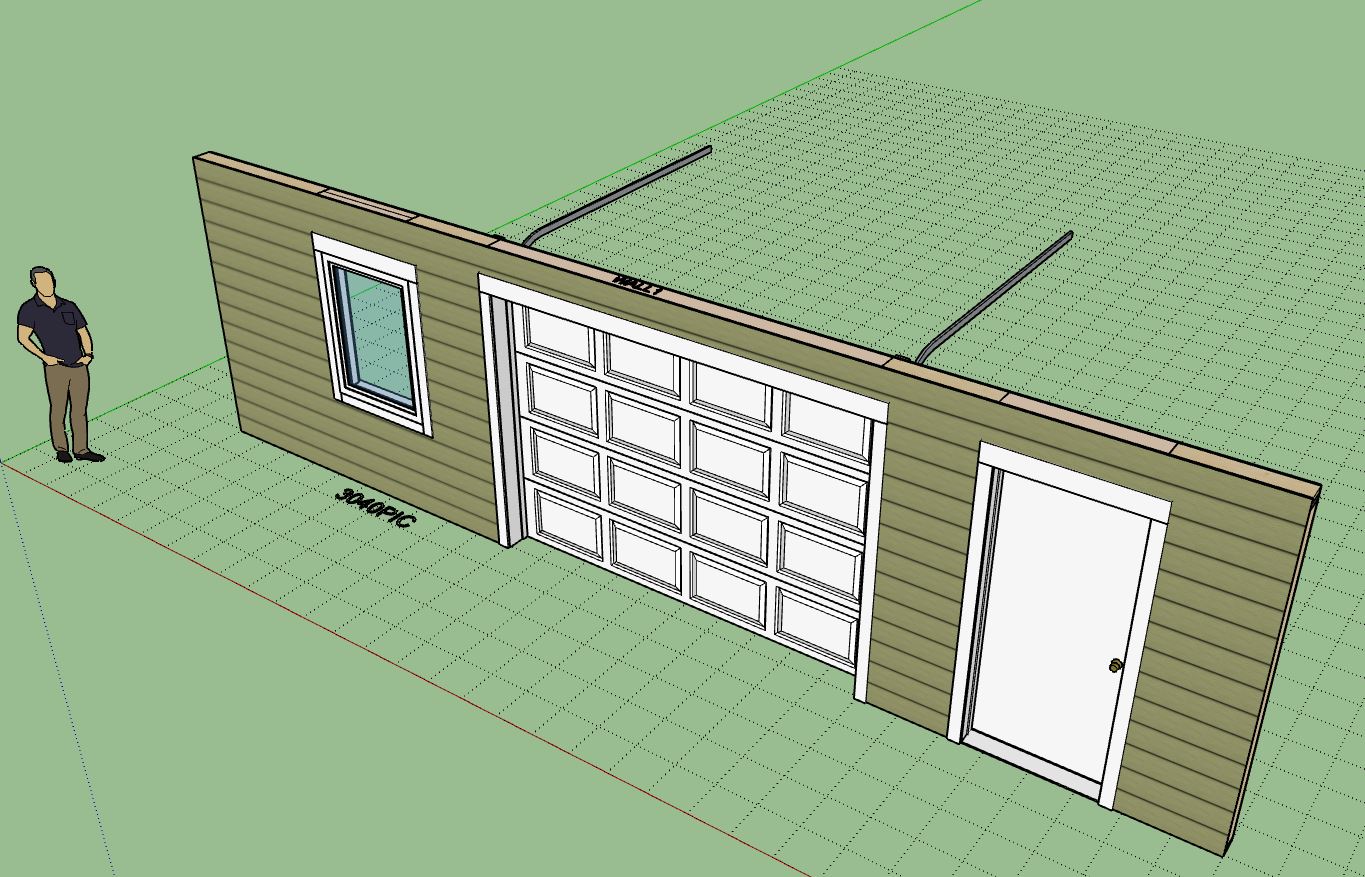
The third item in this list was per customer request.
-
I've had quite a few requests for ICF walls in the past few months. Apparently this method of construction has some popularity even though it may not be as common as traditional framing. I may consider adding this as an additional option for the Wall plugin.
From a programming standpoint it really isn't too different from the CMU option, the only real complication may arise when dealing with t-intersections with other ICF walls, but I'm sure I can program my way around that one.
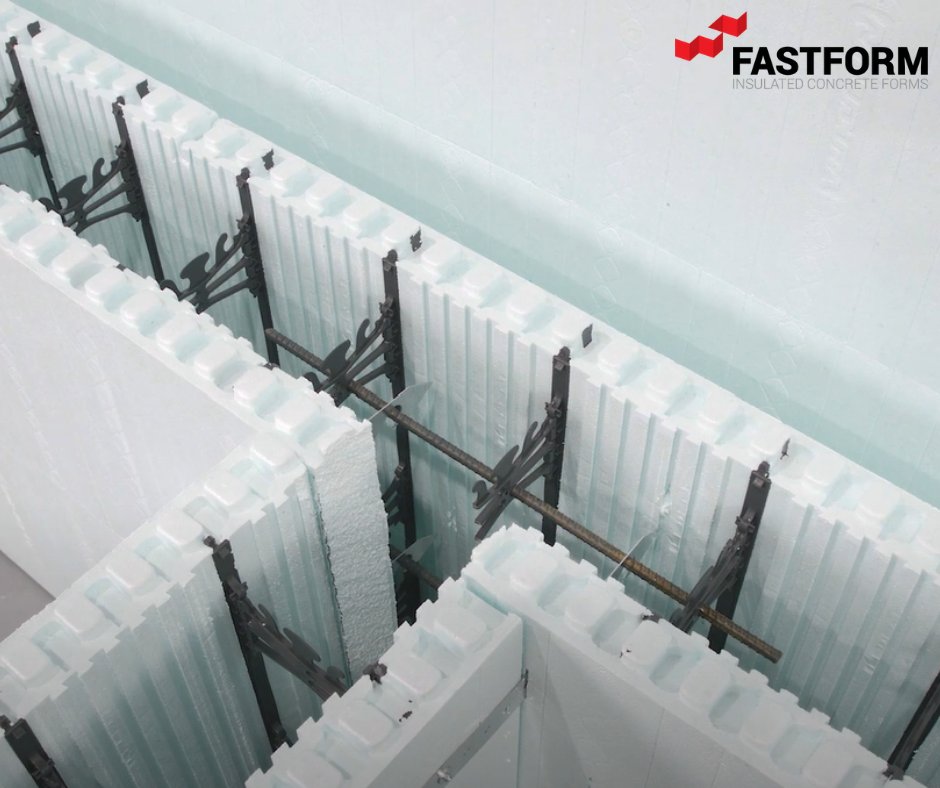
The corner configurations are a bit more complicated than CMU or NO FRAMING however it is essentially the same from a coding and geometric standpoint.
Doors and windows involve cutting through three solids (insul - conc - insul) instead of one.
My only concern is whether or not to make the concrete and insulation thickness configurable at a global level or at a wall level. I supposed there could be situations where different ICF sizes could be used on a single project? Thoughts?
-
make it configurable at a wall level but based off a global set as a default. some CMU also have metalized surfaces as part of insulation or protection.so might be worthwhile to consider several levels in a given unit - again wall configurable but defaults to a global setting. then if there are specific products to be applied / supplied, modeling those should/would become simpler later on.
-
I think you are right, I will set it up in the global settings so the global defaults can be set but also allow the user to change these values on a per wall basis.
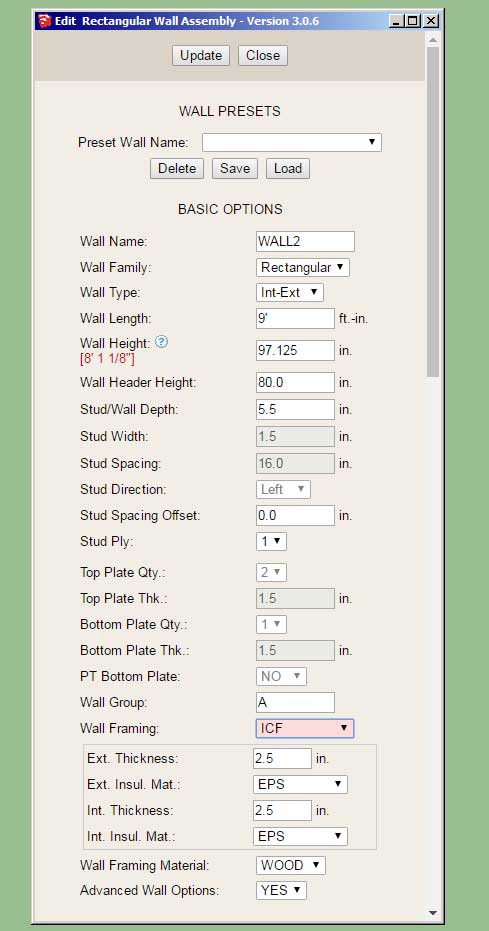
Here is a preview of the global settings (Insulation tab) with the new parameters:

-
bearing in mind that most ICF use rigid insulation

-
Version 3.0.8 - 01.03.2023
- Added ICF options in to the Insulation tab of the Global Settings.
- Added an ICF wall framing option for all wall types.
- Added four additional ICF parameters into the wall Draw and Edit menus.
- Fixed a bug with the plan view auto-dimensioning module.
- Enabled trim, ext. wainscoting and quoins for CMU Core and ICF wall types.
ALERT! - CRITICAL BUG FIX
The bug associated with the upgrade that brought you plan view dimensions will cause the plugin to abort during regeneration when installing garage doors into a wall. It is highly recommended that you install this latest update which addresses this bug and a couple more minor bugs with the plan view dimension feature. -
Version 3.0.8b - 01.03.2023
- Added a "Concrete" layer to the Layers tab of the Global Settings.
Advertisement


