Fishing net modeling
-
that's really cool box.
 Can I ask why you are using lines to tubes? Is there not a TIG lattice tool that makes square sections, or are you just setting the amount of edges to 4?
-
No credit to me Oli, it's Tig's plugin that does all the work.
No, I set it to 5 just to give it more of a rounded effect.
And I was simply using tig's lattice for the lines so you can easily reshape them then make them tubes after.
-
Is it possible to set the parameters for the distance between the lines ?
-
I have found a better way of doing this using my "cave technique"....start off with a grid and ONLY use quads. I'll post a screenshot very shortly. It looks sweet.
-
Using my EEbyLattice the 'spacing' is set by the segmentation of the 4 curves.
Draw those edges the distances apart you require and 'weld' them into the curves...
Then the 'net will have segments the distances you want - at least when it starts off - of course they must be adjusted as the mesh surface is formed
-
Oli I like your caves very much, well done

-
I know my example is too uniform, but this is how I'd personally go about it. You can change the distances between the nets too, make them bigger, smaller etc.
Now you just need to reduce the amount of poles where the nets meet.
The bottom variation ,I just used artisan sculpt tool; however it creates many triangles.
And thanks willipop!

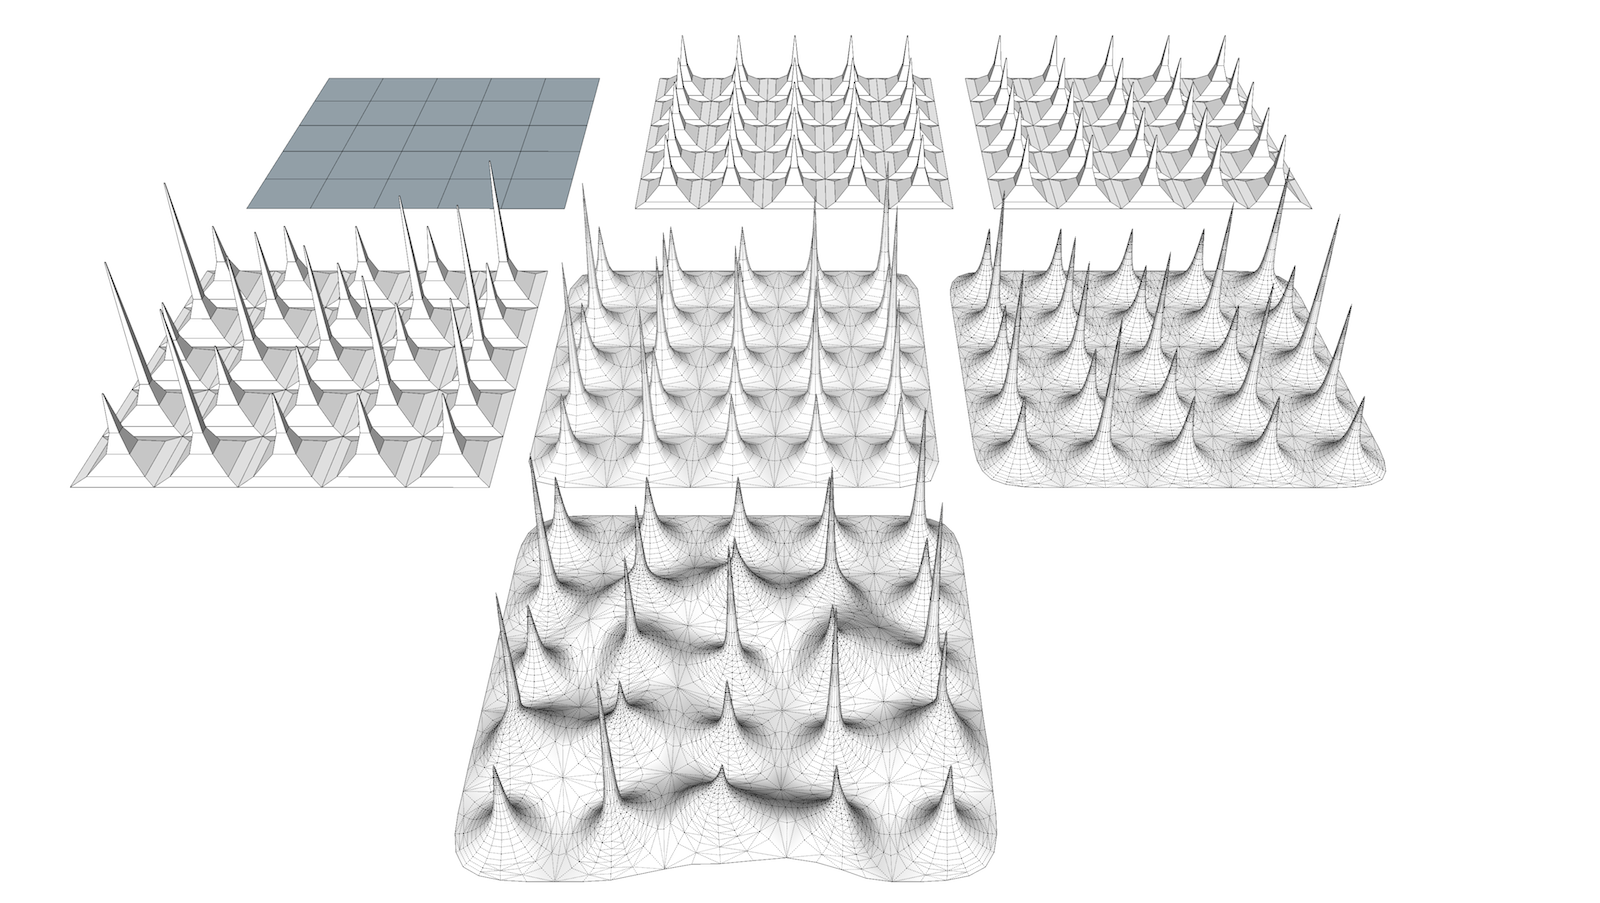
-
It's what I tried previously
 Also I used the artisan's selection tool to select the faces with less vertex and I applied the subdivide tool too add some more vertex.
 -
Here is another. Possibilities are endless really. I intersected the large cones too much though, they don't need to be made up into quads like that, I just wasn't thinking and it causes a more square-like shape than the smaller cones. All rectifiable though.
I didn't attempt to convert the second mesh (with 2 artisan iterations) to tubes because my xbox isn't going to play itself tonight!

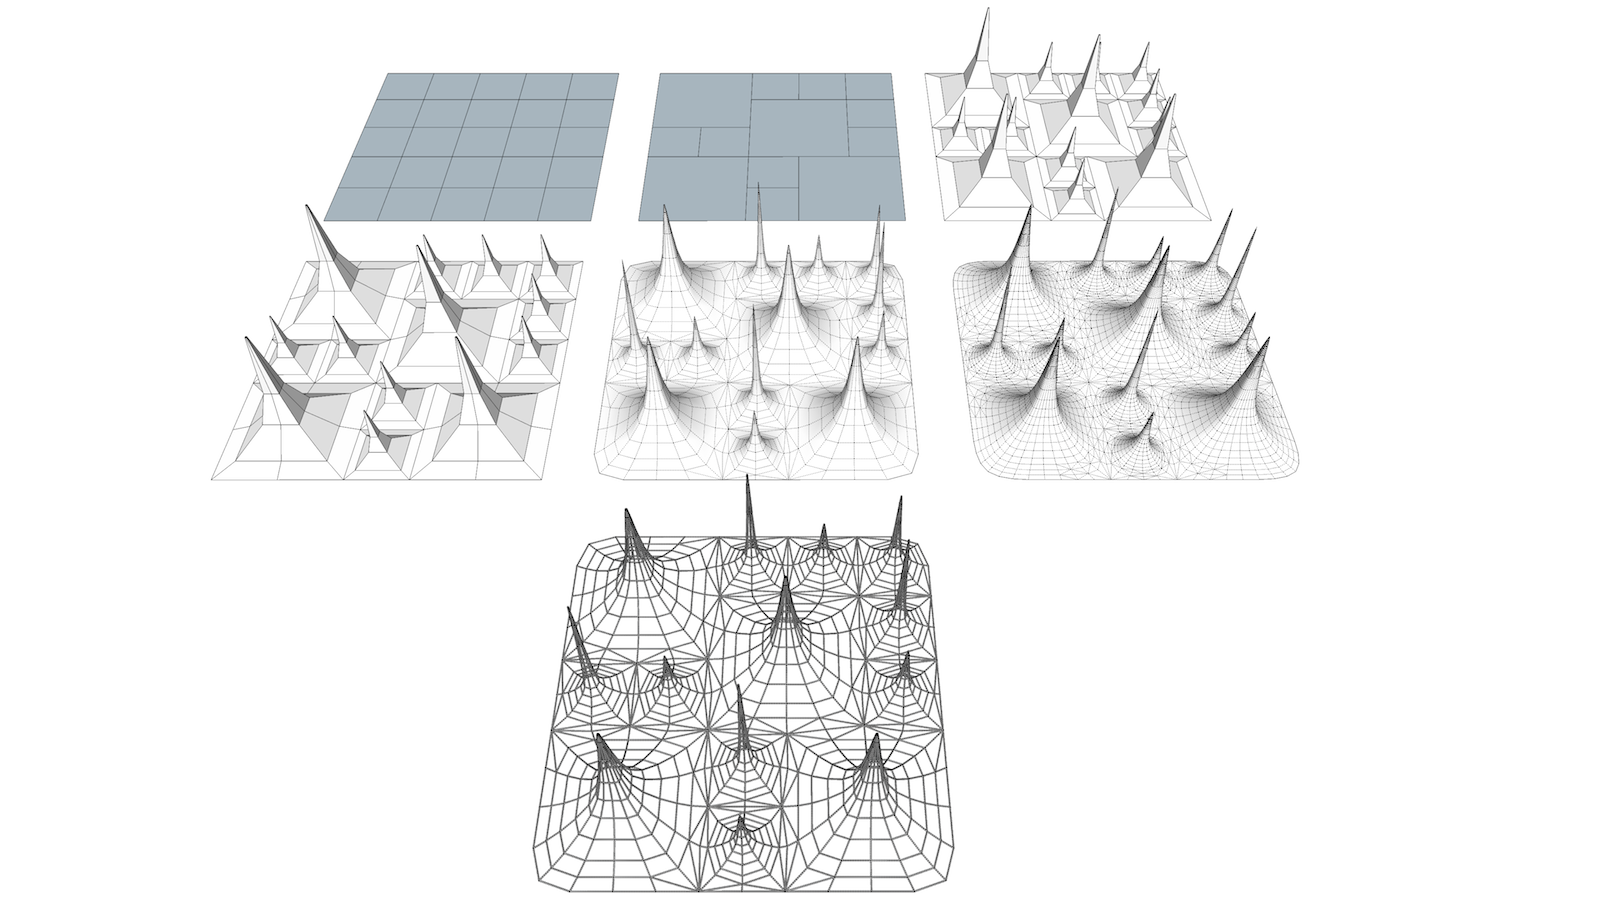
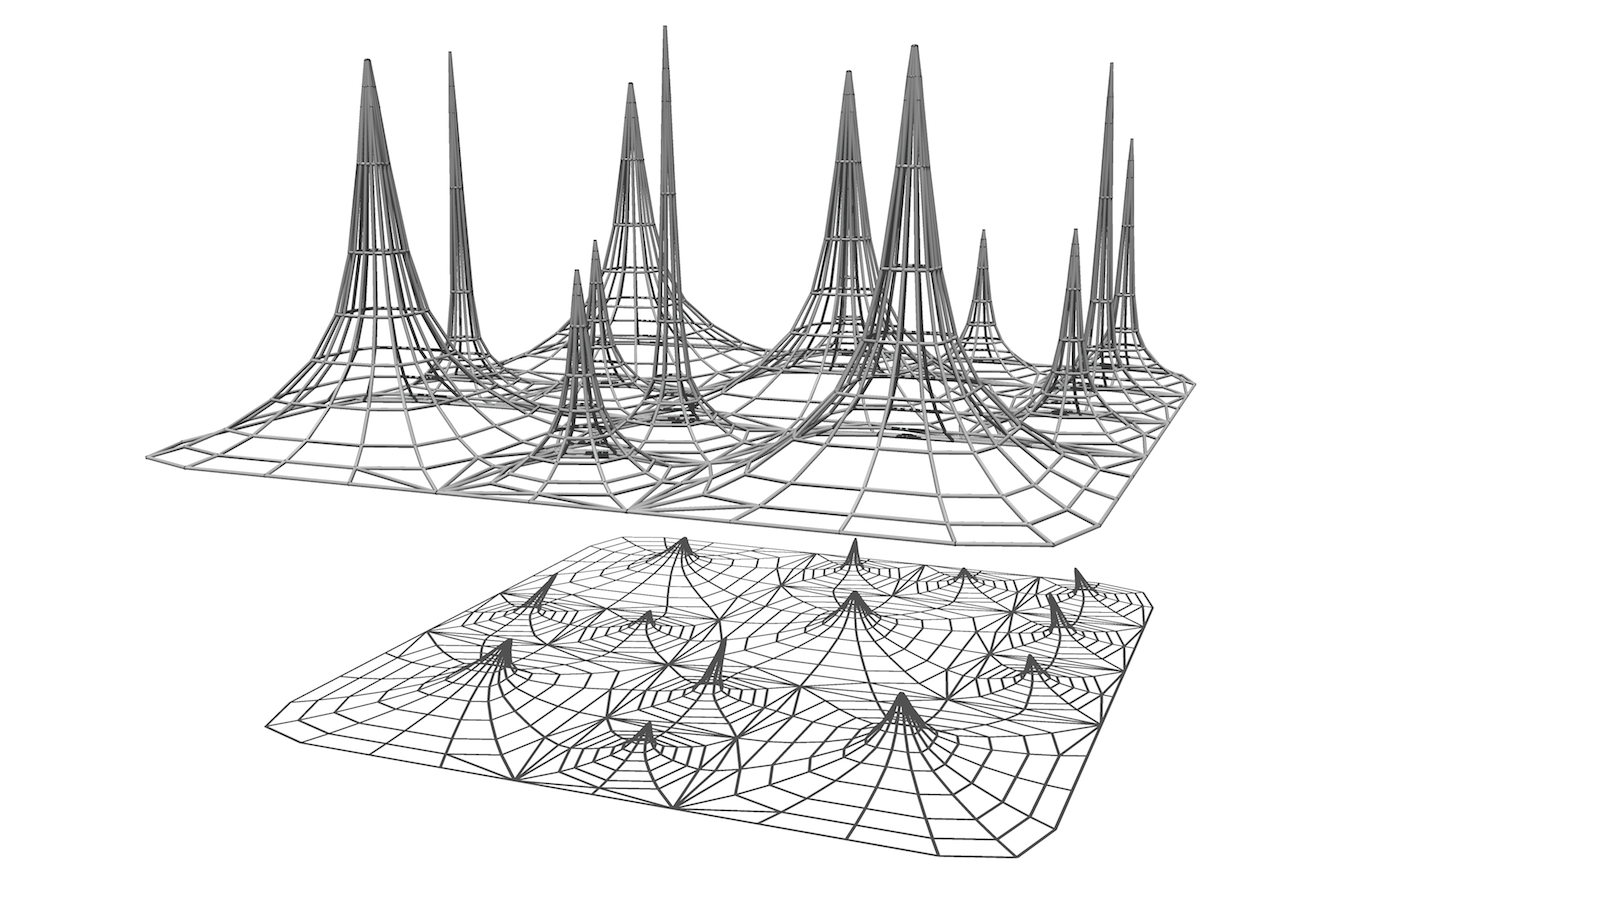
-
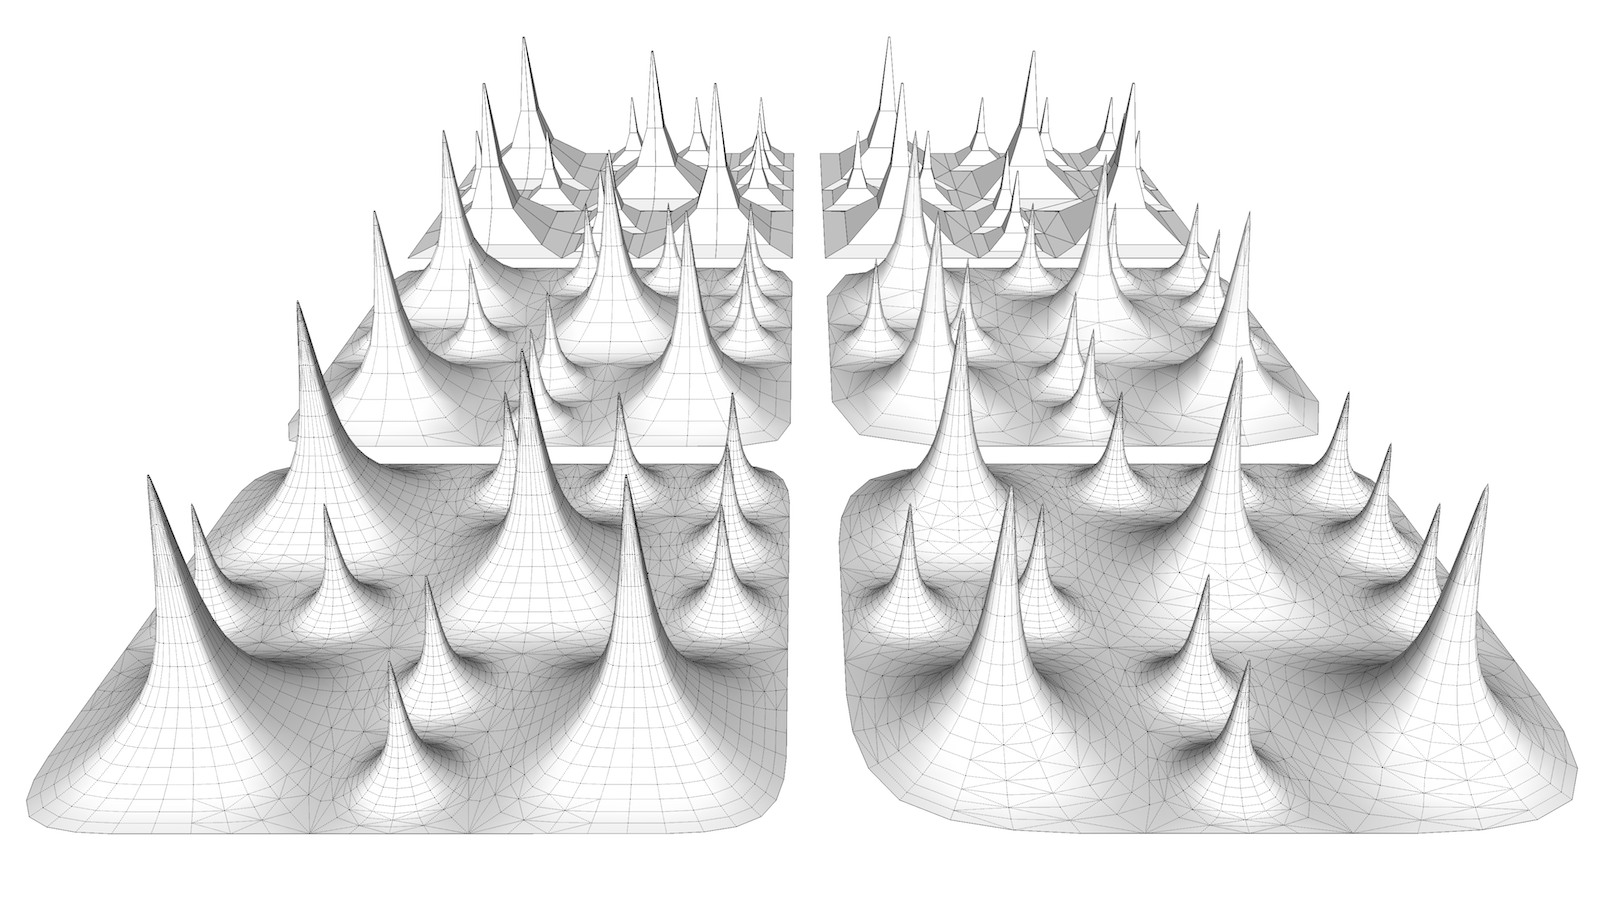
This is what I meant about the larger cones....the mesh on the right performs better than the mesh on the left which had unnecessary vertices. The larger cones are now rounded as opposed to slightly squared.
-
Very cool

-
....and if you want to use less poly than tubes; try using Multi Face Offset plugin to the mesh and then TIG's JointPushPull to the new offset faces.
I suggest using softened edges to this quad-sectioned profile to give the illusion of rounded thread. If the thread is very small it won't even be noticeable that you are using a quad to make the profile.
[EDIT] although it seems to cause some other unwanted faces here and there, may be best off sticking to tubes after all.


-
Guys if you're making those tubes merely to create accurate shadows on the ground... you know you can switch on 'from edges' in the shadow window, right?
-
Don't know about the others but my tubes are for the look of the net, not to create the shadows.
-
@pyroluna said:
Guys if you're making those tubes merely to create accurate shadows on the ground... you know you can switch on 'from edges' in the shadow window, right?
haha I didn't even know you could do that!

-
One thing to note on that Oli is that the shadows produced by those edges won't show in all renders.
-
@box said:
One thing to note on that Oli is that the shadows produced by those edges won't show in all renders.
Oh I know, but sounds like the OP wants to keep things in sketchup anyway. Either way, I'd still use the tubes, they just look better.
Some render engines can render lines where and you can change their thickness, Twilight for one can do it. But they won't look tubular, just flat lines with no texture. And it still won't render the lines' shadows.
So yeah, model the tubes!

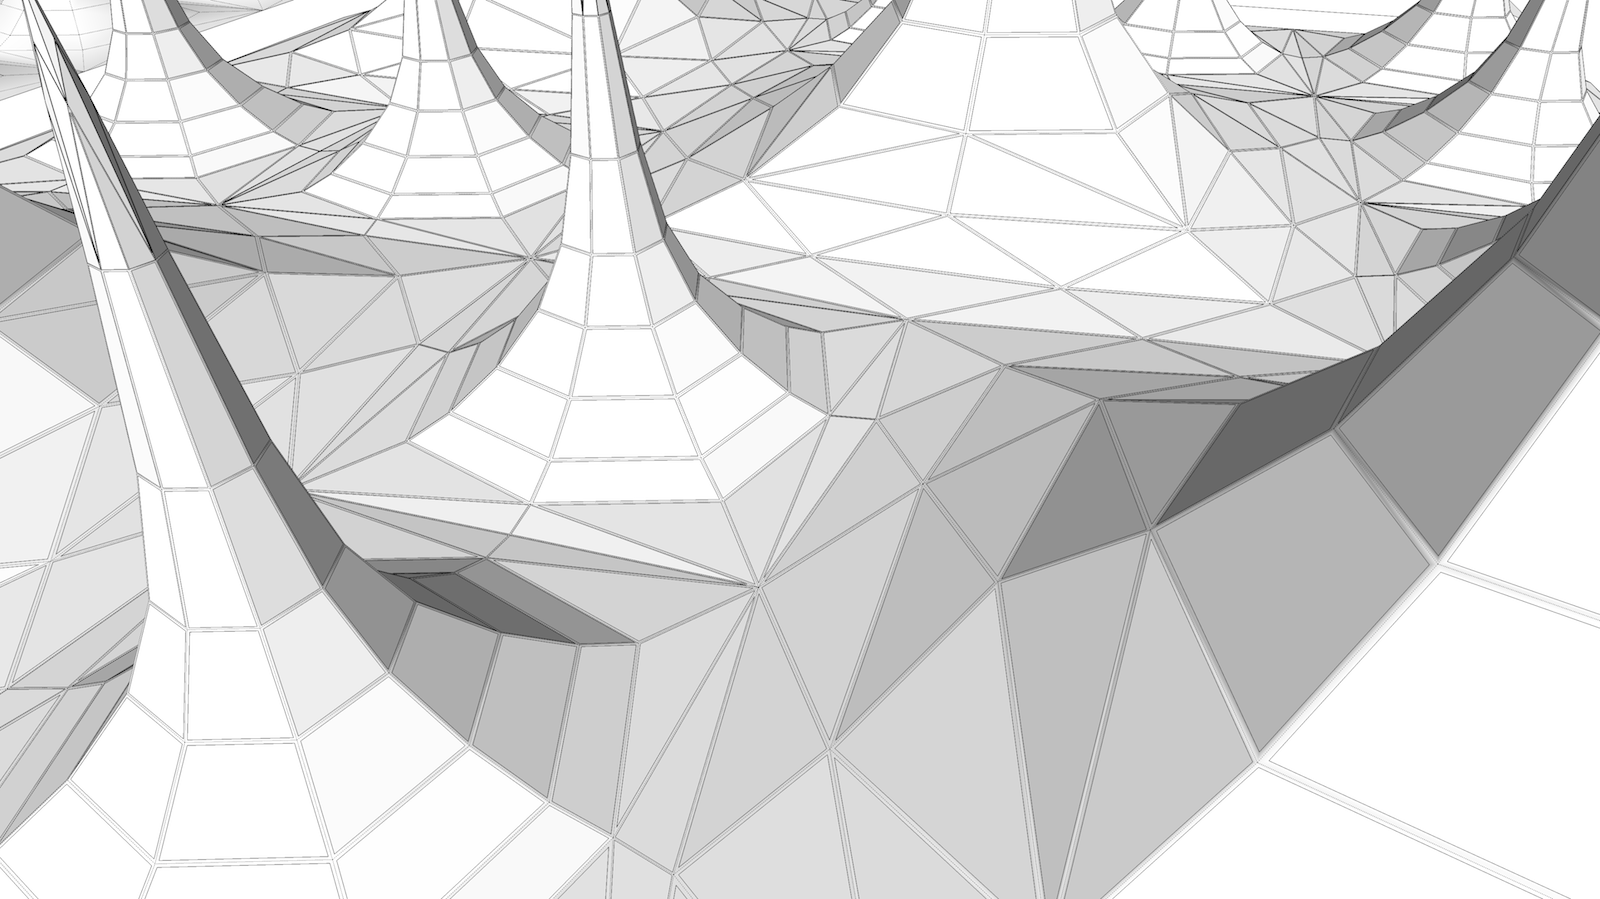
I forgot to mention....if you delete the topmost face of the net proxies, it won't produce any triangles in the mesh. You see how my mesh has triangles towards the top of the cones? Shouldn't be like that; I just forgot to delete the top face (which is barely apparent because it's so small). Hope that makes sense, just trying to keep the mesh as tidy and as low poly as possible.
-
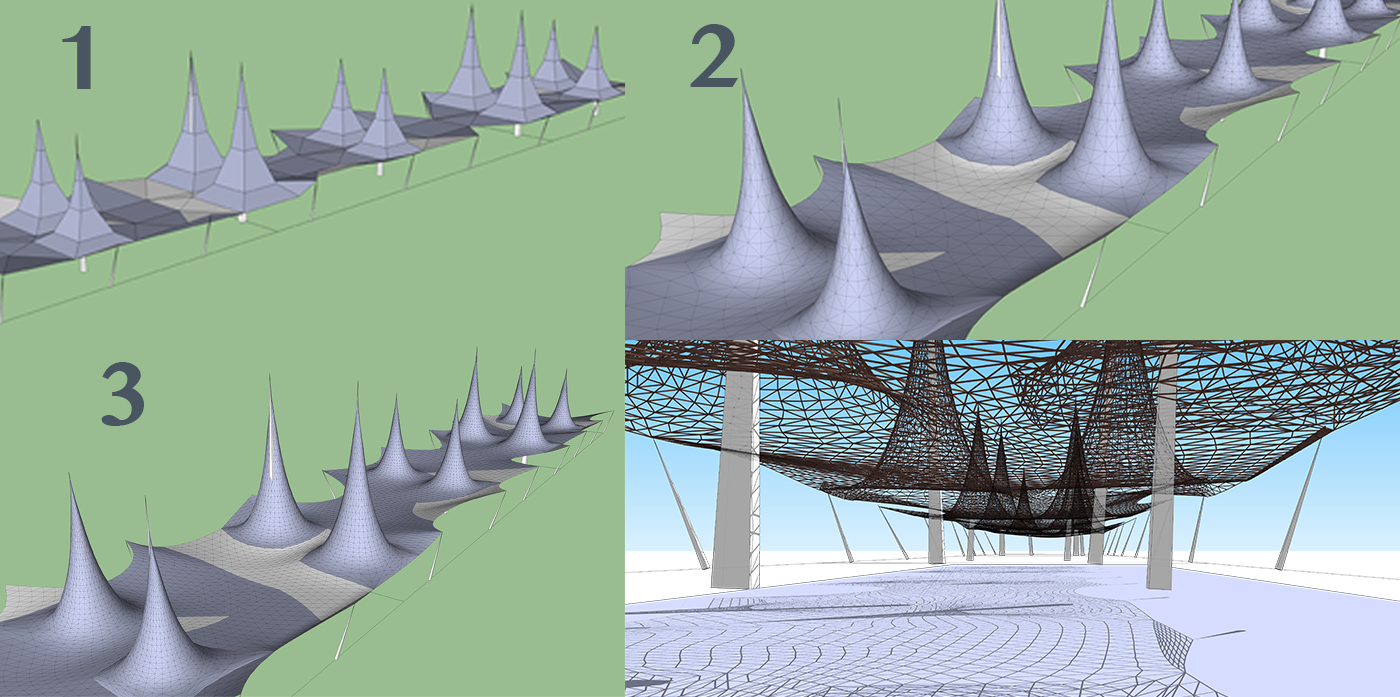
I'm getting it !

-
Looking GREAT!!
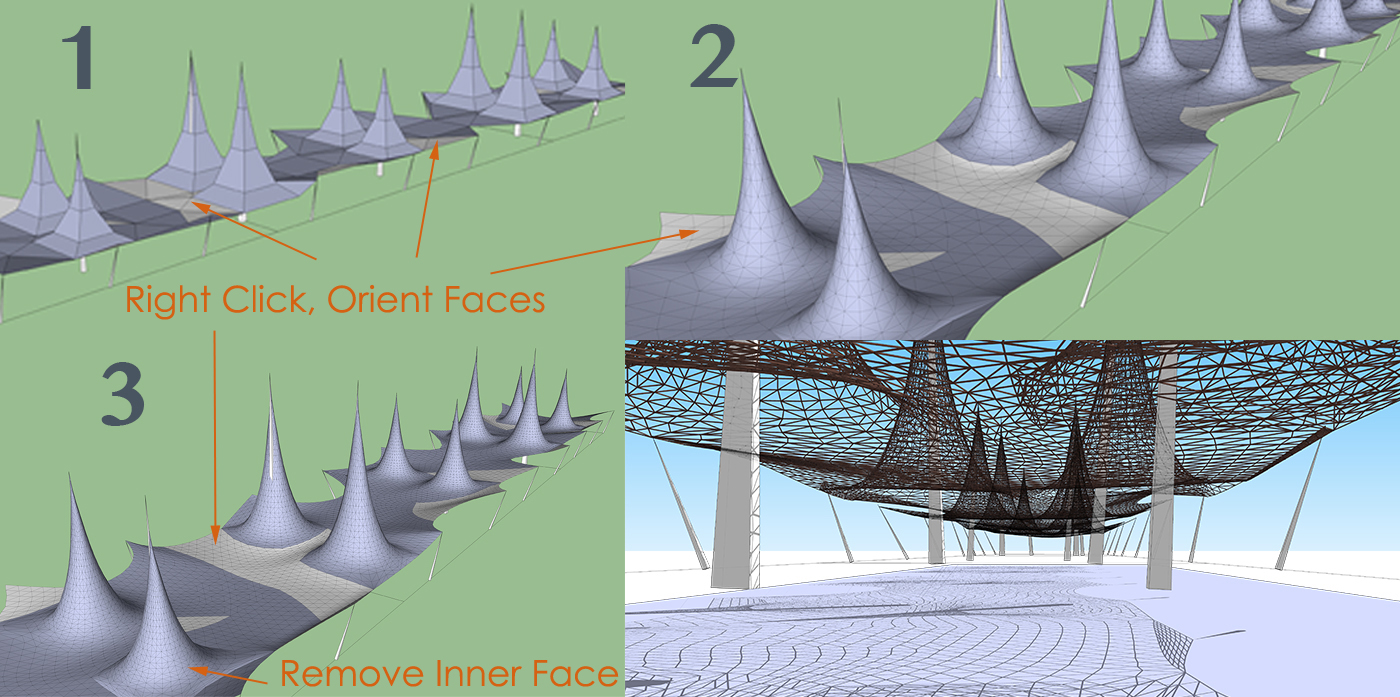
Couple of tips....see attachment.
I know it doesn't matter so much for this project, as you only need the lines....but you see how your mesh is mixed up with front faces and reversed faces? If you right click any front face and click Orient Faces, it will make every face the same. You can do this while it's still in the proxy stage or even after you have subdivided, but I would recommend doing it at the proxy stage for speed. It's just good practice.
You see the cone on the bottom left of your image? How it has a strange base? This is because you have a face within the cone before you subdivided.
Look underneath your model and delete any internal faces within the cone. Also delete the topmost face of the cone if there is a face there; your nets may converge to a point though, I can't quite tell from the image. If they converge to a point then forget what I've said regarding this.

There is also a very helpful plugin called RemoveInnerFaces.rb that I use ALL the time before a subdivision. It's always good practice to manually inspect your proxy before a subdivision though, as it's easy to miss a hidden face inside your geometry.

Great progression in your work!

-
Thx you Oli ! I did realize about the reverse faces... It's my first test ! I really like artisan it's soo fun to play with it


About the innerfaces... I hide the faces and then I select the edges and run lines to tube so I can delete the faces after.. Is it what you mean ?
Hello! It looks like you're interested in this conversation, but you don't have an account yet.
Getting fed up of having to scroll through the same posts each visit? When you register for an account, you'll always come back to exactly where you were before, and choose to be notified of new replies (either via email, or push notification). You'll also be able to save bookmarks and upvote posts to show your appreciation to other community members.
With your input, this post could be even better 💗
Register LoginAdvertisement


