My first run of vray 1.6
-
I have noticed that there aren't any options for bump or diplacement maps in the new Vray Material.
Is that true?
-
what is the vray material intended for?
-
@cuttingedge said:
Its becoming more like Max. More buttons to tweak, check uncheck, roll down menus.
actually not, they moved them here and there, but i can see the buttons are more or less the same if i'm not wrong, plus having the fresnel map default for reflections saves tons of clicks.. not a big revolution, but is pretty much useful anyway.. one don't need perfect mirrors so often..
-
The V-Ray Material is a port of the material that is available in Max. The "Standard" material is our LayeredBRDF material that we have traditionally used in V-Ray for SketchUp. You can also use a V-Ray Material as a layer in our Standard Material (confusing, I know). We allow this, because the V-Ray material itself does not support bump or displacement unfortunately. At least not at this time. When used as a layer in our Standard material, you can use bump/displacement as you normally would, but with the added benefit of using the V-Ray material.
-
@dkendig said:
You can also use a V-Ray Material as a layer in our Standard Material (confusing, I know).
Oh, I see. It is a bit confusing but it works, I guess. I did not know that i could put the vray material as a layer in the diffuse, going to try that.
BTW I am still wondering why different versions of vray are using different material formats. Wouldn't it be easier to use only .mat for everything?
-
.mat isn't V-Ray, it's 3D Studio Max only and has nothing to do with us at all. Until ASGvis made the vismat format, the only other way to move materials from one product to another, was by using the Chaos Group's vrscene format. As far as I know, that was only helpful if you were going to be using the V-Ray Standalone, and not other V-Ray plugins. The reason why there is a "standard"(layeredbrdf) and "v-ray" material, rather than just one, is mainly for compatability reasons. We could remove our layeredbrdf from the product completely, but then any scenes made prior to 1.6 wouldn't work at all, or would require an annoying upgrade process, as was required when upgrading from 1.05.30 to 1.49.01. Seeing as how the ported V-Ray material from V-Ray for 3D Studio Max, currently doesn't support all of the features that our layeredbrdf material does, we allow users to use the V-Ray material as a layer in our layeredbrdf.
-
i have the same problem, even if i try to increase the intensity its still the same.. well right now i uninstalled it and went back to 1.49. i might try i.6 using my home computer to check and do some trial and error thing
 ..
.. -
1.49.01!!! NO! dont do it! Seriously, get the latest 2.0 release trial and give it another go. I am in no way ever looking back at 1.49.01.
-
I don't know if anyone can offer some advice with using dome lights...
I have set up scenes using the dome light and everything is perfect except the shadows created by using the dome light with the GI are almost non existent - they're very weak and not nearly dark enough.
Whereas before you could control the shadows in the sunlight map, I have no idea how to control the shadows using the dome light.
Any ideas?
-
Domelight Tips-
- Turn off your GI and BG in your Options
- Add a spherical HDRI map to the dome light - make sure to set the mapping to Environment
Note - You need an HDRI file in order to get shadowing. If you use just a dome light with no texture, it will be the same as just having your GI set to white. The horizontal rotation of the map controls where the sun is in relation to the dome. In my example I used 250. - Increase the subdivis in the dome light settings to 12 or higher to reduce noise
- Use a good HDRI file - something made professionally - I use VizPeople's collections as well as http://www.hdri-hub.com/ which has some nice freebies.
Note - some free HDRIs from the web are poorly created. - Depending on the HDRI, you can decrease the gamma of the map to increase the shadows, I would try .85-.9 first.
- Use RT to play around with the rotation of the map to adjust how your sun is projecting.
I used this file http://www.hdri-hub.com/hdrishop/freesamples/freehdri/item/113-hdr-111-parking-space-free in my test
Peter Gunthrie discusses the gamma adjustment on his blog. He also creates beautiful HDRI images that can be found on 3DOcean.
HDRi lighting workflow — PETER GUTHRIE
Following on from a tip I first saw on Bertrand Benoit's blog , I have now adopted a new method of loading my HDRi skies. Essentially you can increase the apparent strength of the sun (and therefore get stronger shadows) by changing the gamma of the loaded HDRi map. If you use the vrayHDRi map (w
PETER GUTHRIE (www.peterguthrie.net)

-
@valerostudio said:
Domelight Tips-
Thanks so much for the tips, can't wait to try them out on monday! Cheers
Jack
-
i used vray 1.6 using my home computer. same model but i tried adjust the IEs settings to 150000 for intensity.. and thats the only time that it went brighter..
-
Guys, I love to use IES lights all the time, and I remember when it was hell to me to set-up v-ray. Spend many hours on the web, trying to find solutions. I got A hint on Nomeradona's awesome blog, where it was something about units. The long-short story is, I work in mm, but when I'm using IES lights, just before I hit the render button, I switch the sketchup units to inches. I don't touch the IES parameters. Everything looks correct.
Here is an example:

-
really nice render there Stefanq.. and the IES effect is really effective.
-
@valerostudio said:
Domelight Tips-
Hi guys,
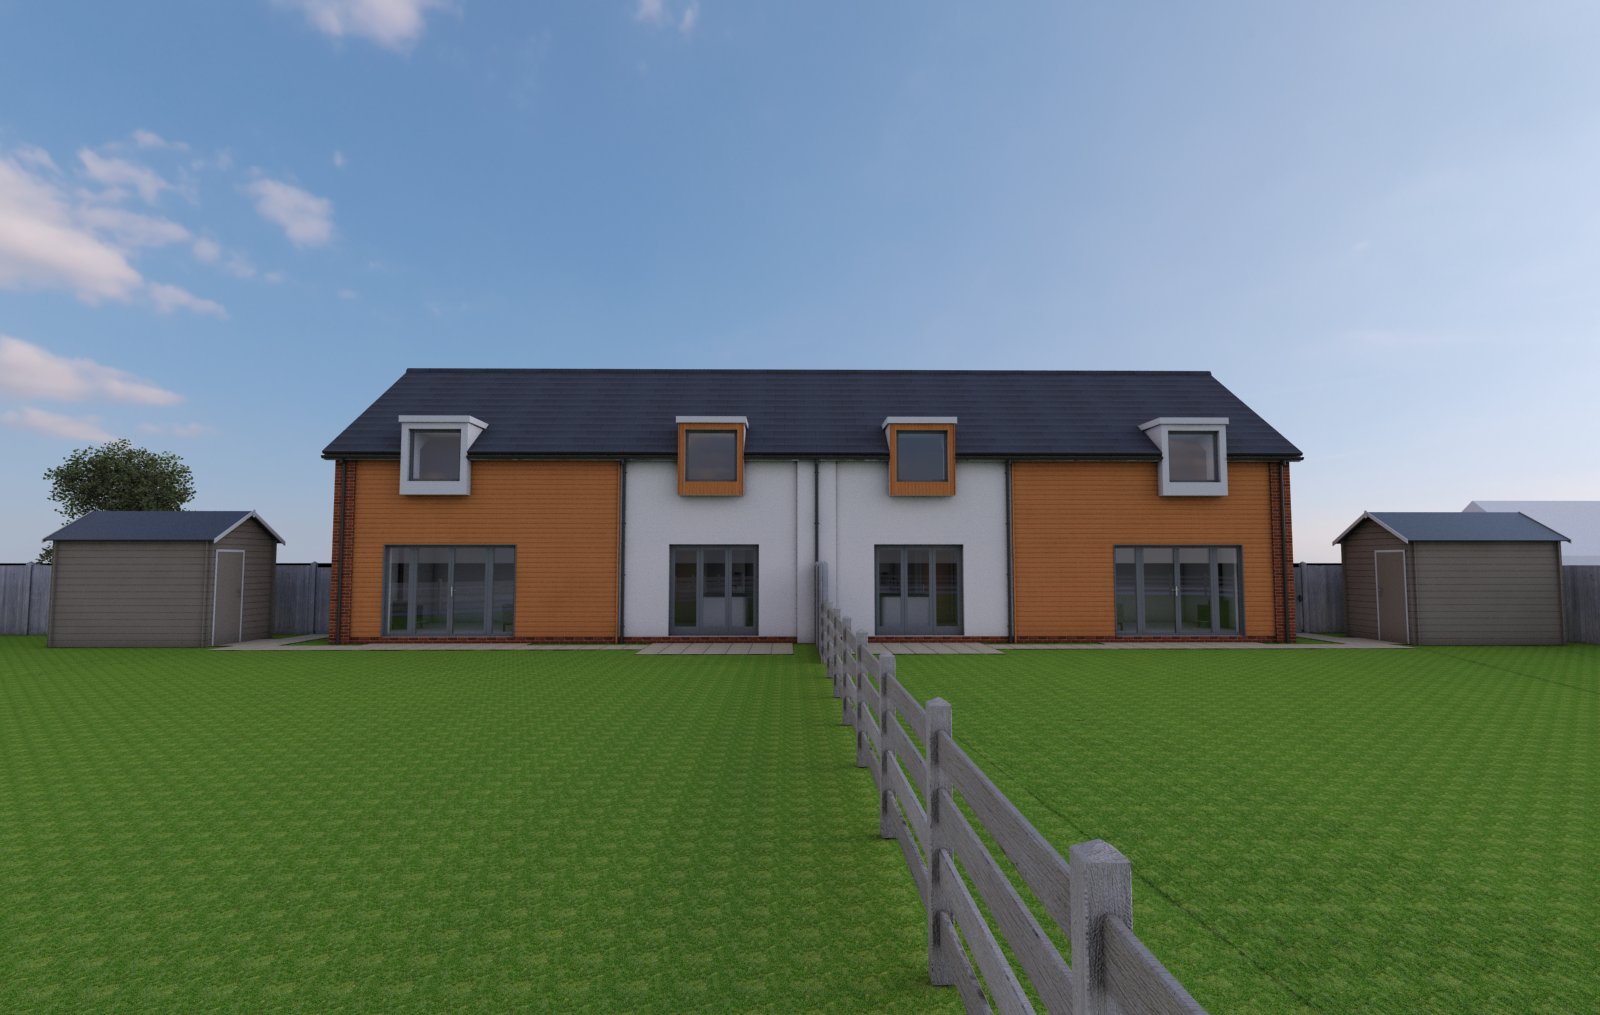
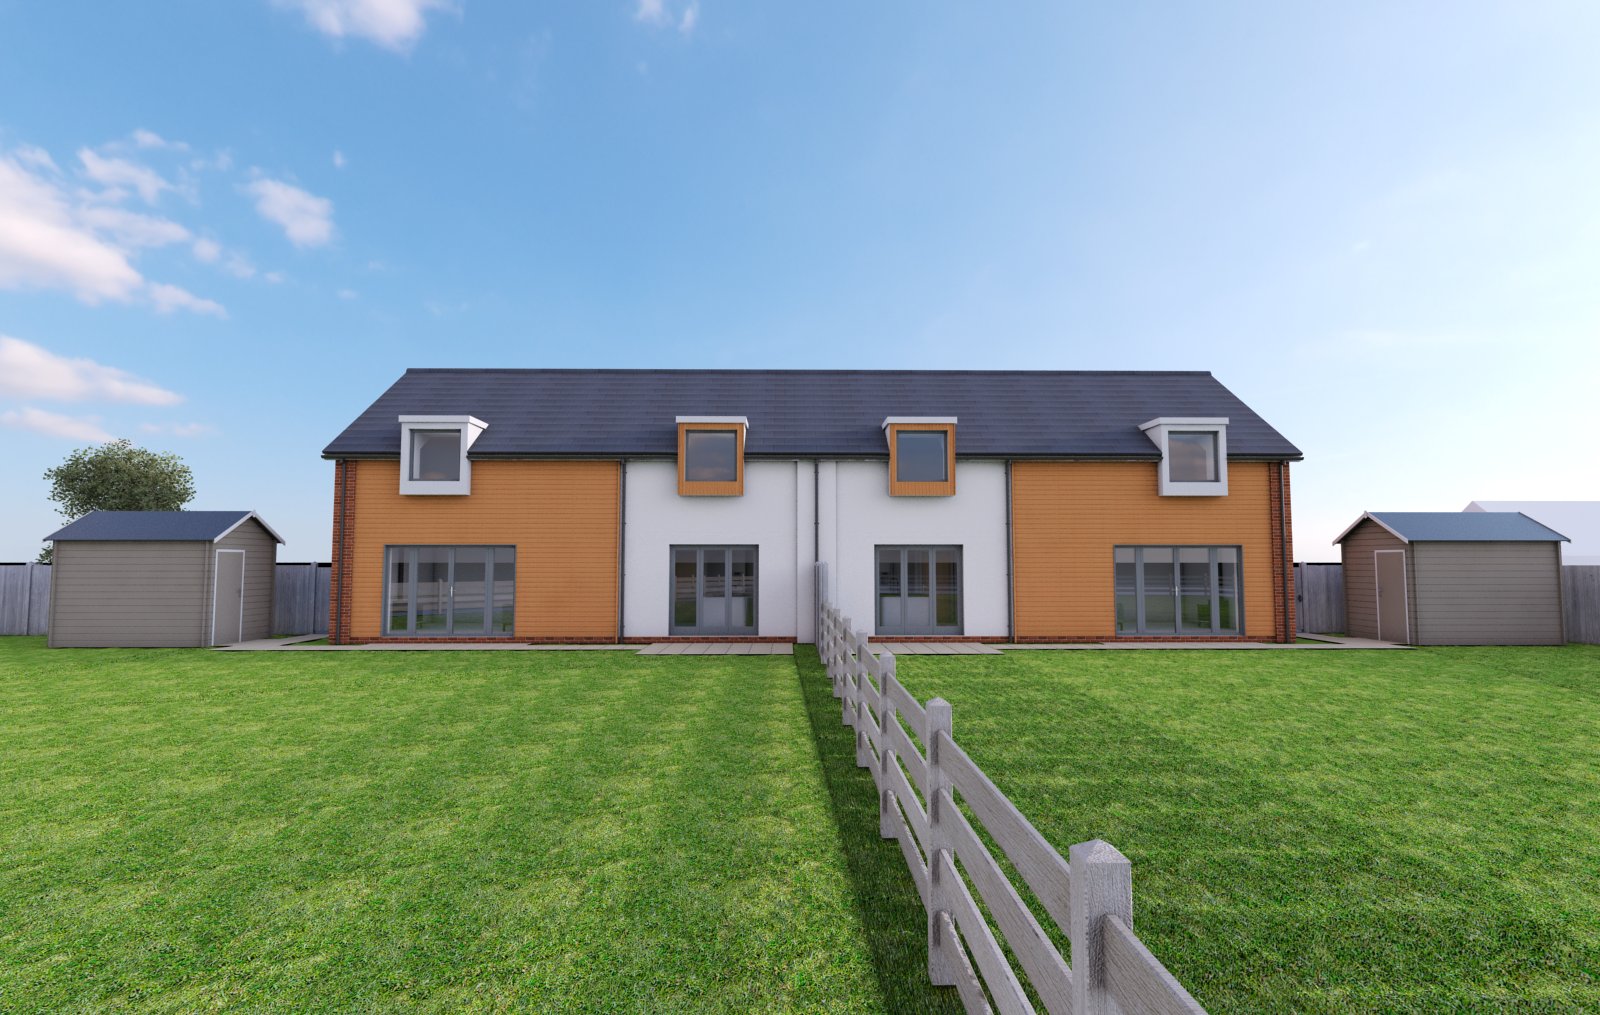
I've tried switching off the GI and BI, and bringing the gamma of the domelight map down to 0.75 but am still having some trouble with lighting. The shadows are still quite weak and behave strangely as you can see around the fence and on the grass on the right hand side.
Any ideas what's going on would be a great help. Thank!
Here's the image with gamma set to 1.0

And here's with gamma set to 0.75

Using a hdri from peter guthrie
EDIT:
The only thing I can think of doing is rendering a version using GI/BI set up to cast the shadows I want, check override materials, and add the result as a layer in photoshop with 'multiply' setting to create the shadows I want - but obviously less post-production is better ^^
-
There is no need to do that. Which Gunthrie HDRI are you using? If the sun is hidden behind clouds, then this is an overcast HDRI and will no produce a direct shadow, just like real life. Try the HDRI I sent a link to, this worked perfectly for me. If you get the same issue with this HDRI, then I can look at your file.
-
@valerostudio said:
There is no need to do that. Which Gunthrie HDRI are you using? If the sun is hidden behind clouds, then this is an overcast HDRI and will no produce a direct shadow, just like real life. Try the HDRI I sent a link to, this worked perfectly for me. If you get the same issue with this HDRI, then I can look at your file.
I was using the HDRI called "1808 Blue Sky White Clouds", where the sun is very visible but there is some cloud. Also the sun is quite low so maybe this is having an effect too. Switching to the other HDRI did make a big difference. Thanks for all the help - you seem to be answering my posts left, right and centre! Hero!
-
That file looks like it should be fine. You're using a hi-res unblurred version?
-
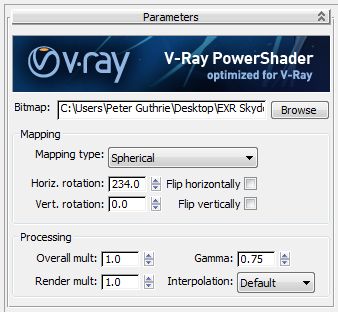
Make sure the rotation of the HDRI texture is setup so that the sun is casting on your facade. Post a screenshot of your HDRI and dome light settings if you can.
-
@stefanq said:
Guys, I love to use IES lights all the time, and I remember when it was hell to me to set-up v-ray. Spend many hours on the web, trying to find solutions. I got A hint on Nomeradona's awesome blog, where it was something about units. The long-short story is, I work in mm, but when I'm using IES lights, just before I hit the render button, I switch the sketchup units to inches. I don't touch the IES parameters. Everything looks correct.
Here is an example:Is Vray still on inches by default? Will it not adjust automatically, when you change units.
The solution you shared here is fine, but once I need to revise the model, I have to again go back to my mm settings in order to be precise. and then switch back to inches again to do a test render. That sounds more than a little inconvenient.
Hello! It looks like you're interested in this conversation, but you don't have an account yet.
Getting fed up of having to scroll through the same posts each visit? When you register for an account, you'll always come back to exactly where you were before, and choose to be notified of new replies (either via email, or push notification). You'll also be able to save bookmarks and upvote posts to show your appreciation to other community members.
With your input, this post could be even better 💗
Register LoginAdvertisement


