Glass lighting modelling tips?
-
Lathed for 8 segment then inserted geometry where needed...
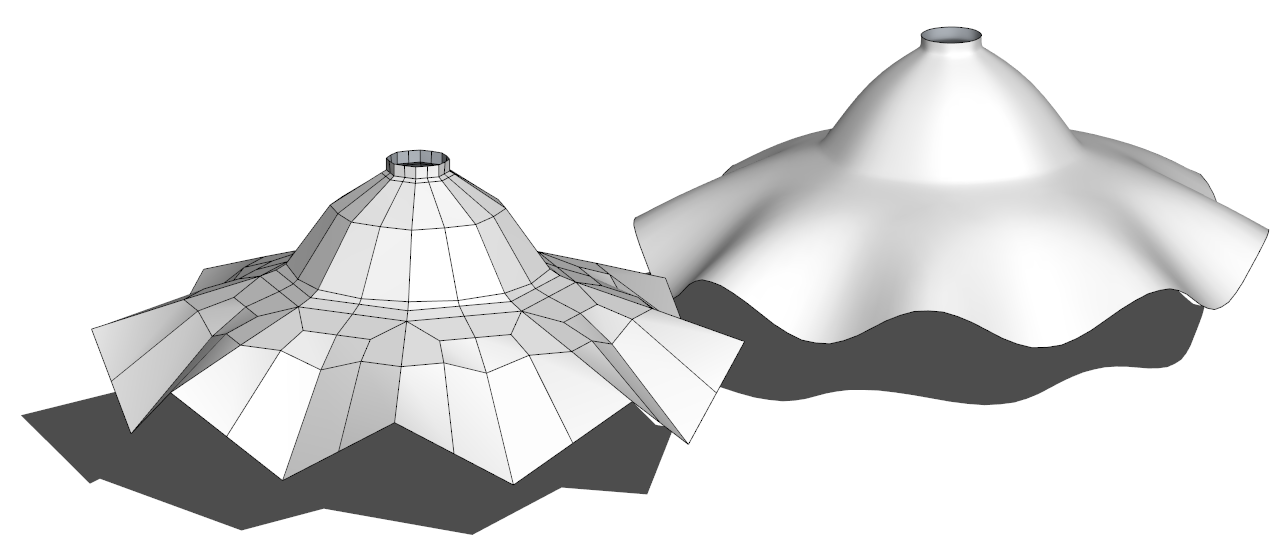
...as you can see the more you introduce the more control you get over the final result.
-
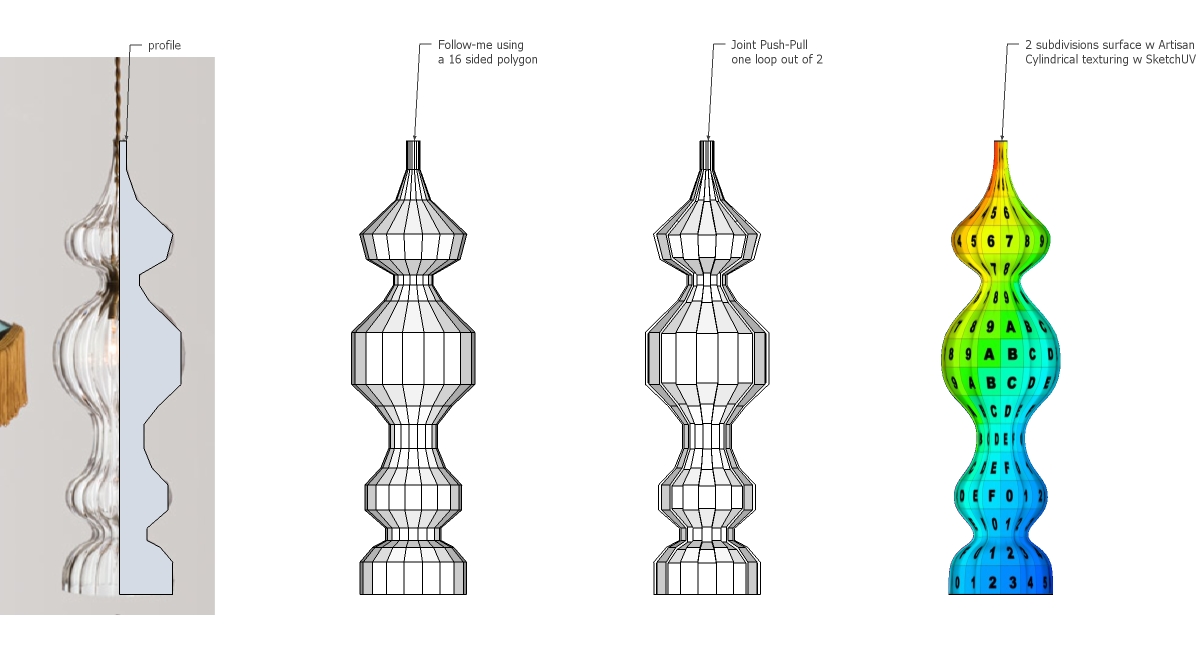
Here's my attempt at your Spindle:
-
And to think, modelling these lights is probably 1/1000th as hard as making them in real life. Very impressive.
-
Nice result

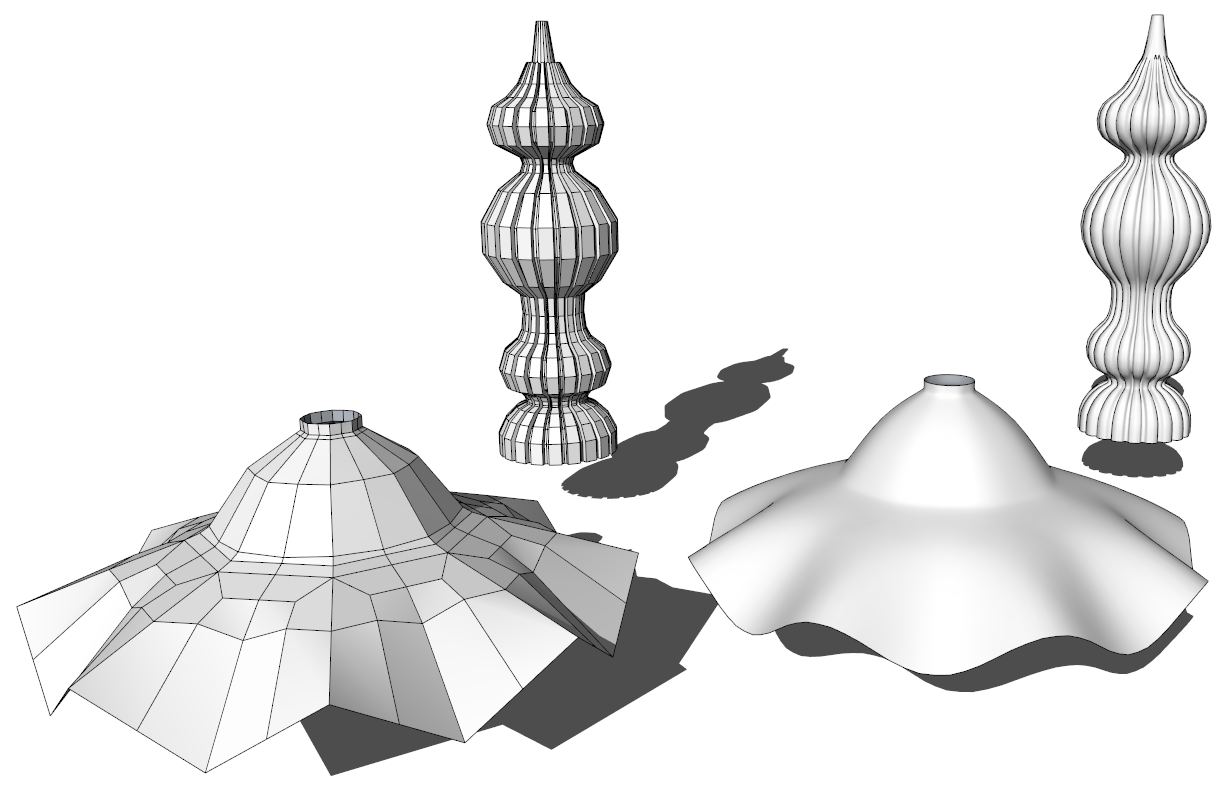
The more complicated lamp took less than time to model than the other one

Though SU crunched some numbers before displaying a result
-
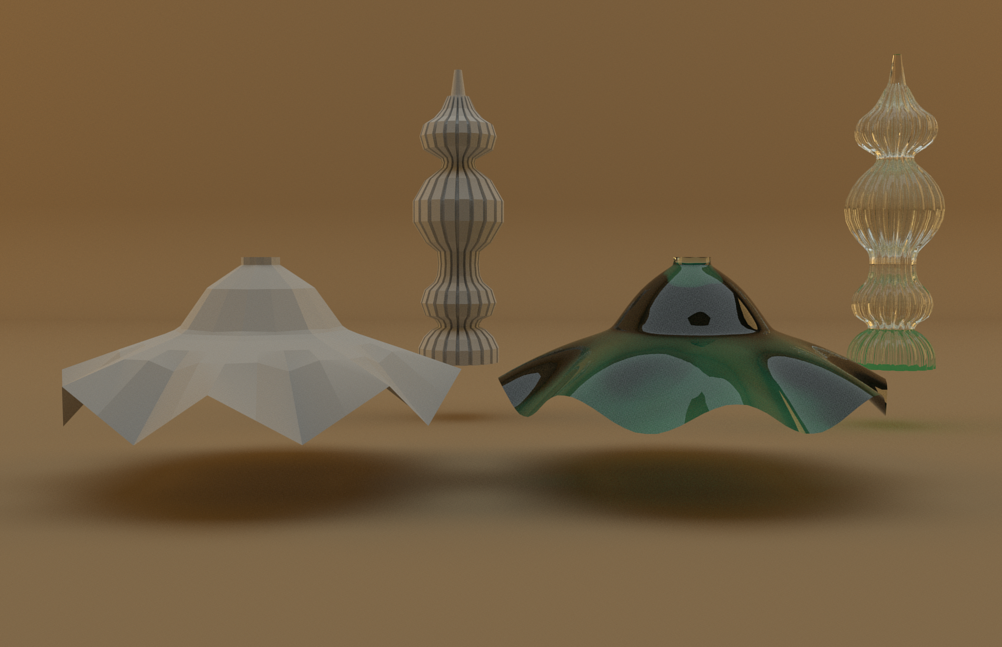
A quick test render:
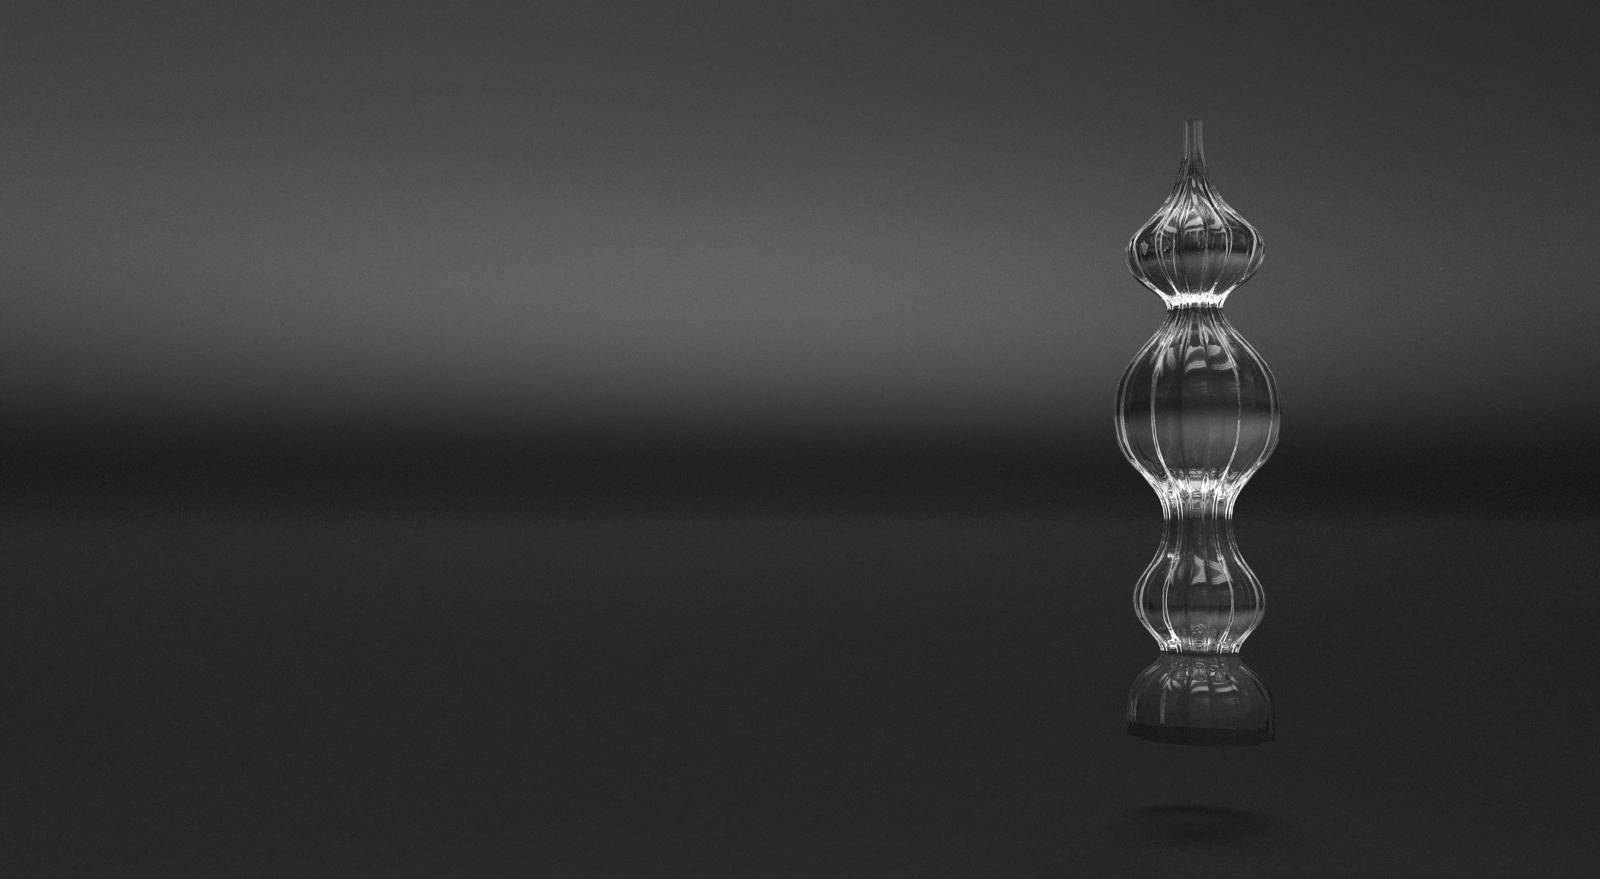
No doubt the true master is you for crafting these!
 to you!
 -
luscious! Rich are those all watertight (double-wall) forms?
Some nice designs-- should be great rendering your products with different lights.Upgrade that Mac. Mark (get a new 8 core). You work deserves it.
-
Single walled Peter
But Thea has nice preset thick glass materials
If I get time ill do a screen cast. Busy with other stuff. But enjoyed taking time out to make these.
They are beautiful lamps you guys make.
-
I guess I get the easy one.
Double thick glass.
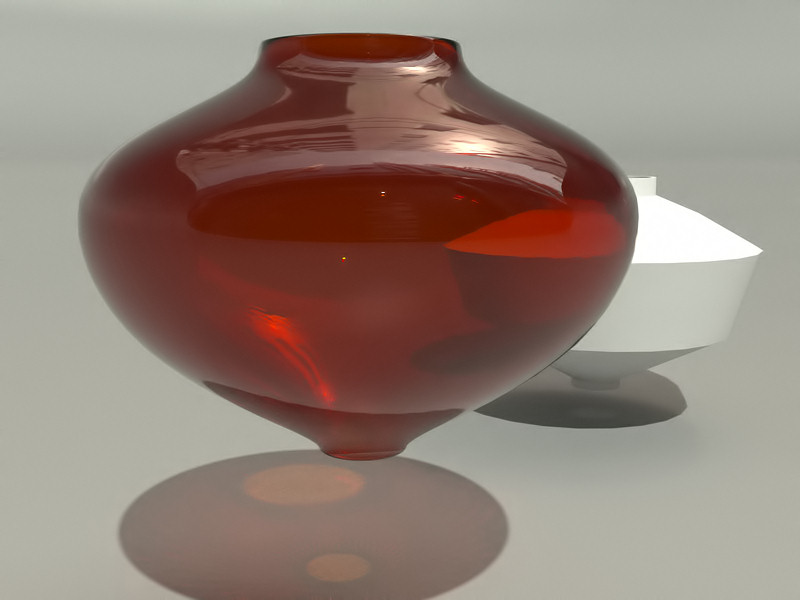
-
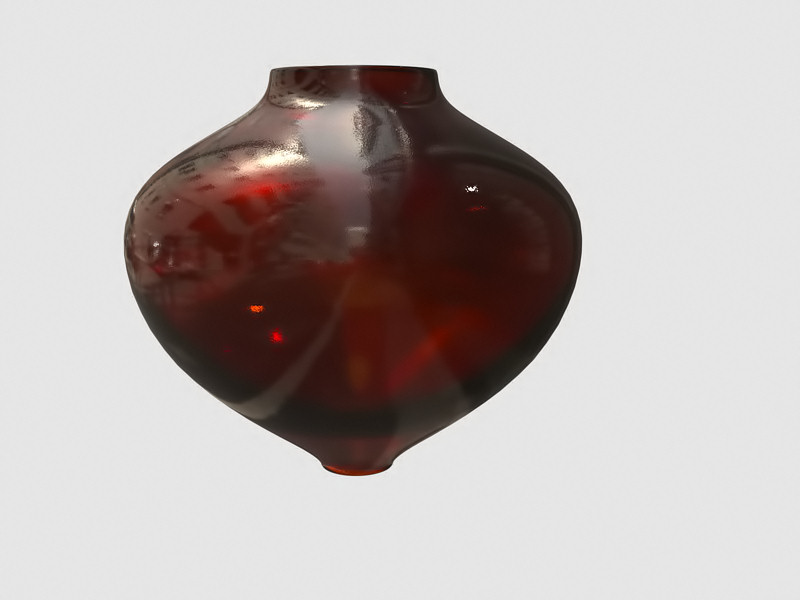
No thickness for me, just a single sided mesh with clear glass material.
I added a studio IBL and Mr Pete Stoppel's studio and it's done!I'm still amazed that you actually manufacture those!
-
Wow!! You guys can rock this stuff out so quickly, we struggle along for ages and end up with something that kind of looks like what we are after.
We are only very, very basic with sketchup, but are really enjoying the potential to communicate with our clients. Would love to see a bit more detail in how you chaps are getting to these results, are there any good resources for this kind of modelling. We are keen to get a good understanding of best practice etc.
Ideally we would like the objects to have a double wall as we probably won't be photo rendering very much and I guess this will give us the most realistic output from sketchup...
We are sort of getting some results out of artisan but have only just started using it, with the Vintage light is it best to model in the flat, pull up the concentric rings and then alter the points to determine the waves before using artisan...
Sorry for basic questions, we are better at glass blowing than 3d modelling...and thanks for the kind comments, much appreciated.
-
The modeling isn't all that hard. It is probably related to workflow as to why you are not getting quick results.
There's no real tuts out there because the shape requires a basic understand of hard surface modeling. Once you learn the basics then skies the limit.
You'll also find people tend not to share the steps because when you show an example it can lead to 50 other questions and time is money for a lot folks.
-
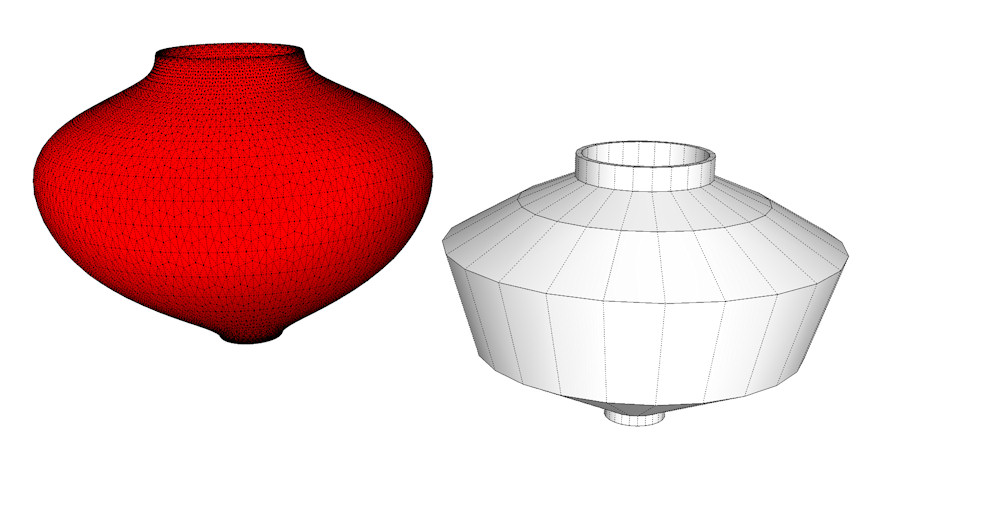
Attached is the proxy, subdivide and smooth as needed, get an idea of how the proxy looks.
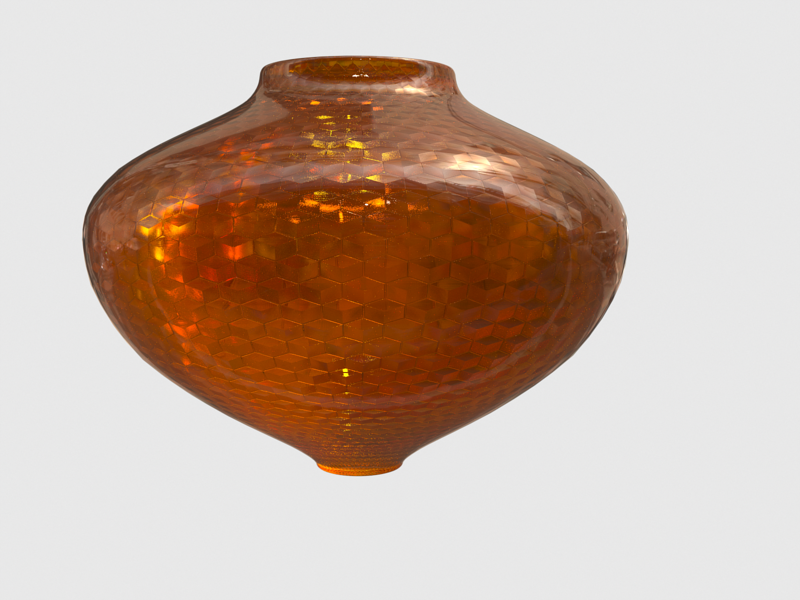
-
Hi Mark, love your work.
You might want to check out this thread...http://sketchucation.com/forums/viewtopic.php?f=335&t=42938&hilit=artisan
...lots of great examples of organic modelling inc. glass.
-
Thank you so much for your help chaps, it is really amazing to see how Sketchup has been redefined as a program, the organic modelling is exactly what we need!!
The examples is the thread suggested by baz really give a newbie like me a great idea of how the proxy shape guides Artisan to create the curves...very, very interesting.
We will keep on learning the hard modelling side so we have understanding and flexibility to create the proxy's we need, thanks again, you have all been very helpful.
Advertisement


