[Plugin] FredoTools::ThruPaint - v1.3a - 20 Oct 16
-
Hi Fredo, thanks for the amazing plugins! They're indispensable!
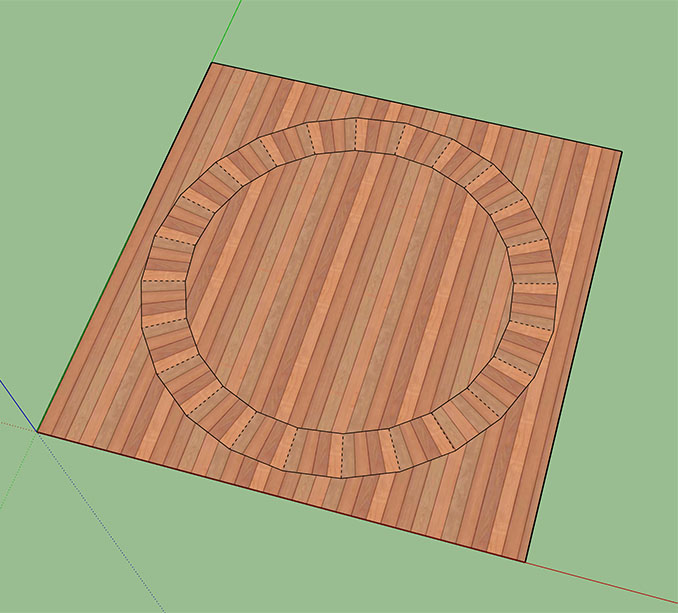
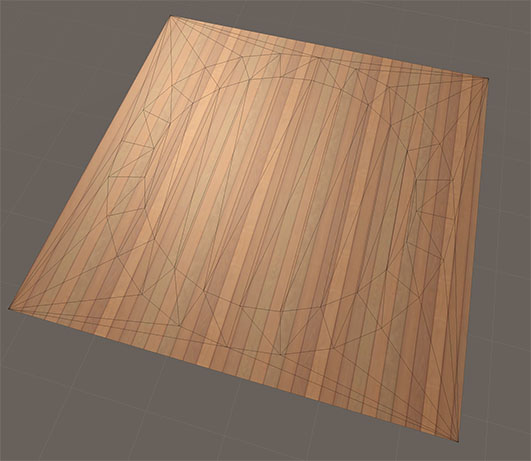
I am running into an issue exporting a mesh textured with ThruPaint to OBJ or FBX. Neither format preserves the UVs I've generated.

After exporting the above mesh to obj or fbx format, and then import it into another program (I've tried both maya and unity) the UVs seem to have reverted to a basic planar projection.

Is there anything required to "bake" the UVs into the mesh before they can be exported successfully by the built in sketchup exporters? I've tried enabling triangulation in the export options, but that does not fix the issue.
It's worth noting I'm using Sketchup 19.3.252 on OSX.
Thanks!
-
Fredo, would it be possible to add 'triangulate quads* on painting option to ThruPaint?
*- analogous to TT's Quadface Tools? -
@rv1974 said:
Fredo, would it be possible to add 'triangulate quads* on painting option to ThruPaint?
*- analogous to TT's Quadface Tools?What do you mean?
In QuadMesh mode, ThruPaint works whether the quads are true quads or are triangulated.
Do you want to force triangulation? -
Yes I mean 'force triangulation' option (I hope we are talking about the same things

You see, if I'd export some perverted mesh (with QuadMesh UV applied) as foreign format (3ds, fbx, obj etc) I'd get tons of independent 'materials'- (one mat for every single face). The only wayI know to avoid this plague is triangulation. TT's Triangulate command works perfectly,
The only inconvenience it's an extra procedure. Simultaneous painting + triangulation would be just perfect. -
@rv1974 said:
Yes I mean 'force triangulation' option (I hope we are talking about the same things

You see, if I'd export some perverted mesh (with QuadMesh UV applied) as foreign format (3ds, fbx, obj etc) I'd get tons of independent 'materials'- (one mat for every single face). The only wayI know to avoid this plague is triangulation. TT's Triangulate command works perfectly,
The only inconvenience it's an extra procedure. Simultaneous painting + triangulation would be just perfect.OK. But then, why don't you do the triangulation once, and then call ThruPaint after.
My problem is more to see how to fit the option in an already crowded GUI, and also keeping ThruPaint doing what it is paid for, that is, apply colors and textures, not alter the geometry.
-
Quite often I have to deal with truly complex files (say +100k objects, +1.5M faces).
It's simply inevitable to skip some objects (that must be triangulated).
For instance, Profile Builder allows instant multiple paths profile creation. I suggested Whaat to add 'triangulate upon creation' option But it wasn't addressed unfortunately. And then when the moment of export comes... Houston we have a problem
Anyways.. I don't think one tiny 3x3mm Δ button will mess up the palette. Per contra, the benefit would be inexpressible. -
My favourite tool! Though now I have problems in SU2019.
A tiny little surface, such as a chair seat lasted 1,5 hour to paint. Earlier it was cca. 5 seconds.
Every little surface is 1 hour to do.What could happen? I am going crazy...
-
@bandika said:
My favourite tool! Though now I have problems in SU2019.
A tiny little surface, such as a chair seat lasted 1,5 hour to paint. Earlier it was cca. 5 seconds.
Every little surface is 1 hour to do.That's not normal.
Could you post or PM me the model. -
Dear Fredo!
It just has recovered!!! I deleted then istalled again the extension, and now it is working as fine as before!!! Maybe it got scared from you:)
Big thanks! -
Good to hear.
Still, I wonder what was creating the performance problem...
-
Me too. Strange, that it did not freeze, it worked, finally it made it - just in one and a half ours. I worked in two files that time, it was exactly the same. I am happy now that it works again:)
-
Fredo, is it possible to add ability to assign (globally ) front face materials to corresponding back faces AND preserve front faces texture coordinates?
-
@rv1974 said:
Fredo, is it possible to add ability to assign (globally ) front face materials to corresponding back faces AND preserve front faces texture coordinates?
In principle, the UV are mirrored on the backface.
Can you first try FredoTool:ReverseOrientFace to see if this does the job with the good mirroring on the back face.
-
@unknownuser said:
In principle, the UV are mirrored on the backface.
Can you first try FredoTool:ReverseOrientFace to see if this does the job with the good mirroring on the back face
In my tests your ReverseOrientFace is completely OK on transferring UV's when flipping.
Does it mean you potentially could add my request to ThruPaint or ReverseOrientFace?
Off-topic Minor issue: In ReverseOrientFace I can't make make tooltips work (they are enabled and SU restarted) -
Just to be sure, you want a very unusual behavior, which is that the UV on the other side of the face are different.
In Sketchup, ThruPaint, etc... the flipping of faces or the painting on both sides of a face keeps the UV identical (so that if the material is transparent, you see only one texture).
-
In simple words I need singe click solution that'd take everything I see on front and apply in exact manner to the back (no matter what happens currently on the back, it will be replaced with front textures).
Theoretically ThruPaint is good if you'd start from the scratch and use TruPaint exclusively all the way. -
Do you have an example. I am still not sure of what you want.
-
The same components with the same material applied, but with randomized UV's..
Is it theoretically possible in current SU? Maybe some trick thru dynamic components? -
@rv1974 said:
The same components with the same material applied, but with randomized UV's..
Is it theoretically possible in current SU? Maybe some trick thru dynamic components?Still not clear...
Component instances behave the same when you paint their elements. And there is no control of UV when you paint their instances. -
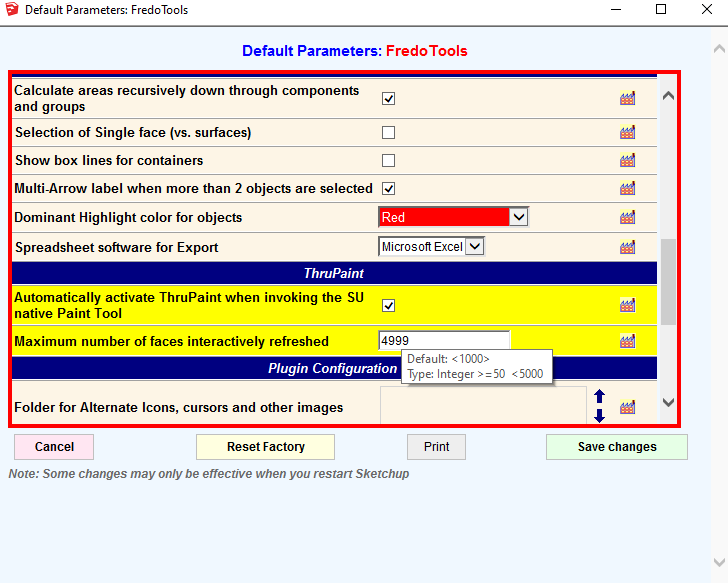
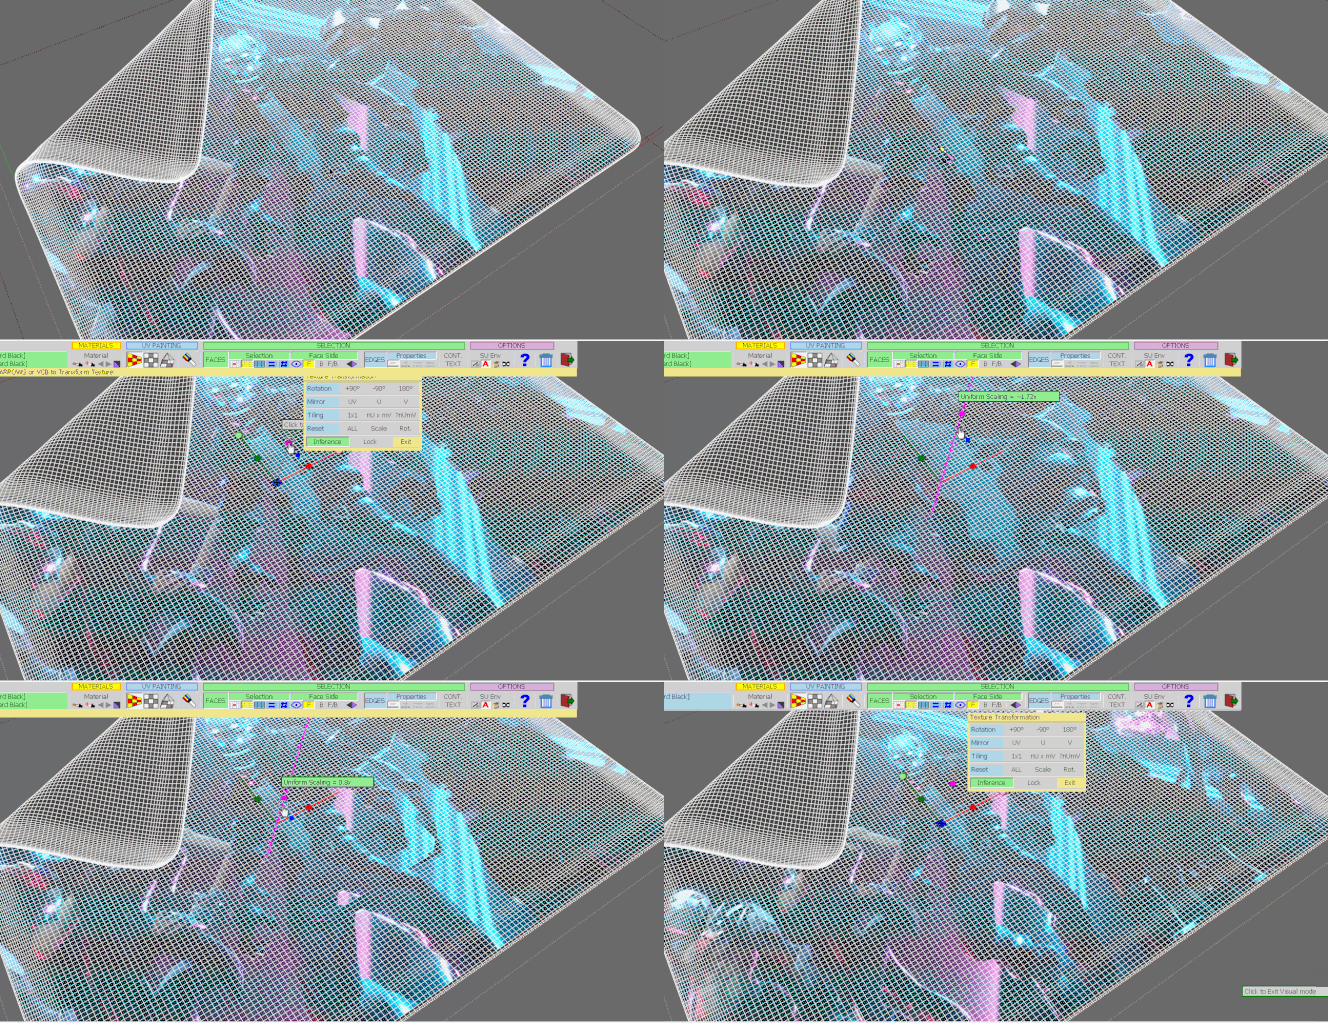
Why is there a limit for only 5000 faces interactively refreshed while manipulating with the texture? Sometimes it's not possible to see interactive results on high poly meshes.


Hello! It looks like you're interested in this conversation, but you don't have an account yet.
Getting fed up of having to scroll through the same posts each visit? When you register for an account, you'll always come back to exactly where you were before, and choose to be notified of new replies (either via email, or push notification). You'll also be able to save bookmarks and upvote posts to show your appreciation to other community members.
With your input, this post could be even better 💗
Register LoginAdvertisement


