[Plugin] ImageTrimmer
-
cheers Tig
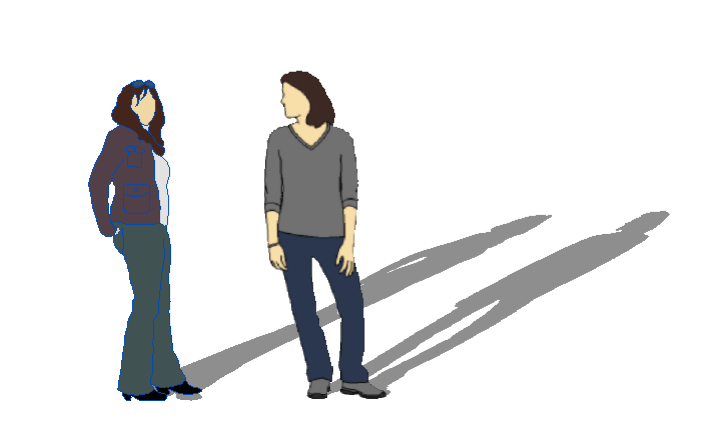
finally I got it to work on 10.5.8, and just incase it saves others some time searching.
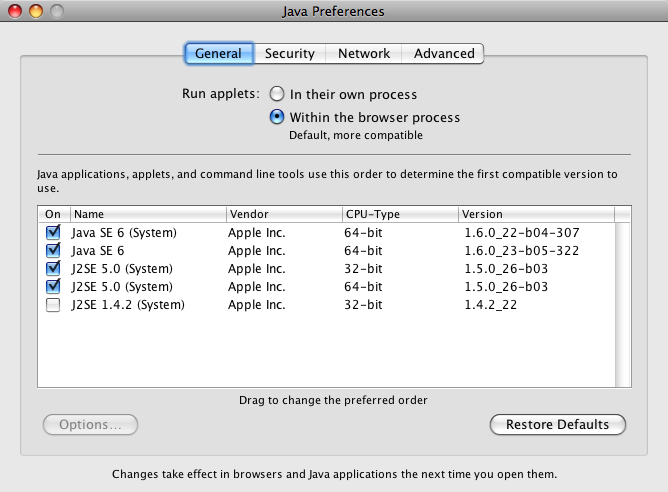
john
-
Hi TIG
I have migrated my version of skp to a new pc running windows 7 (former pc running winxp) and my image trimmer is not working at all.
The tool does appear to start to run on an imported png file (as image) but won't progress to the first prompt to stand up the component etc. It simply stops and allows you to go back to using the skp tools.
Ruby console report is below:
Error: #<Errno::ENOENT: No such file or directory - C:\Users\Apache\Documents\TrimmedImages\Untitled-1[Edges].dat>
C:/Program Files (x86)/Google/Google SketchUp 8/Plugins/SKMtools/ImageTrimmer.rb:232:inreadlines' C:/Program Files (x86)/Google/Google SketchUp 8/Plugins/SKMtools/ImageTrimmer.rb:232:inmake_edges'
C:/Program Files (x86)/Google/Google SketchUp 8/Plugins/SKMtools/ImageTrimmer.rb:185:inprocess_image' C:/Program Files (x86)/Google/Google SketchUp 8/Plugins/SKMtools/ImageTrimmer.rb:162:ininitialize'
C:/Program Files (x86)/Google/Google SketchUp 8/Plugins/SKMtools/ImageTrimmer.rb:759:in `new'
C:/Program Files (x86)/Google/Google SketchUp 8/Plugins/SKMtools/ImageTrimmer.rb:759This is a strange error about not being able to find a file...
This runs just fine on my laptop with xp using the same file so i'm guessing that this is operating system based?
Also when migrating the plugins, i did a simple copy and paste into the skp directory on the new machine... don'tknow if any files should be elsewhere given that you use a bit of java on this one.Any help will be much appreciated....
ThanksDave
-
David
This indicates that on your new PC either there is not a suitable version of Java installed, or it's not properly enabled, or if it is it does not have its options set correctly to allow 'jar' files to execute. There are several posts about what Java settings to have to allow all of this family of tools working - they all use 'jar' - Java executable applets - that you setting must allow to run in 'Java options'...
Also please check access-rights to the Plugins folder and the SKMtools subfolder and its contents, which must allow read/write/execute etc for everything and everyone... This could cause problems to as some temporary files are written here.
Please come back either with your fix or continuing problems...

-
TIG
Forgive me but i am no expert in these matters.
I have checked and got the latest java and it is enabled so far as I can see.
As far as permissions are concerned, I have little experience in setting specific tags for particular apps but as i mentioned before, the other installed plugin in winxp worked straight out the 'box' and required no additional changes so i'm not sure where to even start switching things in the new windows 7 OS....Is there anyone out there who has got this working on win7 pro 64bit and skp 8? Did you have to do anything fancy to get it to work?
Maybe they can help point me in the right direction.Java is currently installed in the x86 directory so as far as i know this is the 32bit version... might it help to get the 64bit version?
Dave
-
Dave, one of the big changes between XP and 7 is that in 7, you'll have to set permissions to make changes to folders. At least the ones that are in the Program folder. As TIG mentioned, make sure you have permissions set to allow changes to the folders he indicated. I did a little thing here about installing zipped plugins and have a paragraph about setting those permissions. Maybe it will help.
-
@davidlouis said:
TIG
Forgive me but i am no expert in these matters.
I have checked and got the latest java and it is enabled so far as I can see.
As far as permissions are concerned, I have little experience in setting specific tags for particular apps but as i mentioned before, the other installed plugin in winxp worked straight out the 'box' and required no additional changes so i'm not sure where to even start switching things in the new windows 7 OS....Is there anyone out there who has got this working on win7 pro 64bit and skp 8? Did you have to do anything fancy to get it to work?
Maybe they can help point me in the right direction.Java is currently installed in the x86 directory so as far as i know this is the 32bit version... might it help to get the 64bit version?
Dave
I had problems running the plugin in Windows 7 and SU 8 Pro, although all permissions were set right for my user account and Java was updated. I solved the problem running SU from the master administrator account and I still switch user accounts in order to use the plugin. Probably that is not the best thing to do but it works.
-
It is recommended that you as a 'user' have 'administrator rights'.
If you do not / cannot, then at least have the rights to the SKMtools folder and it's contents' permissions set so 'users' can read/write/execute files from that folder...
A automatic Windows [Vista & 7] 'Program Files' set up is often too draconian in limiting your permissions for any program folders/files in it... -
unclebim
You are indeed correct. This works fine from the master administrator account but for some reason, not from my account in which I am in fact specified as an administrator... ?
I am also listed as having full control of the SKMtools folder.For some reason the 'full' rights are not being given to me.
There are a number of write ups about this on the net... I have followed a few tips on gain full ownership of the OS but no success as yet...If anyone has any bright ideas on how to solve this please step up.... I am not sure that I would be able to live with having to switch users to have to use a plugin...
Dave
-
David
Have you tried running 'Sketchup as Administrator' [right-click icon menu item] ?
Does that change anything ?
If so change the Sketchup exe [shortcut icon on your desktop will do] to 'run as administrator' permanently.
Then after running it, change it back to be 'ordinary' - this may well kick things into allowing you to run it as expected.
Have you also looked down the Java options for your account?
I have a similar setup to you, without any problems.
Here are my setting that work -
TIG...
That's it... working just fine now... !

Incidently, my java settings were the same as yours so i don't think that is to blame. And...before I read your post, as a further test to using the main admin account, I created a new user (with administrator rights)and logged in and everything worked just fine.
So i'm guessing that somewhere in my normal account some access rights are messed up preventing the writing of temp files and it would just be a matter of finding out where to switch things... but i haven't got the time or patience for that.If i follow your advice about setting the shortcut to run as an admistrator, things trim just fine...
 I had to reactivate my 1001bit tools but that was easy... so i think i'm just going to leave it running as such for now and one day if i ever to an OS reinstall I'll correct the problem properly.
unclebim, you may have success using the same 'patch'... at least it will be an end to your switching users...
Thanks again... have a good weekend
Dave
-

Thank you TIG and davidlouis!
-
I just found this magnificent plugin, exactly what I was looking for! Unfortunately, I do not and cannot have administrator access to anything on my Windows 7 work computer. Not to mention I don't have Java on it and am not allowed to install it.

-
@ledisnomad said:
I just found this magnificent plugin, exactly what I was looking for! Unfortunately, I do not and cannot have administrator access to anything on my Windows 7 work computer. Not to mention I don't have Java on it and am not allowed to install it.

If you can't have Java installed you are knacked!
If you could have Java working there are work-around to get the tools loading/running from a 'personal directory' - your IT guys would need to allow a small ruby to run from their side to let your personal files' load...
BUT without Java the SKM tools can't function...
So the only solution is to do it at home and bring it in - thereby shaming your office into dragging themselves into the 21st century !
Alternatively send [email/PM] me the PNG images and I'll email/PM the cutout SKP back to you within 12hours at $20 each [Pre-PayPalled] ???

-
Thanks for the response, TIG. Always quick and helpful. I'll see if I can convince IT to install Java and give me appropriate rights. No matter how many sources of 2d and 3d people, trees, furniture, cars, backgrounds, textures, etc, I always seem to need/want to find/make some more...
-
First thanks TIG for one more wonderful plugin. I tried to use it to make some face me components of trees, but for me it was painful slow...I read earlier in this topic that the best thing to do is to make smaller image. I could do that, but I want best resolution SU can handle. So, what I have in mind is - could U make this internal process? I mean, first scale down the image, than the rest of code, than brings back original resolution, all by plugin?
-
Hi,
for this workflow I have used a very time-consuming method in the past. I have vectorized the "PNG", using an external application and than imported the "DXF" into Sketchup than I erased manually all unwanted edges.
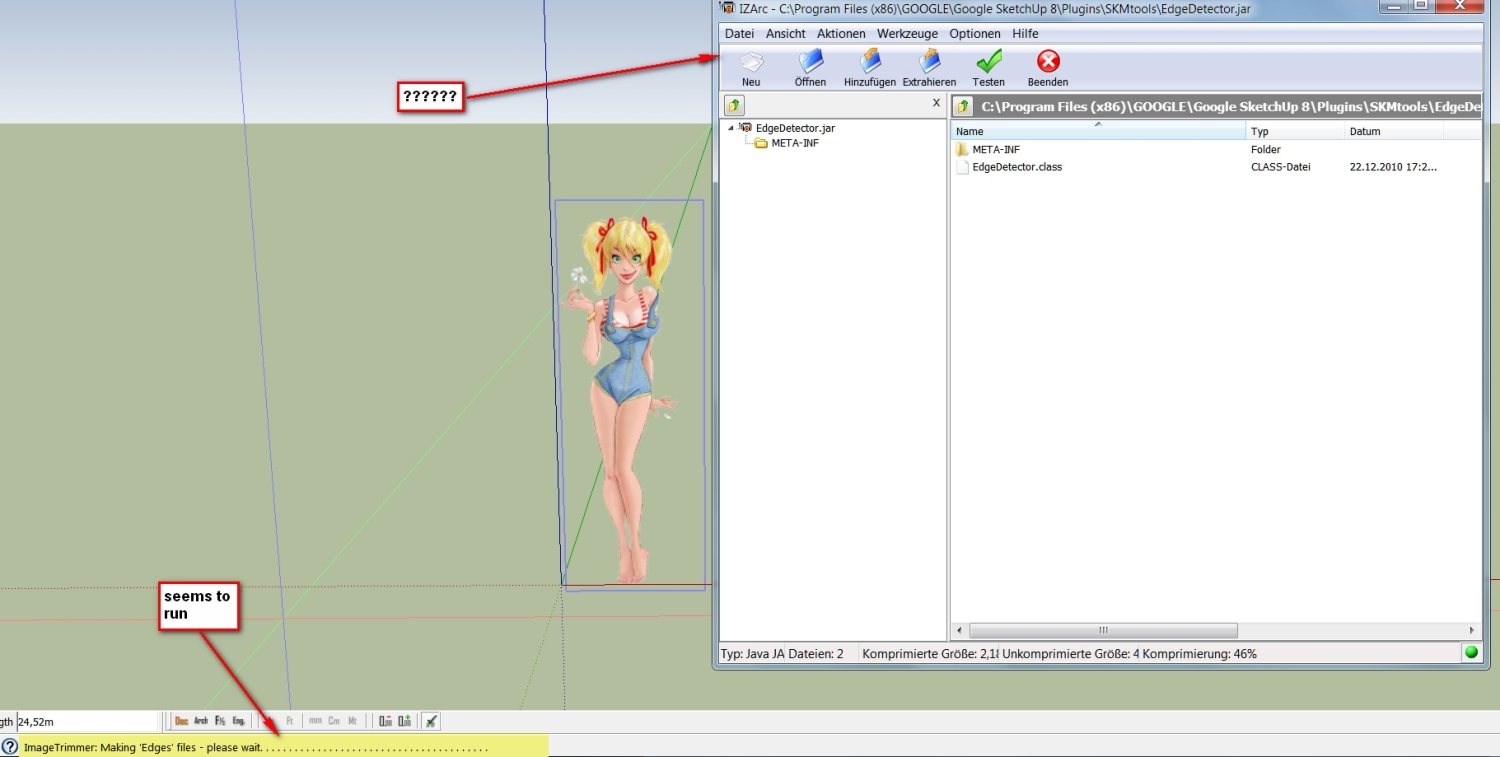
The "TIG" tool seems to be a great tool for this purpose. I've just now taken notice of it. But unfortunately it does not seem to work for me. When I start it the progress bar started also and a window of my compression program opens. The tool works and terminates the operation normally. But the "TrimmedImage" folder is empty. I don't know what is wrong. Any help would be appreciated.
Charly
-
Charly
You must have Java enabled and the control-panel preferences set to allow 'jar' files to execute locally - these are needed to execute the code needed to manipulate the image data outside of Ruby...
A 'jar' file is a compiled Java-applet - in this case the various SKM/Image jar files are devised to do individual simple tasks not possible with basic Ruby...
You currently have 'jar' files set to open with you compression program!
These 'jar' files need to be left as executable-files set to open/run with Java...
Edit your compression program options to exclude 'jar' as one of the file types to open with that app' and ensure they run with Java itself... This is my Alzip settings NOT to open 'jar' files when I double-click on them... -
Hi TIG,
I had not thought about this simple solution. Now it works as it should. A great tool and a great developer. Thank you very much TIG.
Charly
-
Hi,
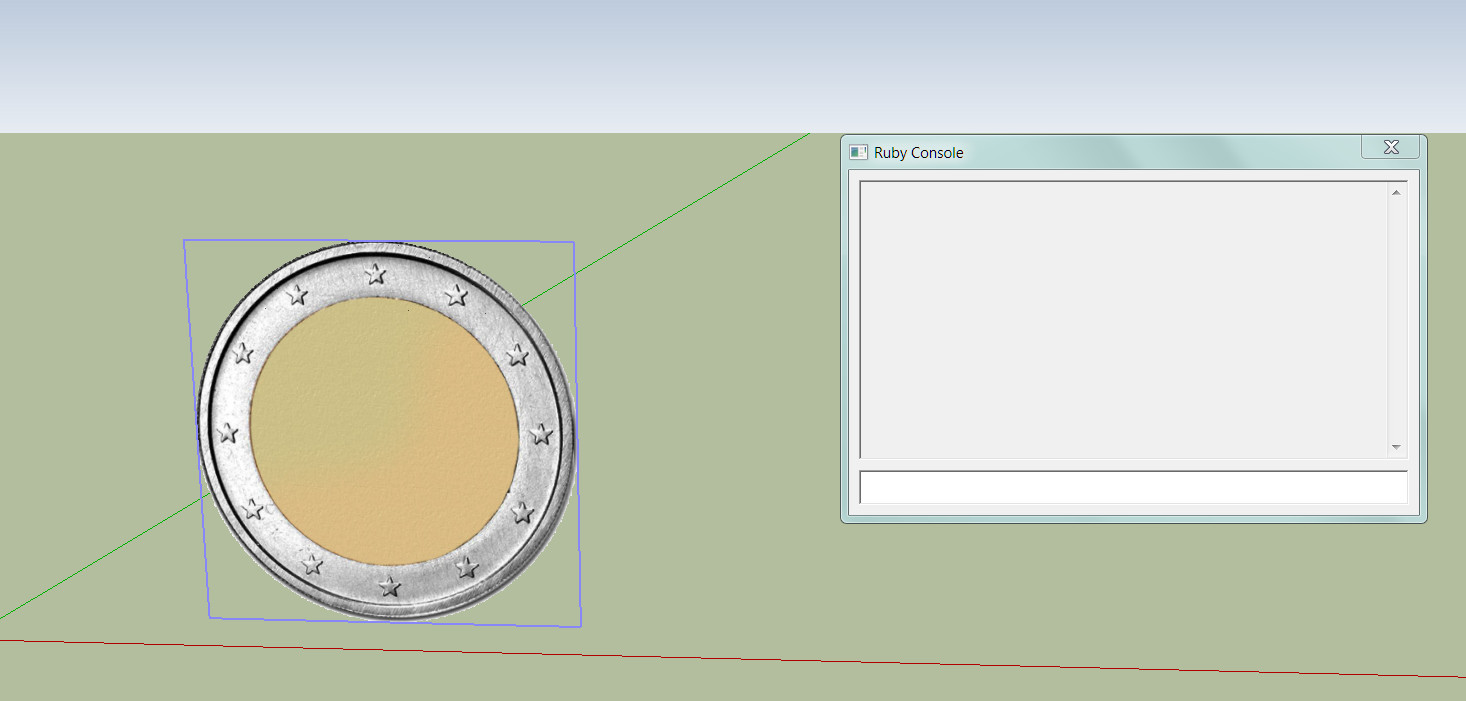
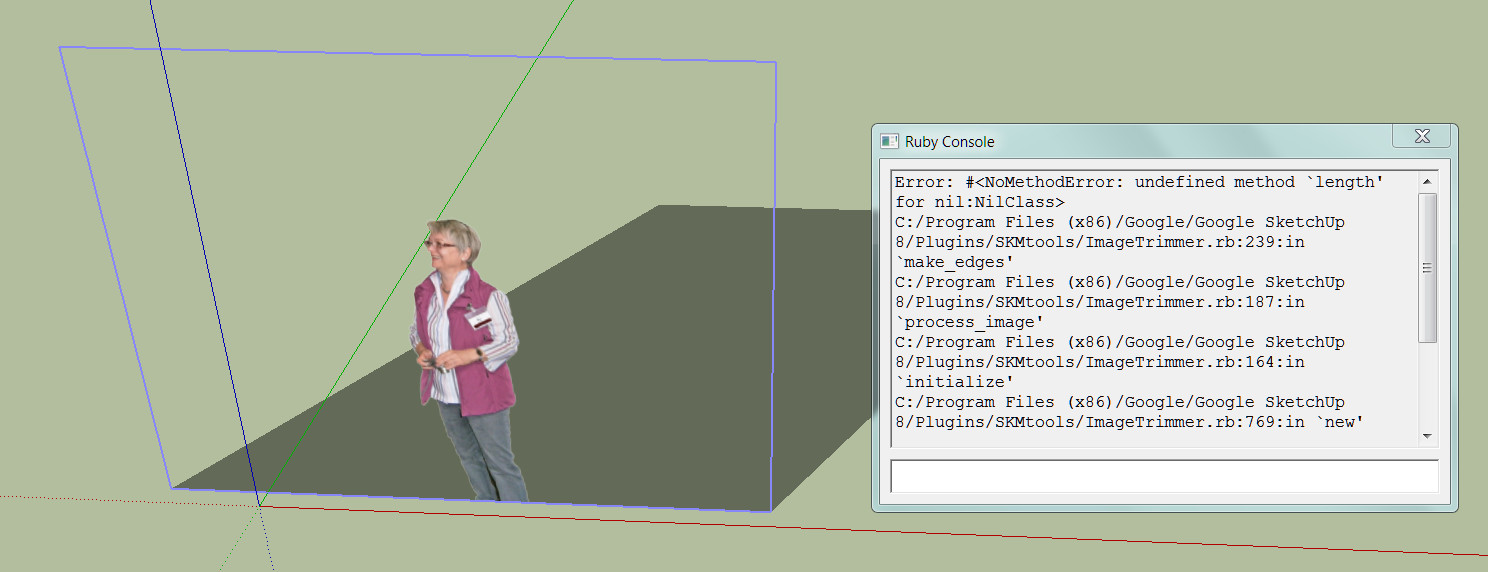
I've used the plugin again with two PNGs. With the EURO PNG it works flawlessly. The second generated PNG with the lady does not work. So I suspect that the Second PNG is flawed. Does anyone know what could be the error in this PNG?
Charly
-
First off the time taken to process is related to the number of pixels and although you can't see them there are hundreds around the woman. You could crop it to just her and some background...
If there is even the slightest transparency associated with the woman's pixels they are taken as transparent too, so they could all be ignored when finding edges and therefore there are then no edges to process - hence the error message...
I'll have a look at the woman.PNG and check it out...
Advertisement


