Pasting a Logo or Seal to a cylinder
-
http://forums.sketchucation.com/viewtopic.php?f=180&t=10404&hilit=+Plugin
Try out this plugin
-
William,
There are several way of doing it (one would indeed be UVTools in case you want to totally wrap the logo around the cylinder). If you choose the intersection method and apply the logo on that part only, you can always soften the bounding edges, too, so your cylinder won't look "broken" or "rough".
If you uploaded your example model and logo, we could demonstrate it better.
-
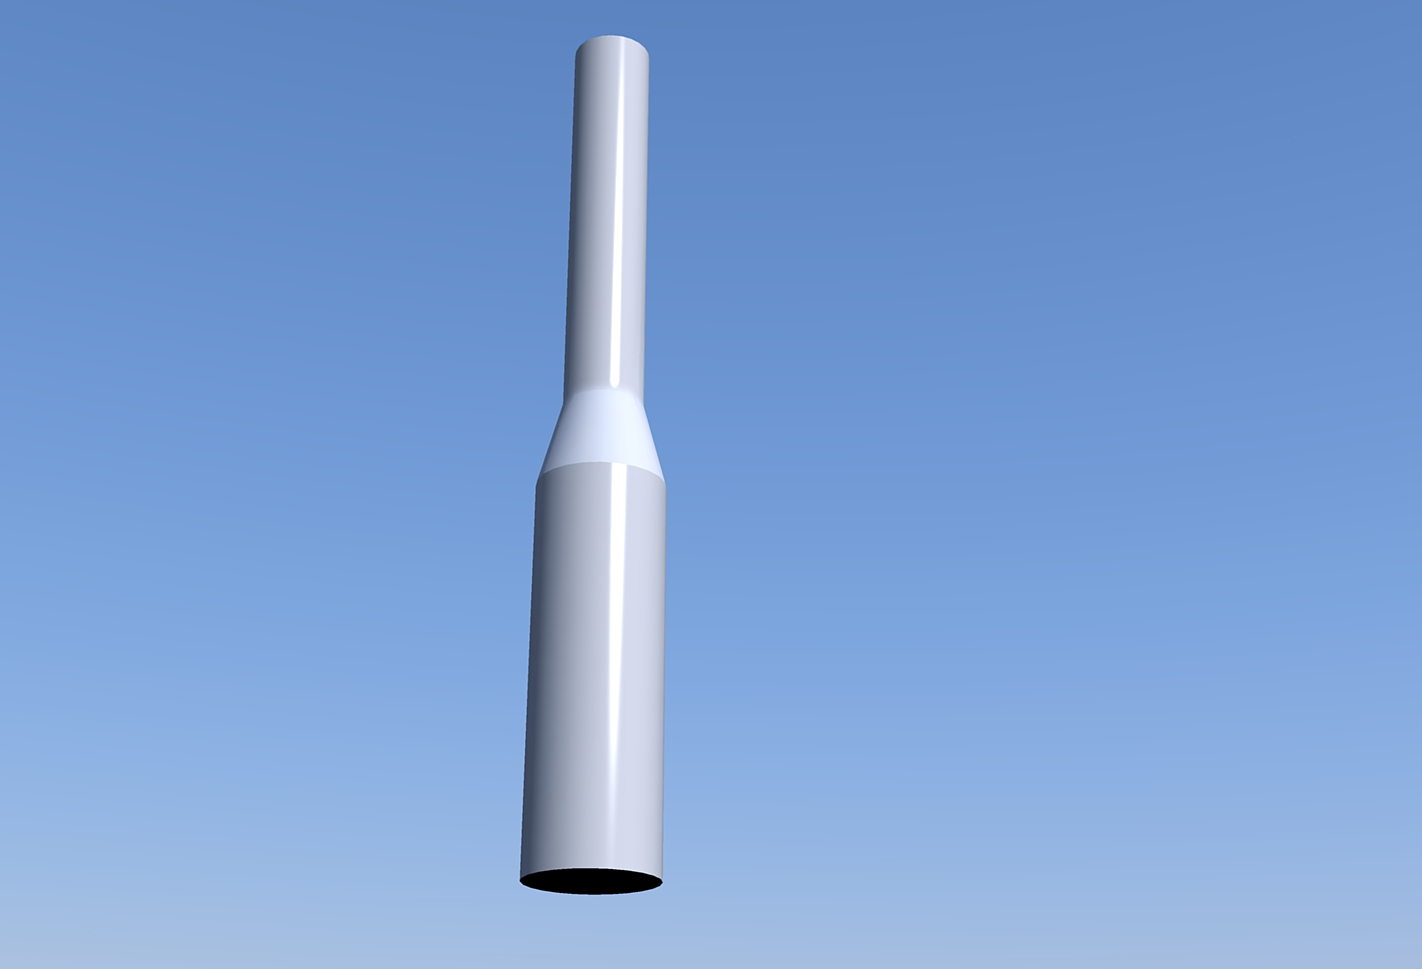
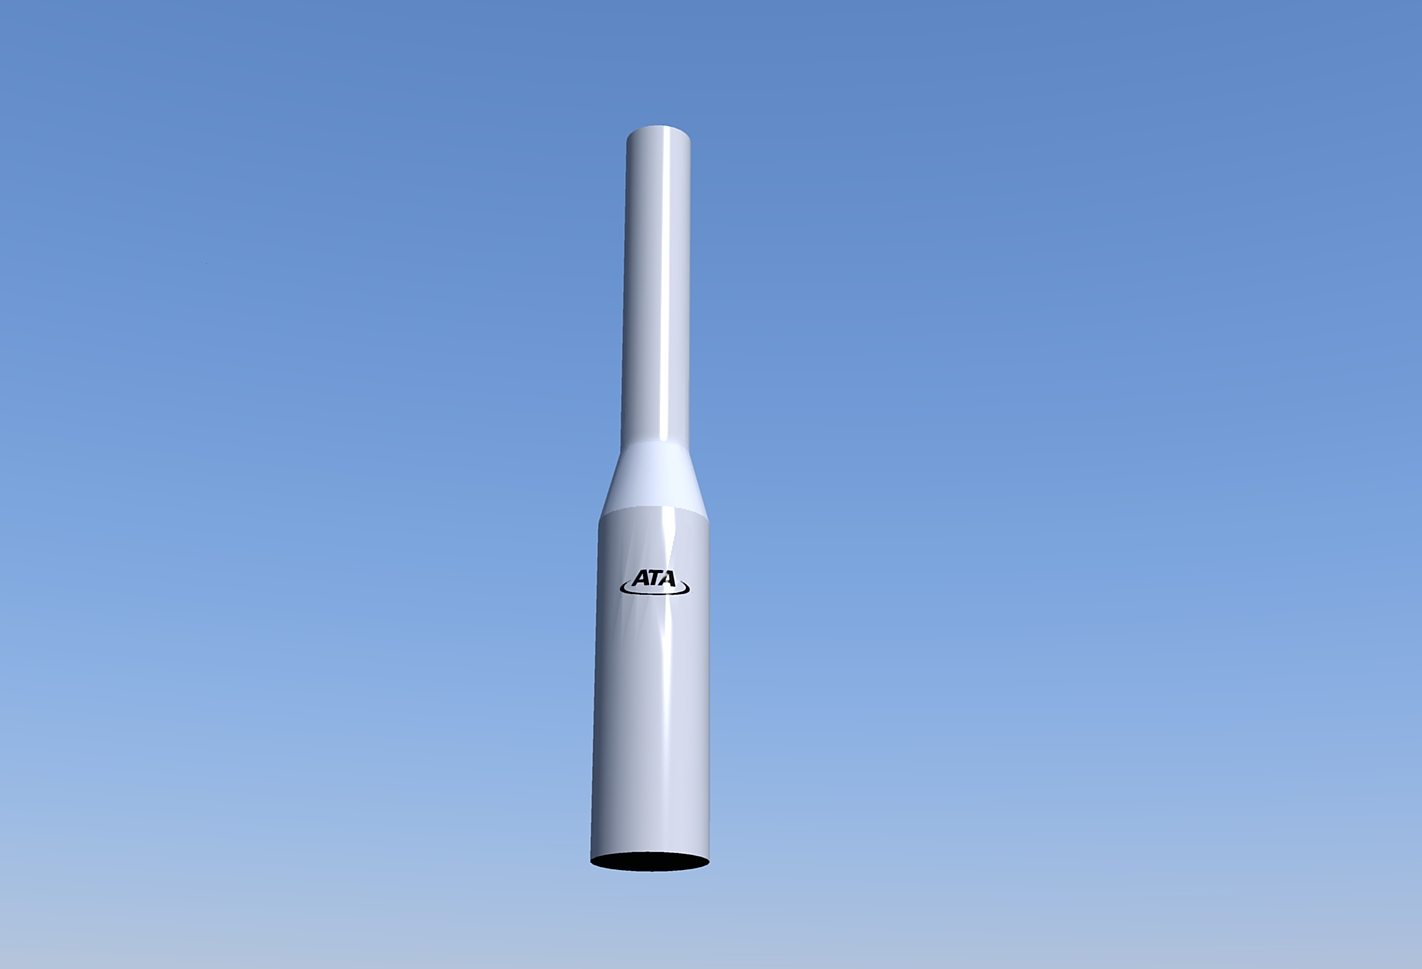
Thanks for the offer of help. I am attaching a .skp file that contains an example cylinder. It also includes a sample logo that I used to intersect with the model and then paint in the letters. I will also include several jpgs that show renderings of the cylinder, before and after the intersection, where you can see the artifacts that are introduced after the intersection. I have tried smoothing with the eraser tool, but that didn't help. In fact, this attempt has the least amount of artifacts. Other attempts introduced roughness all the way up to the frustrum on top of the cylinder.
I will also include a jpg of the logo which I have tried to project as an image, but when I do it just wraps around the cylinder. I tried the UV tools, but I am not sure I am using it correctly.
Any help or advice you can give would be greatly appreciated because I run into this problem alot.
-
JPG of rendering with no logo
-
jpg of rendering with logo
-
jpg of logo used for projecting as a texture

-
Yes, it definitely "crumples" the surface when you intersect it with the model. Probably the best way would indeed be to create a texture for the whole flask and wrap it around only once with UV Tools.
-
Gaieus,
That's where I am confused with the UVTools. The steps I have been using are:
- Import logo image as a texture on face perpendicular to the cylinder
- Make the texture a projected texture
- Right click on the logo texture and select "Cylinder" from the UVTools contextual menu
- Use the eyedropper tool to sample the logo texture
- Use the paint bucket to paint on the Cylinder.
Is that the correct sequence? I also read comments about editing the texture after you have painted it, but I don't see how to do that with the UVTools ver. 1 plugin.
-
The workflow with UV tools is simpler: just apply your texture on the cylinder then right click on the texture and select "Cylinder" from the UVTools contextual menu.
-
Indeed - however in that case the logo will be huge and wrapped all around the bottle. You should make a relatively big image into which you insert the logo (somewhere in the middle).
Certainly it would be nicer if SU did not distort the curved surface once there is something intersected with it but it seems that we cannot help that. Many times, when there is some more "rough" texture around, it is not too apparent but with a shiny surface it is simply ugly unfortunately.
-
What you need to do is start with a texture. Turn on hidden geometry and draw lines on the surface of the cylinder to block out exactly where the texture goes...then hide those lines. Line up texture, then project texture onto cylinder...sample and paint from one segment to the next (still with hidden geometry on). Keep sampling last segment and painting on next so that the texture lines up. When you are done, turn off hidden geometry and its perfect.
Make sure logo background color matches the rest of the cylinder...
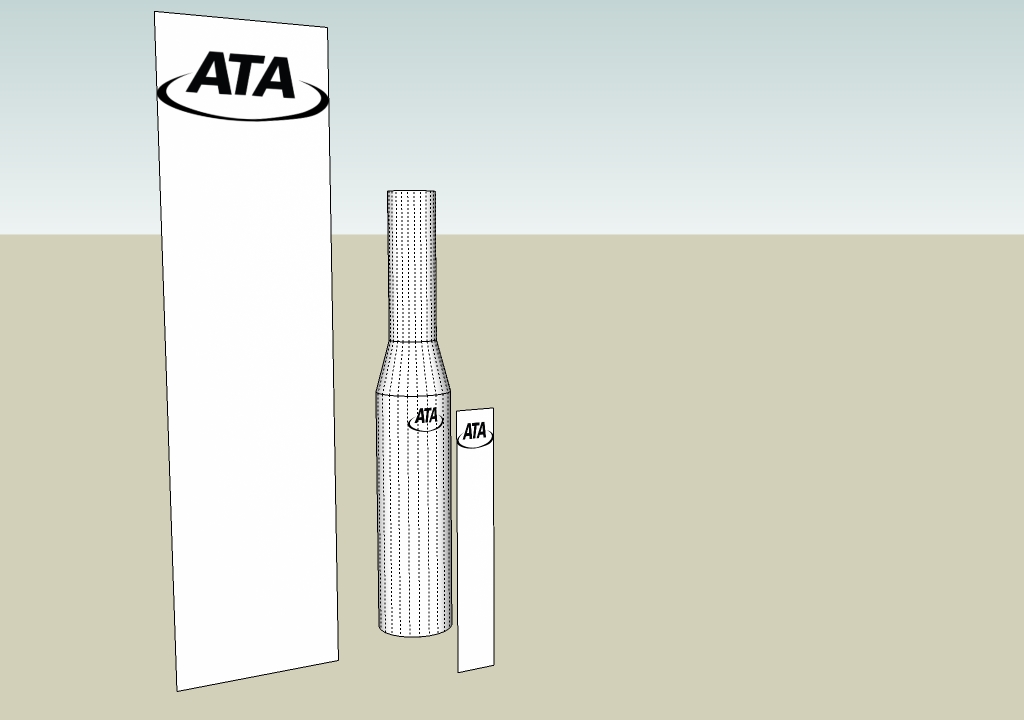
See screen capture and .skp file. The scale of the logo is messed up, sorry!
-
That would work but in fact, there is the problem that intersected geometry on a curved surface will distort the surface very ugly. That's what the whole conversation started with.
-
u can do something else too..pretty fast..
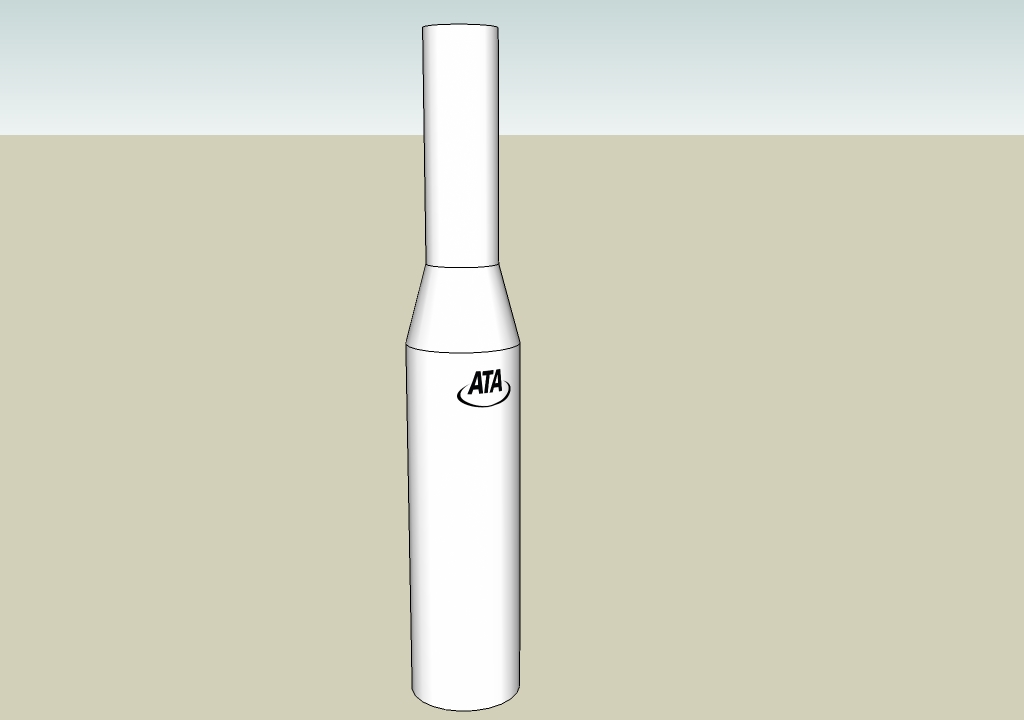
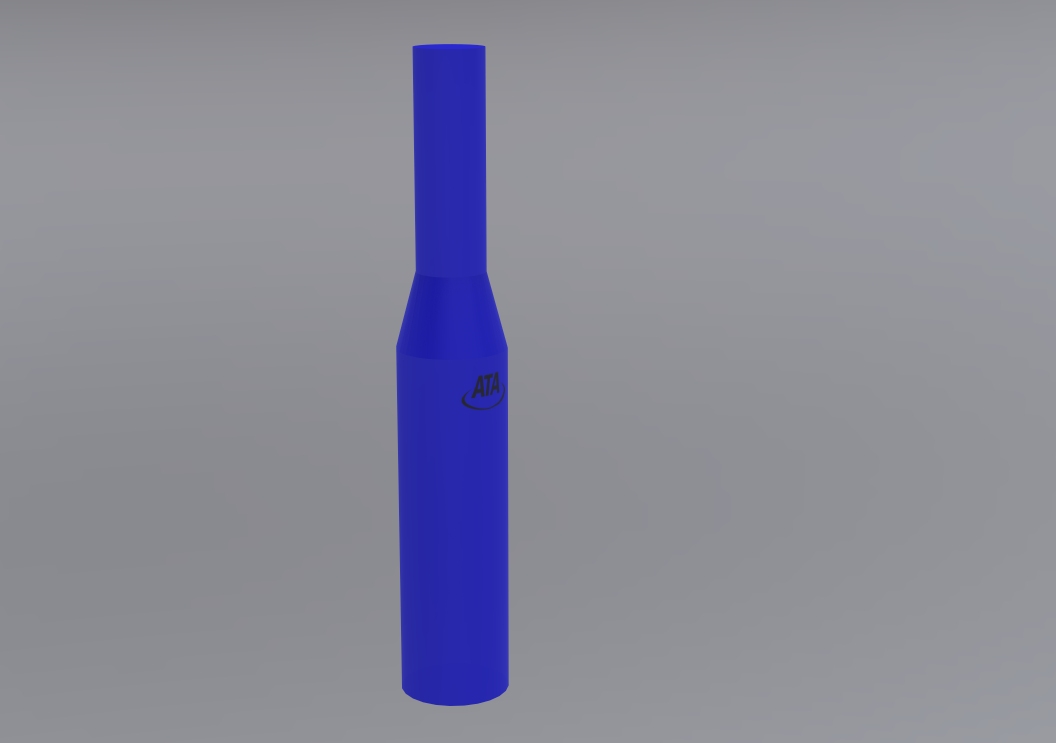
Make a high texture with the logo in the position u want..import the texture,scale the texture to fit 4 or 5 segments of the cylinder,apply the texture,unsoften the the lateral edges of those 4,5 segments ..scale the original texture for the logo to get out of object range..and apply it to the entire object ..All the best!
Elisei
-
@gaieus said:
That would work but in fact, there is the problem that intersected geometry on a curved surface will distort the surface very ugly. That's what the whole conversation started with.
 sorry, I thought it would work, but I didn't try it.
However, this should work: Stick groups to mesh http://forums.sketchucation.com/viewtopic.php?p=211560#p211560 Just keep the logo a separate group and just far enough away from the cylinder that there is no z-fighting.
-
Gentlemen,
I can't thank you all enough for your help. This is what I think is tremendous about the SketchUp community. People willing to take time out of their important day to help others learn from their experience! Rest assured that I don't typically bother posting questions until I have read, and re-read the books that I have, and the posts on the forum. Materials and textures are still one of the biggest mysteries to me.The suggestions that you all provided were excellent and I was able to paste the logos onto the cylinder as necessary.
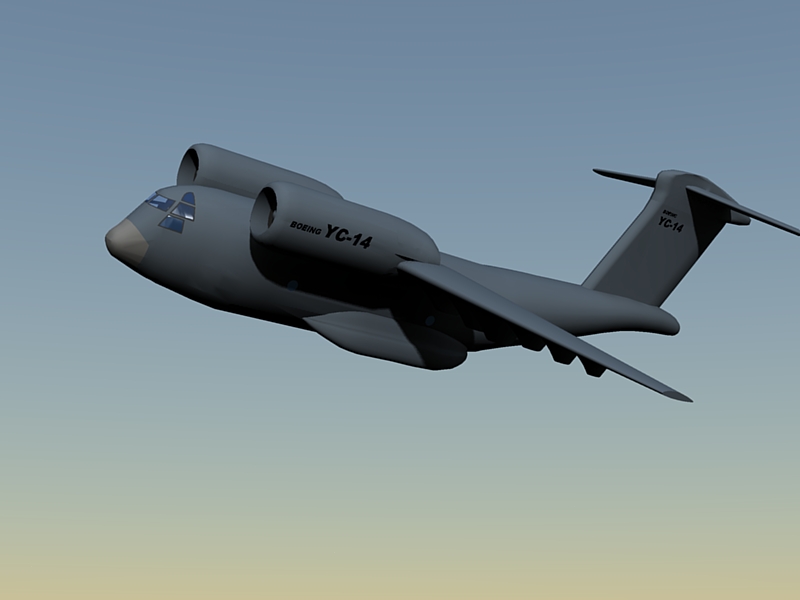
I hope sometime in the future someone can find out what causes the surface "crumpling" when you intersect a logo or stamp with a smooth body, and put together a work around solution. I have used that technique before to put markings on airplane models (see attached file). The intersection method was a great suggestion provided by another SketchUp expert and seemed to work well for flat, smooth bodies. When intersecting logos with rounded engines or fuselages however, the crumpling would sometimes occur. It is frustrating when it occurs because of the time spent carefully tracing over an intricate logo for intersecting with the body.Again, many thanks for your kind comments and suggestions!
-
Hi Elisei,
how did you do this "high texture"? In the moment I have no idea how to do it.
Karlheinz
-
@charly2008 said:
Hi Elisei,
how did you do this "high texture"? In the moment I have no idea how to do it.
Karlheinz
Sorry i didn specified that..whatever program u have ,like:paint,photoshop,etc.
Happy sketching!
Elisei
-
Hi,
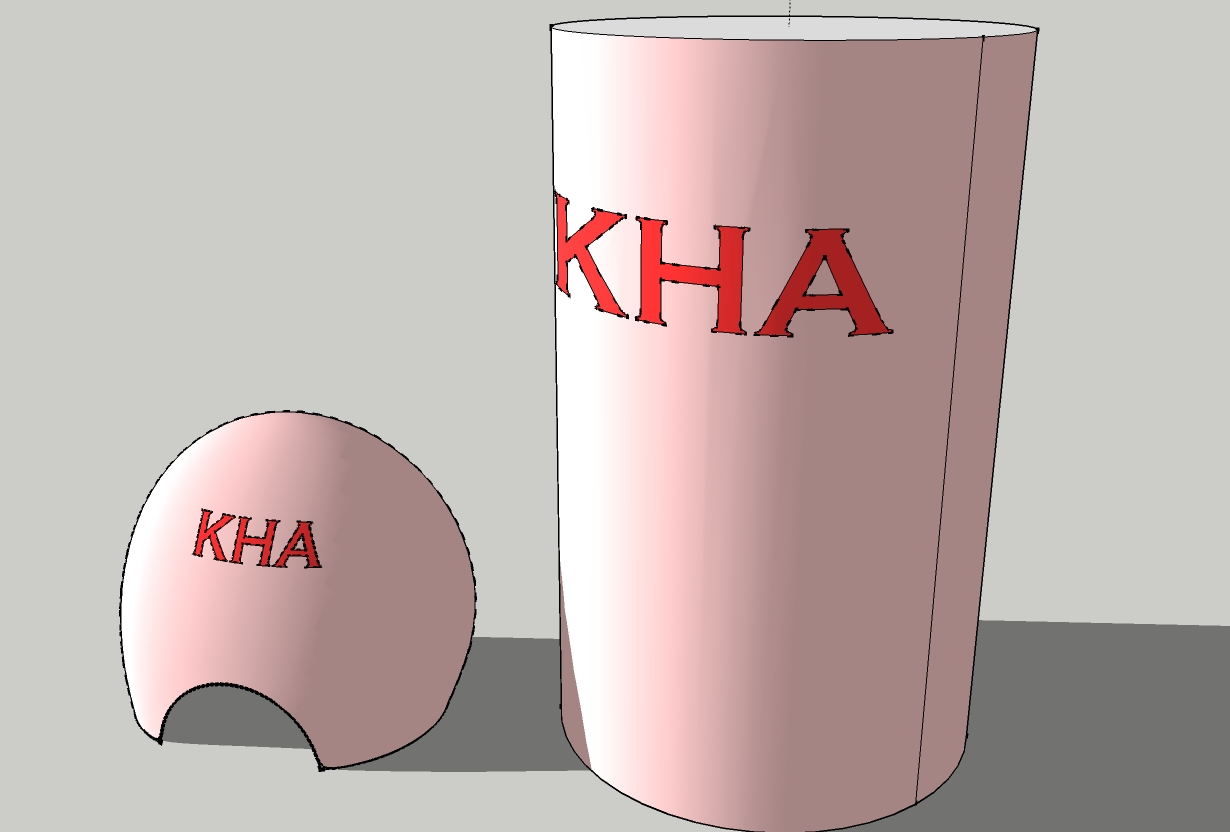
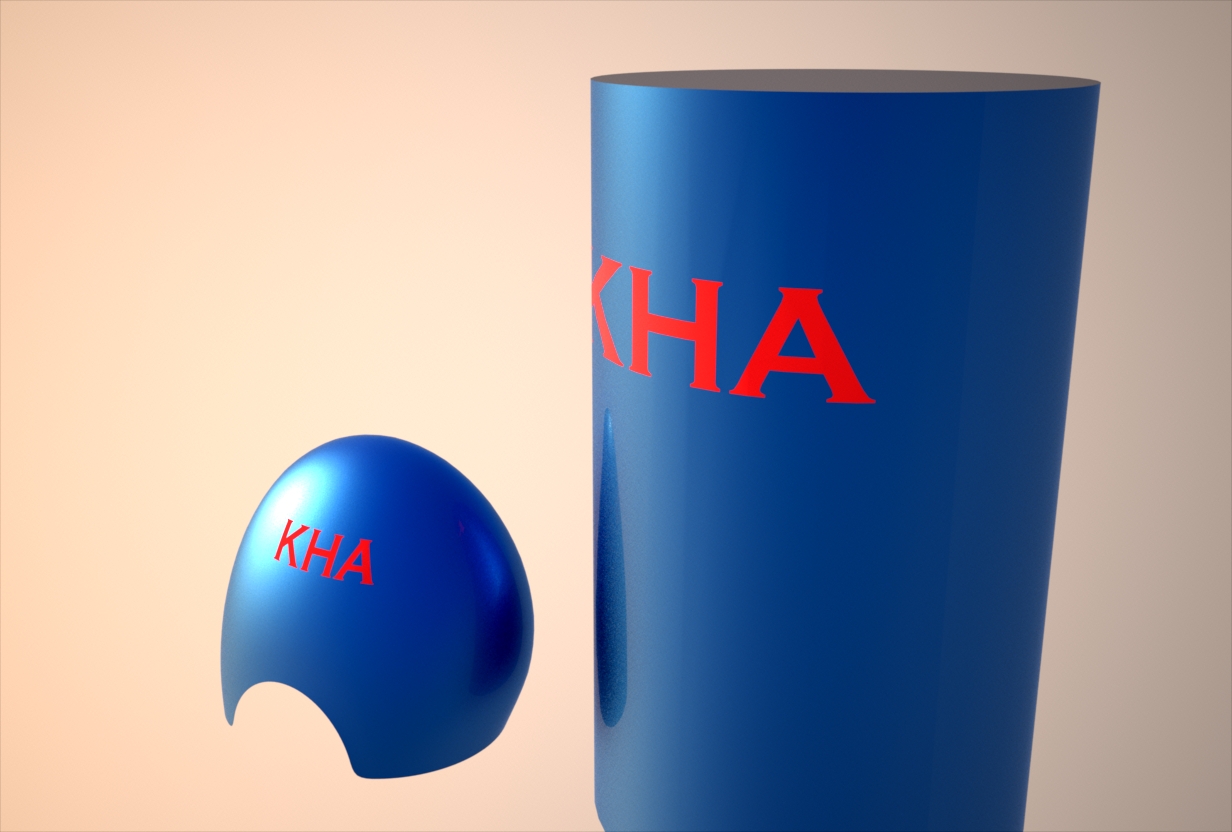
I've tried it with the logo too. The disortion effect can be minimized. The organic model I've smoothed
and the cylinder is made with 48 sectors.
-
With 96 sectors the disortion effect is no longer recognizable.
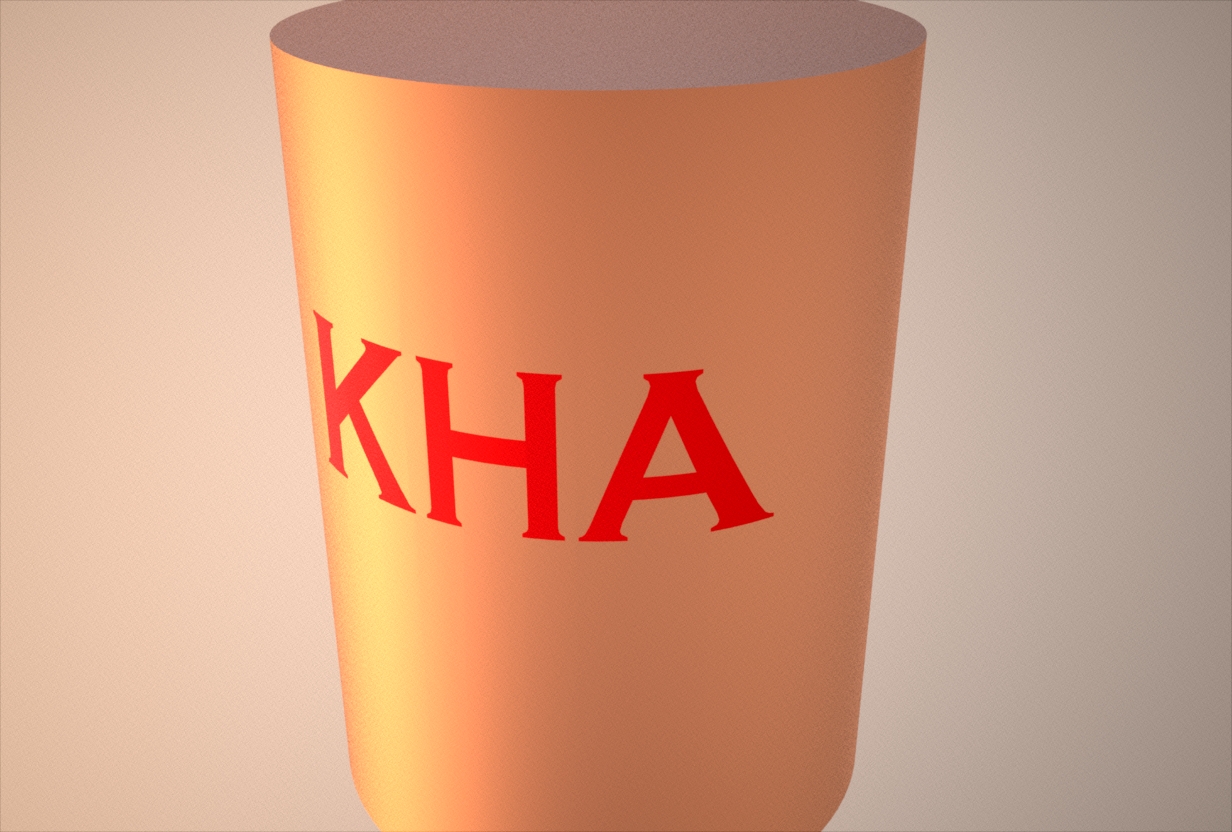
-
Although for our eyes, SU seems to use single faces for unlimited number of polygons, I suspect that in the background it in fact triangulates those faces. And when you intersect some curved surfaces, you have no control over the direction of that triangulation/autofold function - thus the ugly effect.
This can also be suspected when you try to close the face of some definitely coplanar but rather complex structure and often SU only lets you do it by manual triangulation and then keeps the face even after you delete those coplanar, dividing edges.
Advertisement


