[Plugin] Component Stringer UPDATED May 23, 2013
-
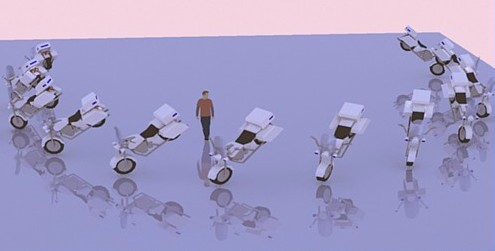
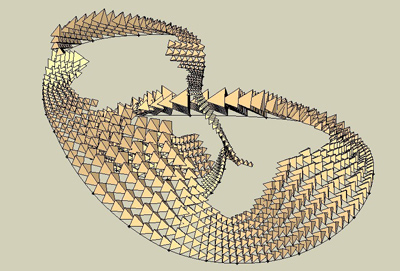
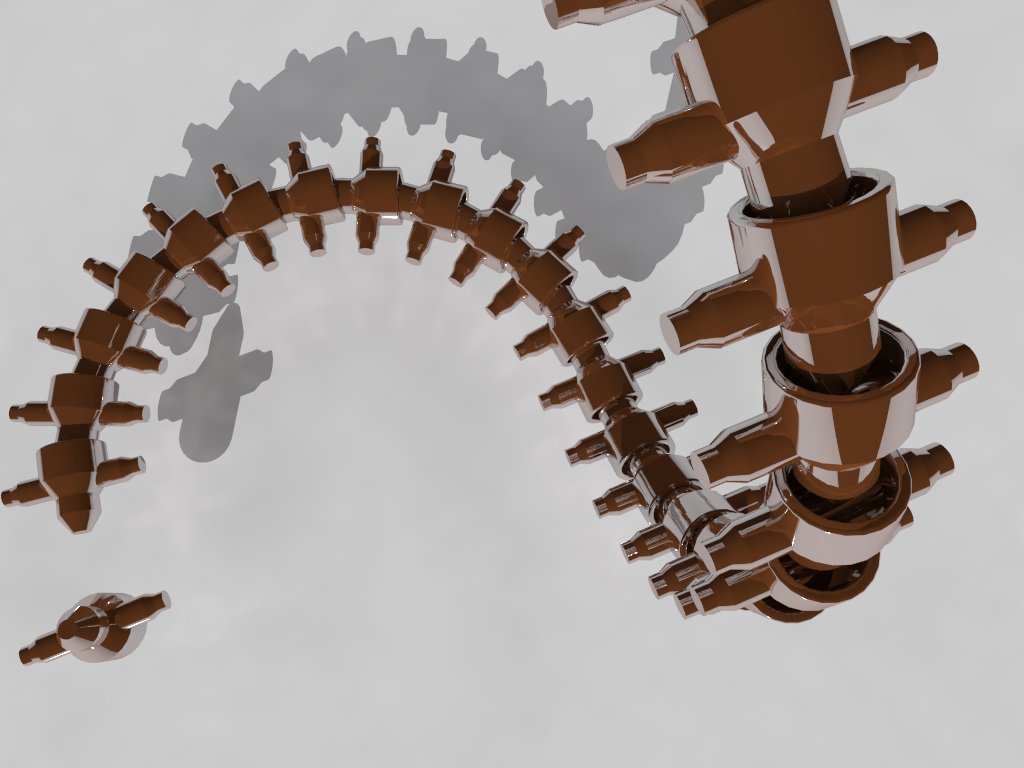
This script will take a component and apply it to a series of connected lines.
Select a series of connectd edges, they can not form a closed loop. Also have a single component selected (it will not work on groups).
Then activate this script in Plugins > Chris Fullmer Tools > Component Stringer.
It will show you wich end of the edges is the start and the end. It will ask if you want to reverse their direction. It then asks if you want to use a uniform scale, or just stretch the component.
Please watch the video for a demonstration.[flash=720,405:19vcyhgu]http://www.youtube.com/v/rE0laoPV_z4&hd=1&fs=1[/flash:19vcyhgu]
[flash=720,405:19vcyhgu]http://www.youtube.com/v/_ymYoEHiexg&hd=1&fs=1[/flash:19vcyhgu]
History:
1.3.1 2013-23-2013- Extension Class Compatibility
Chris
6902
-
Thanks Chris
it's funny how many different angles you land on sketchup from..
-
Ok - I want to see someone making a dinosaur skeleton with this!

-
Hi Chris,
interesting and very cool plugin again, thanks!
I was wondering however if you could make it somehow that the plugin would rotate every second bit so that you could build chains with it easily.
(Although now as I am writing this, I realise that there would be more as well - like those components should also overlap the line segments so that the link into each other - and also what if the line curves in all 3 dimensions so forget it)
-
@gaieus said:
Hi Chris,
interesting and very cool plugin again, thanks!
I was wondering however if you could make it somehow that the plugin would rotate every second bit so that you could build chains with it easily.
(Although now as I am writing this, I realise that there would be more as well - like those components should also overlap the line segments so that the link into each other - and also what if the line curves in all 3 dimensions so forget it)
Make half chain link (U) and use this tool then edit that chain and copy/hand the U geometry into an O loop of say 2.2 the original length, now you have your links; us 'make unique' on one of the links, edit it and rotate its contents 90 degrees. Select every other link and replace with this rotated one... a chain... done.
-
Verry interesting.
I must test this. And thank you. You have become a formidable ruby master. -
Well: a new killer plug indeed

Axis of component must be adequate

-
Hi Chris
Not only you're a quite good teacher, but I begin to think that you get also a lot of fun when writing ruby's.


MALAISE

-
@gaieus said:
Hi Chris,
interesting and very cool plugin again, thanks!
I was wondering however if you could make it somehow that the plugin would rotate every second bit so that you could build chains with it easily.
(Although now as I am writing this, I realise that there would be more as well - like those components should also overlap the line segments so that the link into each other - and also what if the line curves in all 3 dimensions so forget it)
I gotta second this idea. I don't know if it's even possible. I made a 3d spiral in which the line segments decrease in length linearly towards the center, and applied the script. That created components that followed the size decrease. I'd like them to rotate "X" degrees per segment, along the lines of "follow me and rotate" or FFD, but those only work with connected faces; I'd like to see if it can be done with individual components along the axis of the path followed. Any way you can think of to do that, with or without the plugin?
Either way, great plugin! Thanks!
-
Simon
Looks like a chain to me... I hadn't tried it... simply an approach to the 'problem'...

-
Great comments and feedback. I agree there are lots of great possibilities on this one. The main things I would like to tackle first are:
Major to do list
-
Make it work with closed loops!
-
Also it can crash if you select edges that are connected to other edges that are not selected - fix that!
-
The scale is messed up if the component axis is set in the middle of the component - fix that.
After that -
Add multiple component support - random and ordered placement
-
Rotation - overall rotation and each component rotation settings.
-
Branching edges support
-
Edges that are not connected support
-
Add some pre-made dinosaur bones to the plugin folder for Thom

Those are the main things that come to mind and that I've seen suggested that I think are good suggestions. I think that covers most things?
So I should probably go write this instead of sitting here on the forum.
Chris
-
-
- Add a Paypal link in the plugin folder
-
@ecuadorian said:
- Add a Paypal link in the plugin folder
Thanks Chris!
...and ditto Ecuadorian's post.
-
I've been thinking about that. As of right now, I am not selling any of my scripts (in time that will change). But for now, I might implement a paypal link.
I also really want to add a link to my all my plugins page, and also a link to my YouTube channel where I'll be uploading all my video tutorials from now on. I want people who download these to have quicker access to the video tutorials I make for my scripts.
So plan on seeing a few items like that being added to my plugins folder eventually.
Chris
-
Chris
Would it be possible to have each component connect to the beginning of each line segment, but not scale. So the very next component would start before the first one ended. This would make it easier to make chain links to interconnect.
However, thanks for all you great plugins.
Ken
-
@chris fullmer said:
I also really want to add a link to my all my plugins page,
The link you put is the link to download clf-component-stringer.rb.
I guess you are talking about this Chris Fullmer plugin' page
which is very useful.!! (And easy to reproduce for each author of this place)
*simon -
Oh, you are right. I had put the wrong link. It is fixed now, thanks Simon.
Chris
-
Hey Chris,
Another awesome script. Thanks very much! I agree that you are at a point now where you could charge for your scripts but I also understand that you need to be comfortable doing that. I will gladly support you when you do. I have bought SOME scripts and I hardly use them, yet. It's obvious that you enjoy writing them and knowing others appreciate it definitely must help. How about you set up that PayPal and let people donate as they download. I'm not sure how long it takes to write these but I'm sure you have quite a few hours put into it so far. Anyway, keep up the great work! Your a good guy Chris!
Cheers,
Jeff
-
very cool and powerful.
thank you, Chris.

-
first attempt....! Thanks Chris.

Advertisement


