Silvershadows eye candy 2 : BLACK HAWK
-
@simon b said:
I did not recognise the projections or surface operations toolbars - which plugins create those?
I don't have the projections plugin so I don't know which that one is, but the surface operations toolbar is tools on surface by Fredo6 available here: http://www.sketchucation.com/forums/scf/viewtopic.php?f=180&t=11212&start=0
-
@silver_shadow said:
hi guys, thanx for the support.
tips and tricks, maybe youll all know about this already, i mirrored the one side, so its half of an component grouped together.
the parts that will not be mirrored and must be unique will be in that group. components save space. I think sketchup reads it as one boject..so having 20 of the same thing in groups will tkae up more space than having 20 of one component
Durant Hapke, nice model train. Its mindblowing to see all that build out of woood, really amazingAmazing work Silver Shadow!!! truly inspiring. SU really shines in the hands of the dedicated man, and congrats to all those who write those great ruby scripts you use - these functions really should have been developed inside SU by the SU development team, but hey... they did think up ruby.
can you show the raw maxwell output - that will be very interesting to see.
Cheers, and keep this eye candy thing going.
-
@unknownuser said:
@johnsenior1973 said:
I don't have the projections plugin so I don't know which that one is, but the surface operations toolbar is tools on surface by Fredo6 available here: http://www.sketchucation.com/forums/scf/viewtopic.php?f=180&t=11212&start=0
Here you go:
[attachment=0:56pbn4c3]<!-- ia0 -->projection_extension.zip<!-- ia0 -->[/attachment:56pbn4c3]
Just unzip in your plugins folder.There is a newer version of that as well - "more user-friendly than previous version": http://www.crai.archi.fr/RubyLibraryDepot/Ruby/EM/projection_v6.zip
-
Quite extraordinary! Stunning work!
I have a suggestion for your next jaw-dropping model here:- http://thefutureofthings.com/upload/items_icons/ATLAS-cern_large.jpg

-
Excellent model and renders
Looking forward to seeing eye-candy 3!!!

-
I can only endorse all of the positive comments and add my own admiration fot you work By the way I believe that "if you got it FLAUNT it!" don,t be shy you are good keep it up looking forward to eye candy 3 with great anticipation
-
i love detail!!! sos un monstruo! buenisimo! awsome! fabulosos! mortal! indescriptible! barbaro!


-
Big deal! I could do that... if i had a million years, a bunch of talent, a crazy skills... oh wait, this IS a big deal

Simply incredible how you have push/pulled the bar!

-
Nice stuff! Thanks for posting the images showing each step in building the fuselage. Very informative. I probably would have extruded the fuselage lengthwise rather than from the profile. Can you share your thinking on that?
-
These are just mind blowing.
The modelling is exceptional and that level of detail takes a special talent.Those last three renders and PS compositions are just sublime!
Great work Jacques

-
Jacques,
Absolutely superb work.

 The guys in my office are Revit converts and look down their noses at Sketchup as a bit of a play thing. When I called them all over to my computer to take a look at your great work, there was stunned silence and and a collective shuffle back to their seat with their collective tails between their legs
I love the renders as well, fantastic.
Stan
-
@monsterzero said:
Nice stuff! Thanks for posting the images showing each step in building the fuselage. Very informative. I probably would have extruded the fuselage lengthwise rather than from the profile. Can you share your thinking on that?
i have extruded the fuselage from the side and bottom, and there they intersected i sort of got the idea of shape. (btw, its my first attempt to build something else than buildings lol )
I have updated the first page includin the raw maxwell renders as requested.
thanx for the support guys

-
Stunning Silvershadow! The images highlight not only your skill but your love of crafting such a detailed model. You are justifiable in your pride of accomplishment. A big thanks for posting all the progress series. They really do inspire by showing that when you craft such a complex model you break it down into many, more manageable, smaller projects.
For EyeCandy3: I'd suggest this landmark.
Regards, Ross
-
Dear Jacque,
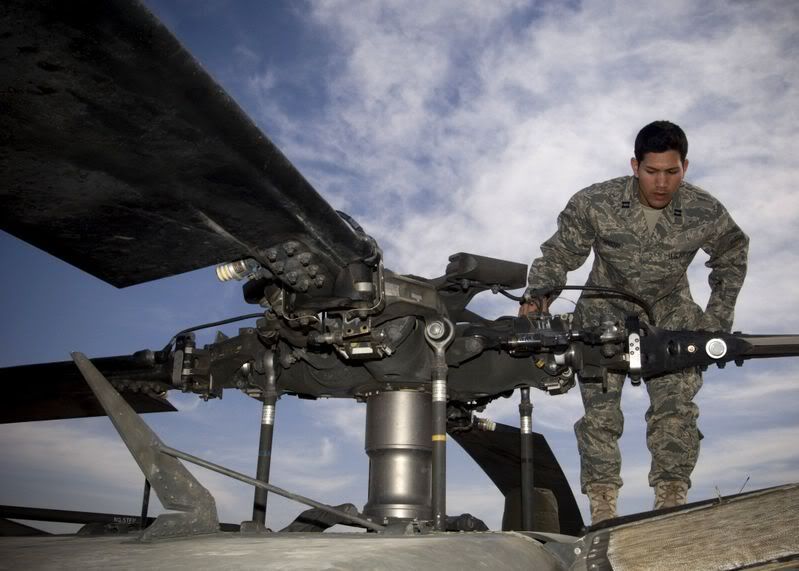
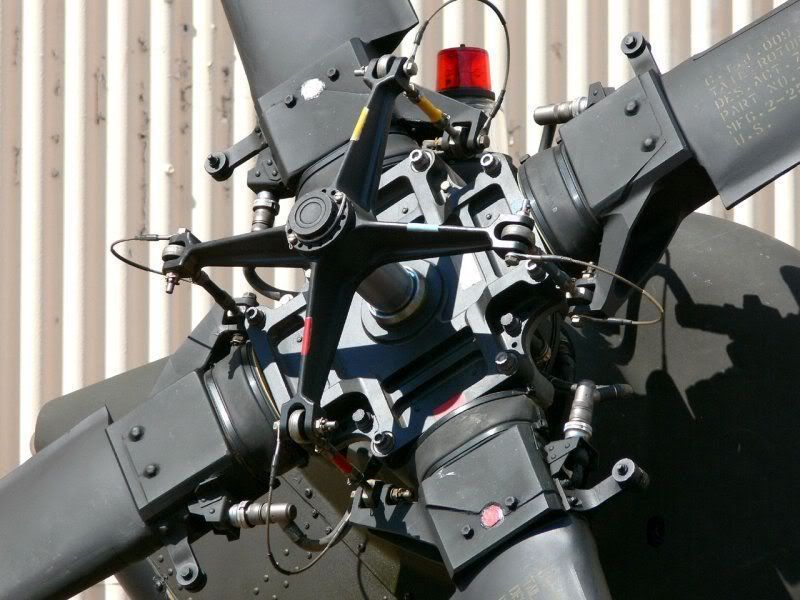
I am curious as to where you found the detail for the rotor assembly. Did you find that on the web or did you use another source?
Regards,
Bob -
wow man, it's really awsome what you did up there! congrats!
i saw you posted an image with the icons of the tools you used, but are these plugins or just tools 'cause i've been lookin' for them and i just can't find them, exept for the skin bubble...
in one of the steps you drew the different sections of the blackhawk, a succession of planes; how did you manage to convert them in the skin of the chopper? -
silver_shadow
Would you mind listing the scripts, plug ins and extra goodies you have installed with SU?
It is hard for a basic user to understand how such complex models can be made, any tips much appreciate.
Cheers -
I tihnk he gave a list of them in the first post.
Just to give them their names:
tools on surface
soap skin bubble
skin
projections
3d shapes
sandbox tools (native SU, enabled through window->preferences->extensions)
subdivide and smooth -
wow
-
much props. can't believe those images and your model. inspiring
-
these were my sources for building my rotors. (form the internet)
top

and the back

i used the tool skin for connecting the faces. the tool connects 2 faces and fill in the missing geometry between it.Bit of a time saver

Advertisement


