Advanced roof
-
If there is a triangulation visible that signify that your faces are not planar!

So not an easy job for clean all that! Some arcs edges must be // etc ...Even the TIG Extrude Tools who can show quads don't make specifically "planar faces" !

When hidden geometry is asked...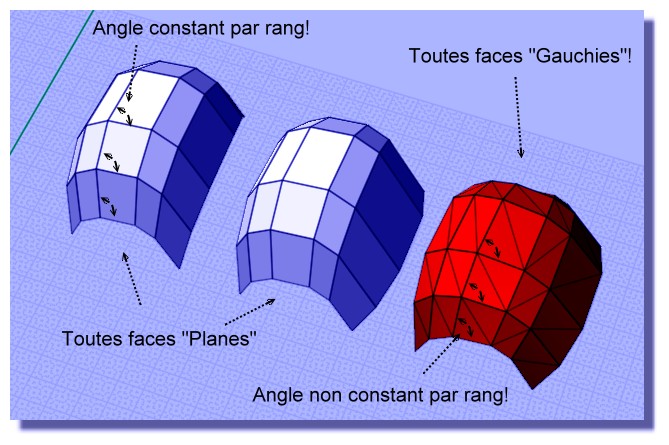
-
So I come to the point where I have managed to create a reduced model in SketchUp.
Now the challenge is how to paint the model with right UV pattern. I´ve tried with Thrupaint and SketchUV with no succes. The pattern should be horisontal following the shape both outside and inside. Size is O.k, but how do I make the texture continous?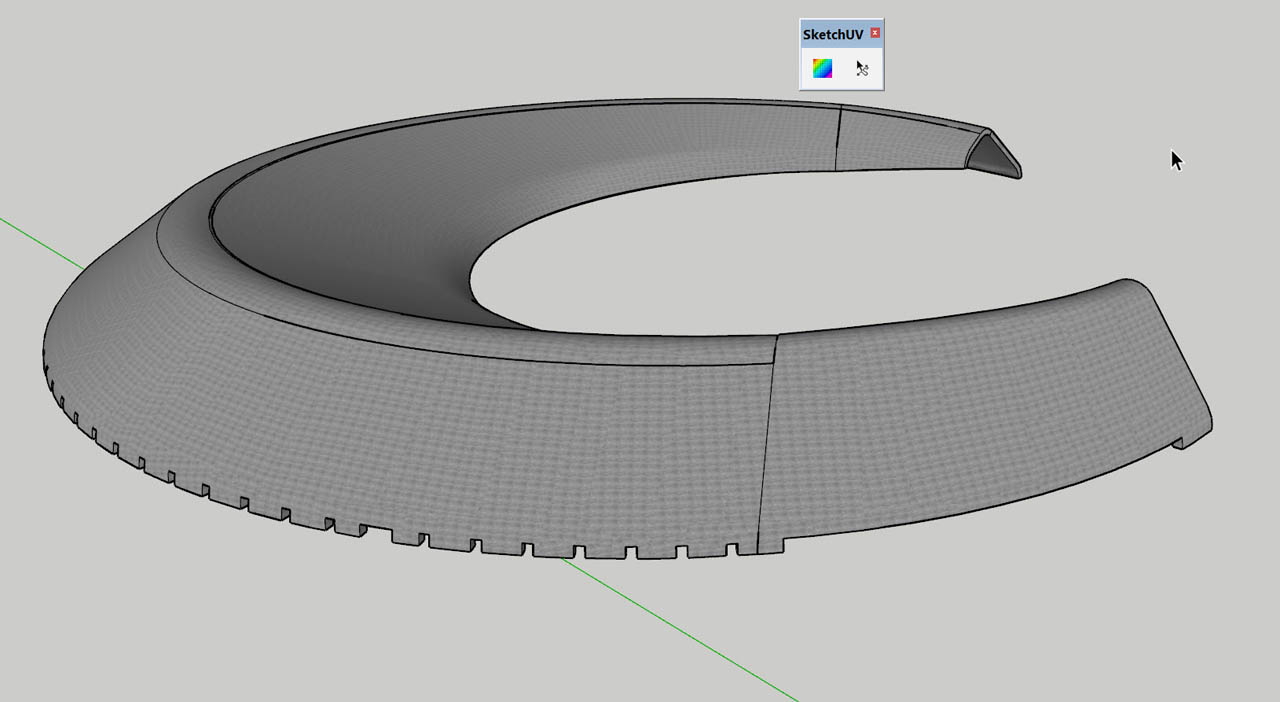
New SU Model attached
-
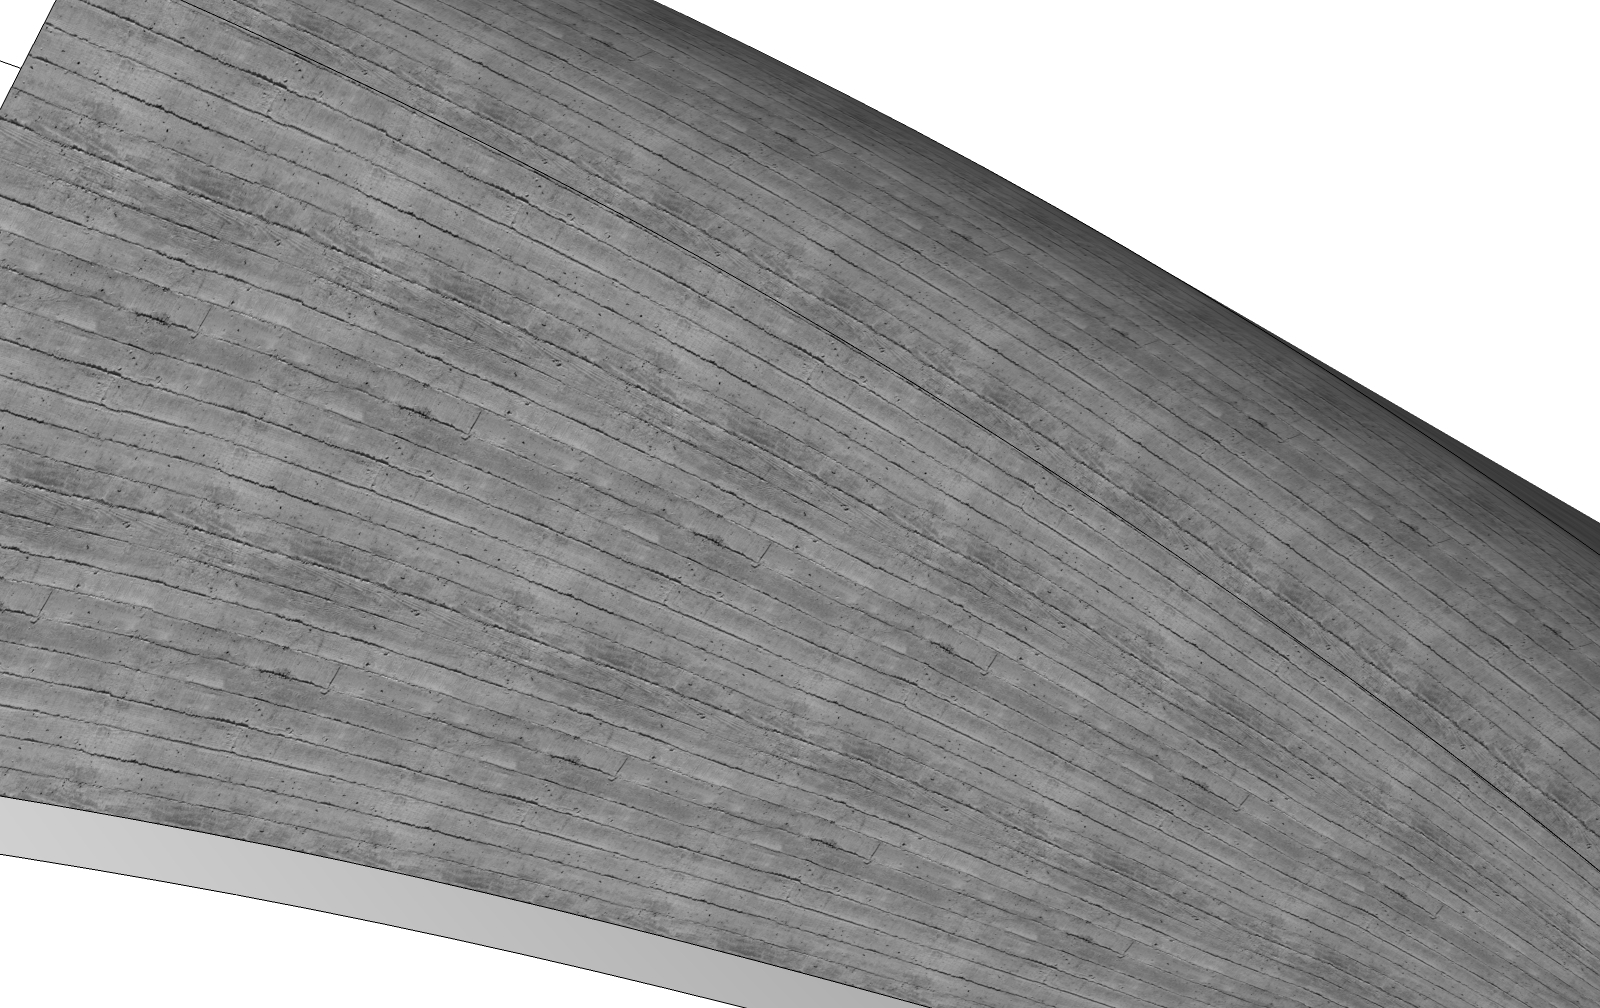
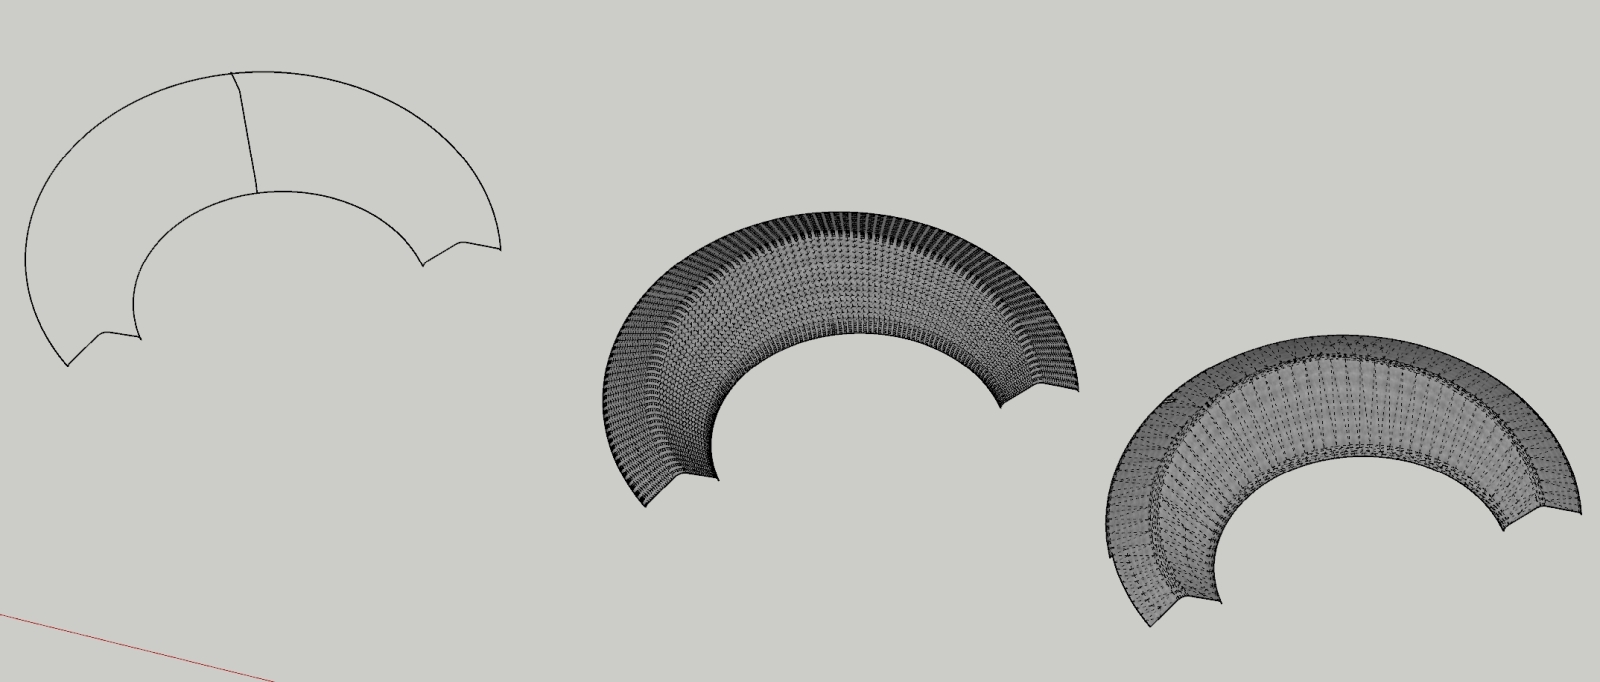
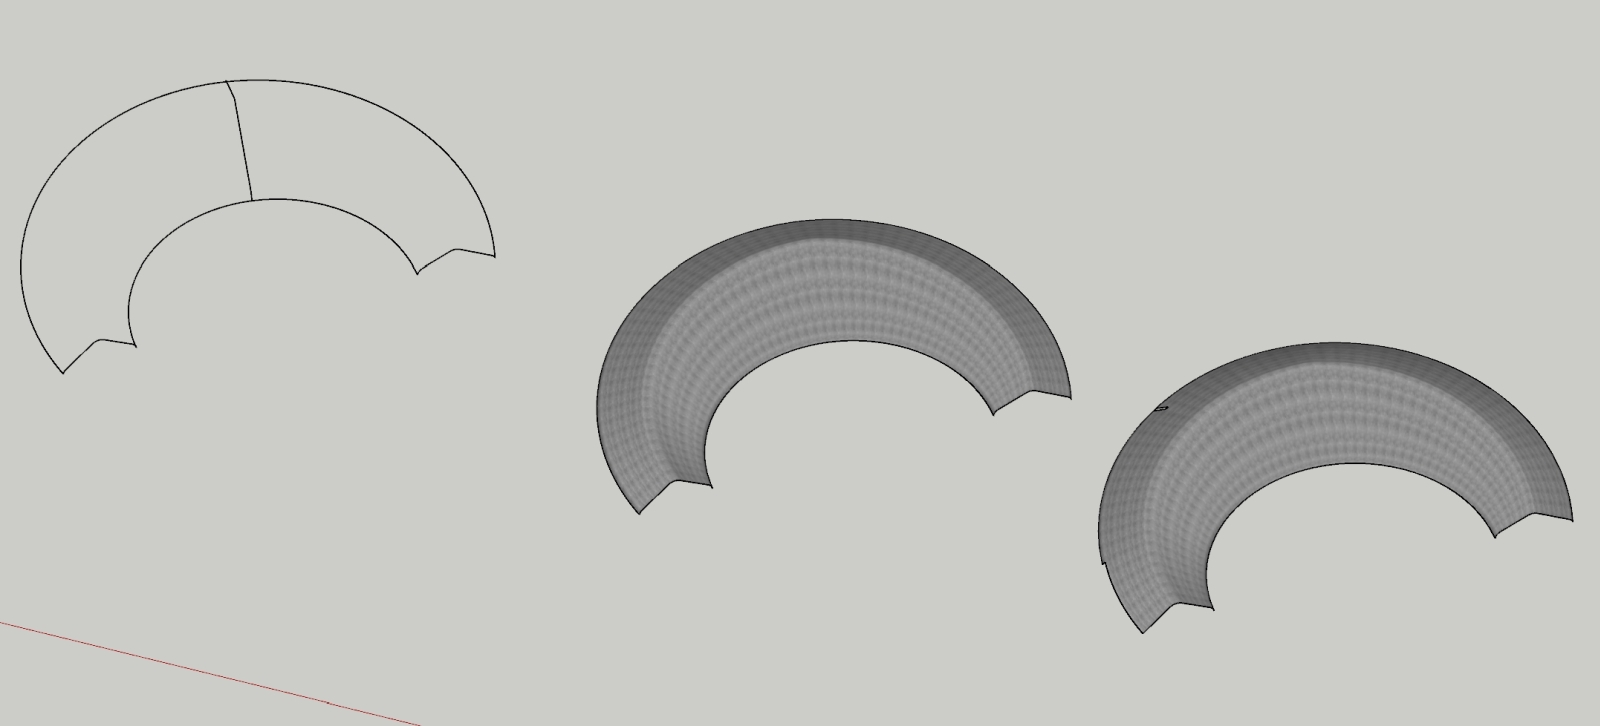
Took a look at the last model you posted. I think the crazy mesh may be causing your texturing difficulties. Re-skinned a section of the roof using Curviloft. Had no problem using Thru Paint on the new mesh , painted with the quad face painting option. Texture follows the curve no problem. There is some squeezing of the texture at the smaller end but that is expected. Posting some images , hope they make sense.
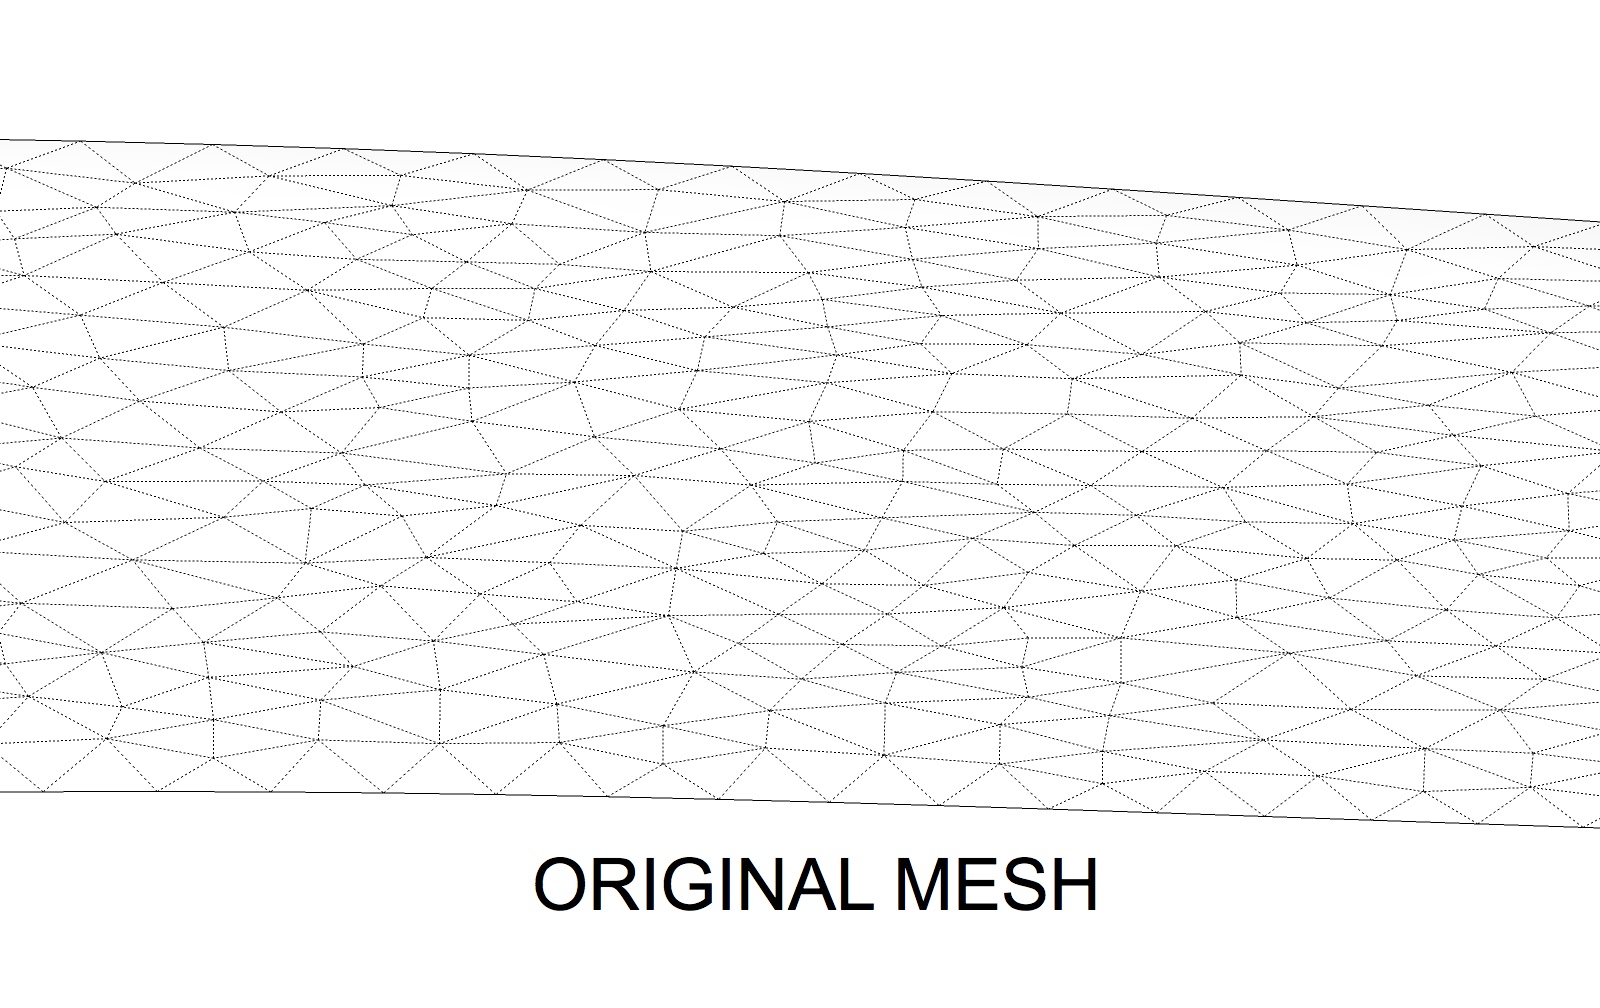
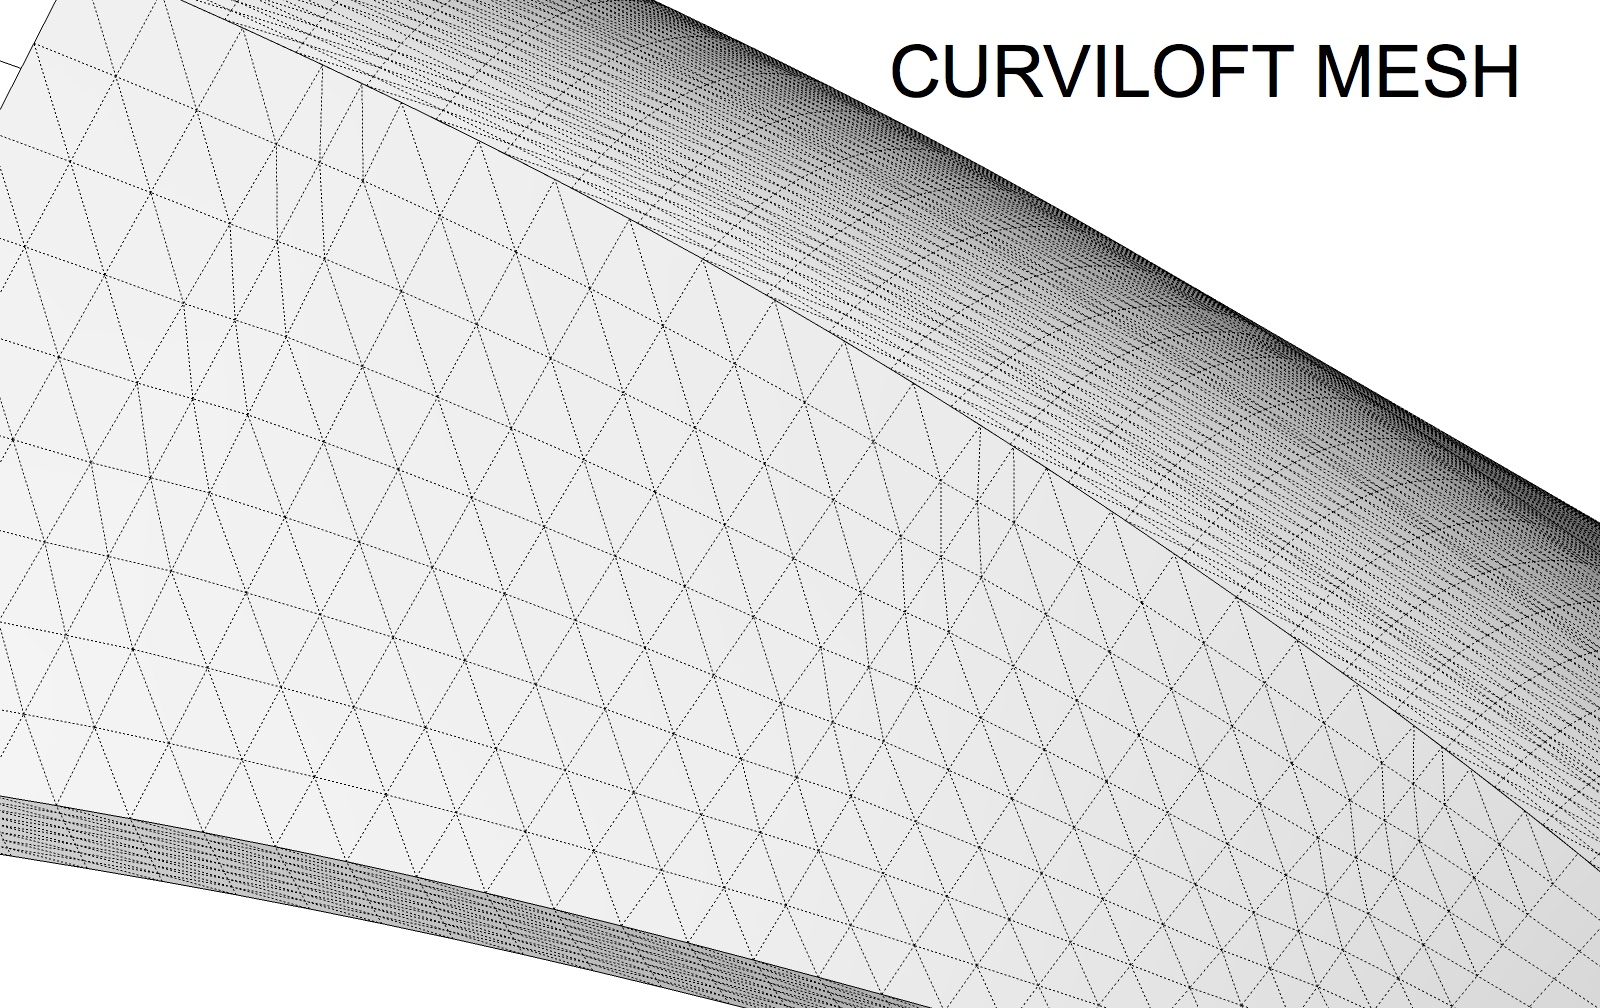
-
Sorry, must have linked to the original model. The reason for remodelling was to reduce model size. This is part of a big model 400mb which so far I managed to reduce to 55mb.
Here is a snapshot of the curviloft model which was further reduced with Transmutr.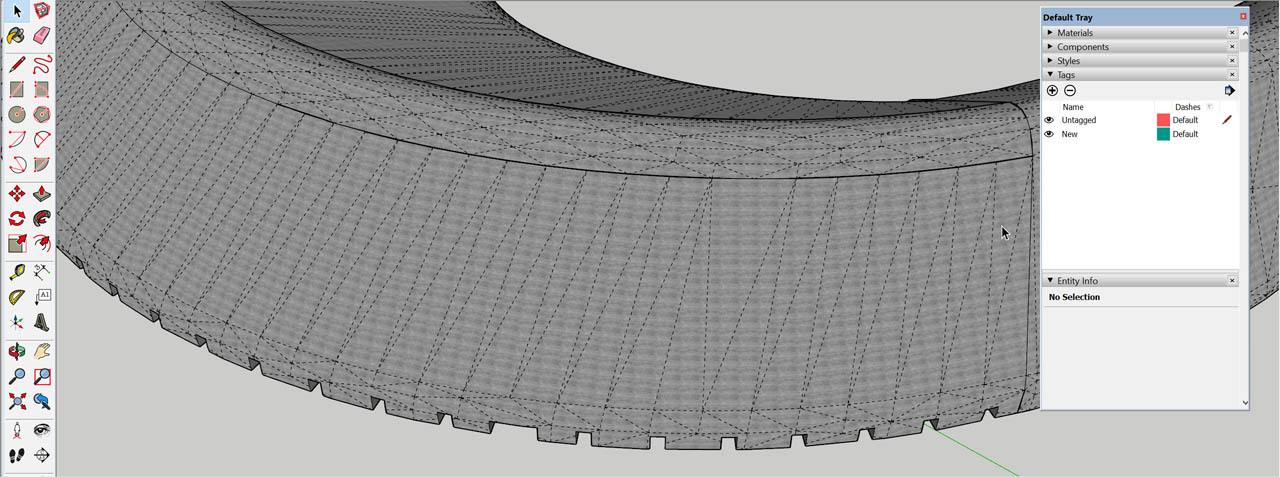
This is the model I am trying to texture
-
Suspected you might have linked to the old model... Can't have a go with the fixed model you linked, it's a 2020 SU model. Back save it to 2018 or earlier and I'll have a go at it. Quick question.. just how large do you want that texture to look ? It has all those "form board" seam in it.
-
Size approx which is on the model allready
Here is the model in 2018 version. I appreciate your effort ; )
-
Hope somebody smarter than me comes along with a fix for you. Messed about trying different approaches. Only met limited success.
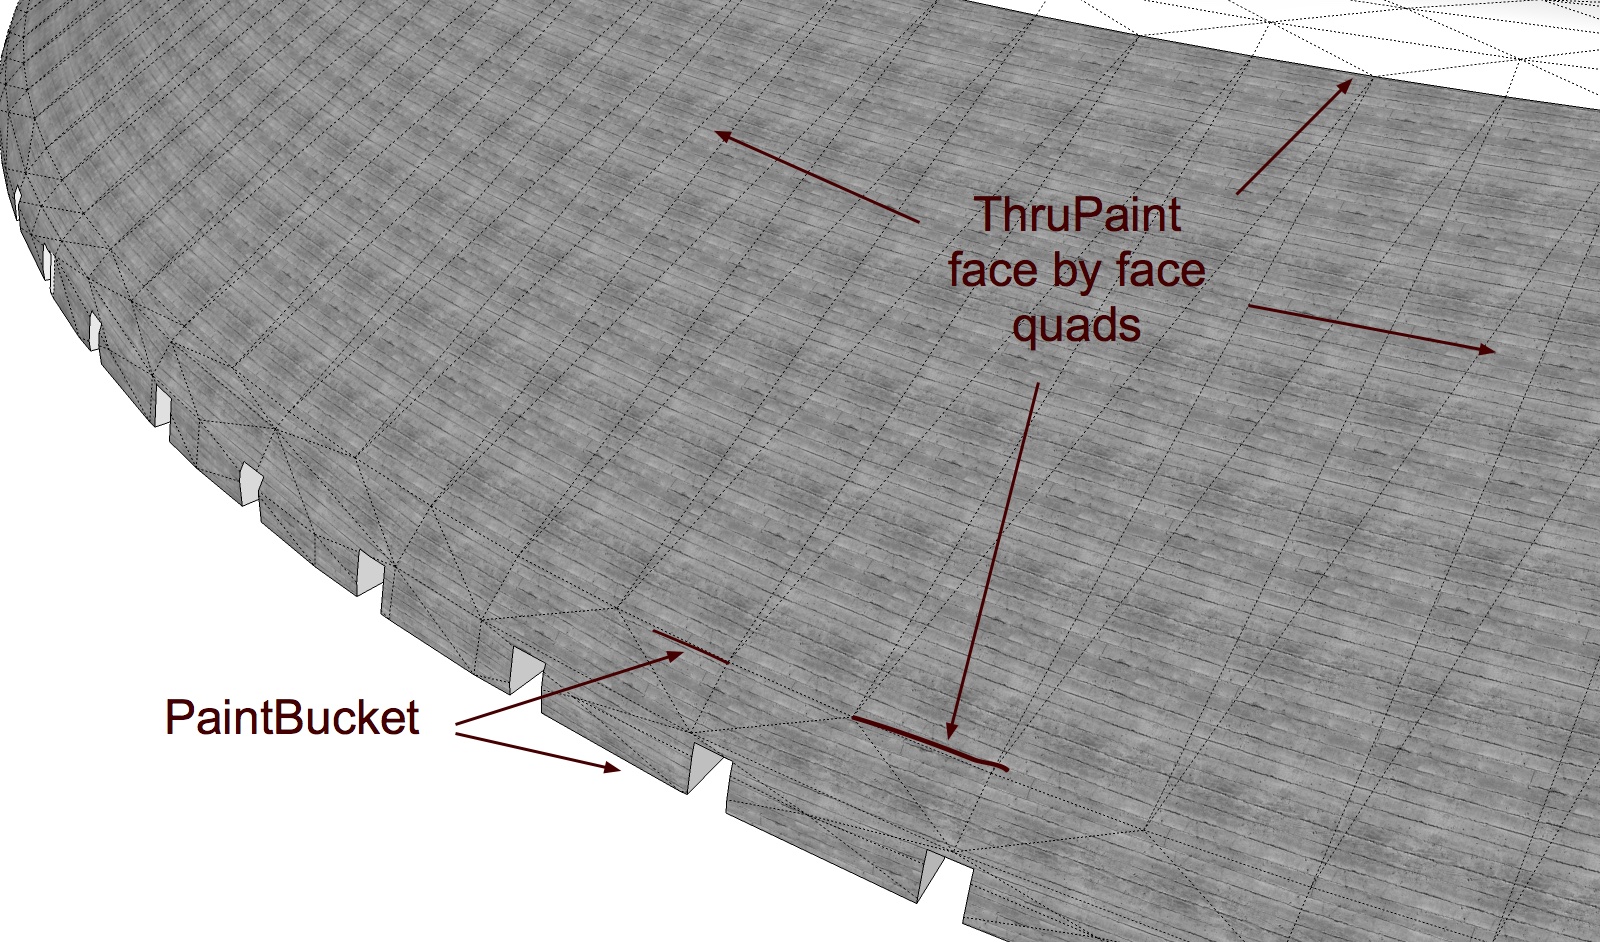
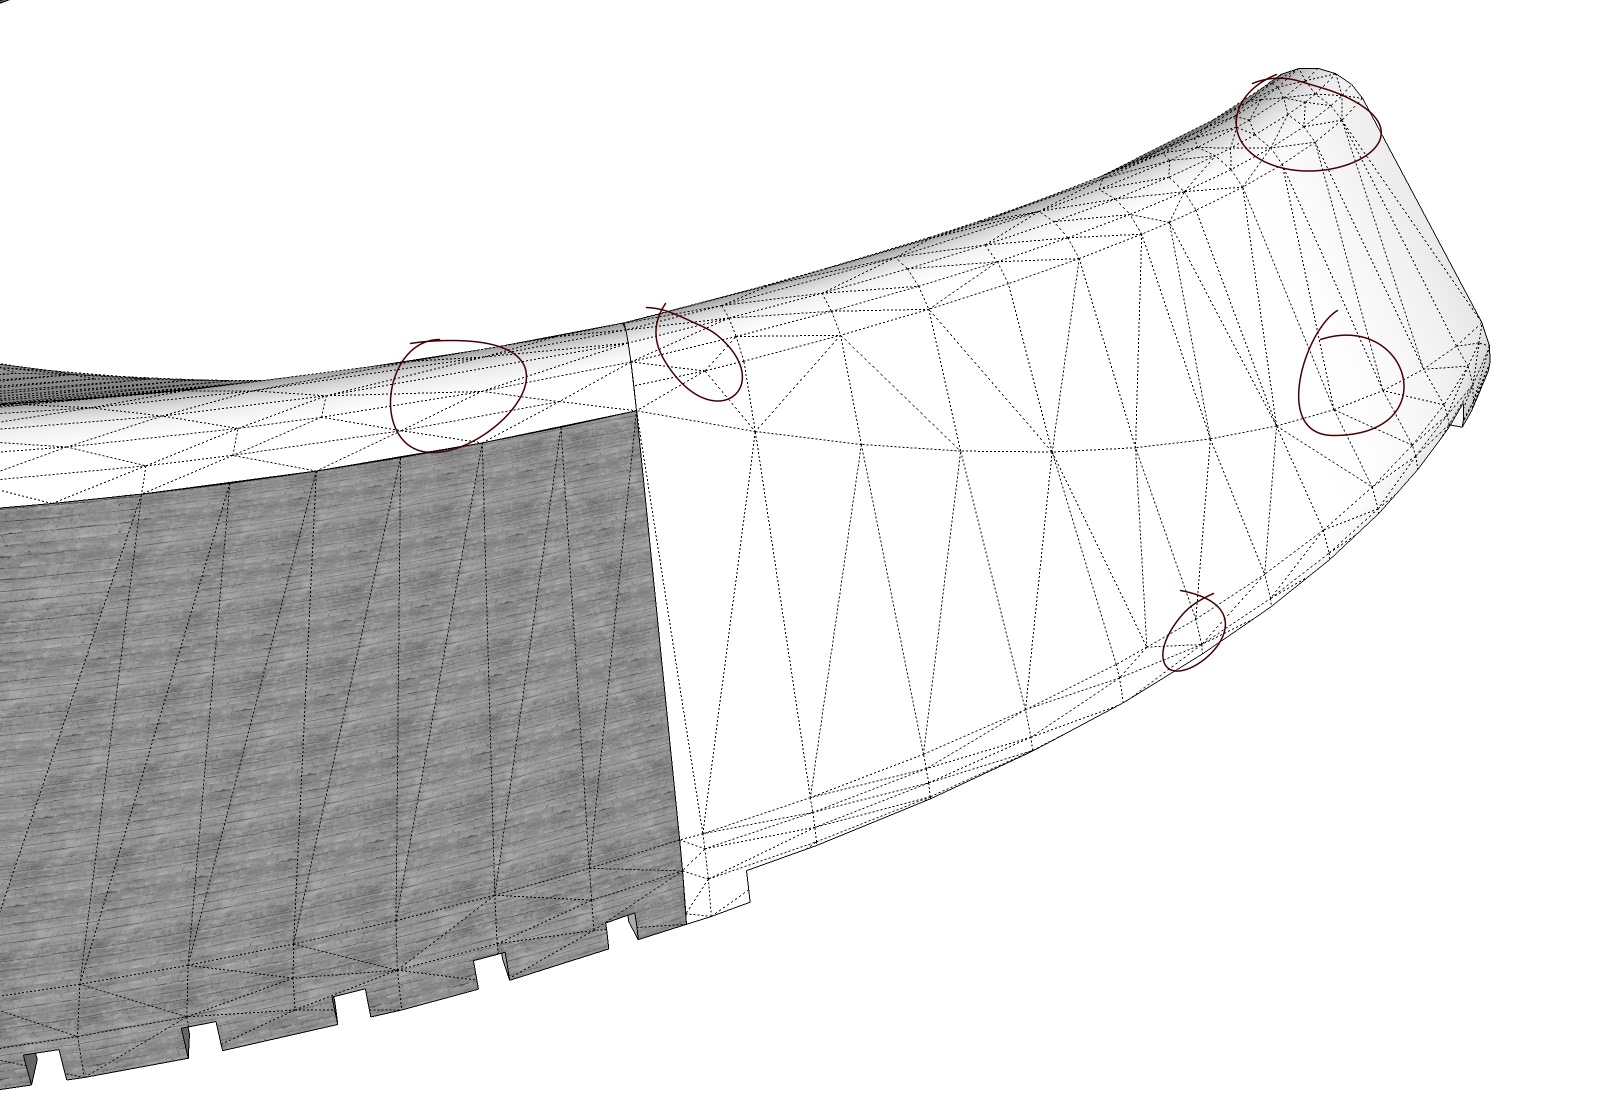
 Was able to get a decent result on the sloping sides using ThruPaint ( quads , Face by face mode ). Could get the lower curved section using native Paint Bucket tool . Worked straight down from the slope , sampling the face painted with ThruPaint. Texture followed the curve o.k. minimum distortion. Big trouble was the ridge and the end pieces. The mesh has enough irregularities that I wasn't able to get a decent result. Posting a couple of images . Hope to clarify what I tried. Second image I highlight some of the mesh issues that make for the difficulties. Got to say short of a total work over of the mesh to make it more "texture friendly" I think I'd paint the whole thing a nice uniform concrete color and call it done.....
-
Maybe ?
Click the link for see the video!
-
Thank you for the tips

I see, -it´s all about modelling to get a clean model. However in my case it´s all about polycount to keep the size down. I know the model is abit rough but my goal is a visually manueverable model much smaller than the original which is very accurate but much too big.
-
I used Curviloft to create skin then add some cut loops to get more polygons so ThruPaint can texture skin with great precision.
After placing textures and creating holes in used Transmutr to reduce polygons and keep texturing intact.
Your finished model skin is not continuous and there is a great deal of holes and internal faces so I do not see a way for you to get great UV texture on that roof.
Advertisement


