Making a group or a layer transparent...
-
Good morning SUers!
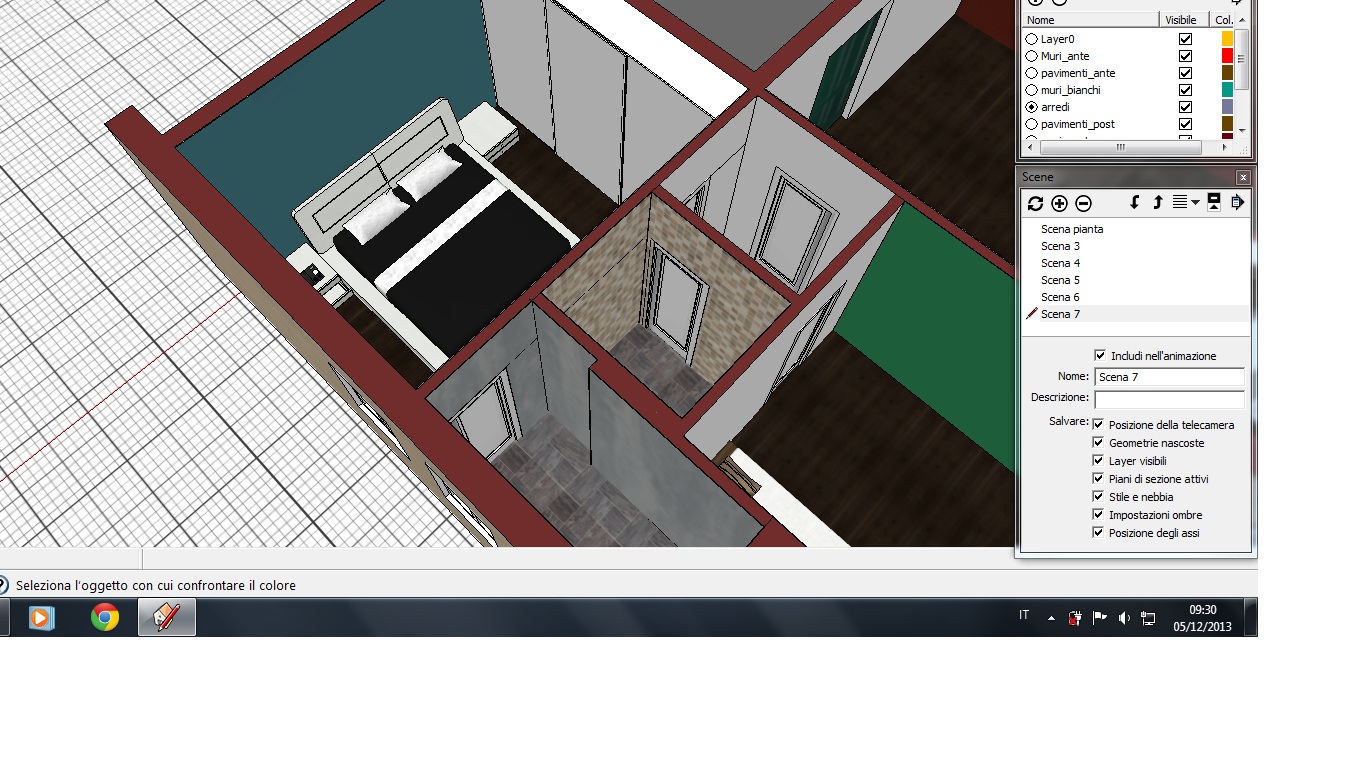
This is the question.. I would like to make transparent just some parts of this model, for example the fornitures.1st solution: using transparent material. It's ok
2nd solution: making some group transparent. Faster.. is it possible? I Don't think.
3rd solution: assigning transparency to a layer (for ex. the forniture layer). Is it possible?
Are 2nd and 3rd solution possible?
Thanks!
-
@decumano said:
1st solution: using transparent material. It's ok
This would be the way to do it if you have to show it in a single view in SketchUp.
@decumano said:
2nd solution: making some group transparent. Faster.. is it possible? I Don't think.
You can only make the group transparent by painting it with a transparent material. If the faces inside the group are painted, though, you'll have to paint them.
@decumano said:
3rd solution: assigning transparency to a layer (for ex. the forniture layer). Is it possible?
Layers in SketchUp are only used for control visibility. If you turn off the furniture layer, all the entities on that layer will be invisible. You could split the elements in the group into different layers (faces on one layer and edges on another) and turn the desired layer off. Managing that would be a nightmare, though.
-
A Layer's material can be given transparency [edit it in the Layer Browser] BUT it only applies to your objects on that layer IF you have have "Material by Layer" set true.
You can apply a transparent material onto a group/instance.
Any default material geometry within that container is now displayed with the transparent material.
BUT this involves painting each group and of course pre-colored/textured faces within the container retail their material anyway.A somewhat convoluted workaround could be to edit each groups/components - select all, then filter [use selection-toys or similar***] the selection to include only edges.
[***or this one liners=Sketchup.active_model.selection;a=s.grep(Sketchup::Edges);s.clear;s.add(a);].
Now use Edit>Copy to save that to the clipboard.
Now select-ALL of the geometry inside the container group - group that in a sub-group: give that sub-group a layer named HIDN.
Next Edit>PasteInPlace the edges from the clipboard back into the container and then immediately group those into another subgroup: give that sub-group a layer named EDGS...
Now when you switch off layer HIDN the group's geometry disappears, except for its edges which are on the still visible layer EDGS.
Switching layer EDGS off, but layer HIDN on leaves everything visible.
This way you are not cross-threading the layers used by edges and their faces - a sure recipe for insanity - if a face is currently unseen on hidden layer and you delete one of its edges that are on a visible layer then you will be surprised later to find the face has gone too - you cannot separate connected geometry by using layers - that's why I suggested the two group solution... more convoluted BUT far less likely to confuse you later...
As usual switching off the container group's layer will hide all of it [i.e. both sub-groups].
Switching off HIDN and EDGS will also render it invisible, even when it layer is on... -
TIG beat me to the Color by Layer thing. the downside is all entities on that layer will display as a single color.
It's probably easier to deal with this a different way. I sometimes want part of the model to appear transparent in an image but I don't want to change the materials I'm using or even apply any materials. In this image, for example, I made the front vise chop and the tail vise jaw transparent so the hardware can be seen.
I made two separate scenes, one of the workbench without the chop and jaw displayed (their layers were turned off) and a second scene with the camera in the exact same location in which the chop and jaw were turned on and all other layers turned off. Then it was a simple matter of combining the two images in an image editor and there I made the layer for the chop and jaw somewhat transparent.
In your case you have walls masking part of the furniture and you'd need to deal with that. I would copy the top of the walls and make a new component of that surface to use as a mask. Add that mask to the scene with the furniture.
-
-
I didn't spend a lot of time on this but it should give you the idea.
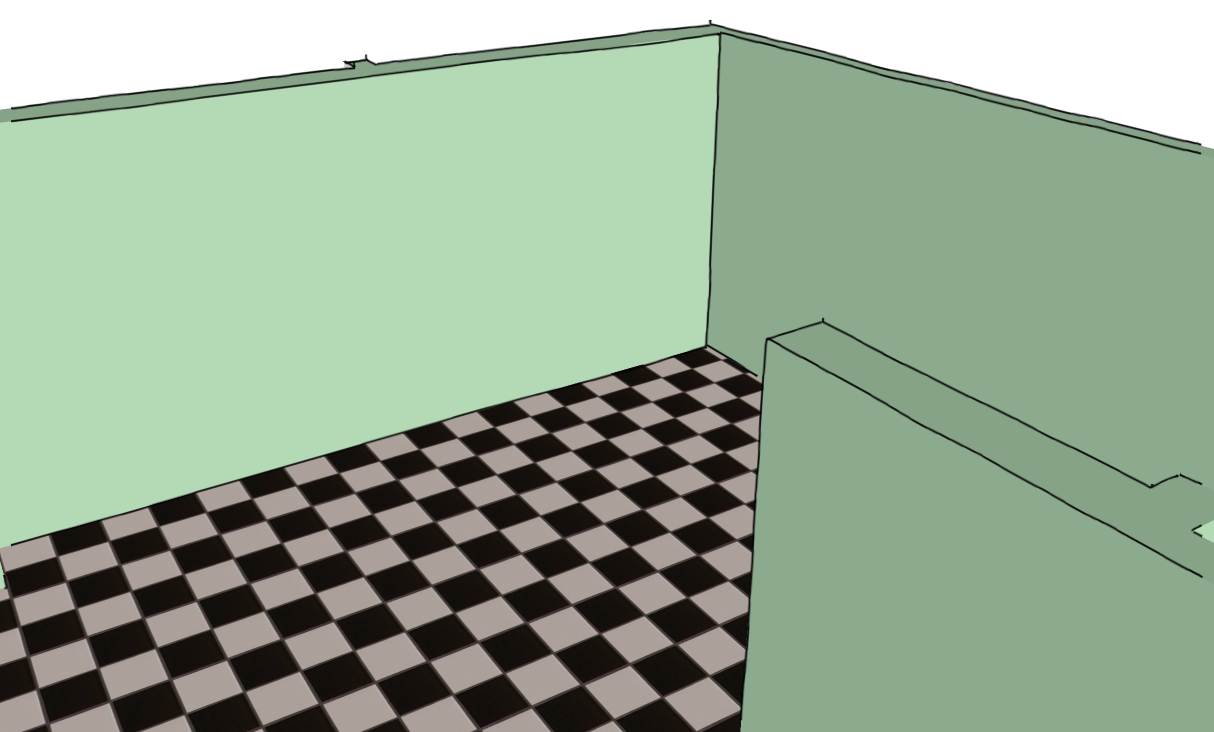
The walls and floor in one scene.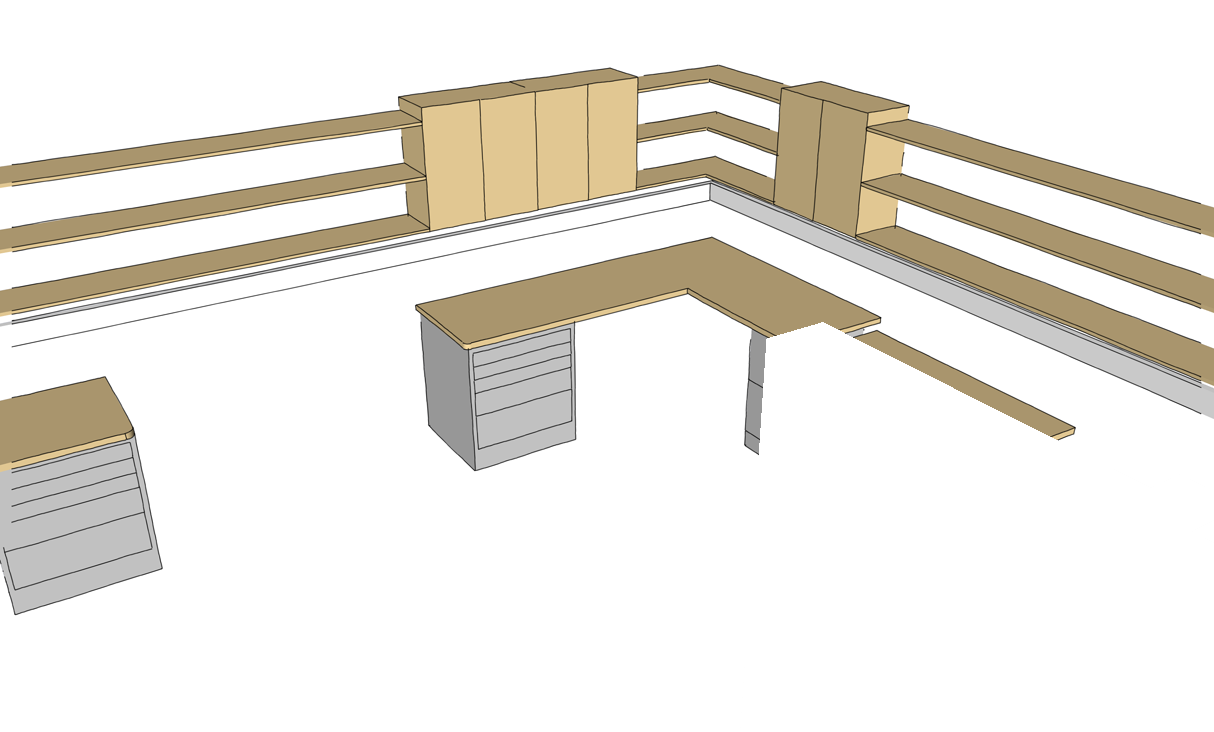
The furniture in a second scene. I copied the wall on the right and used it to create a mask to hide the furniture that is behind the wall there. I simply hid the edges of the faces of the mask.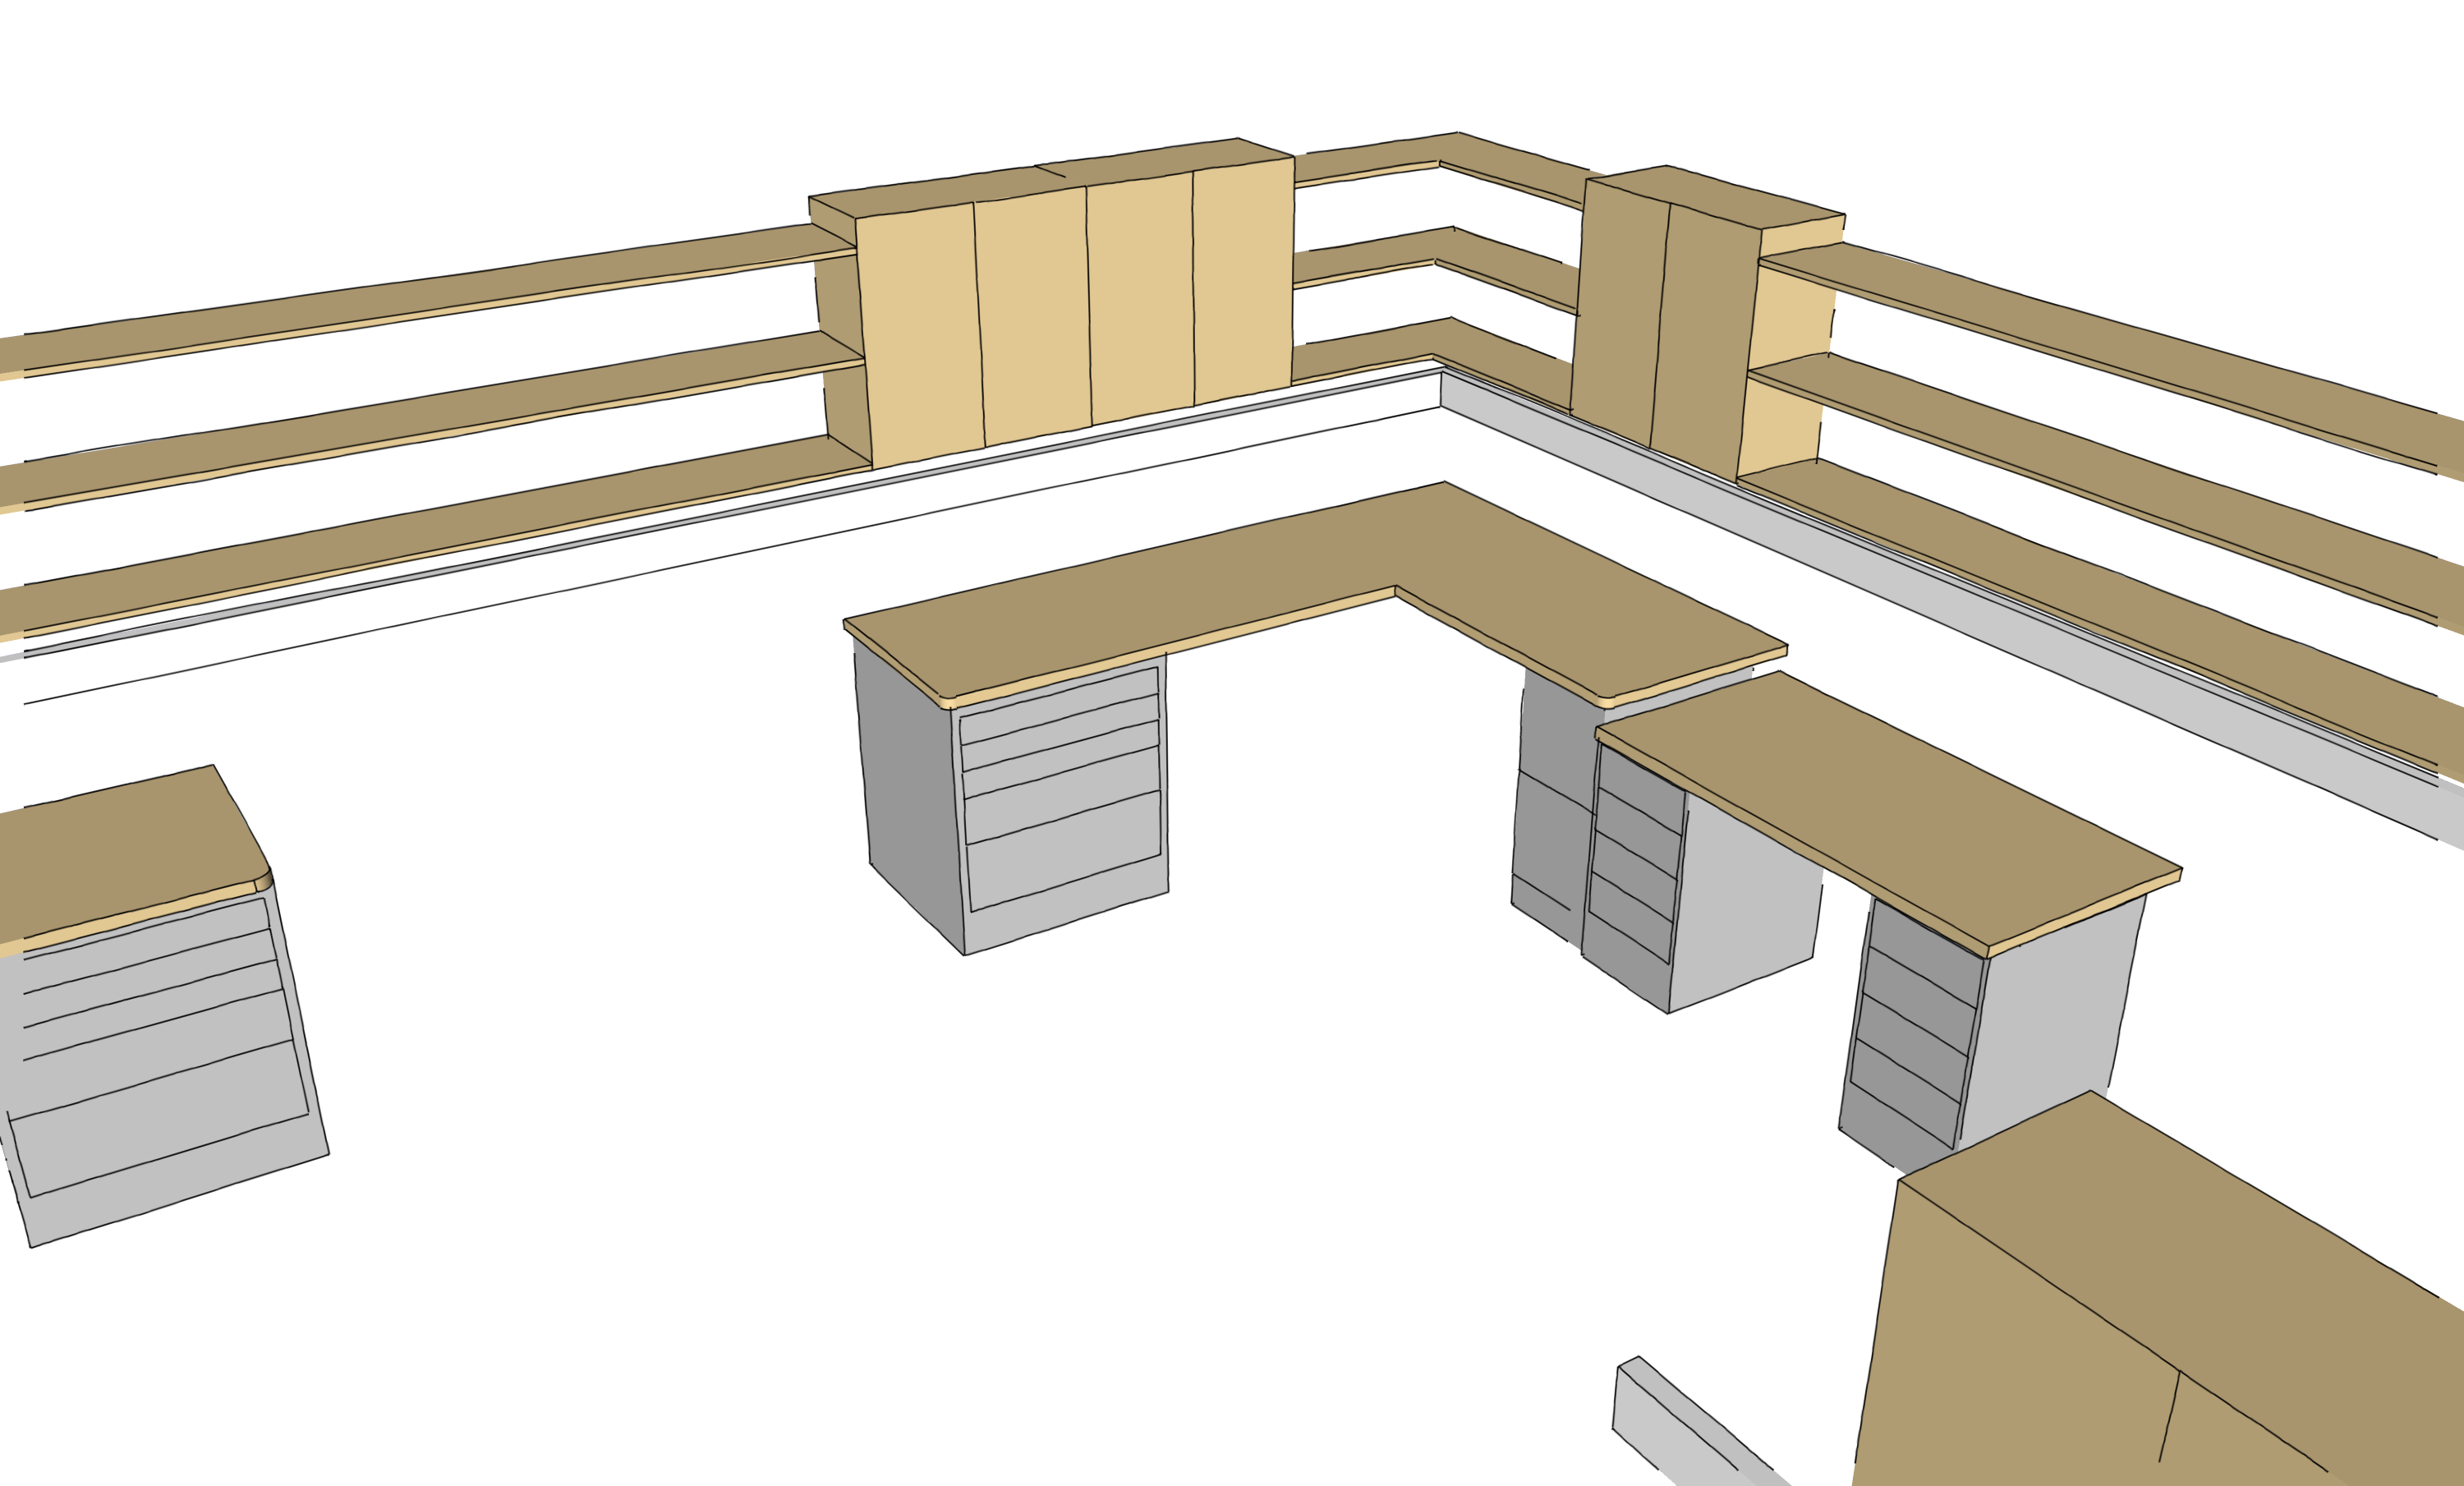
This is what it would look like without the mask.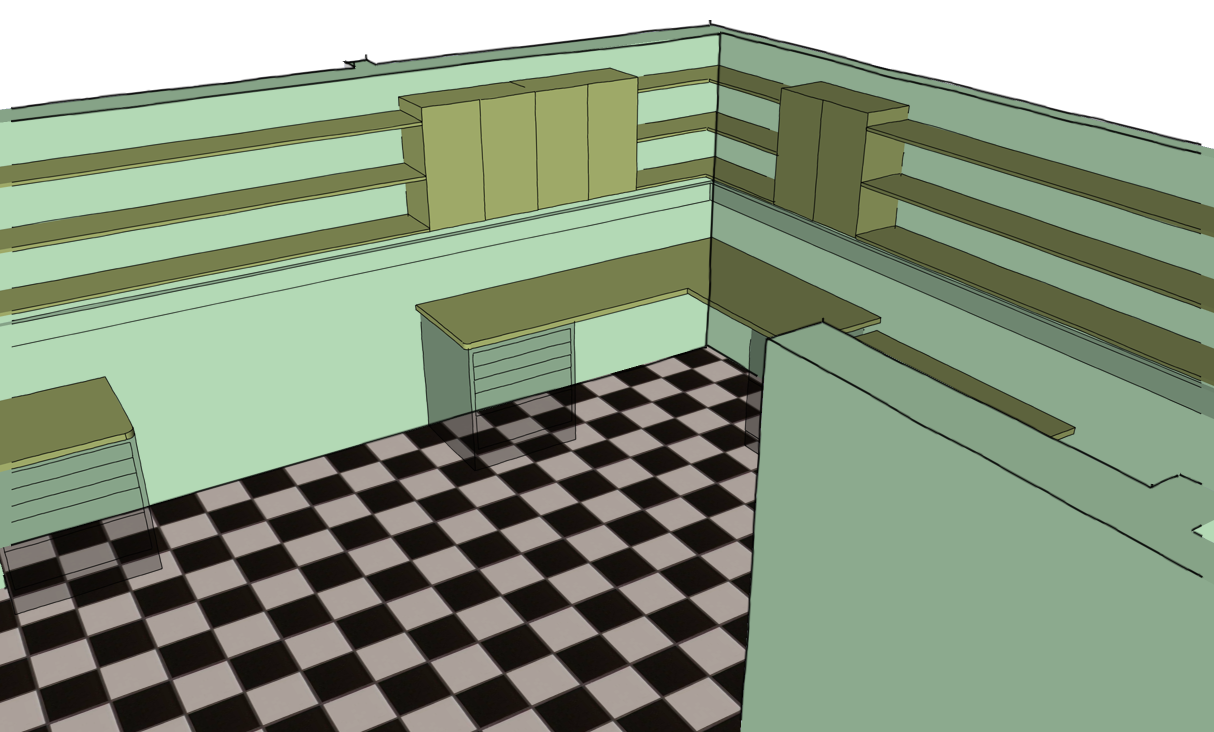
After combining them. All I did is put the masked furniture image on a layer in the image editor with that layer set to Multiply. More could be done but this was dead simple and only took a minute in the image editor. Setting up the model didn't really take long either. -
Wow! Faster and more accurate than a train!
But unfortunately I think I have to paint manually every face of the objects... because the TIG solution is really convoluted for me... and the Dave solution is ok but (I'm sorry I did not explain) the picture I posted is a frame of an animation, so it's not ok for my problem.Anyway thank you so much!!! I'll post the result
-
Here is a thought
http://rhin.crai.archi.fr/rld/plugin_details.php?id=489 -
Useful, it's like setting objects with transparent material.
Thanks -
It appears never to have been further developed since Sketchup v6
Advertisement


