Profiles?
-
I was playing around with an idea for creating heavy profile edges and here's what I came up with.
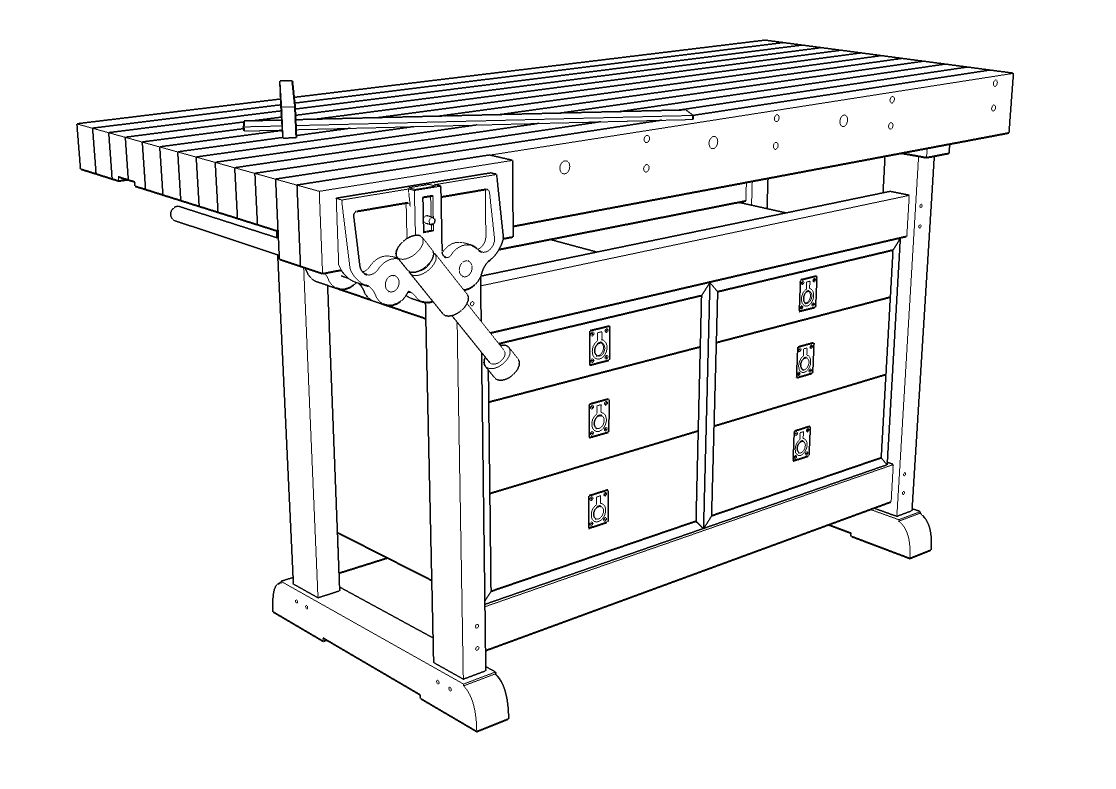
This is an image export from SketchUp with Profiles set to 2. Too many profile edges for what I wanted.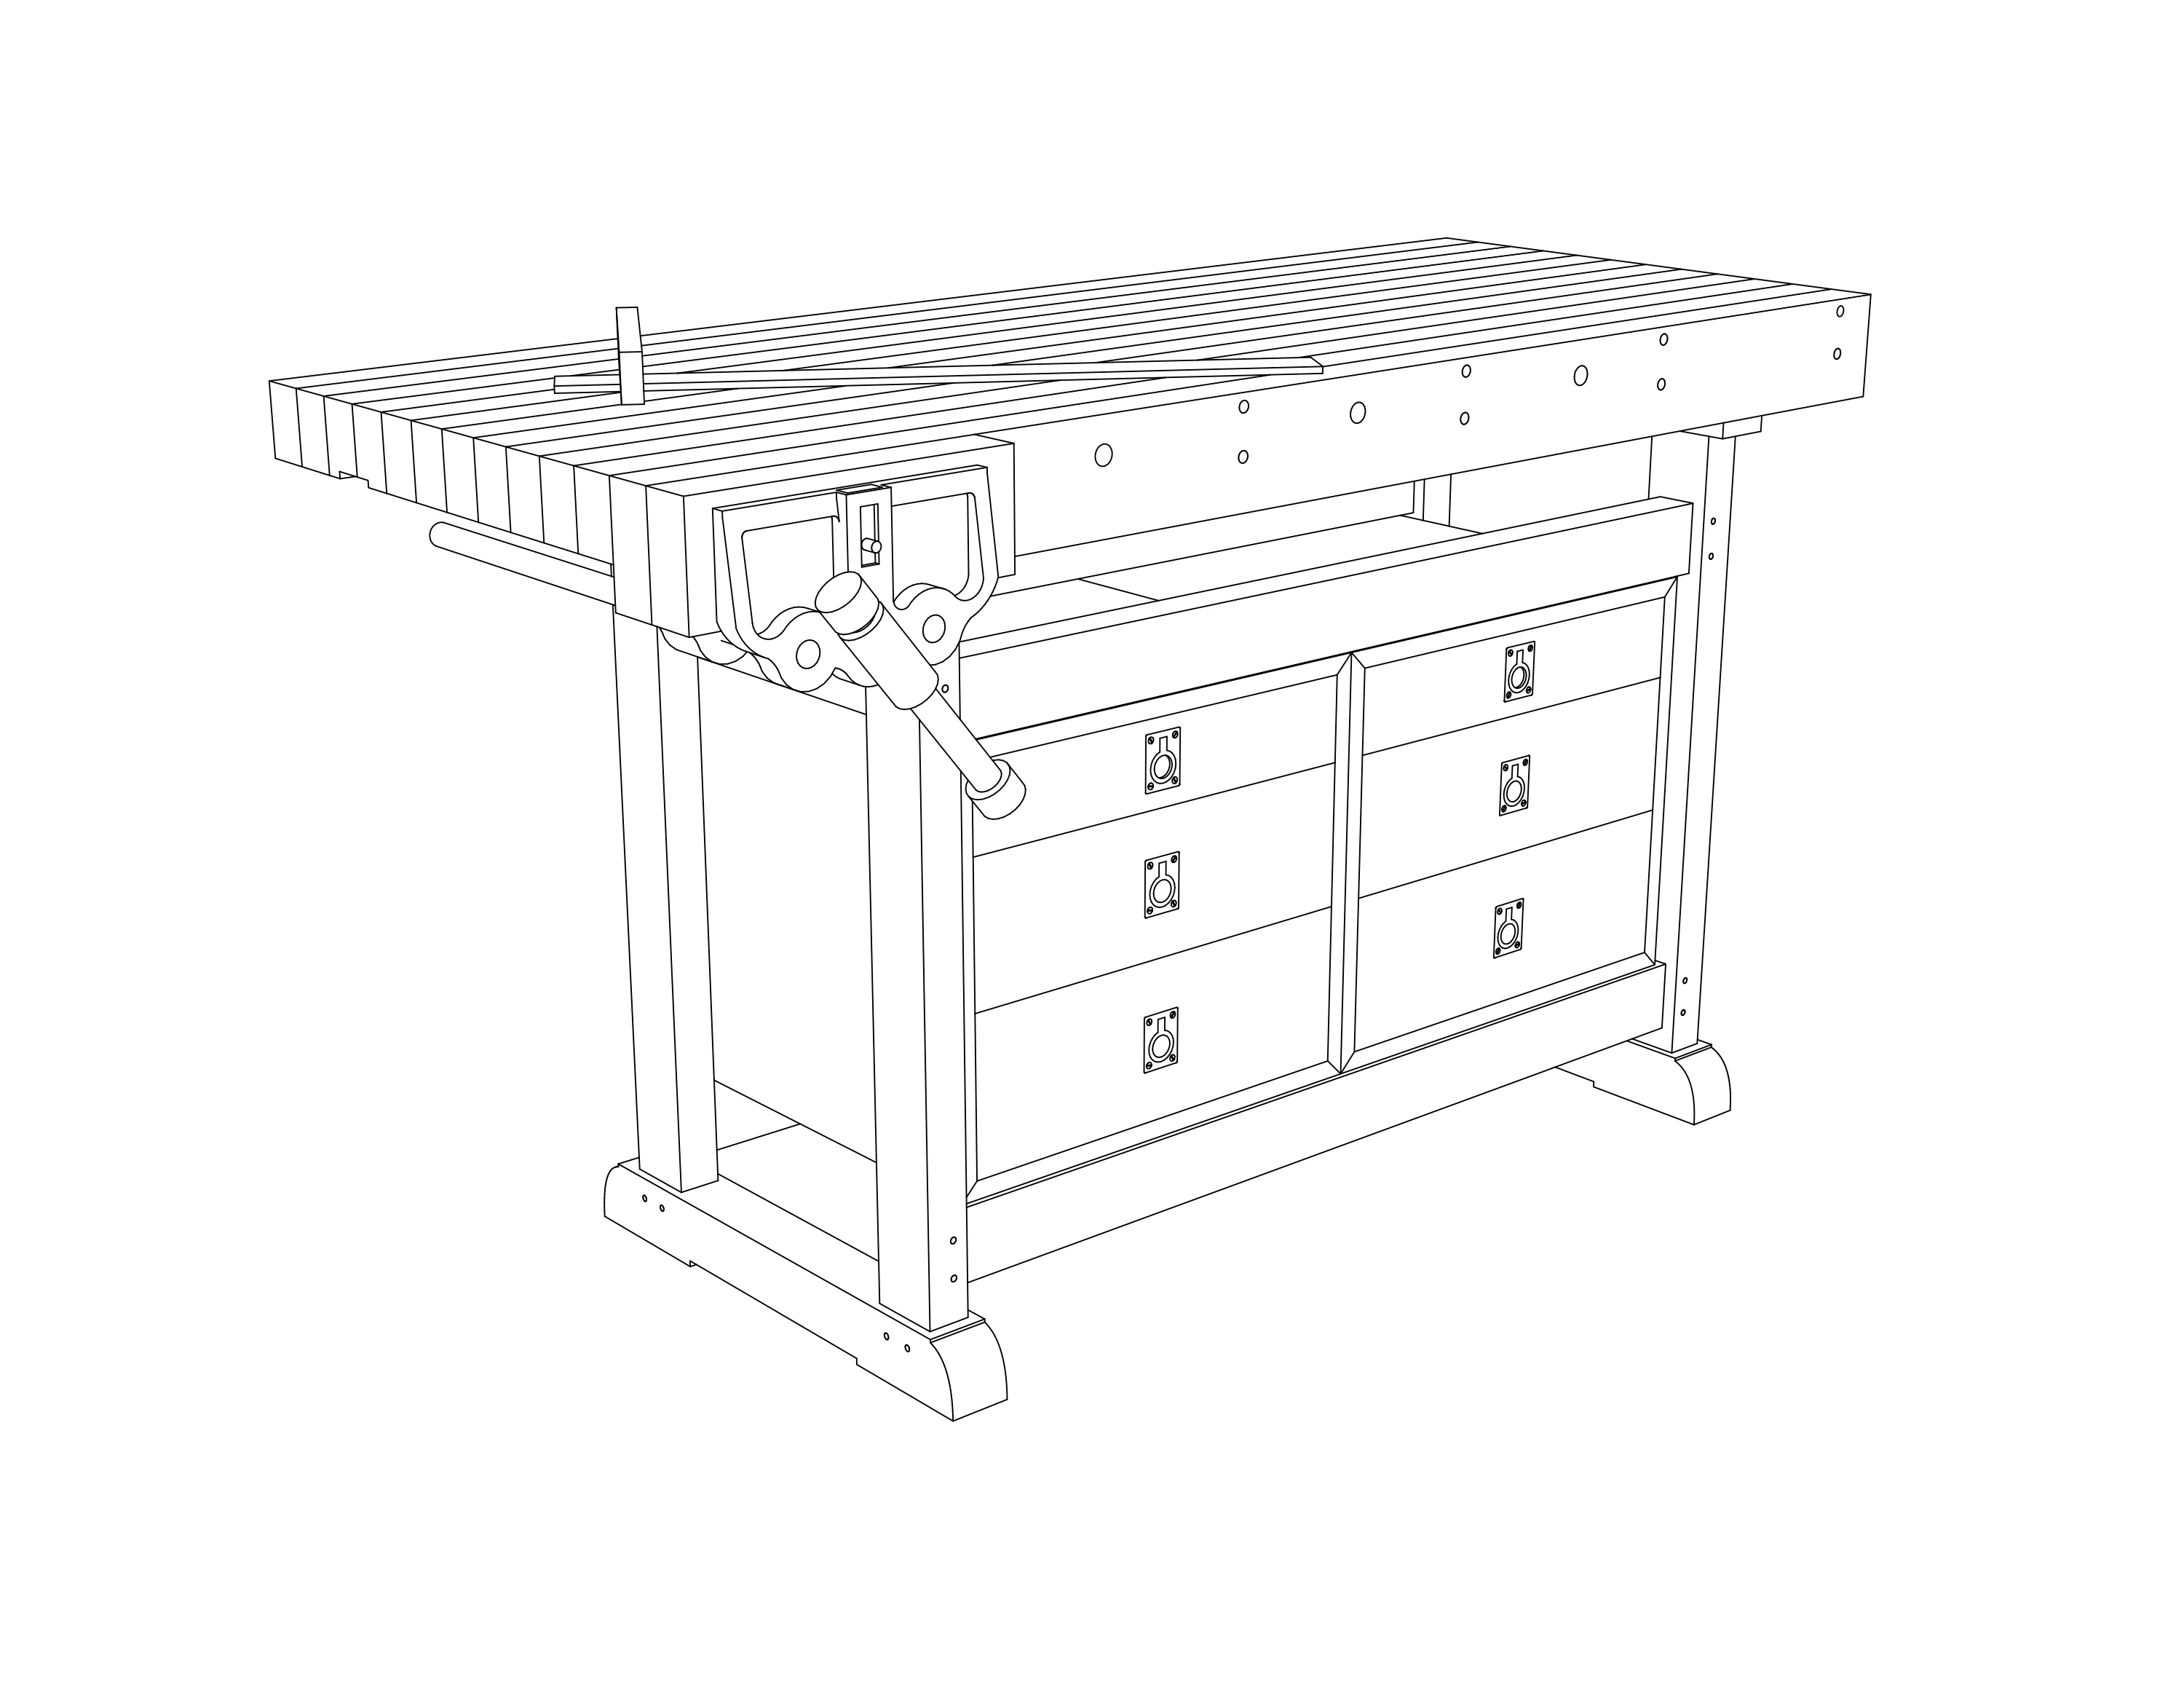
Insert viewport into LayOut. Profile set to 1. Render as Vector. If you had color or textures you could leave it as Raster or render in Hybrid. Copy the viewport and paste it on a layer above the one on which the model resides. Turn off the visibility for the model's layer. Make sure the copy is rendered as Vector, explode it and delete the unneeded edges.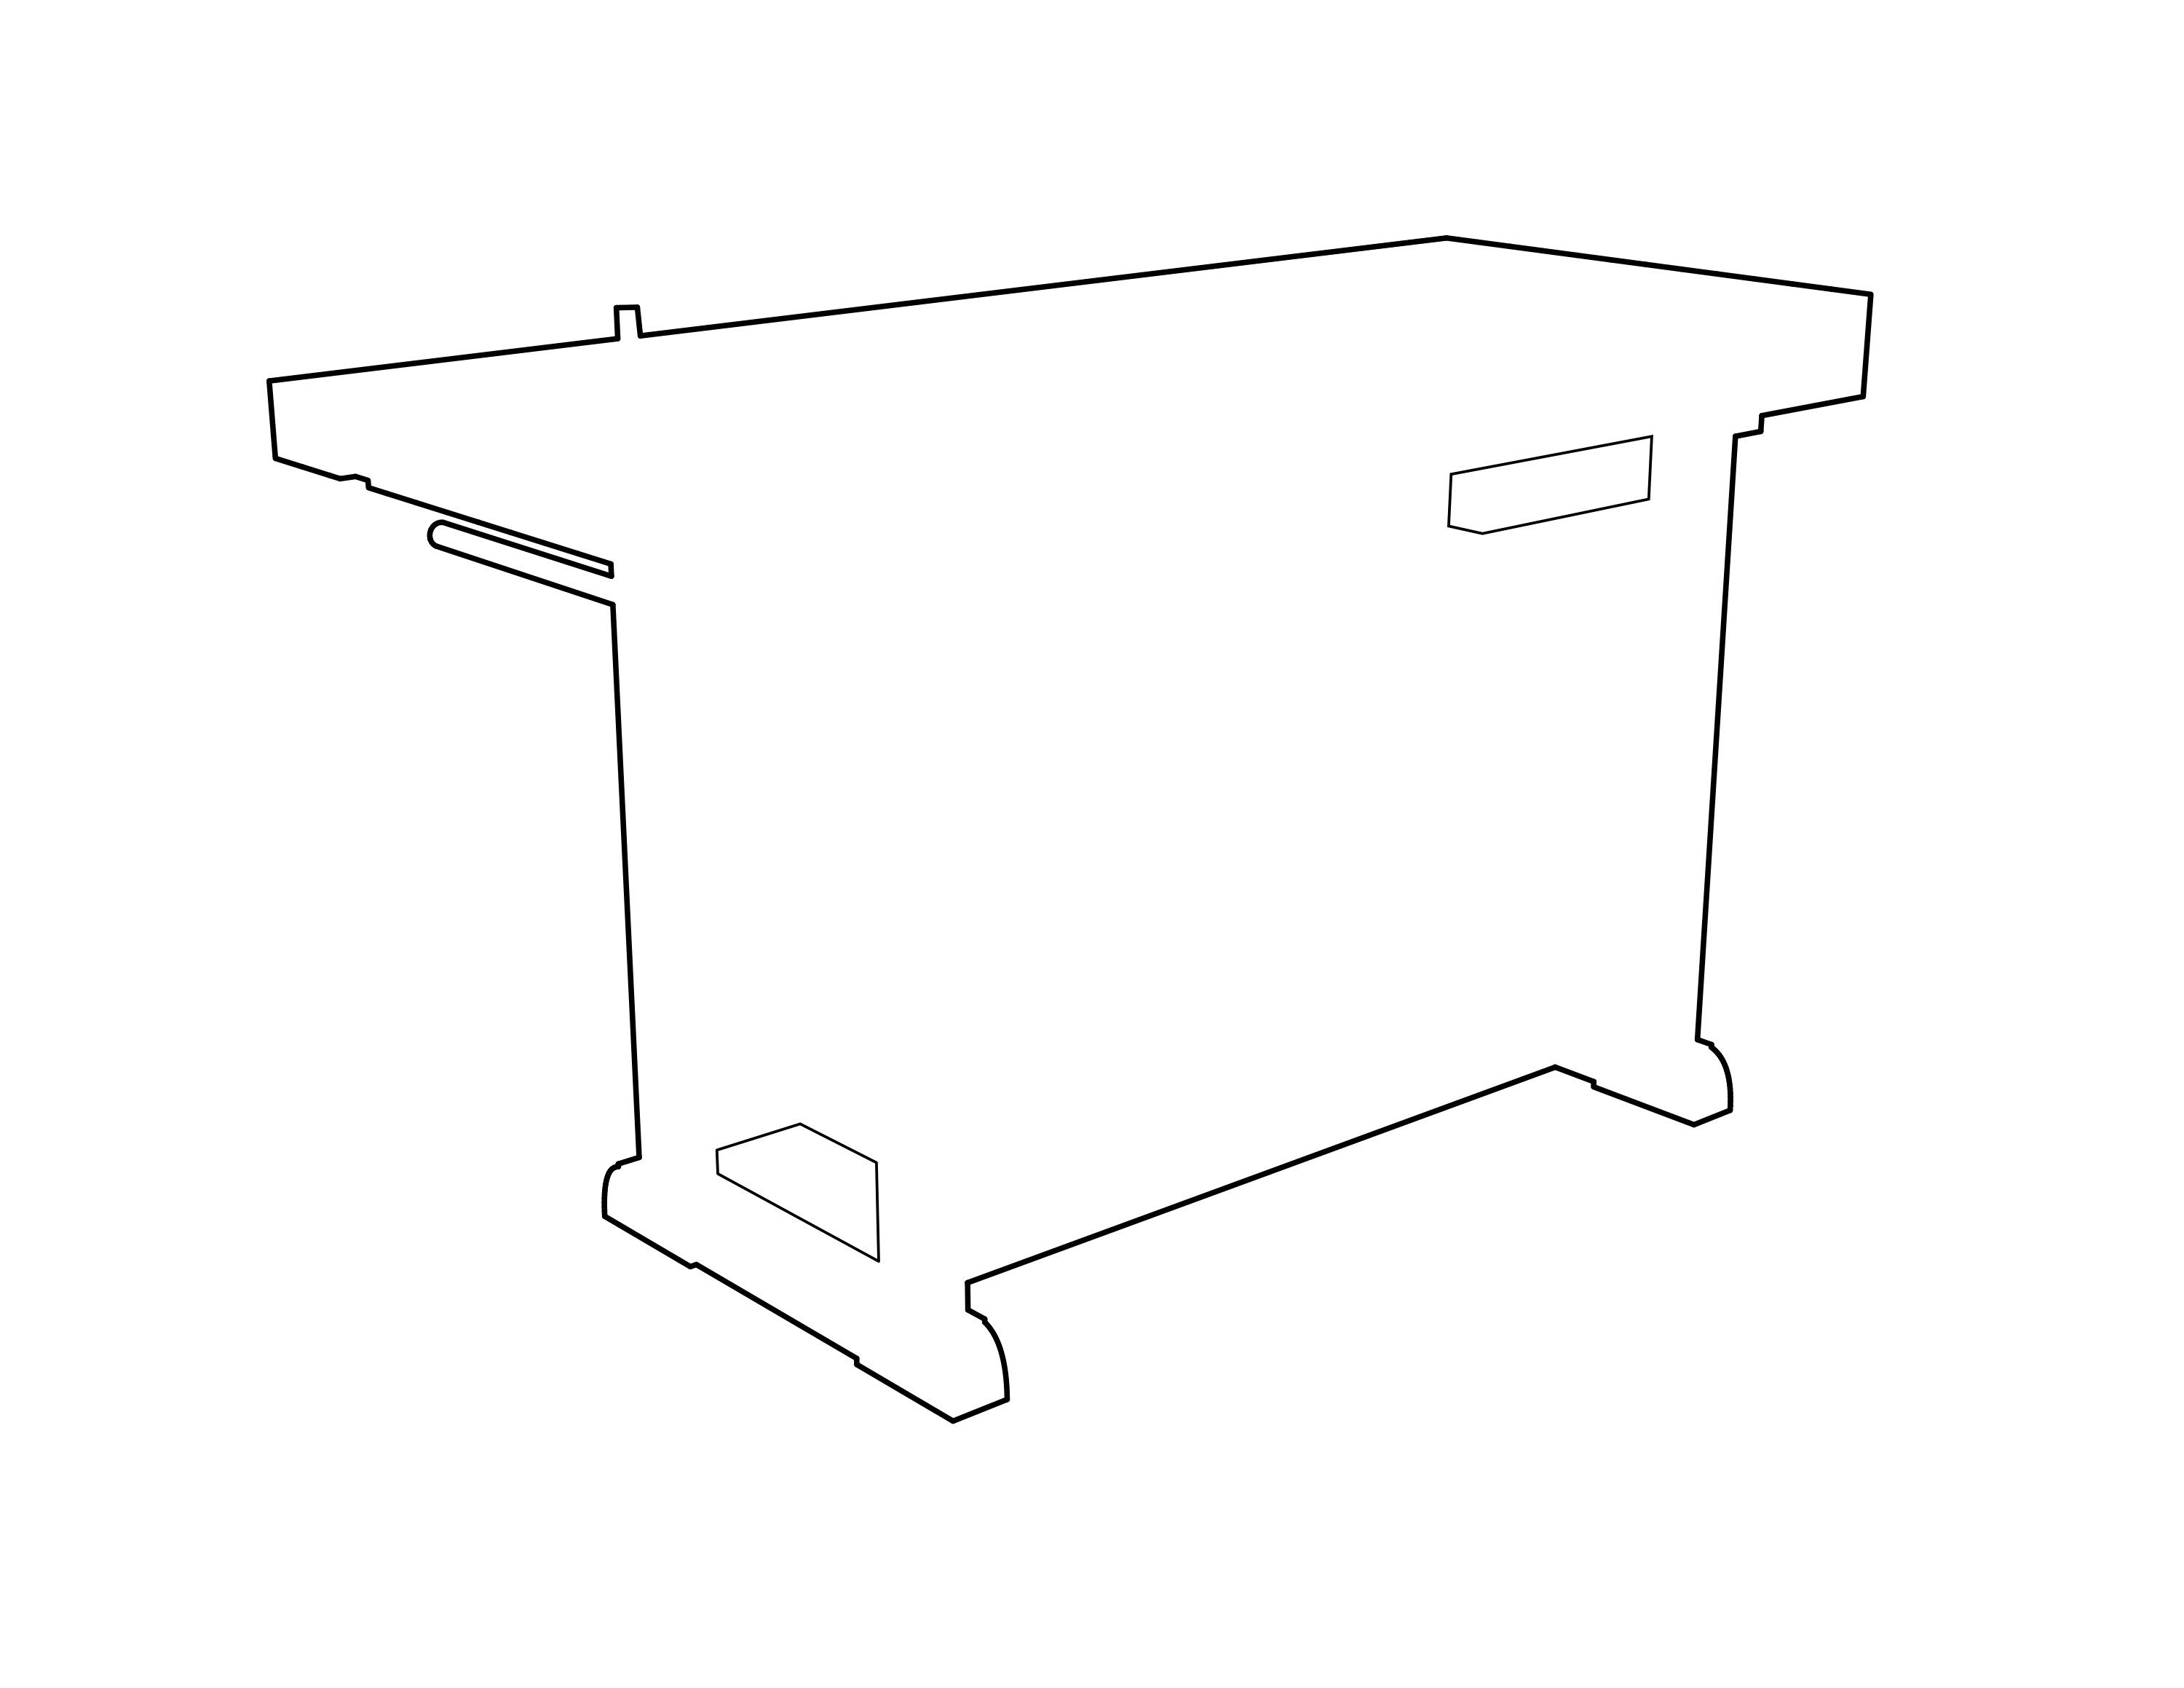
Set the lineweight as desired.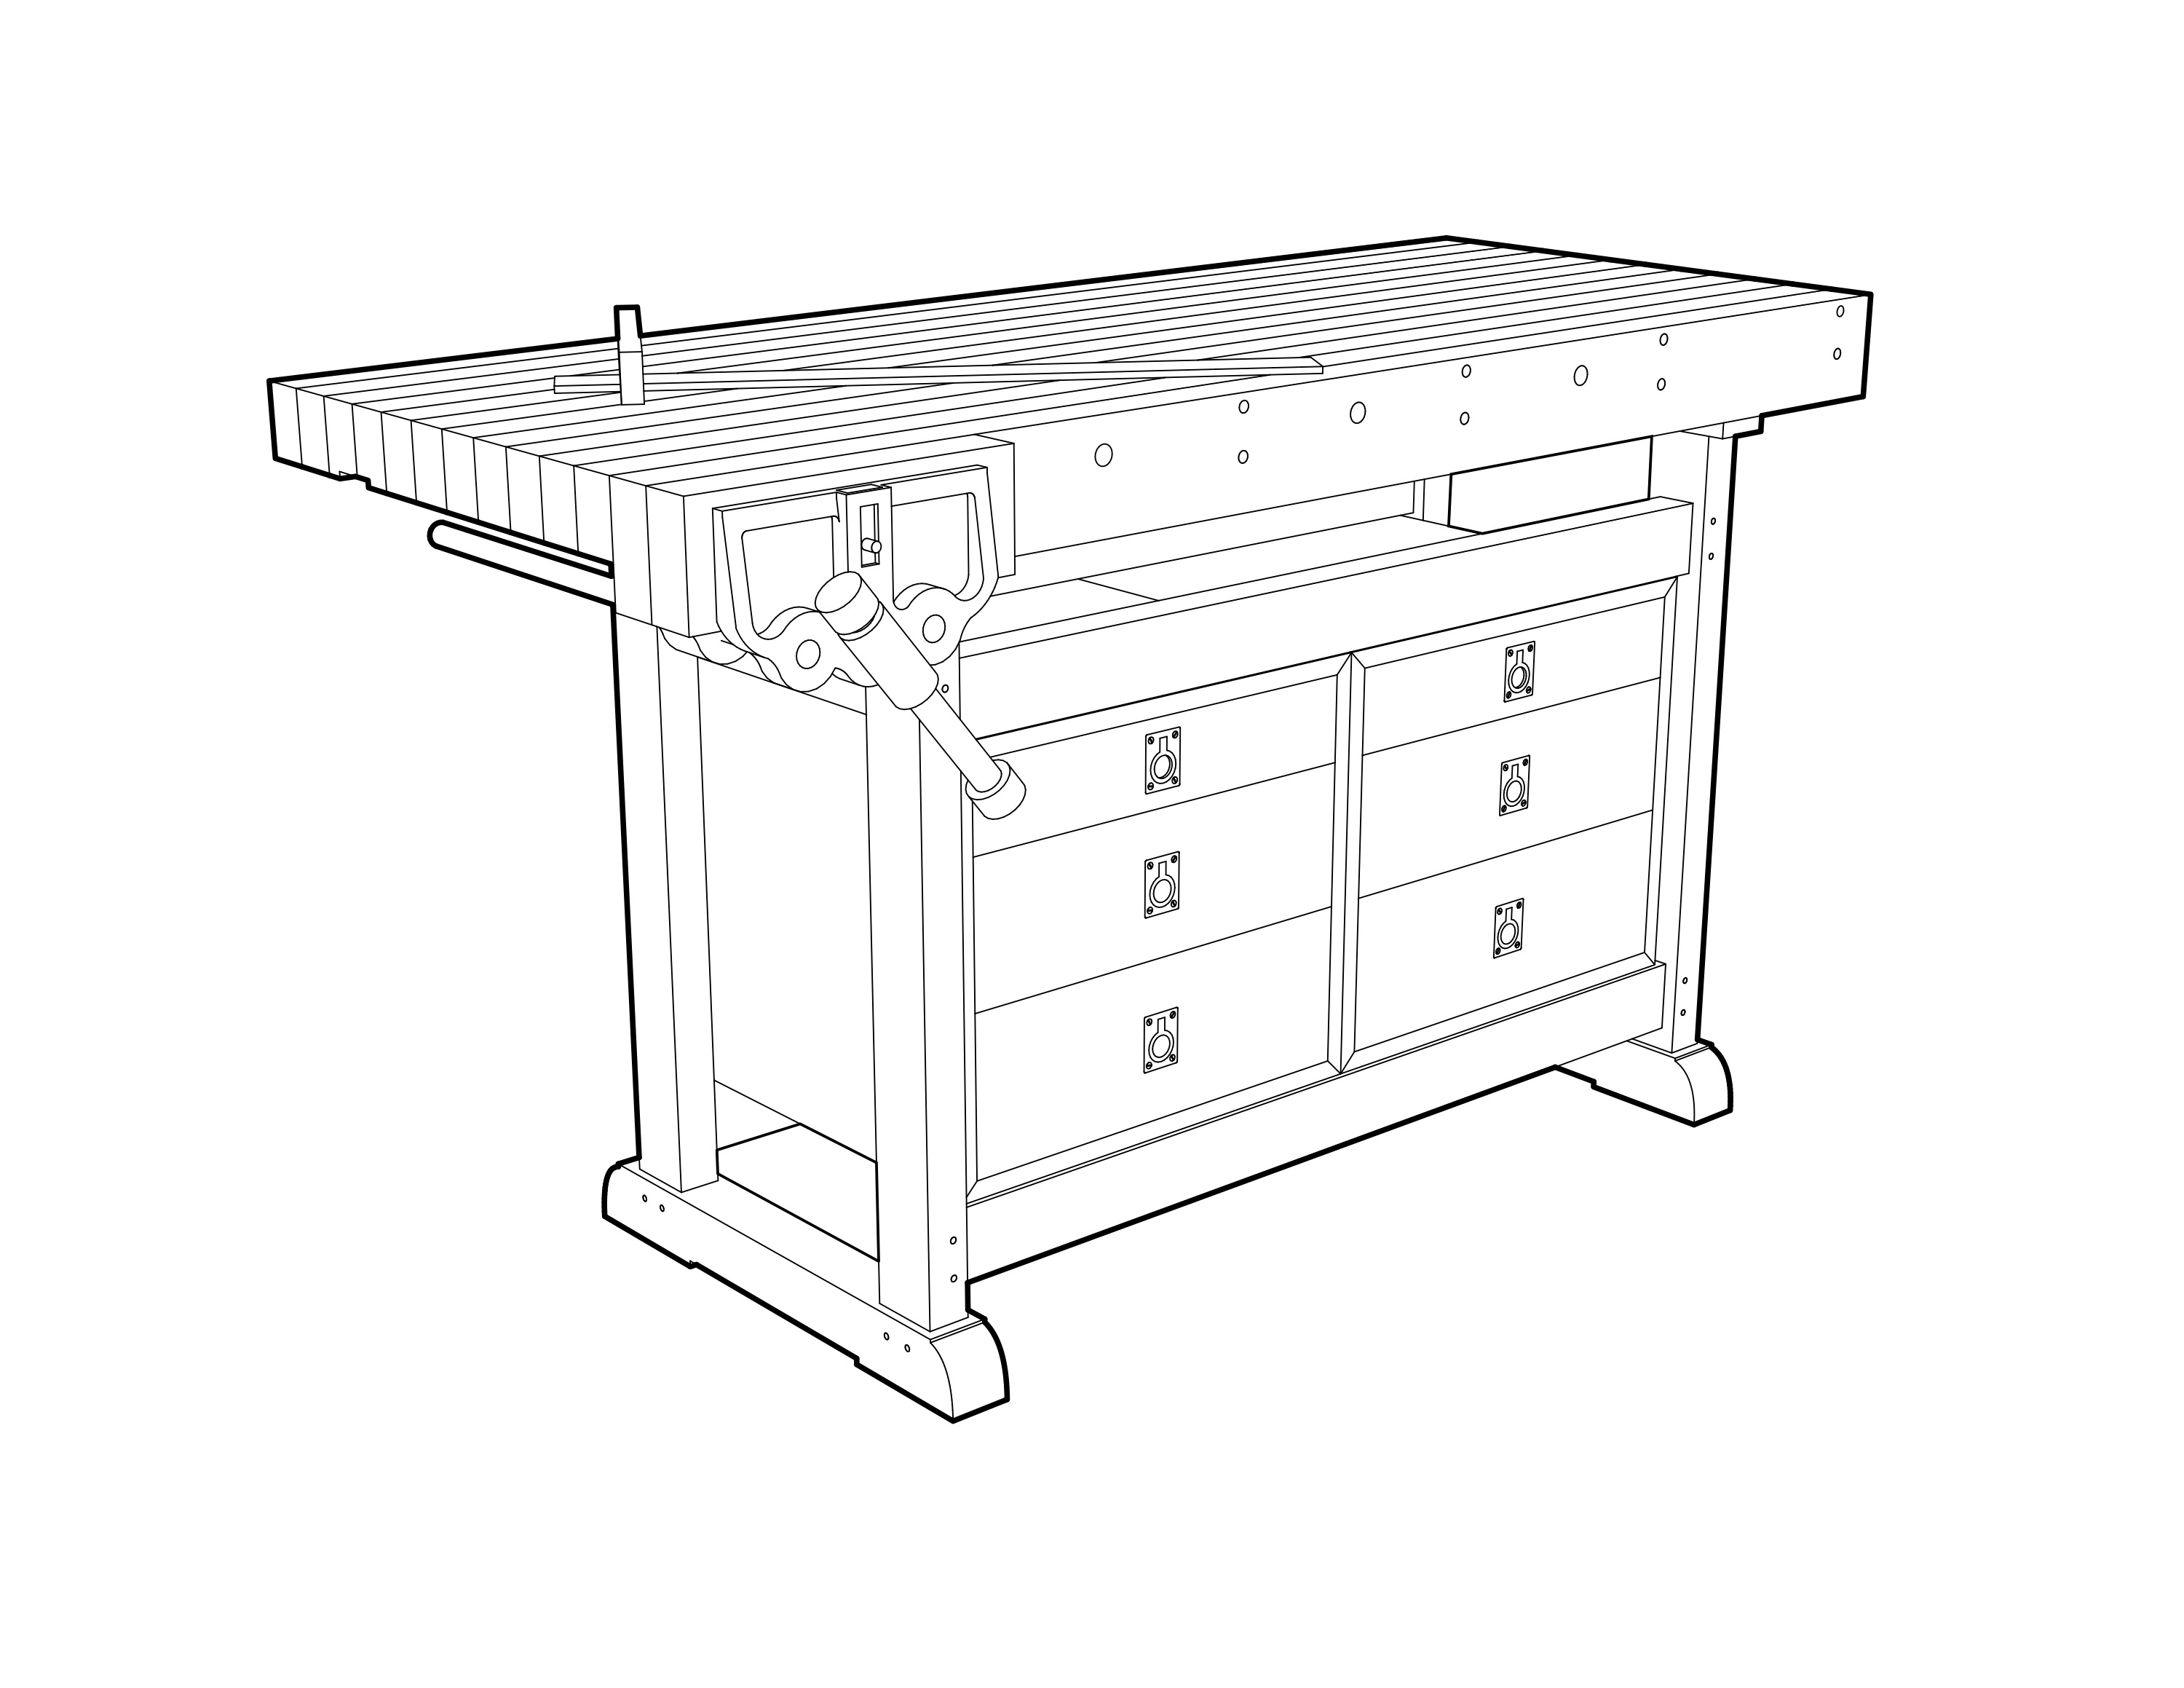
Turn the model layer back on.Done.
You could trace around the model with the Line tool but if there are a lot of curves and details, that could be difficult.
-
Good suggestion Dave, it's been bugging me recently that I can't seem to get enough differentiation between lines & profiles.
I've fingers crossed on LO 2013 improving some of these presentation niceties as I don't fancy doing that for every drawing in my project details.
-
Trevor, if it helps, I've put in a feature request for something to do this more easily.
I've been finding a number of applications for overlapping SU scenes and exploding one of some in LO. It works well enough once I got my head around it and figured out how to keep things straight but it would be nice to have an easier way.
By the way, in the example above I now have three different line weights.
-
Thanks for the ideas Dave.
In CAD I use a "flood" tool to create a profile outline, but haven't been able to explain or convince the developers how this needs to be simplified for profiles. It takes many steps but, in short it creates a polygon around the objects open edges. Something like this, linked with a method to define the object opposed to the background would be great.
-
I used to do this quite regularly for Training Manuals but used Photoshop.
Export image as .png from SU with Profiles off.
Apply black Stroke to image.

I even had an action set up to automate the process. Not sure if Elements allows you to apply strokes but it is alot faster this way.
-
rich, dave - both handsome techniques.
i've used the double window trick a few times. works great.
-
Very cool guys. I'm going to play around with this a bit as well.
-
FWIW, I recently reversed this idea for another workbench project I did. I wanted to show most of the lines at a single weight but I wanted the lines showing the seams between the planks on the top to be rendered very thin. I drew the seam lines as separate from the rest of the top and put them on a separate layer. I thine had two scenes from the same camera position. One was of the bench model without the seam lines. The other was the seam lines but no bench parts. I made overlapping viewports and for the seam lines I set the line weight very thin. In that case I didn't need to explode the seam lines. I just left them as a separate SU viewport so I could make changes easily. As it turned out, I had to change the length of the top by 1/4" and the change was fairly trivial in SU.
-
Neat technique Dave. Thanks for sharing.
Hello! It looks like you're interested in this conversation, but you don't have an account yet.
Getting fed up of having to scroll through the same posts each visit? When you register for an account, you'll always come back to exactly where you were before, and choose to be notified of new replies (either via email, or push notification). You'll also be able to save bookmarks and upvote posts to show your appreciation to other community members.
With your input, this post could be even better 💗
Register Login


Advertisement