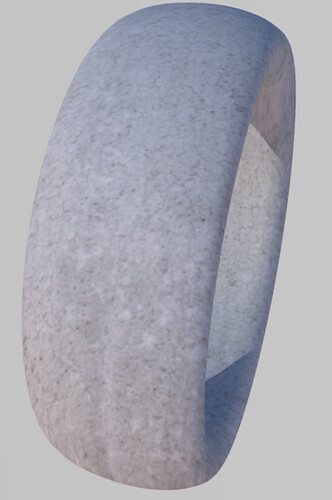
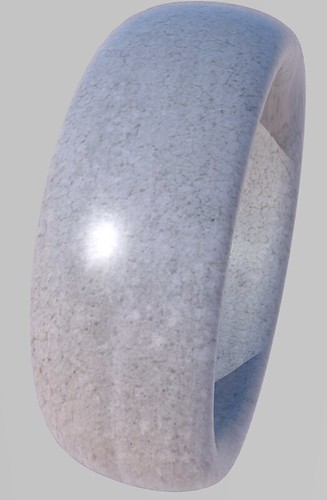
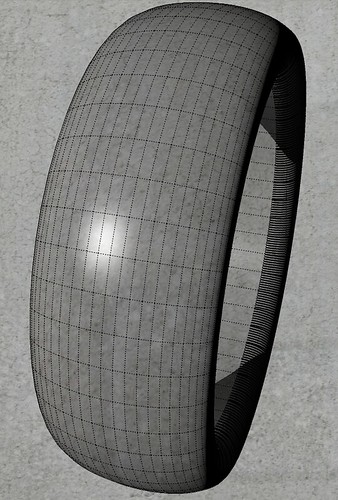
To much faces!!
-
You see it can be resolved...
That must be one of those 'brick-tyres' that Gaieus digs up now and again

-
@tig said:
That must be one of those 'brick-tyres' that Gaieus digs up now and again

Ah yes, that's the so called "Brick Age" (right after the Stone Age)

OK, I can see the image now. There are two problems there:
- One is indeed bad texture co-ordinates. This should be done in SU as per above
- The other thing is that it does not render it smooth - no matter you have zillions of factes. I do not use Keyshot but when there is an issue like this in Twilight, I usually need to group the object and it renders it smooth. The Twilight folks say it's a SU issue actually so maybe you should do the same for Keyshot, too.
-
Hi TIG,
Yes it will be a small object.
So small detail are important to me.
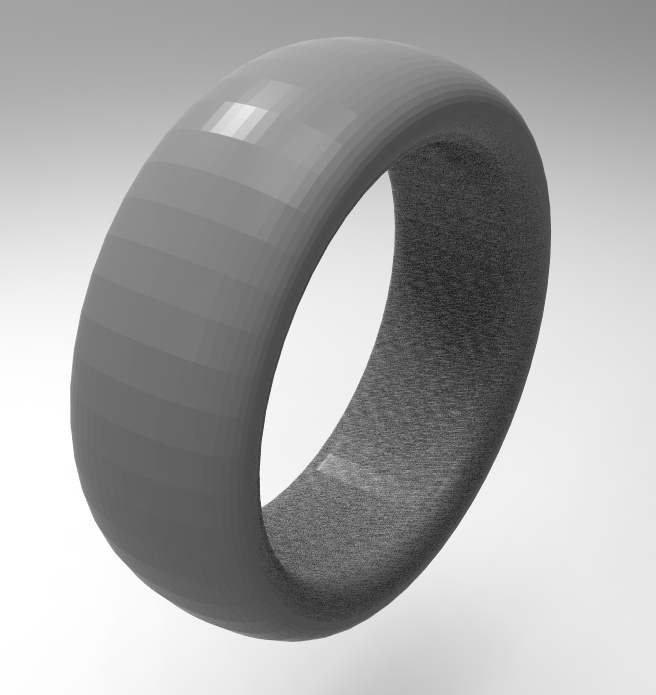
I use keyshot to render my objects and I see so many little faces that I don't know how to do.
As I want to make a realistic rendering.
And when I want to apply a texture it's like in SU, not anymore smooth. Texture is not applied on the object but on every faces of the object which is a pain to understand where the problem is to be able to solve it...
Image is from Keyshot.
-
@gaieus said:
Yes, that's true but on the narrower sides, those two (unexploded) arcs are really heavy. Well, anyway, your model...

As for the texturing: use that plugin I suggested and apply cylindrical mapping (spherical would also work I guess). But your material is a rather repeating one in any case so I would use something better.
With reversed faces (see TIG's comment) and a texture that shows UV mapping better (and spherical mapping applied) it would look something like this (you need to "lay it down" for the plugin to work properly)
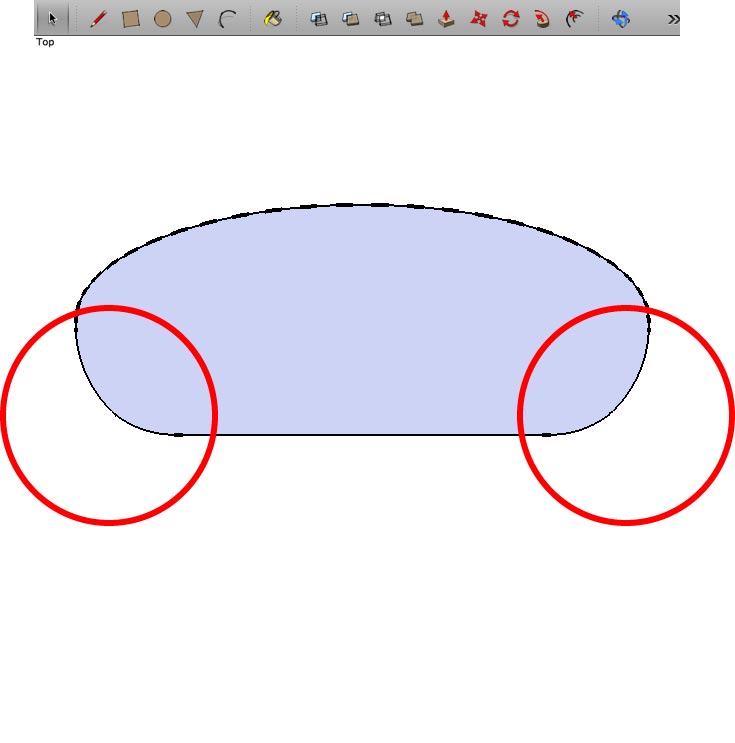
Are you talking about this 2 (see pic) sides, Should I explode them in order to make my model lighter and easier to manipulate?
-
No explode, but reduce the number or edges for the arc. and also, reduce the number of edges for the circle you used in Follow-Me operation.
-
Yes, those. I understand that you want a smooth, high poly mesh but those relatively small arcs are unnecessarily high poly (it won't be seen).
-
OK thank you for your answers.
I'm gona tray all the advices you gave me and remodel my project and I will come back to you if I have a problem or at least to let you know what's the result! -
Hi everyone,
So I've try all your advices and some stuff are solved and some other bring questions.
For the of the use UV mapping plugin it's work really well.... but just once. After It crash SU 90% of the time, whish is sucks.
Is it the plugin or my SU, don't know.
But the result is much better.I've remodel the curve (profil) in different ways.
-In Illustrator first, but the number of segment is supper high so I guess it's not the best solution and I get some hole when I use the function follow me (I think it's due to the high nub or segments).
-Then I try directly in SU, not using the function arc to not have high poly as Gaeius you advise me, but instead I try to draw it with the pen tool...
I 've aslo try to use the previous curve (the one with the high poly arc) to keep the exact same path but I don't, couldn't find a way to break this arc and have it in segment. If you know how to do I'm interested.
-For the option follow me, there is something I don't get then. Dereeei advise me to "reduce the number of edges for the circle you used in Follow-Me operation" so if it's not necessary to increase the number of segment in the circle, how then I will not be able to see this faces in my rendering in Keyshot or even SU?
-For the rendering in Keyshot I've try to lower the number of segment in the circle, to smooth the object too and to group the object, but it's still the same problem, facets. all over ???
???I don't know if you have any Idea or advices but they are welcom if you have time.
Thank you anyway for your help till now.
Have great day!
-
An arc has 12 segments and a circle 24 segments by default. You can always change this number in various ways:
- After drawing it, right click > Entity info and change the segment count there.
- After drawing it, type the desired number of segments folloed by an s (for "segment") and press Enter. Like
8sthenEnter.
As for rendering in keyshot: did you make a group of the object as I suggested? Triple click on the surface to select all the geometry > right click > make group (or component). Then try to render that way.
-
Ok thank you for this tip I didn't know how to do this segment number change before.
Yes as you told me, I indeed group my object on my previous tries. But it's still the same problem many facets!
And do you have any clue why SU shut down when I use the plugin UV mapping, do you think it's from my SU install or just the plugin?
-
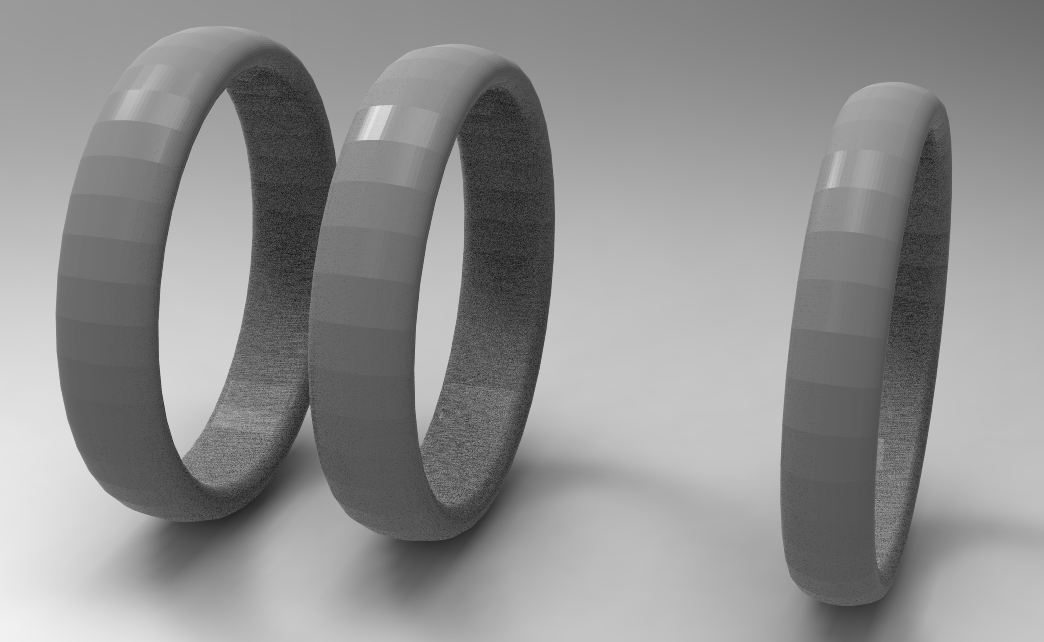
I don't know about Keyshot but here's a quick and dirty render in Kerkythea. This is from the ZIP file posted on the first page.
I scaled the material up so it doesn't repeat so obviously since it isn't seamless and I applied it as a projected material. It's clearly got some issues on the edge but I was mostly interested in your faceting issue. I can't see any faceting at all. Maybe you need to look at Keyshot instead of SketchUp to sort out the facets problem.
-
I see it is indeed ugly faceted. As Dave says, it must be some keyshot issue then. Maybe a setting which we do not know about (like welding vertices or smoothing edges).
-
@dave r said:
I don't know about Keyshot but here's a quick and dirty render in Kerkythea. This is from the ZIP file posted on the first page.
I scaled the material up so it doesn't repeat so obviously since it isn't seamless and I applied it as a projected material. It's clearly got some issues on the edge but I was mostly interested in your faceting issue. I can't see any faceting at all. Maybe you need to look at Keyshot instead of SketchUp to sort out the facets problem.
You might be right. I'm gonna join a Keyshot forum and dig in this direction.
But you render is perfect and no faceting issue.
But I've been trying again and found out that the model you have was exported in .3ds and this file doesn't work properly (faceting) but I export it again in .obj and it's so so working still problem with some detail that doesn't appear and some faceting issue, still there but lighter.
-
-
Ah, you did not mention (or I just overlooked) that you exported in 3ds.
See this post with a screenshot:
http://forums.sketchucation.com/viewtopic.php?p=363918#p363918Unfortunately, if you choose to weld vertices, you cannot keep UV co-ordinates. 3ds is a rather old and deprecated format. Try obj instead.
-
@dave r said:
Here's a shiny version of the ring rendered in KT. And with the hidden geometry from SU.
No facets at all.
So maybe it is your export type contributing to the problem. On the other hand, maybe it's the renderer. If you were using KT, you'd have been done days ago.
Hello Dave R,
Thank you to for showing me that the model is not that bad.
I agree with you, but more on the fact that If I knew better my tools It will probably be done days ago.
But as I'm kind of beginner, in both, SU and Keyshot I'm still wondering around and finding my way with this them.
The problem is that I don't want to change again for the rendering softer, maybe I should, but for now I'm trying to get better at this one and see how things goes. Is KT easy as Keyshot to use? never heard of this one before but your renders are really good.I keep trying to find the right solution..
Thank for your help.
-
I understand wanting to stick with it until you get it right. Good luck doing so.
As to KT being easy, well, I'm probably not the best one to ask. I think it is easy but I only ever do very basic stuff and I usually do essentially the same thing every time. These renders only took a few minutes to complete and other than making some adjustments to the material using a preset, I didn't really do anything special. The background in the last one is just your concrete material inserted as the background in KT. A few seconds to do and I think it really improved the way the ring looks.
Keep plugging away and you'll have it.
Hello! It looks like you're interested in this conversation, but you don't have an account yet.
Getting fed up of having to scroll through the same posts each visit? When you register for an account, you'll always come back to exactly where you were before, and choose to be notified of new replies (either via email, or push notification). You'll also be able to save bookmarks and upvote posts to show your appreciation to other community members.
With your input, this post could be even better 💗
Register LoginAdvertisement
