Various rendering choices? -- Challenge!
-
There are some other, interesting layers in there...
-
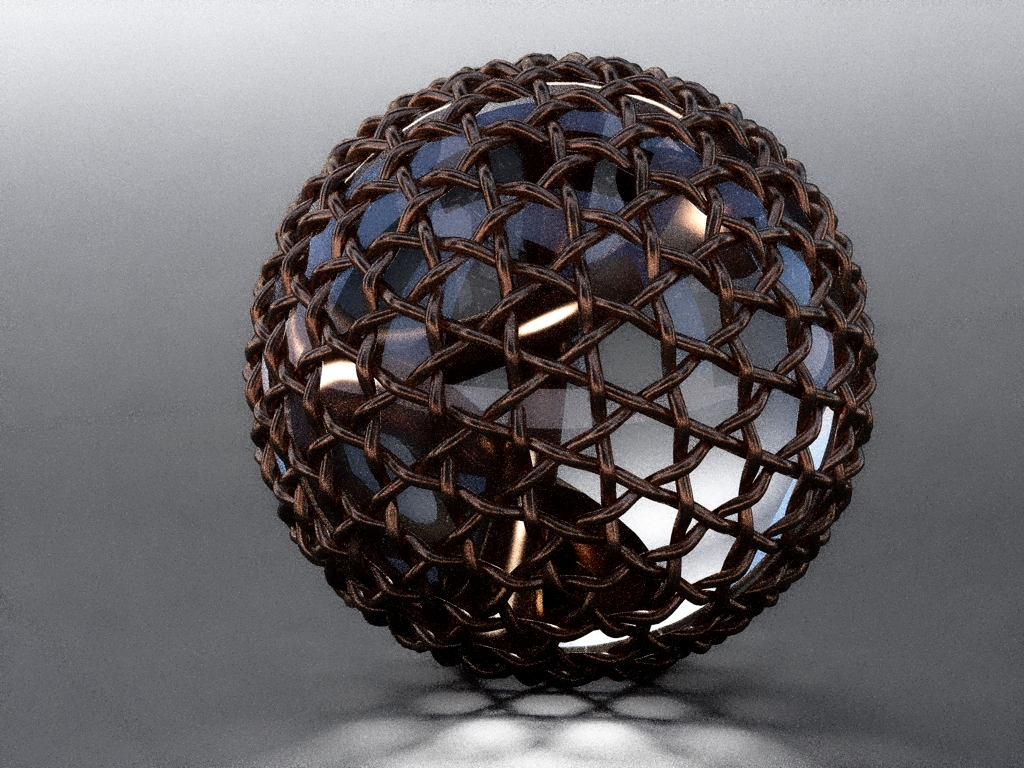
A first quick one with ArtLantis. 20 seconds.
Anssi
-
@solo said:
I smell a render challenge....

Frigging cool model, curious how it was made.Your wish is granted...
I included hidden layers in the model, to demonstrate the development of the sinusoidal "Follow me" path. The methods are conceptually simple, and radial symmetries permit copies of components, so it's not as complex as it first appears.
BTW, you may consider yourself challenged....
-Taff
-
@gaieus said:
There are some other, interesting layers in there...
Indeed! Extreme "lensing" magnification, by that orb.
Nice resultant caustics, too.
-Taff
-
@unknownuser said:
The material uses thin film interference for color and fairly simple studio with HDR.
You mean you used thin film and nothing else?

well, that HDRI must be a good one. -
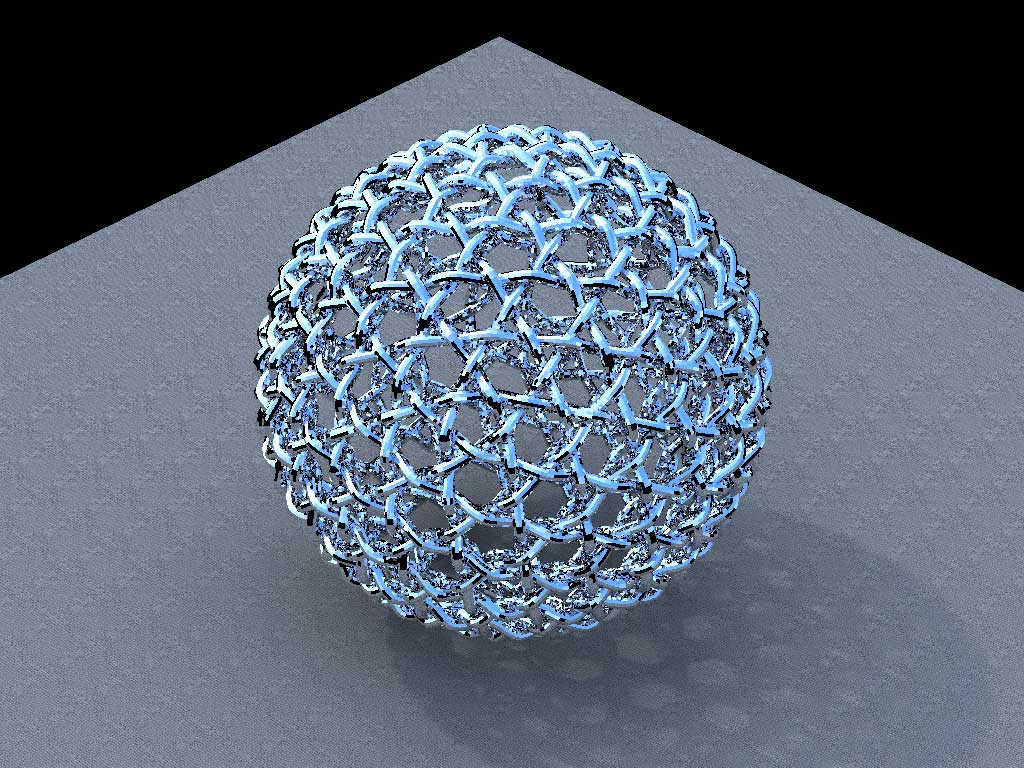
Twilight Render. Progressive, 175 passes.
Iridescent Coated Aluminum material, two spot lights.
-
It must be a guy thing... we love rendering balls.
-
And mine is blue.

-
Ah, nice trick indeed. MLT is "best" when there is (are) enough light(s). In some really shady areas it can get clear really slowly.
-
Gai,
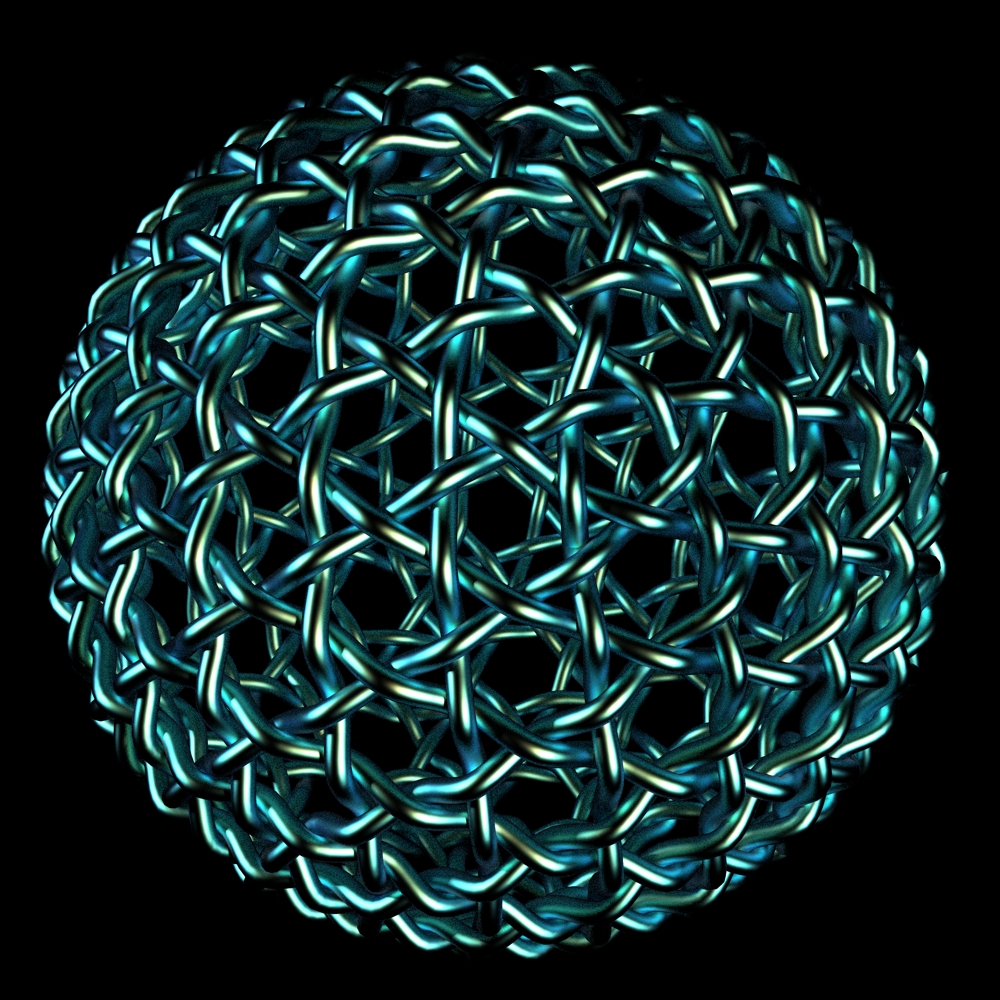
I liked your iridescent render enough to give it a try, using Kerkythea, Metals_Ashikhmin_MLT, rainbow_metal_02, (M)etropolis(L)ight(T)ransfer (for a couple of hours):

Actually, I only used the resultant iridescent colors, saturated and layered, in Photoshop, to "colorize" a greyscale version of my original gold render. (Much faster than waiting for a long MLT render.)
[ My new wallpaper! ]
-Taff
-
Here is another angle.
-
like this one A LOT!!

-
-
 Thanks.
 -
Boof,
Can you dish out some details?
(I'm still learning materials, but need to move on to depth-of-field, etc.)
-Taff
-
Thanks for sharing the settings Eric

This is a great learning thread, much appreciated.
-
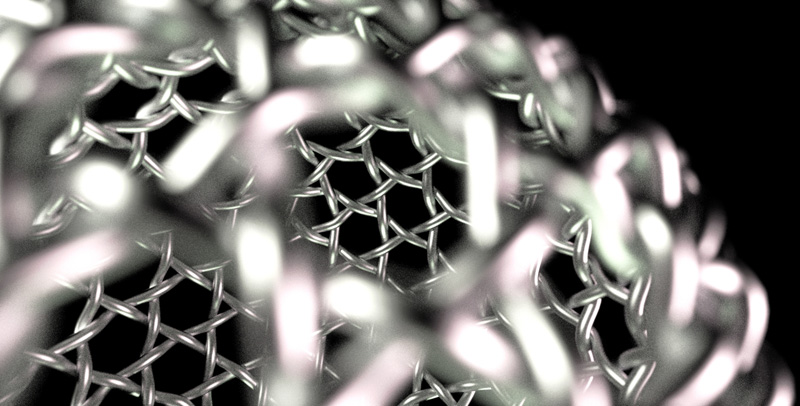
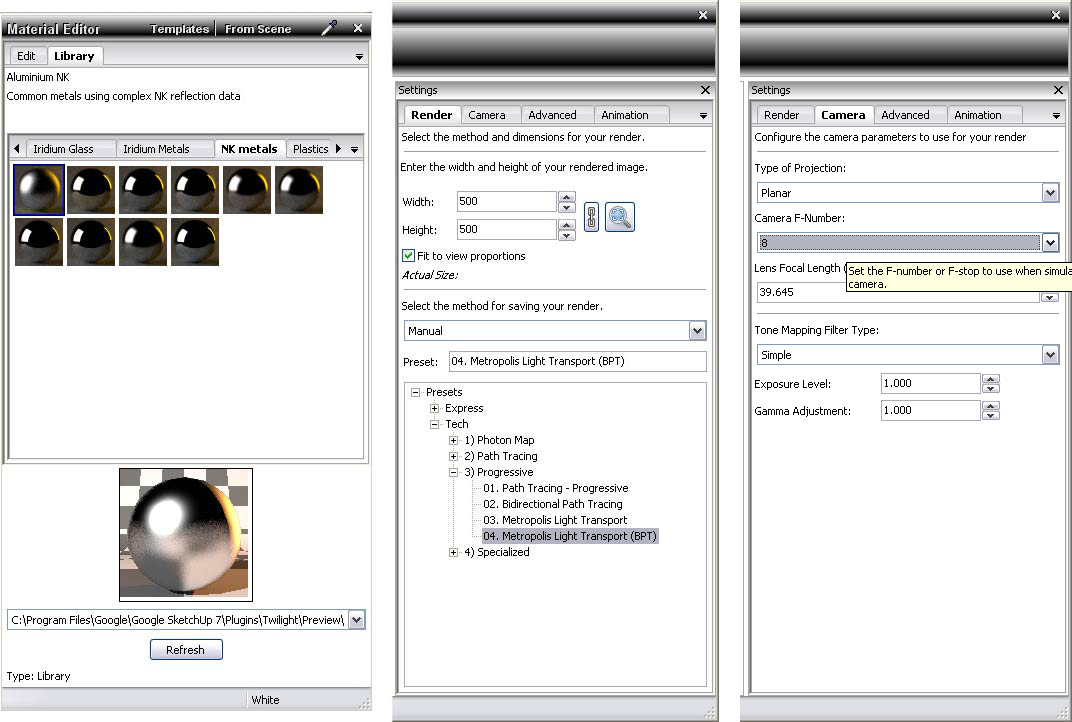
Sure. That last one was a metal texture in the Twilight Library called Aluminum NK. Part of the NK Metals.
The rendering was an overnight shot, 10 hours I think, using a progressive setting called Metropolis Light Transport (BPT).
All I did was open your model, click the face with the material eyedropper. Found the Aluminum NK and applied it. I then set the camera focal point inside the sphere and set the camera F number to 8.
Finally I set the render size and progressive setting then hit render and went to bed. That simple.Edit. Oops I forgot. I placed 3 spot lights in the scene as well. One to the left, one to the right and one below. Each was a separate color. And I set the background color to black.
-
Indeed, thanks for the settings.
I'm testing a render, right now, using f/5.6, focused just beneath the "surface" of the sphere. This will be my first fray into camera settings, so I'm still a newbie (even though I used to do this sort of stuff with POV, 15-years ago.)
It looks like the Twilight interface makes things a bit easier (rather than just using KT.)
Thanks again,
Taff -
btw if you are looking thin film interference like effect for KT, you can find a procedural texture, mIridescent, in Procedural Textures by Chris Hegarty (Windows).
-
BTW Taff, a little OT but as far as I remember, this was also one of your models:

Of which I made this simple render first:

then this one with a glass dome:

(This was for a help forum discussion as far as I remember although the OP never came back)
Advertisement


