Creating a hollow cylinder
-
Hi,
Very noob question!!
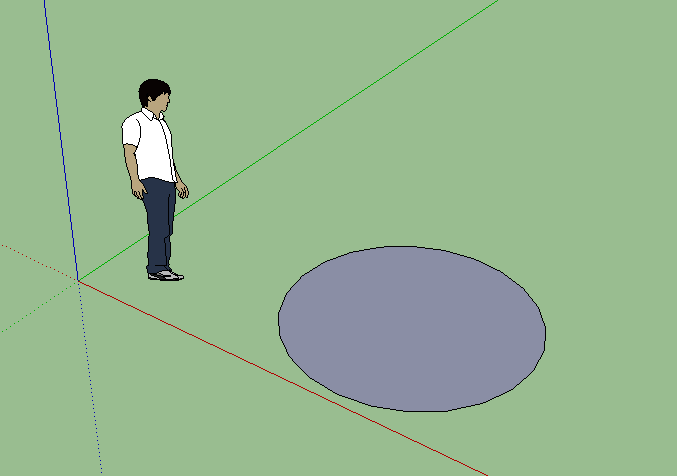
I can create a circle, and using the push-pull tool I can extrude it into a cylinder.
I now wish to make it hollow, like a pipe or tube
I want to draw another circle on the original circle, then use the push-pull tool to create the pipe
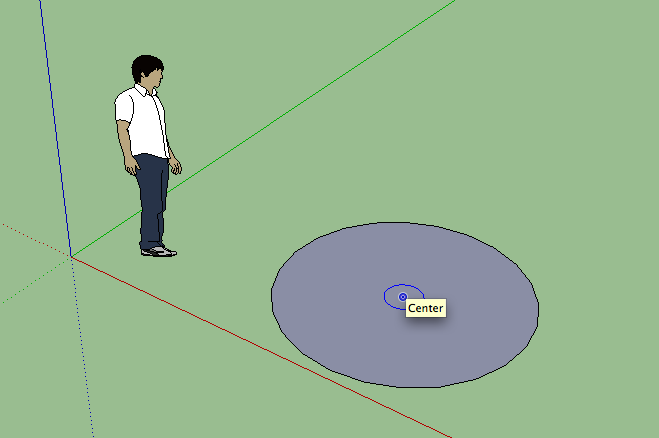
The problem is, getting the centre of the second circle aligned with the centre of the first circle
How is this done (in nice easy steps please)
Rock
-
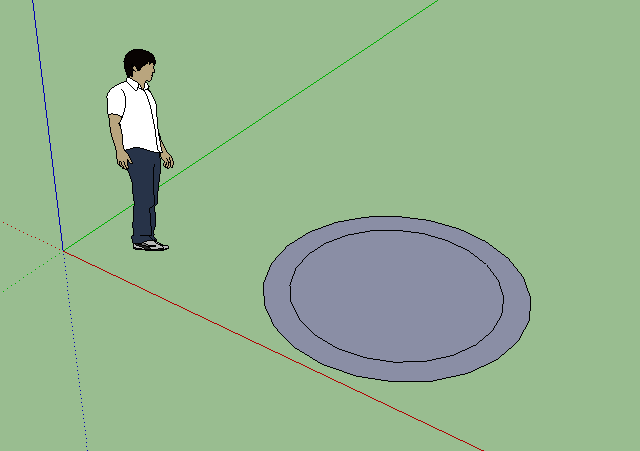
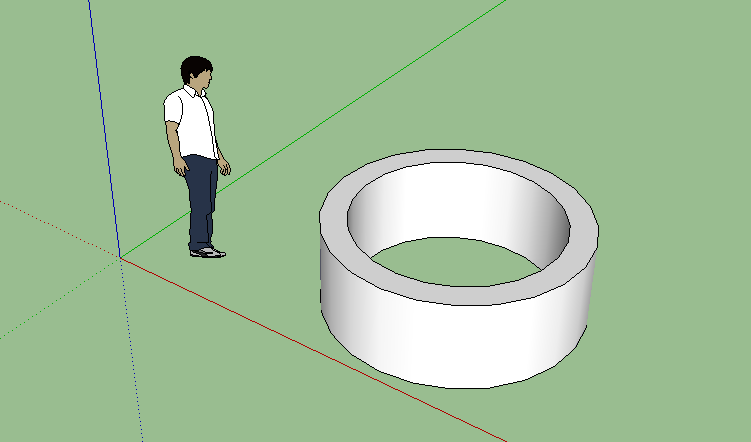
Hi Rock, use the offset tool instead. :draw a circle, offset the circle and then pushpull the tube.
Or, following your workflow, pick the circle tool, hover with the pencil on the circumference a second (not clicking) then go to the middle of your face and you will find the centre. -
@massimo said:
Hi Rock, use the offset tool instead. :draw a circle, offset the circle and then pushpull the tube.
Or, following your workflow, pick the circle tool, hover with the pencil on the circumference a second (not clicking) then go to the middle of your face and you will find the centre.Once you learn how then look at the plugins Pipe Along Path and Tube Along Path. Sorry I don't have the URL. Start with SMUSTARD
-

-
I don't have too much to add - unless that on thisforum (apparently), you shouldn't just post and leave (hoping that by tomorrow someone will post some useful info) but stay for about 10 minutes and all these very helpful gentlemen above will provide you with excellent solutions.
-
Many thanks for those tips. I have practiced, and they work!
Now I have just made my first fluted column too. I was hoping that I could do it using the protractor, knowing how many degrees for a 6 flute column, but I found that there was no indication of how many degrees the protractor was extending (strange for a protractor), but I did it by setting the circumference snap to multiples of 15 degrees, and finding the appropriate green dot along the circumference.
I did it using this procedure:
-
Draw a circle 8m diameter (4m radius)
-
Pull it up to 50m height (this is for a skycity column, the flutes will carry the glass elevators)
-
Draw another circle inside it, of 5m diameter, same centre (using the methods above), and push that circle out to form a cylinder.
-
Draw six circles of 2m diameter, spaced at 60 deg apart, and with their centres on the circumference of the large circle. Delete the part of the circumference of these small circles outside of the large circle.
-
Select the part of the small circle that is inside the large circle and pull each of the six all the way down, to form the flutes.
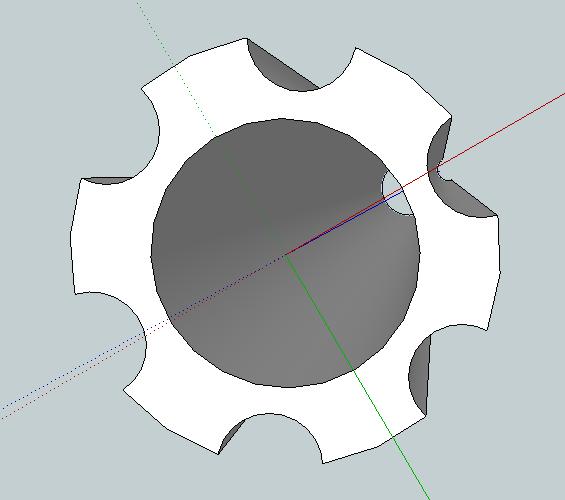
Done
-
-
Cool. U(sincerely - I do remember these moments...)
Anyway, you could have spared some of thwe work (deleting parts of the circles) by using teh arc tool instead.
Moreover, you can always enter values into what's now called the "Measurement box" (in older tutorials you will find reference to a certain "VCB" for this). So in a case of an angular input, just type the angle and hit Enter.
Also, to make it easier, scroll down to where uit says about "Radial arrays" on this page.
(and when you are at it, also examine Linear arrays here)
Hello! It looks like you're interested in this conversation, but you don't have an account yet.
Getting fed up of having to scroll through the same posts each visit? When you register for an account, you'll always come back to exactly where you were before, and choose to be notified of new replies (either via email, or push notification). You'll also be able to save bookmarks and upvote posts to show your appreciation to other community members.
With your input, this post could be even better 💗
Register Login


Advertisement