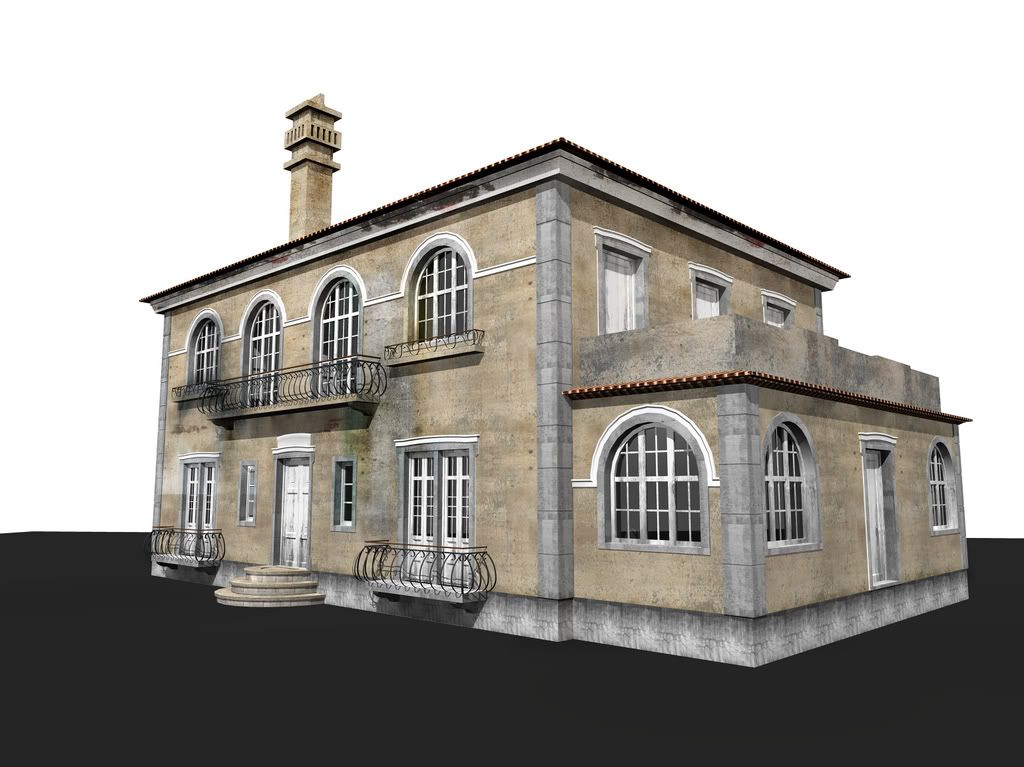
Silvershadow's eye candy 1: The river runs thru it
-
Nice tutorials! And a very nice model

try to texture that!


-
%(#BF0000)[hee hee im am going to texture it...just need to make time for it since im doing this in evenings in my free time.. but till then here are some tips and tricks i spilled a while ago how to dirtmap models.


this model is way more difficult and could be more fun than any model i have textured before.. so i will keep you guys posted when i have something more to put on the table on this thing again.
 ]
] -
Wow, a treasure trove of greatness

Cannot wait to see more! Keep up the great work.silvershadow, have you posted this over on the google groups?
I think it would be good to have it on their site. -
Amazing work, thanks for sharing tips and the tutorials.
Cheers,
Mateo -
wow..this is great.. a cartoony look out of sketchup is not easy! i'm in awe.. keep going..please

-
Really really excellent, thank you very much

-
WOW! Truly blown away! There is a new standard to strive for with SU!
-
EYE CANDY indeed....but most of us have a sweet tooth so keep giving us sweet morsels to look at.
-
@silver_shadow said:
Today i want to share the power of sketchup itself, to encourage those who thinks sketchup is just a tool that can only build block models and nothing more.
thankyou.
i think you have the synthetic path for some new tools for the version 7
so I wont buy it if those mixes of rubies are not fusionated in smart tools that lead to your results.¡ -
...Fine work, fine mood...

 let,s continue to create the similar further ... Many thanks!
-
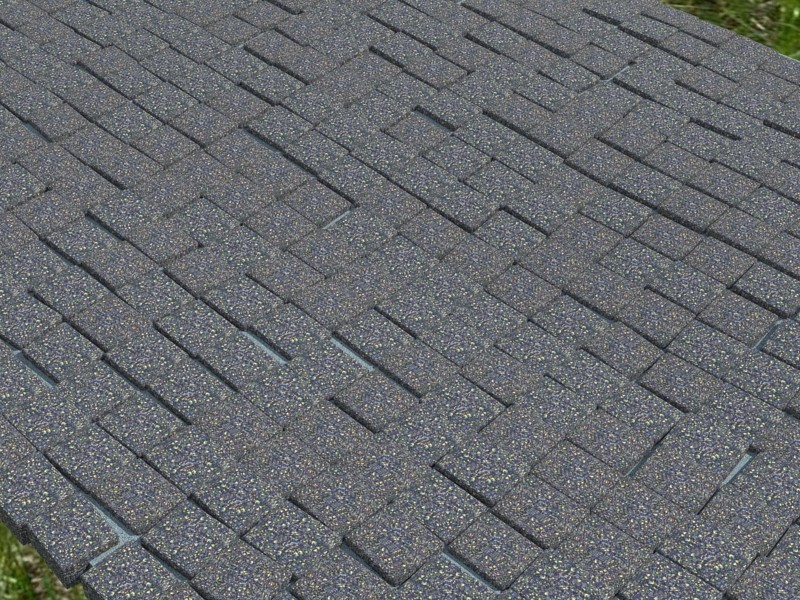
After I rendered the cobbles I remembered TIGs Matrix Proximity script. It allows you to create an array of components with some variation in size, placement and rotation. It adds an extra level of 'difference' if you need it.
Bob
PS For some reason about half of the cobbles turned over on dropping so I had to make both sides rounded.

-
This is one of the best I have ewer seen of sketchup,original and fascinating!
-
@greyhead said:
After I rendered the cobbles I remembered TIGs Matrix Proximity script. It allows you to create an array of components with some variation in size, placement and rotation. It adds an extra level of 'difference' if you need it.
Thanks for the info on TIGs script Bob, that is a new one to me

-
I cannot seem to locate it but I once remember talk about a 'Greeble' script, my thinking was that this too could be a solution.
However Silver you certainly used SP in a very creative way. -
I think it's part of the projection.rb ruby script.

-
@unknownuser said:
GreyHead"]After I rendered the cobbles I remembered TIGs Matrix Proximity script. It allows you to create an array of components with some variation in size, placement and rotation.
thanx a lot, will have a look at this
 looks really cool
 -
@silver_shadow said:
:idea: ....comments are welcome...

Hi Silver,
I followed your directions above and, after some fooling around, was able to duplicate your cobbles paved on a contoured surface. I did notice a couple of things to keep in mind for future projects: 1. The amplitude of the curved surface can't be very big (difference between high and low points) or the cobbles fall off. 2. The distance between the substrate and the cobbles must be minimized or the cobbles bounce when they hit and end up all over the place.
Thanks for the tut,
Tom -
yea i know. try this too
copy your site to a new drawing. rotate it to be not so steep.
Maybe you can try boxing it in also so nothing gets spilled. Try to divide the areas to controll groups and if it works, just remove the dividers afterwards. (just a thought )
) -
@solo said:
I cannot seem to locate it but I once remember talk about a 'Greeble' script, my thinking was that this too could be a solution.
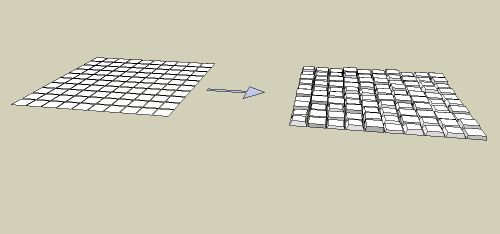
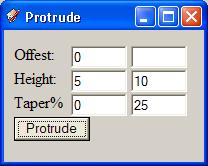
However Silver you certainly used SP in a very creative way.It's not well documemented, but protrude can offset, protrude, and taper faces. Leave the second column blank unless you want a random number btween the range.

This model was produced using these inputs:

-
%(#BF0000)[STAGE 2
 LIGHTING
Hi guys. Im moving now into stage 2 of my model.
but before i start i want to know, because we are having this discussion.
What is better for setting up light. Using sketchup's sun angles,or using multiple lights
omnis and rectangulars. I am not sure what the professional line prefer to use,
skylights stand alone, omni and rectangular lights. Im just asking in general, not specific sketchup only but in the modelling industry, what will be the best results you will get ]
]
Advertisement


