@tig said:
I do the impossible immediately, but miracles take a little longer...
Lol, a slicing miracle... I can't wait
@tig said:
I do the impossible immediately, but miracles take a little longer...
Lol, a slicing miracle... I can't wait
Slotter... that's exactly it. Don't really know what to add to your description at the moment apart from laying them out neatly after slotting. I have a laser cutter at my disposal at the moment (I work in a model shop) and would love to realise some concept designs with slotter, slicer and slicermodeller. Looking forward to the next upgrade!
Yes that is almost the solution indeed... but what about the slots? Can slots automatically be made at intersections via a plugin? and then laid out nicely like in slicer?
Firstly great work on Slicer, but as many have mentioned an upgrade to slicer-modeller would be fantastic. I have also started learning paracloud gem, but as of yet there aren't enough reasons for me to go out and buy it just right now. Although I don't fully understand all its functions yet, I was particularly interested in a ribbed structure in their gallery which was created by some sort of internal 'pinch' points. It is illustrated below..

Could the slices perhaps follow bezier curves either (A) - manually created by the user, or (B )- generated automatically by some sort of 'pinching'?
Possible?? 
Thankyou Whaat for this fantastic plugin. I tried it with UVLayout. It failed to work with Sketchup 6 and had me feeling gutted that I had spent a few hours learning uvlayout for no reason. Then tried it with Sketchup 7 and it worked thankfully!
@earthmover said:
One of the issues is that once a UV is imported, it does not "stick" to the geometry it was assigned to. For example if I did not like this brick and wanted to replace it with another material, the UV's become scrambled again. Also when I try to undo after importing the UV's, I get a SU crash.
Yes, the uv's will become scrambled momentarily when you change to a completely different material, but go back to the uvtools in the plugins menu and re-import your external uv settings onto the newly scrambled material and it will revert back to the pervious mapping settings you had but with the new material.
So here is a quick example of the plugin in action:
In su7 before:
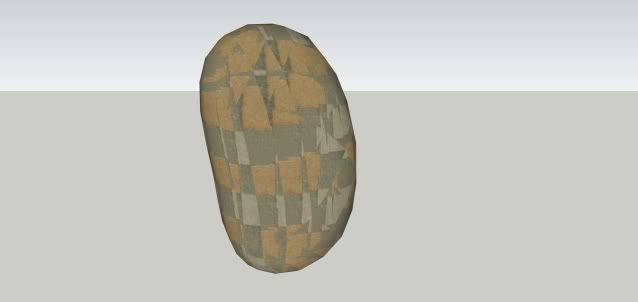
With the plugin applied using uvlayout:
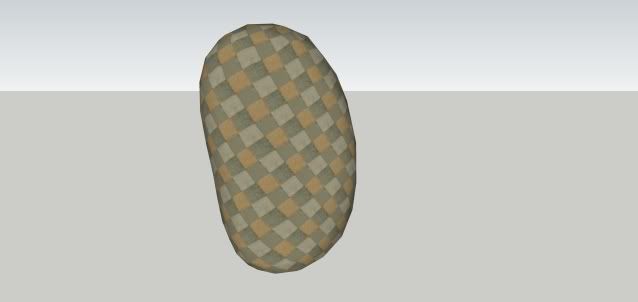
I have run into perhaps a bug though.. while I set up the uv mapping correctly in uvlayout - I got an error message when importing into sketchup. It told me import successful but 1 face failed.. This is the result:
Before:
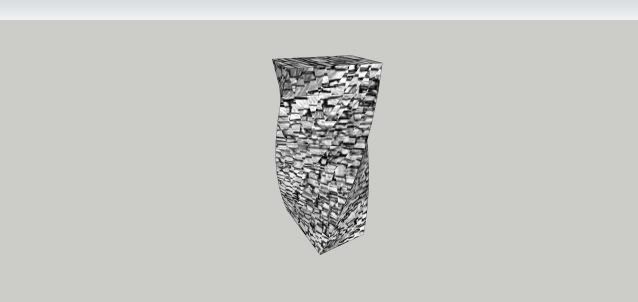
After (notice the scrambling along the center)
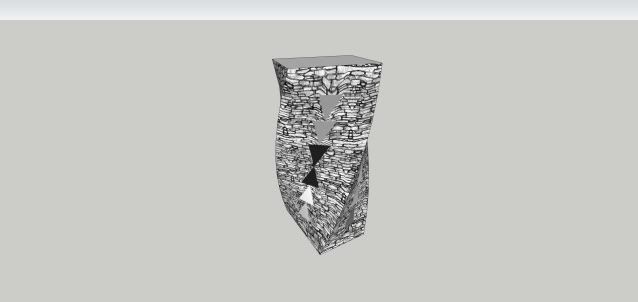
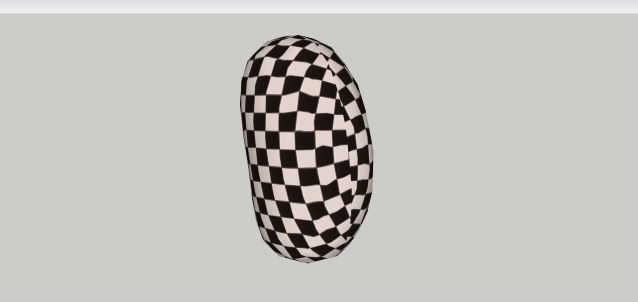
I have one more question which isn't related to the plugin but something I have experienced myself (with my basic uvmapping skills) and is something I also noticed in Whaat's videos. When I split open my mesh to flatten it, when it reassembles the joining seam never lines up correctly... any simple suggestions to combat this?? i'm thinking there must be some sort of weld function i'm missing inside the uvprogram. Here's an illustration anyway:
Architectural Lighting Test - made with one spotlight
[flash=480,360:wu9njubh]http://vimeo.com/moogaloop.swf?clip_id=5378699&server=vimeo.com&show_title=1&show_byline=1&show_portrait=0&color=&fullscreen=1[/flash:wu9njubh]
Here is a spot light inserted into Koshino House. Hope to have a little animation soon.
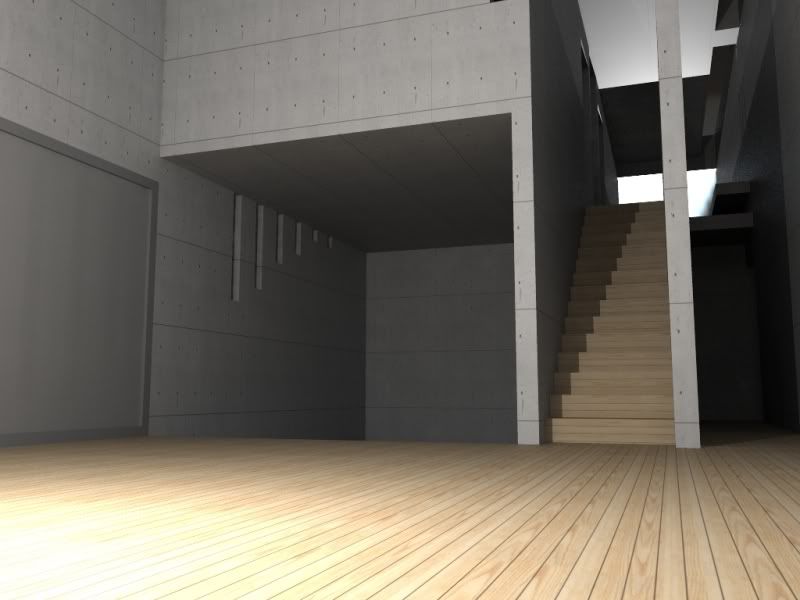
Was hoping to do something a good bit better, but HM crashed and so I lost what I was working on. Don't feel like starting again so will do something with lights next.
The banding is the result of a poor compression mode I chose from a list. Will use Divx next time.
[flash=480,360:1ucnjdh9]http://vimeo.com/moogaloop.swf?clip_id=5366762&server=vimeo.com&show_title=1&show_byline=1&show_portrait=0&color=&fullscreen=1[/flash:1ucnjdh9]