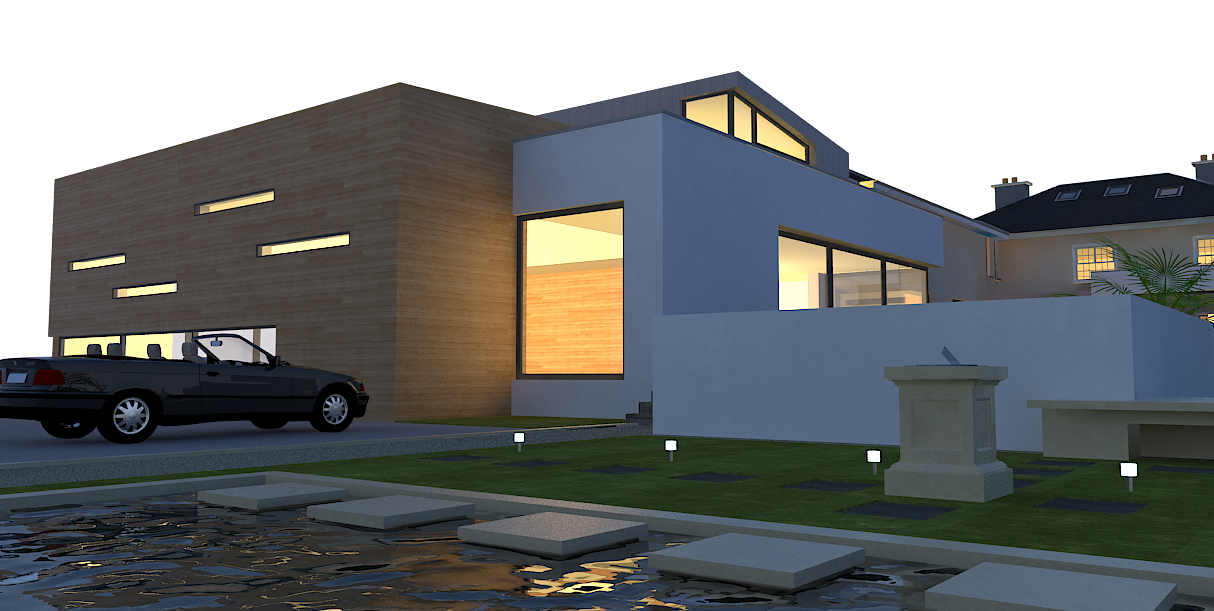
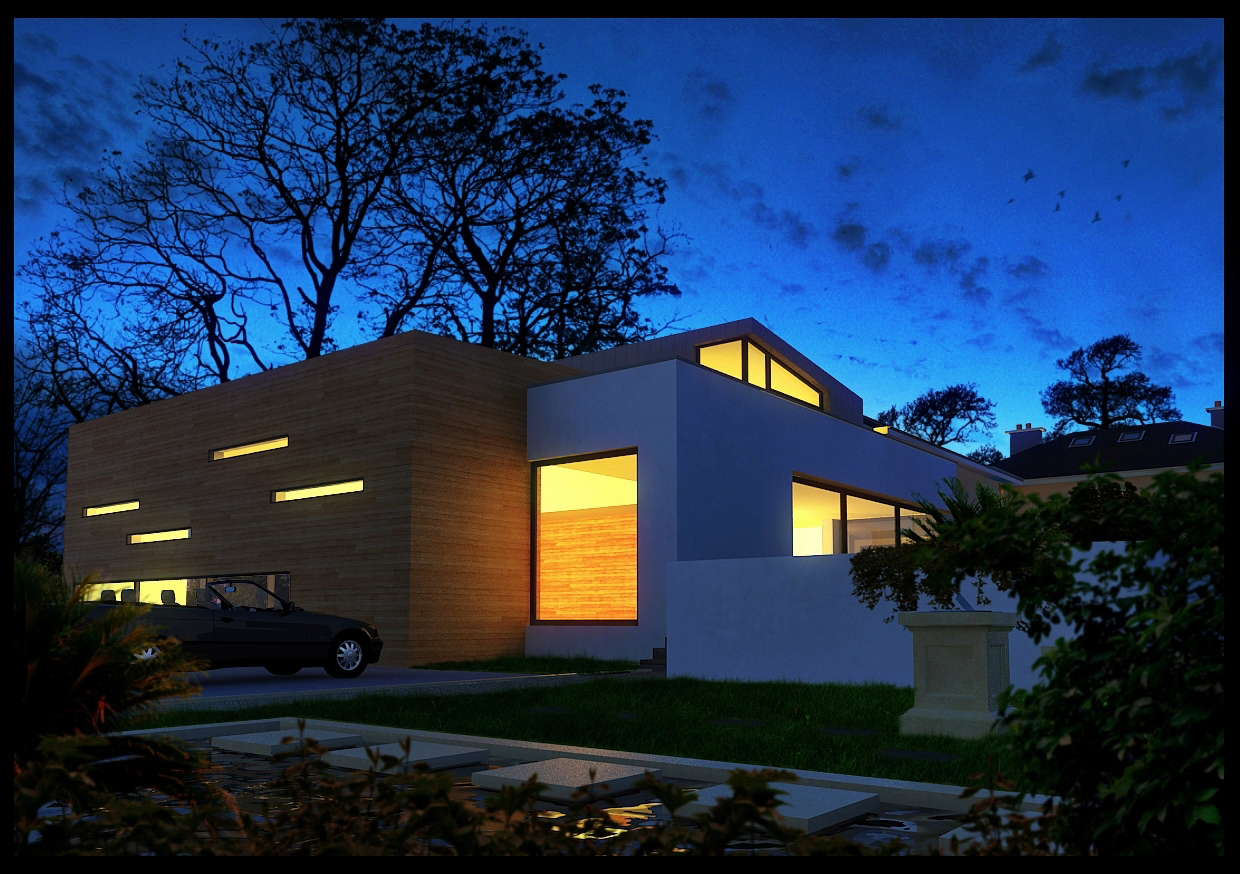
Below is a rainy evening shot.all the materials had a reflective layer added (highlight glossiness 0.75,reflection glossiness 0.9,8 subdivs)The internal lighting hasnt worked as I hoped so its back to the drawing board,so to speak.
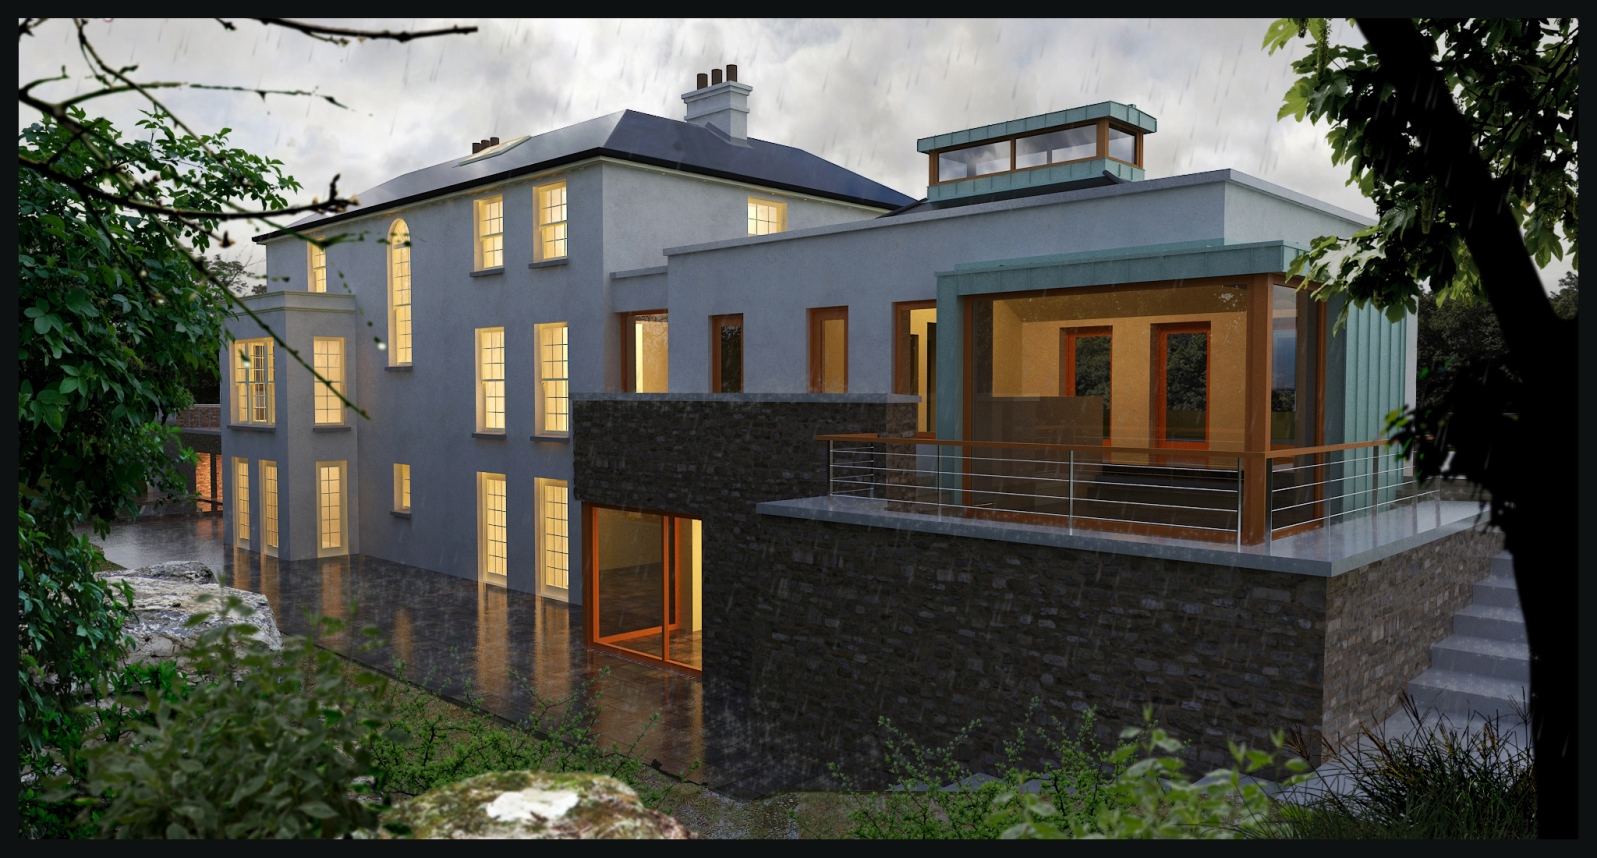
Below is a rainy evening shot.all the materials had a reflective layer added (highlight glossiness 0.75,reflection glossiness 0.9,8 subdivs)The internal lighting hasnt worked as I hoped so its back to the drawing board,so to speak.

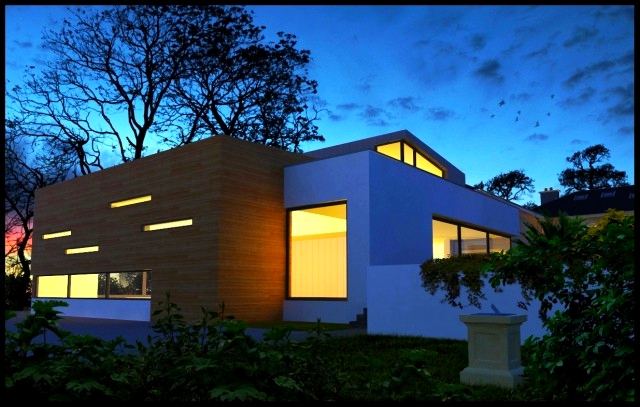
Attached is a revised evening shot.the bluish tint on the previous image didnt look right for the time of day so i warmed the image in photoshop.I then cropped the image as the original composition looked somewhat unbalanced.
I also remembered to mask out 3 windows to the rear of the building where you can now see foliage.What I always try and do is get as much contrast in my images as possible,sometimes it works,sometimes it dosent.
I will need to go back and revise the stone work as originally there was no displacement which is obvious on some of the corners.The left hand side of the stone work,above the corner window at the lower level was altered in photoshop to try to fix this.I think it partially works but it will need more work.
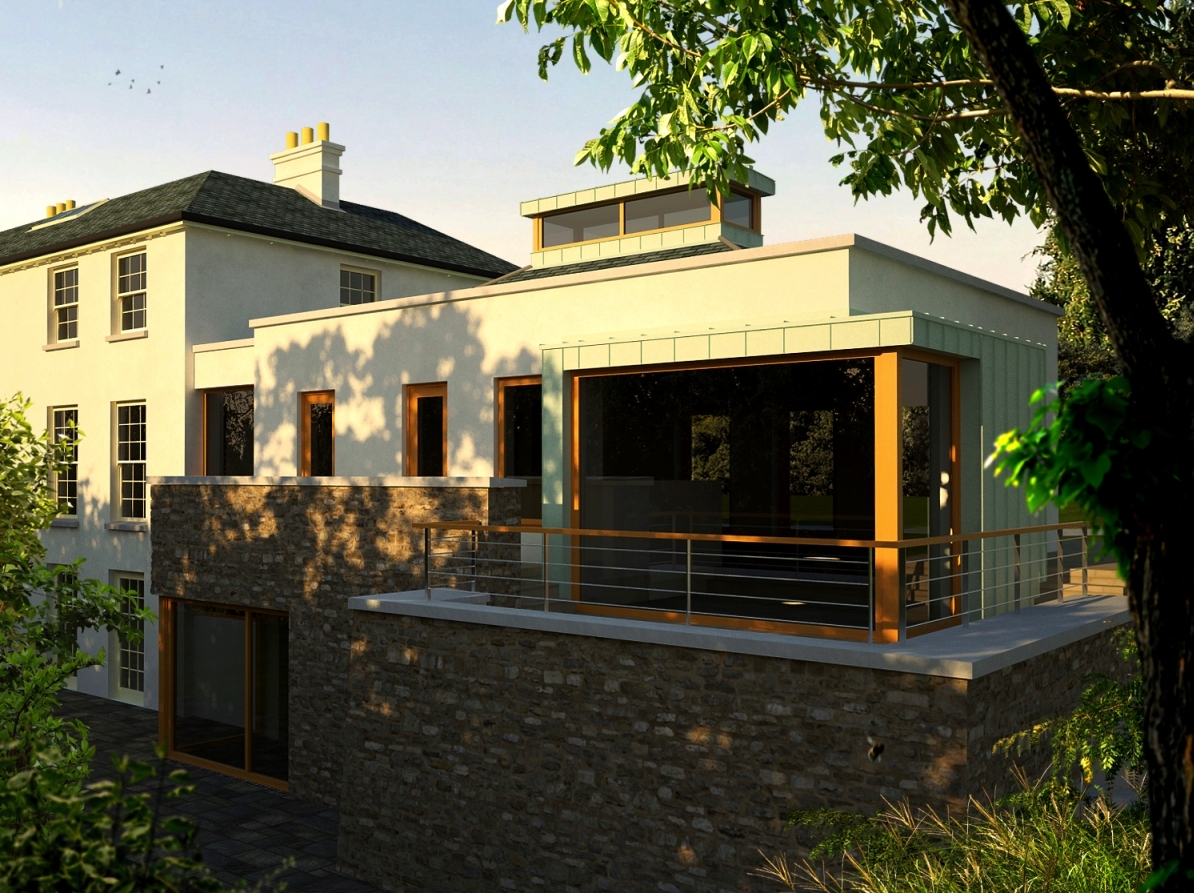
Attached is an evening shot,rendered in vray,postprocessed in photoshop
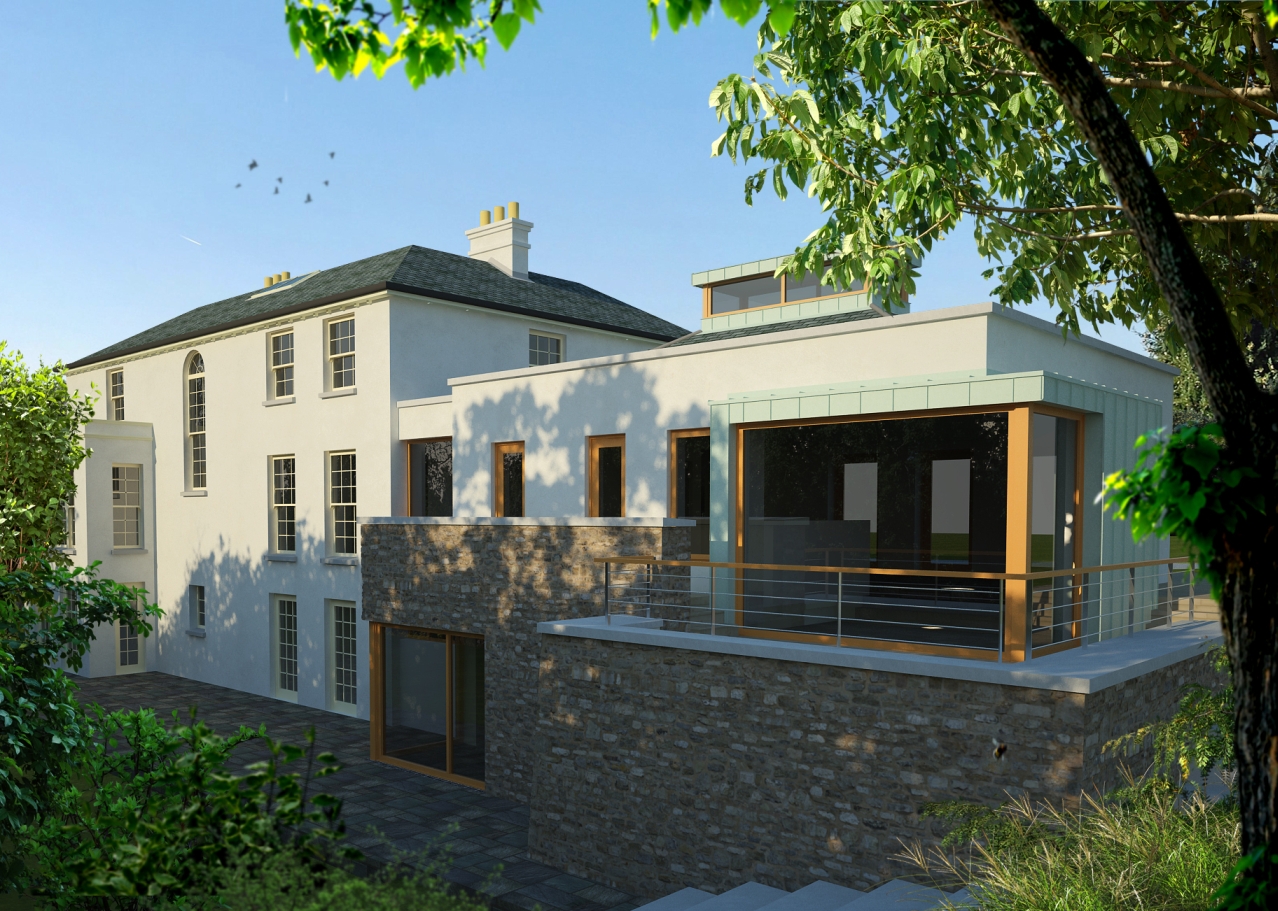
One more of this project ,this time with some playful imagery
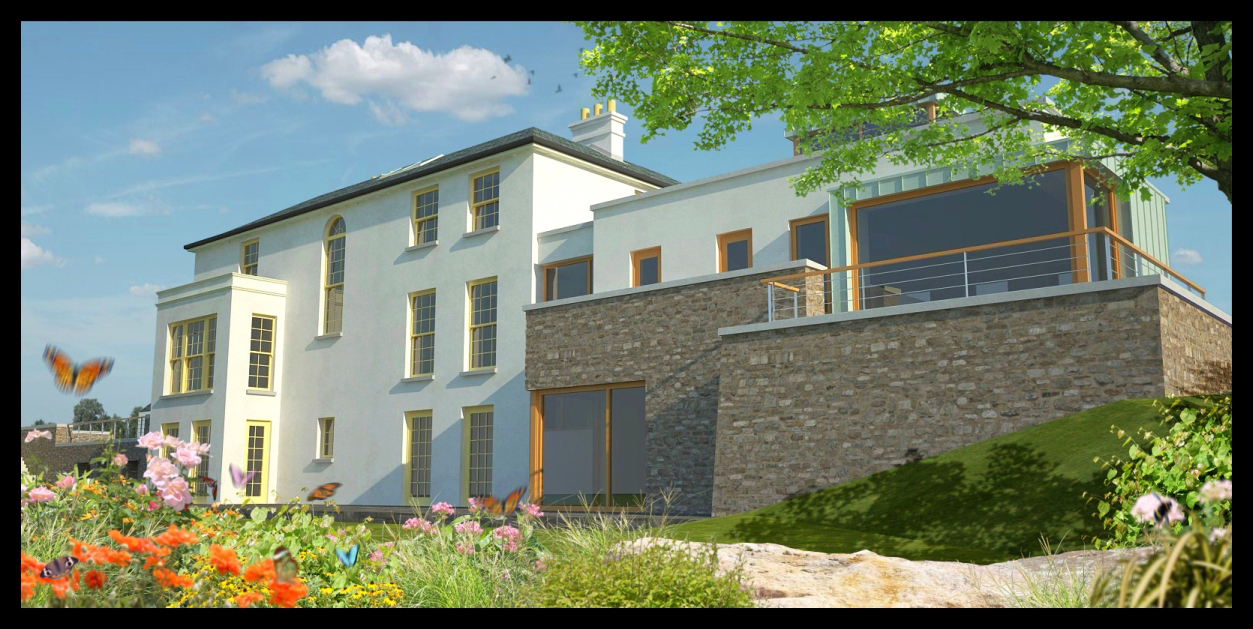
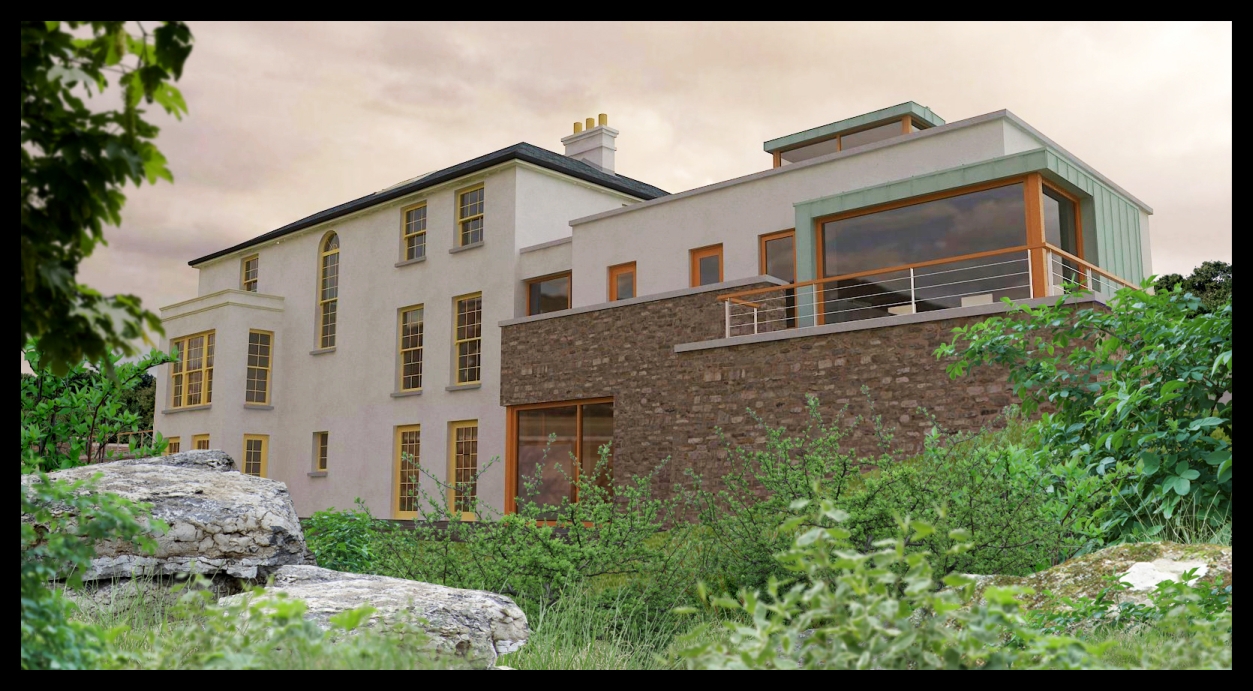
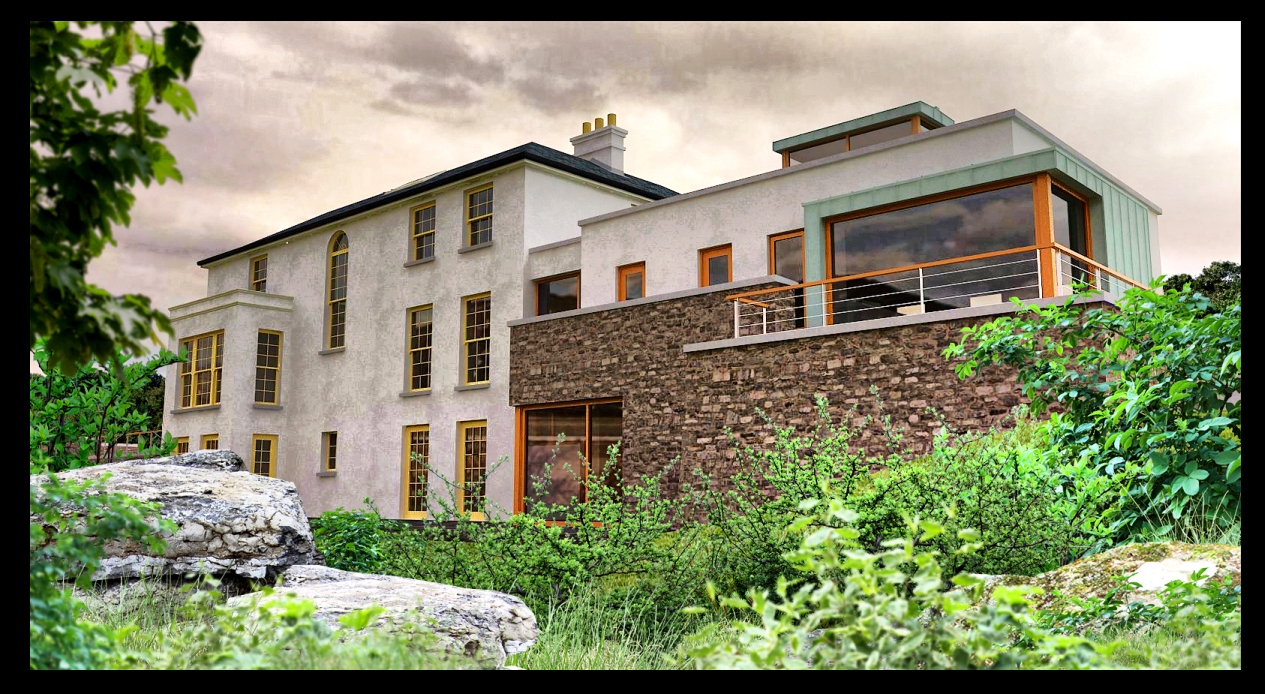
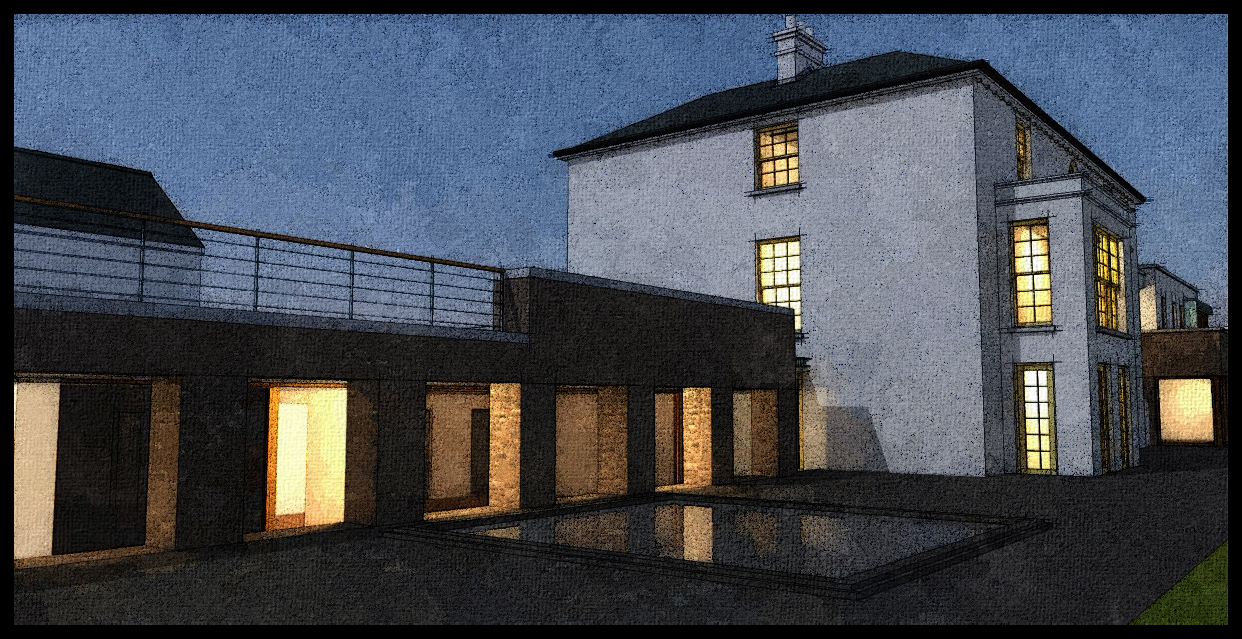
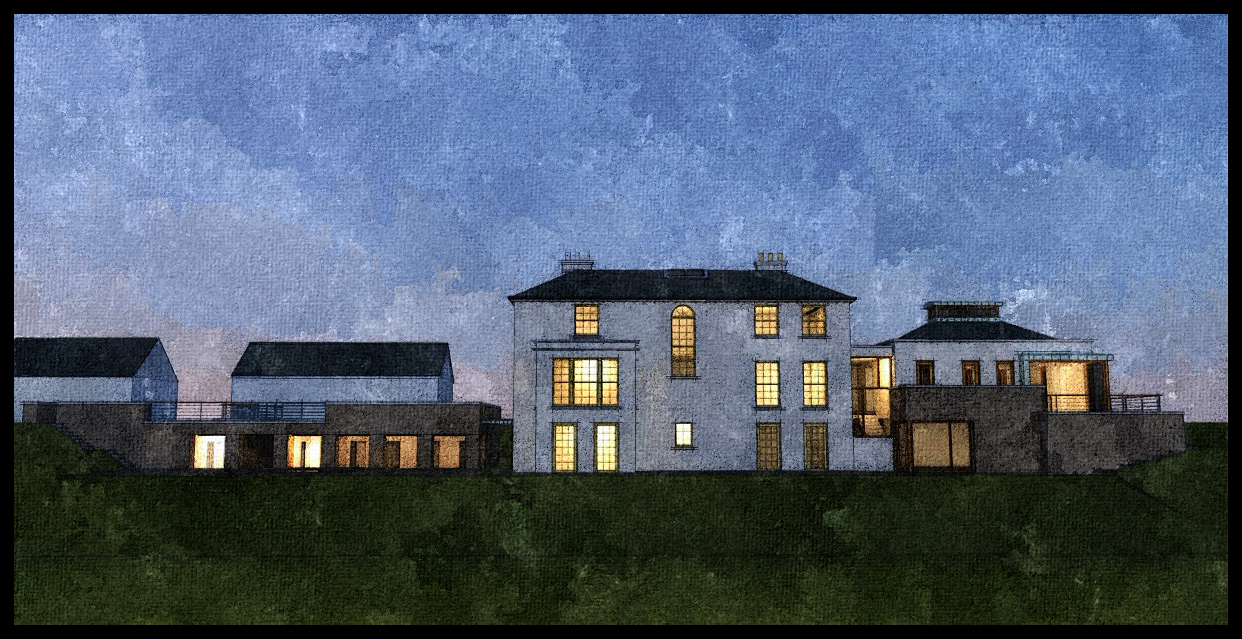
Attached are 4 images of the same project using 3 different processing methods.The first 2 are rendered from twilight,brought thru fotosketcher and post processed in photoshop.
the second is a straight render from vray with planting added in photoshop while the third is my attempt to try and create a HDRI style image from the vray render.this is not as successful as i would like because the original render is quite low in resolution and the process i use for the HDRI starts to breakup the pixels and it becomes obvious.But I do like the very sharp contrasts that are created.
The first 2(image 1 was previously uploaded to the twilight render forum)have the same foreground,in this case a .png created and just dragged and dropped.I would normally do this at the start of a post-processing job just to get a feel for how the landsape planting would work.
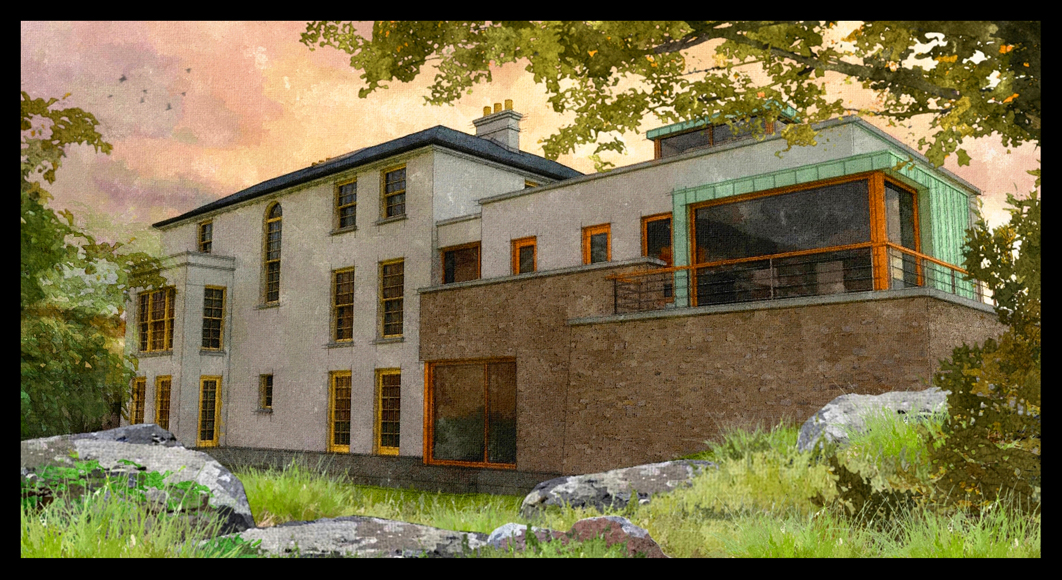
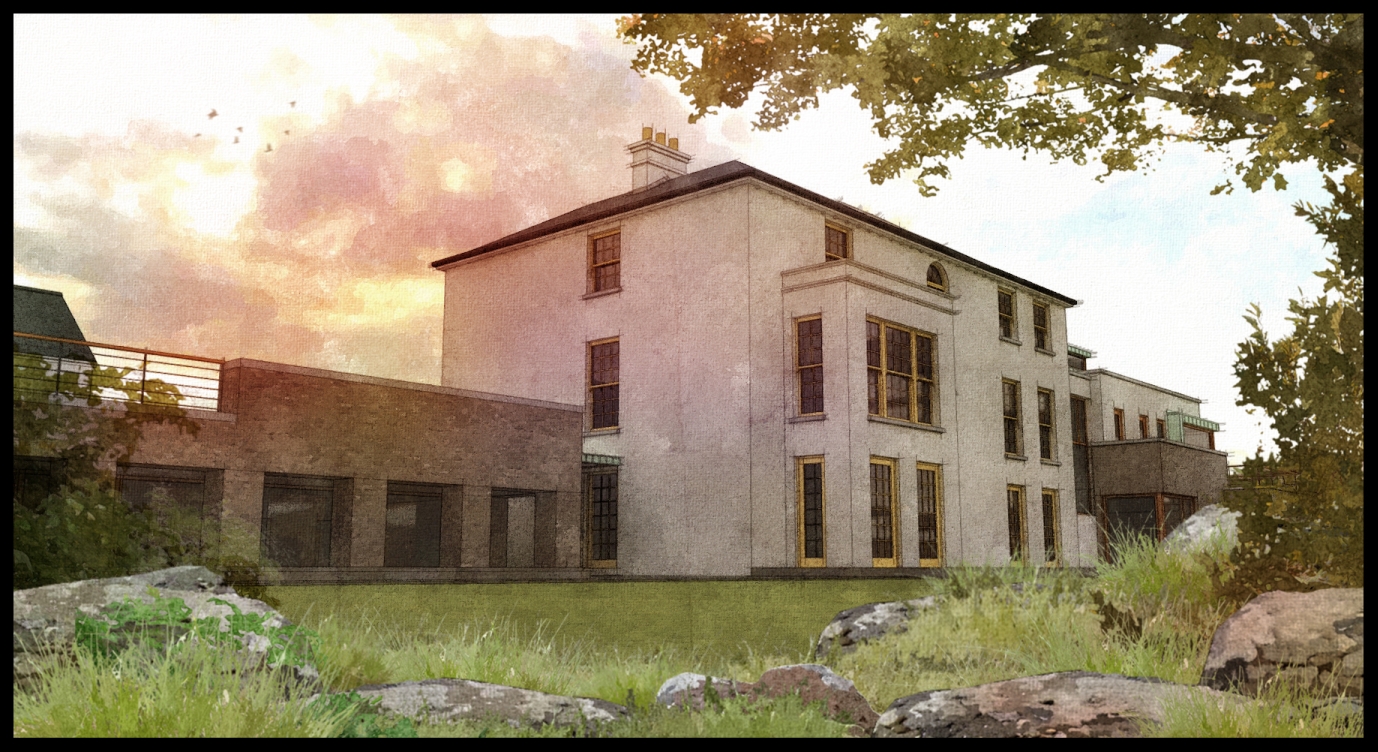
Attached is another watercolour attempt.this time it is taken directly from sketchup,i.e. no rendering and brought through the same process as before - fotosketcher and photoshop
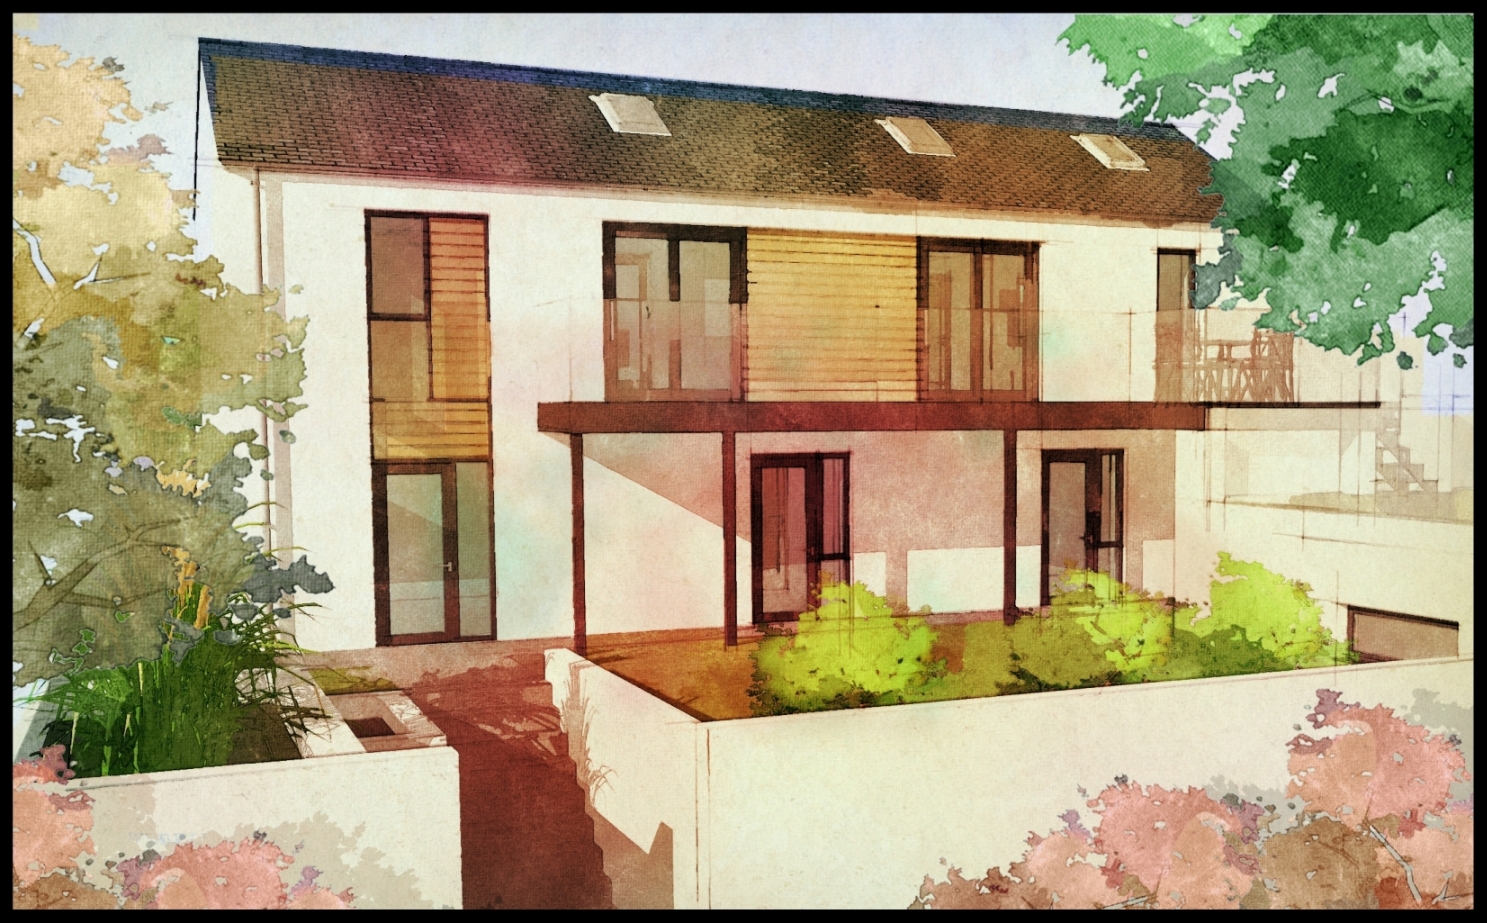
The process for watercolour is as follows:
export hidden line from sketchup,shadows off
render in twilight 5-6mins
import twilight render into fotosketcher
overlay sketchup hidden line and fotosketcher image and play around with the image blending mode and different textured papers etc.
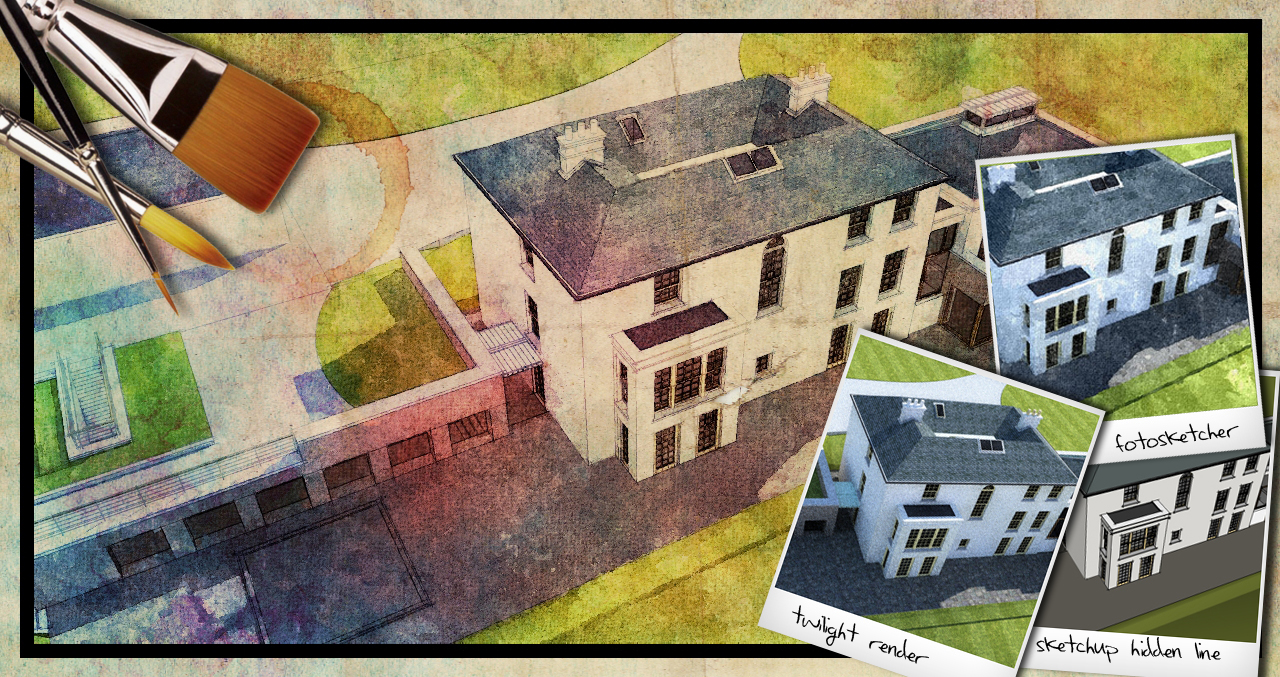
Hi flipya the base image was from fotosketcher(a wonderful program) with additional manipulation in photoshop. Below,Ive played around with aging the watercolour effect,overlaying multiple stained/textured paper images in photoshop and trying different blending modes.
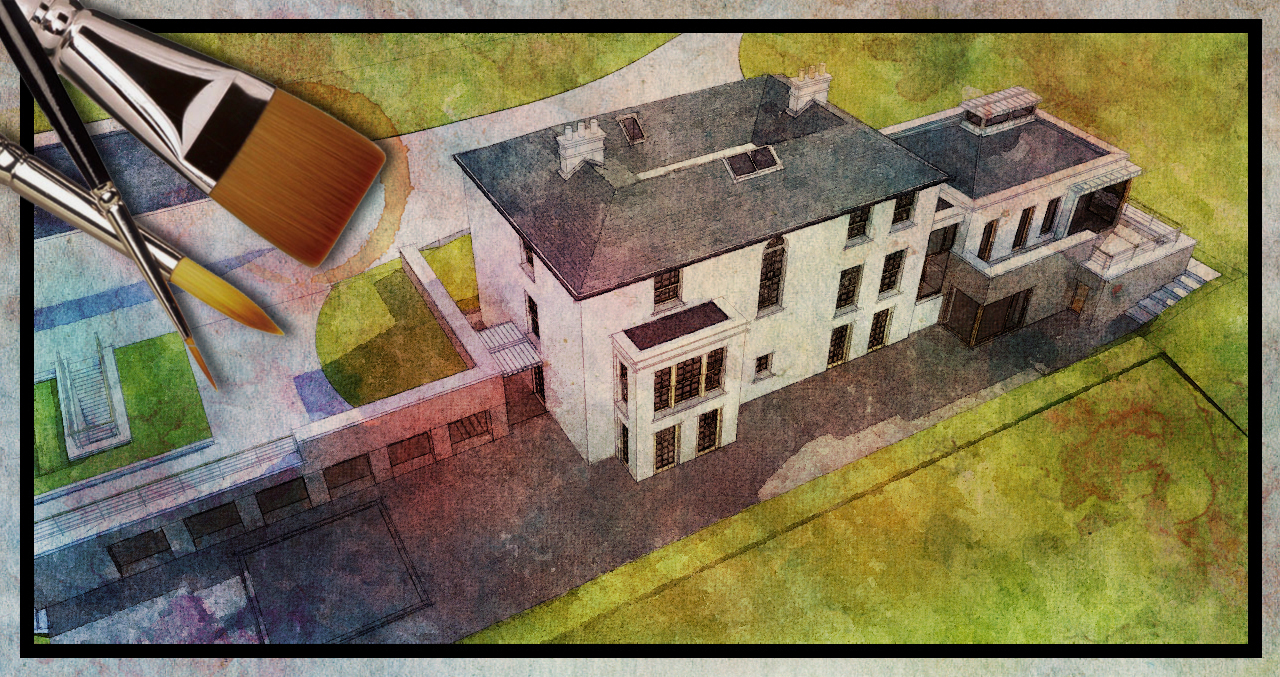
Attached are 2 more images with a watercolour effect.I am more happier with the daylight image than the with the night image as I think there is more bleeding of the colour as would be the case with a real watercolour painting.If I can get this sorted out than I will upload a tutorial if anyone is interested.
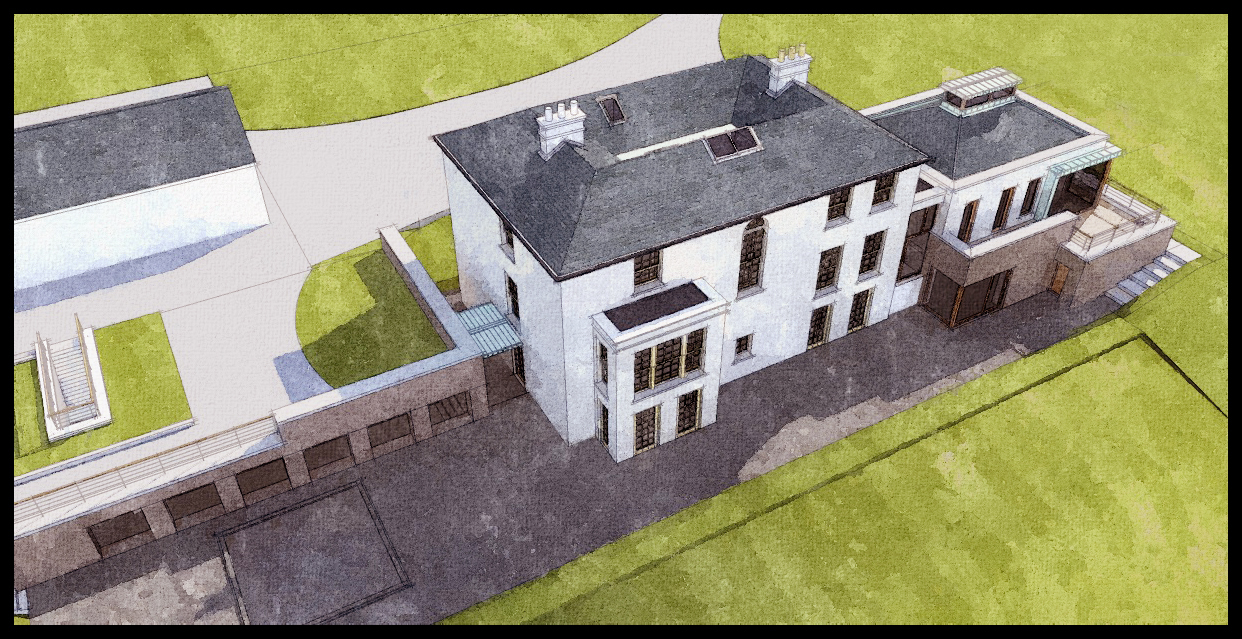
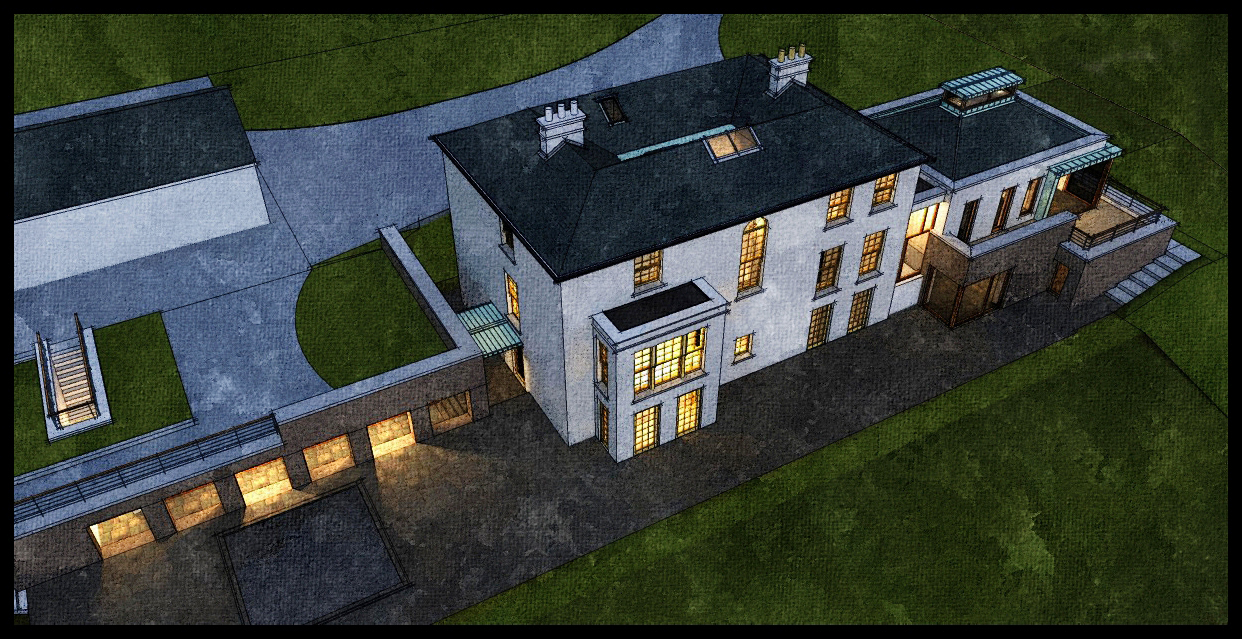
Attached are a few images with a watercolour effect added in post processing.The images were rendered in twilight and the benefit of using this watercolour effect is that the rendered images from twilight can be very noisy or grainy and it dosent make a difference.none of the base images for any of the 3 above rendered for longer than 5 mins.
There are still a few things i want to iron out but after many attempts at trying to get a quick watercolour effect,this is one step closer.Ultimately, from pressing the render button to final output from photoshop these images took 10 mins each.
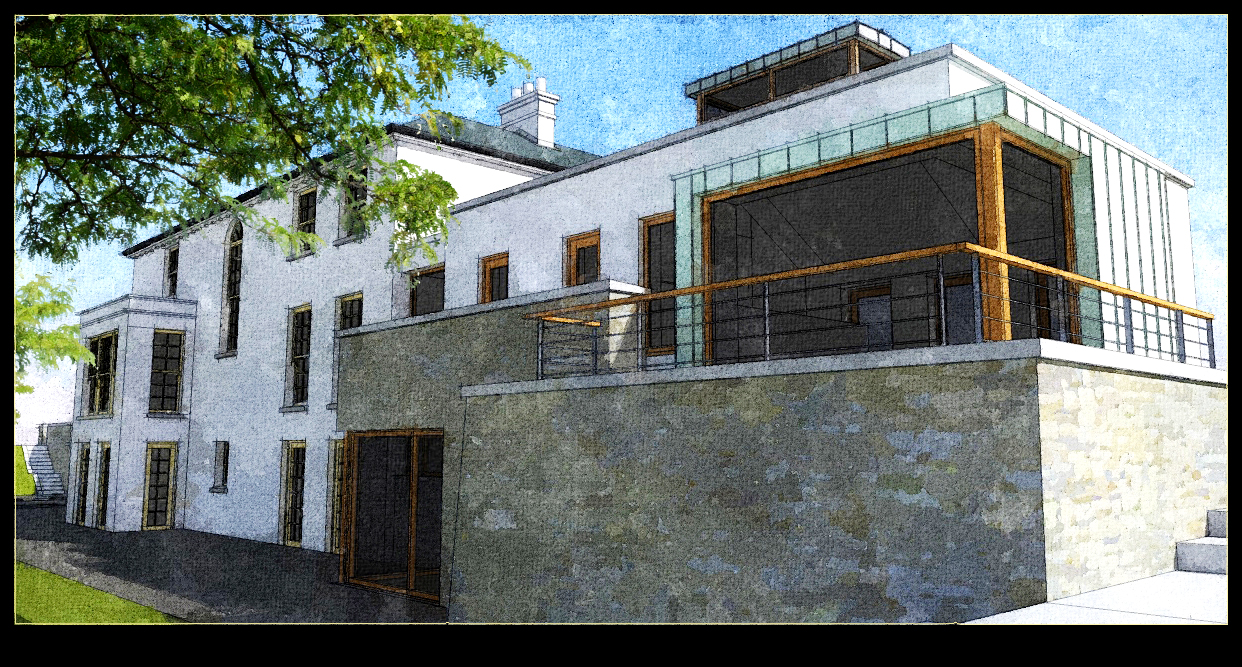
Attached are 2 more images,this time of a night shot.The top image is the original render from Vray,the bottom one the final post processed image.A decision to change the paving at the front of the image to grass was made after the render was complete but it was an easy job to change this in photoshop rather than rerendering(these are low res images,the original image files are 7mb plus).
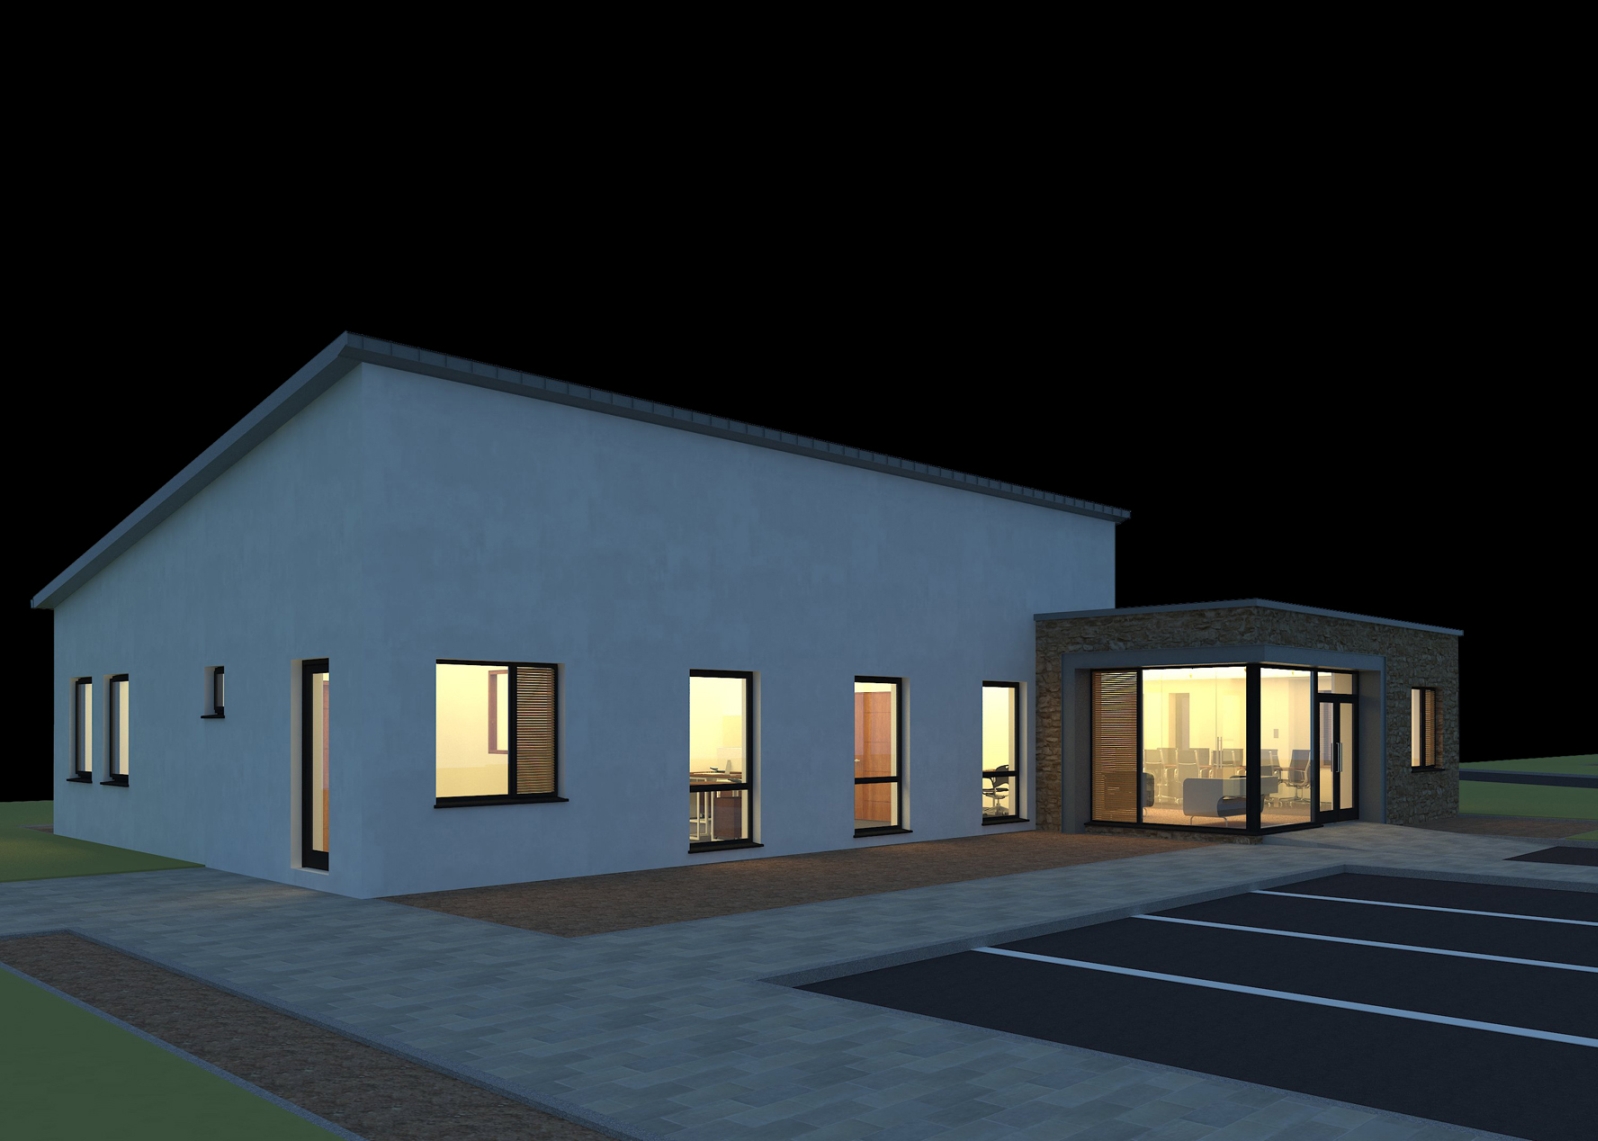
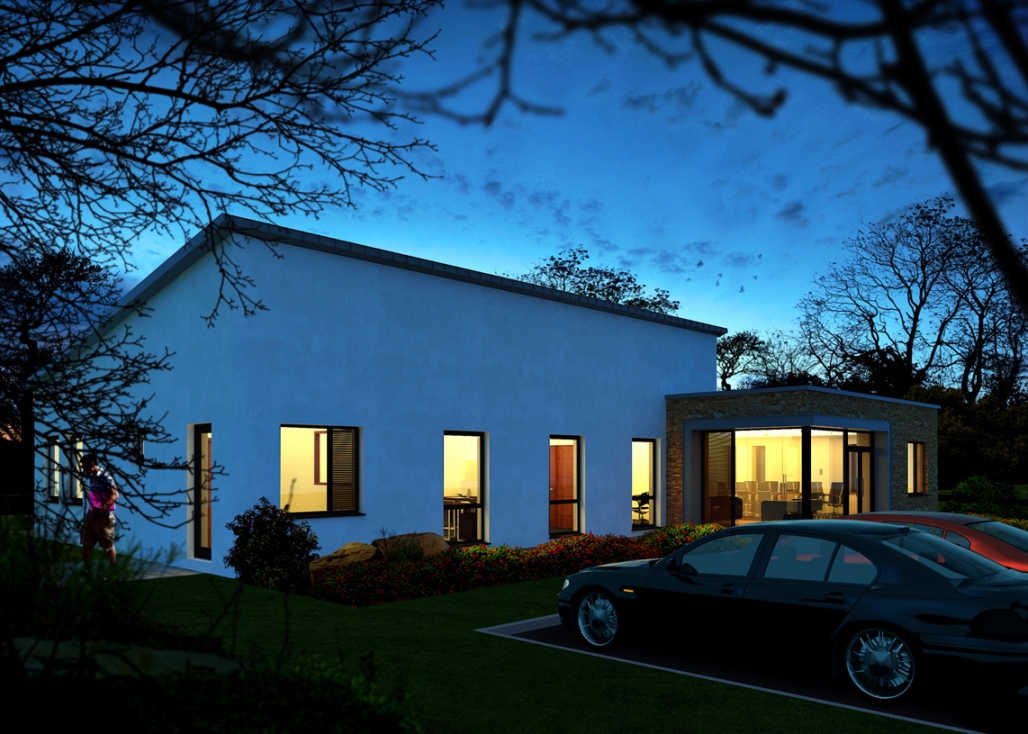
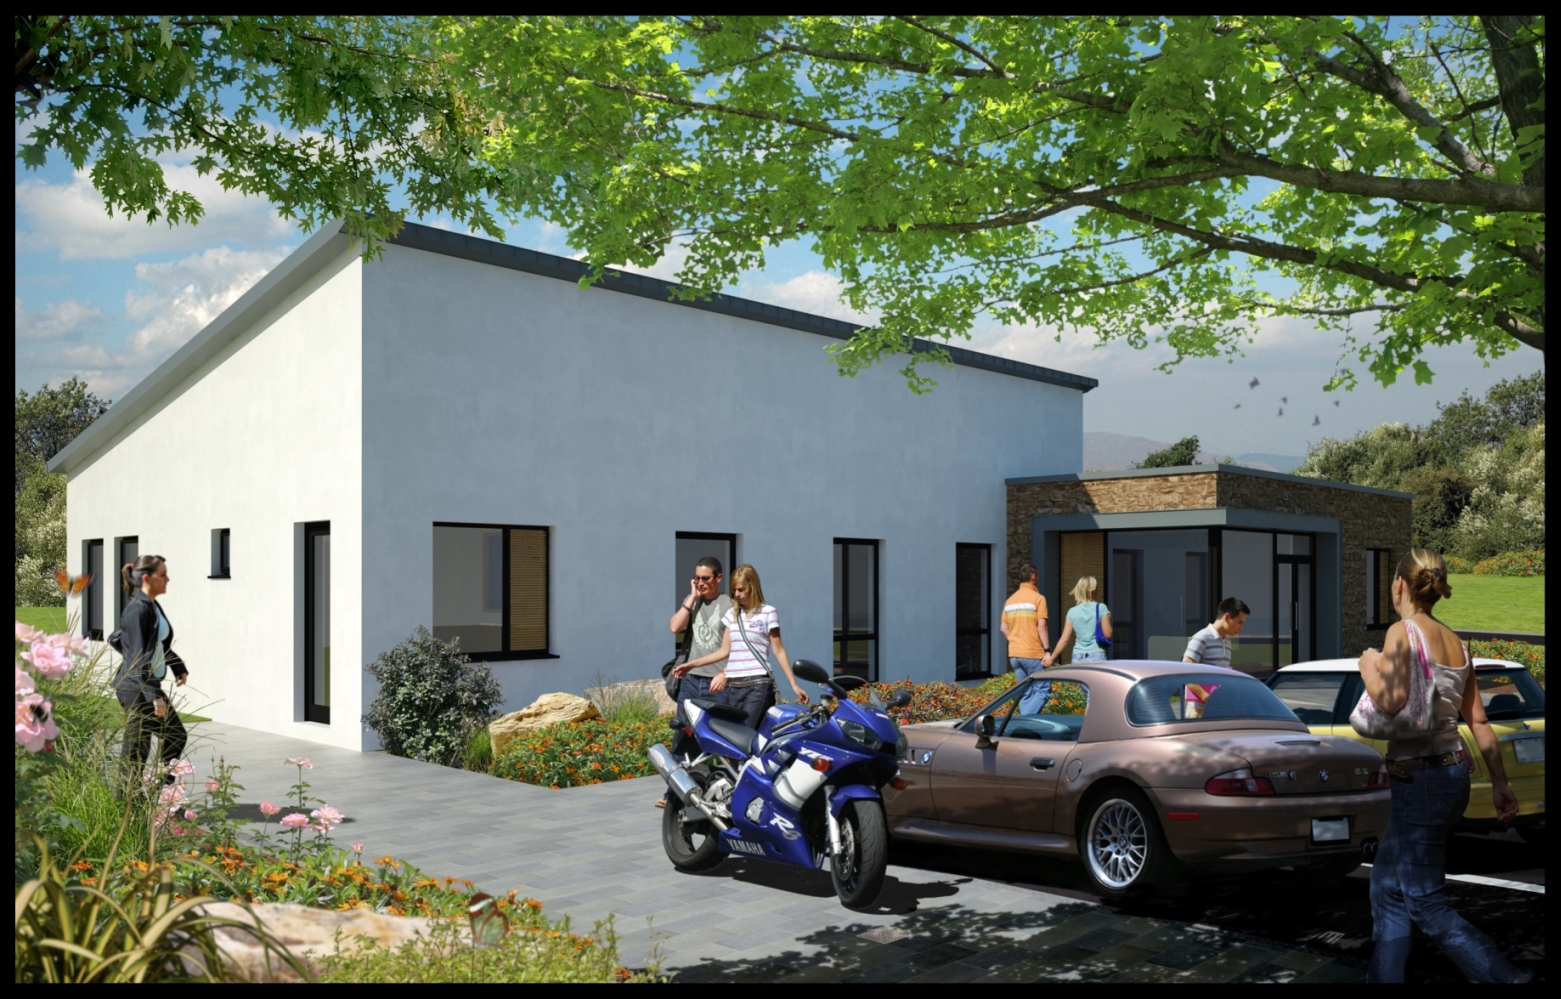
attached is an updated image with people added.
Roger,you're right about the branch in that it looked too large.I have reduced the overhang and it looks better.By the way it is a branch and not a tree turned on its side.it is part of a set I got from got.3d .
Im still not happy with the front car,the perspective at the rear is incorrect but because this is a piece of clip art,I cant distort/change the perspective without messing it up.Hopefully it is not too obvious.(The car is from a set I bought from Realworld Imagery Inc.)
Hey guys,
The assembling of the image in photoshop took about 3 hours.I went through a few options with the clip art before I was happy.The only added shadow is that from the tree.both cars and bike came with shadows.
Regarding the tree shadow,its a straight forward process:
1.I copied the tree branch layer and flipped it vertically.
2.I use the fill tool to fill the branch and leaves with a dark grey colour.
3.i used the distort function to change the angle/perspective of the leaves.
4.I copied this layer and moved it up and over so it caught the back of the cars
you can see it in the second image.although the shadow designed to fall on the cars looks like it is has a straight edge on the bottom,this is hidden by the cars
5.I reduced the opacity of the layer
Adding the shadow is a simple process but helps enormously when trying to tie the clip art into the picture.You can see by the bottom image that the tree branch without the shadow looks odd.
I always try and use clip art in my final images as It gives me a lot more flexibility to make changes(also I dont have to wait long for the vray render!)
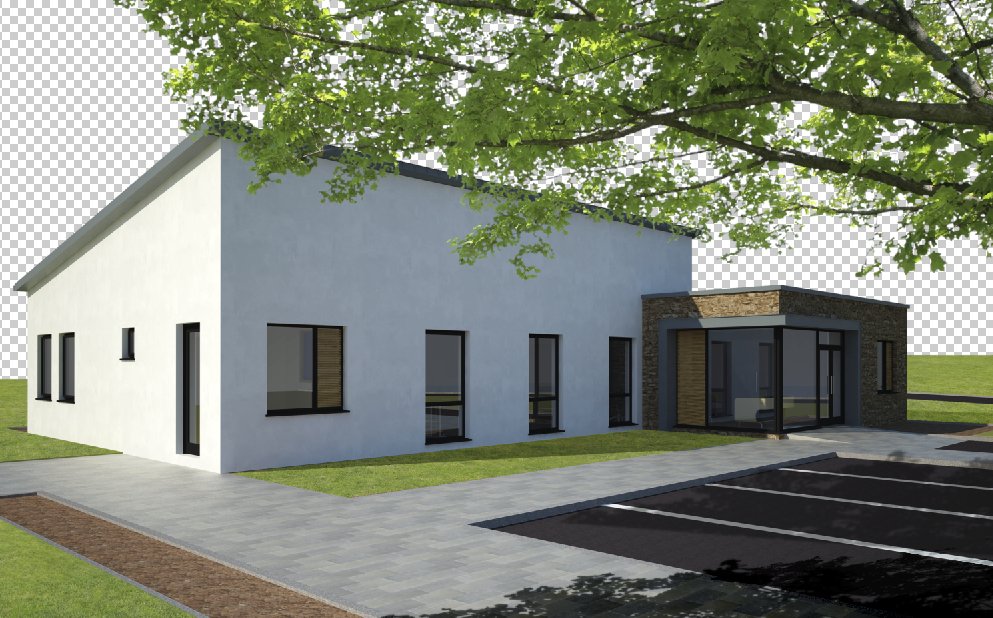
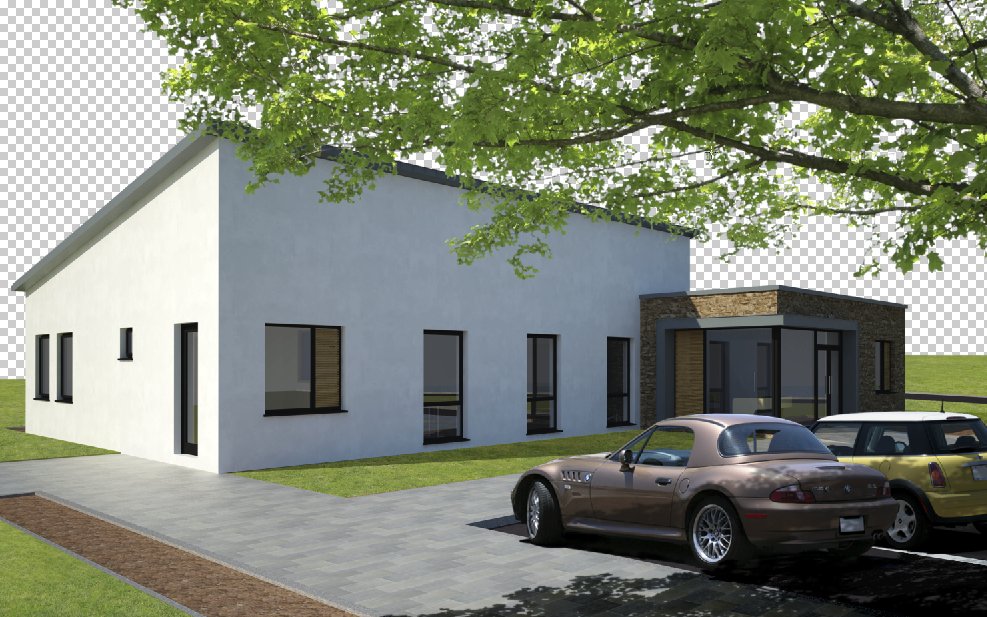
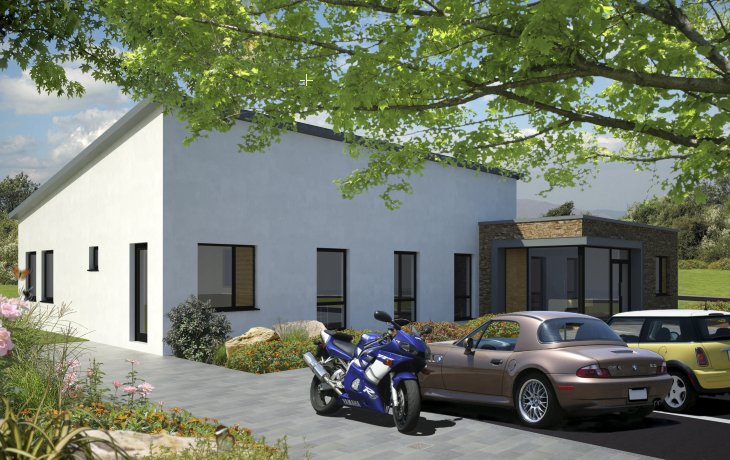
Attached is an exercise in using clip art to complete an image.the building is basic but I used 40 different layers in building up the final image.The hardest part I think is trying to ensure the lighting on the clip art is as near as possible to the original image.As most clip art is lit from a 45 degree angle it helps to light the model the same way.The photoshop file ended up at 70 mb.
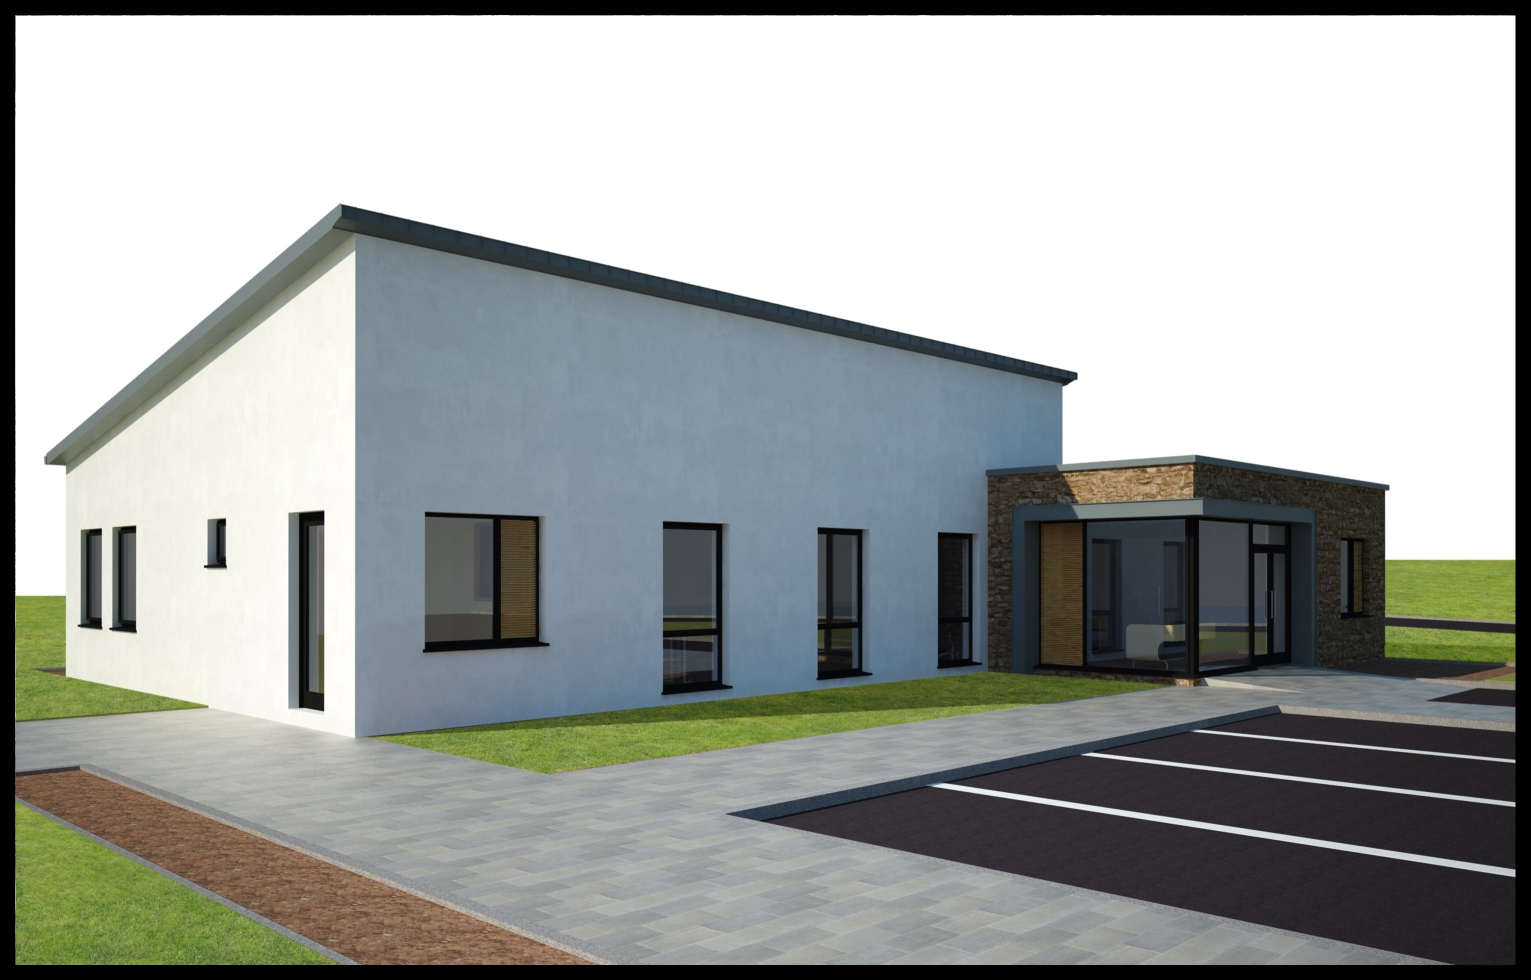
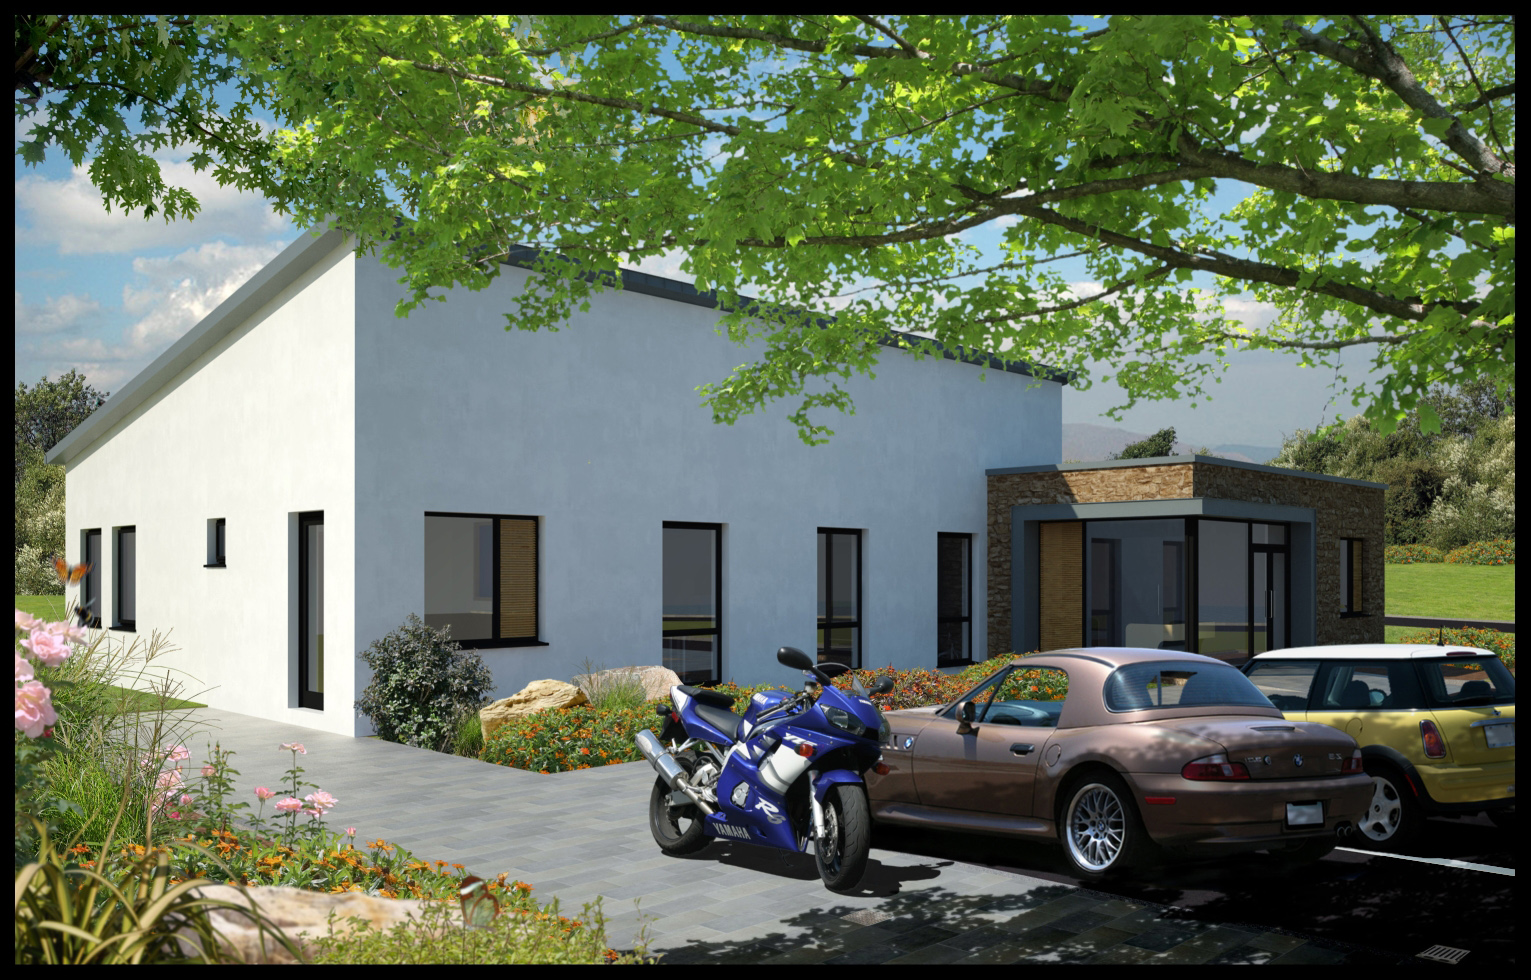
Attached are 2 night shots of the same building with different backgrounds.I think the first one with the cloudy sky works better with the overall image(the sky colour is more in keeping with the environment light) but the 2 jet contrails seem to work well with the perspective.
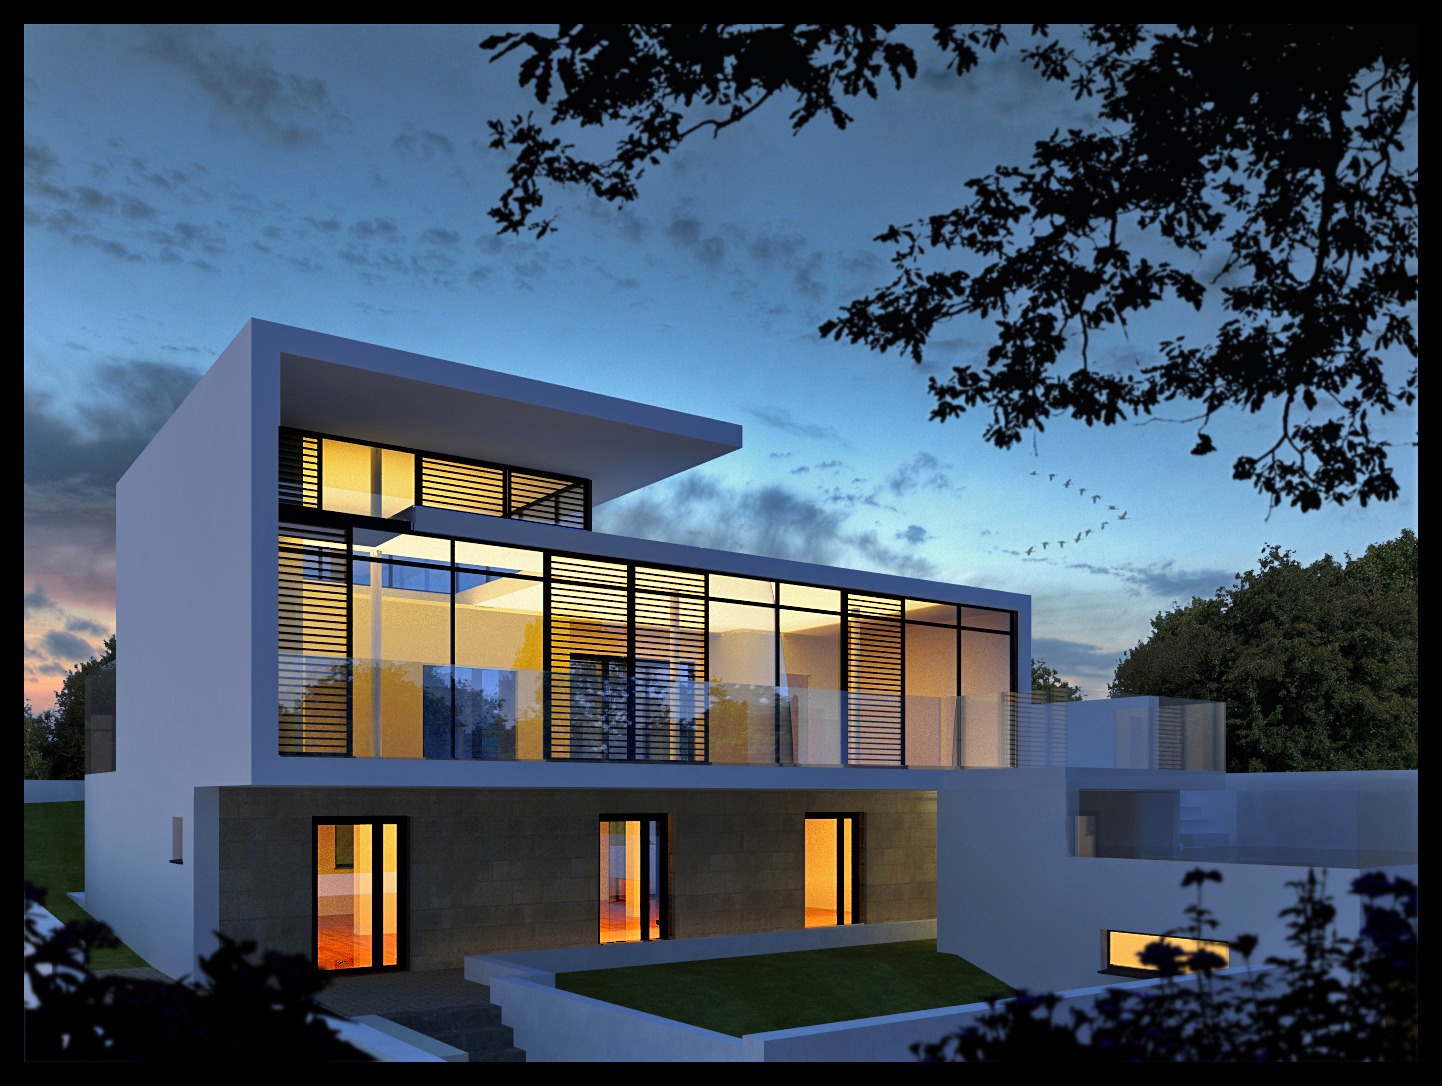
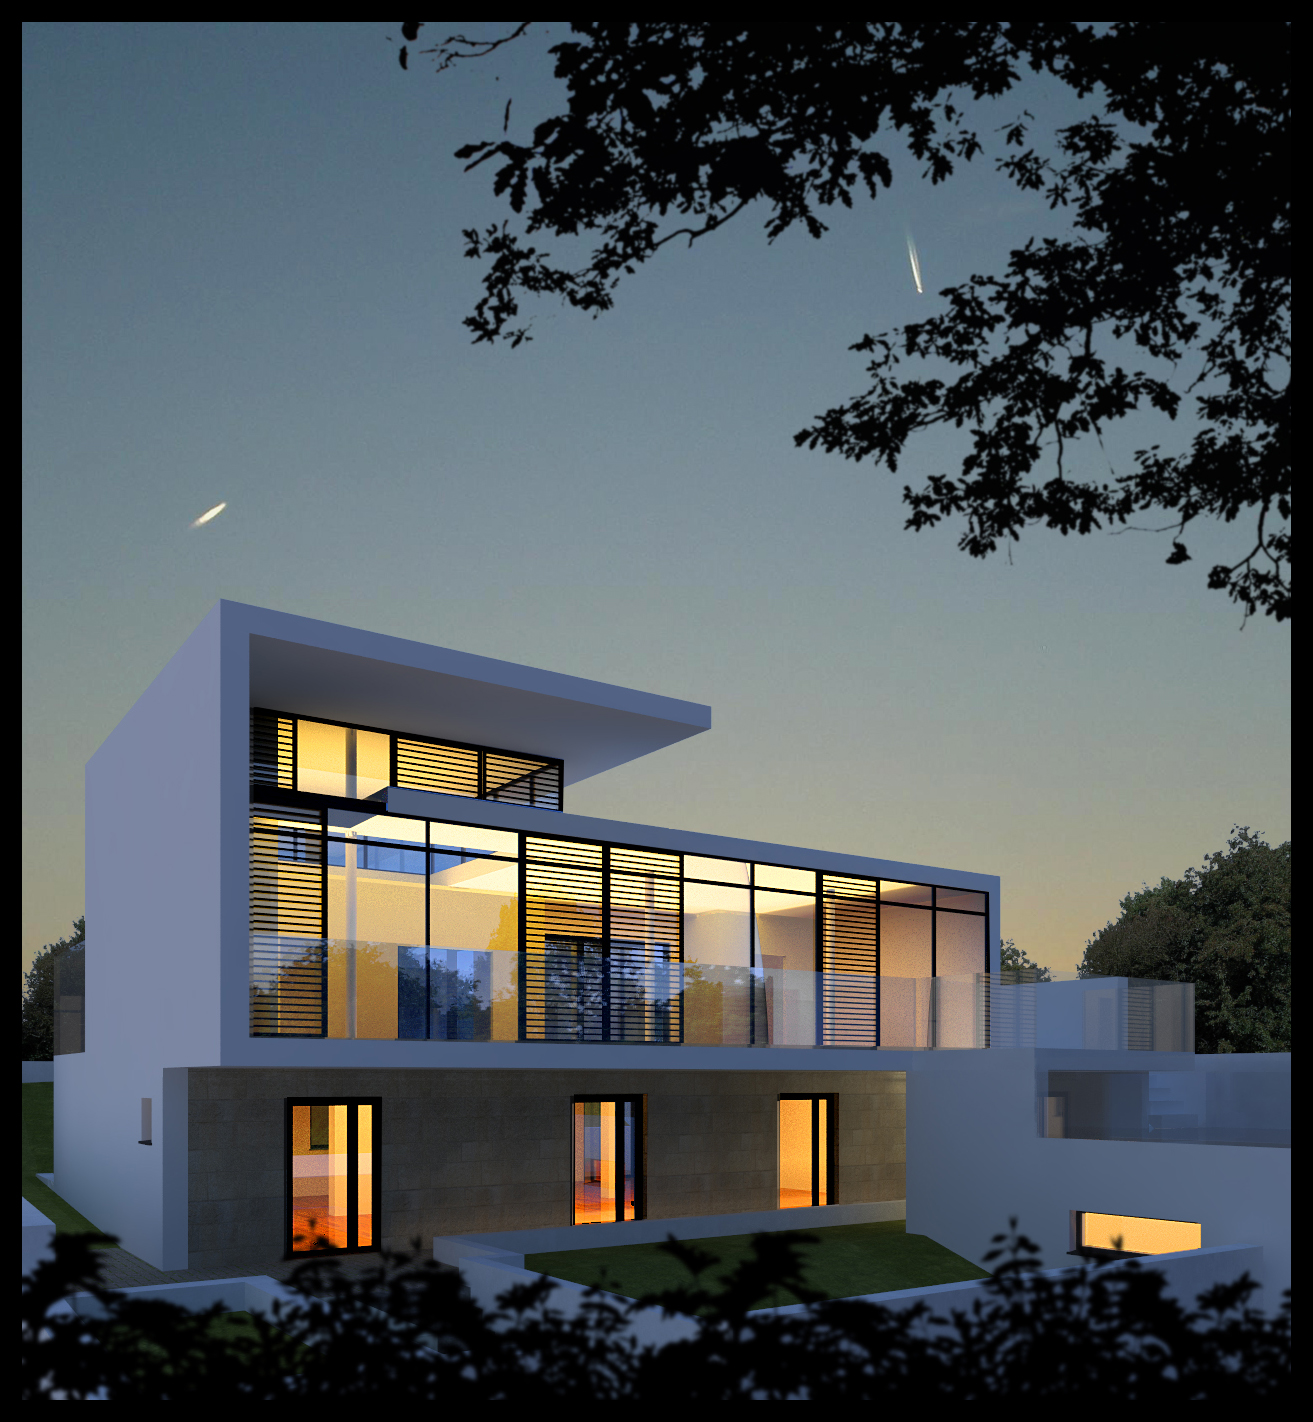
hey oli,seen some of your stuff on twilight site,they look brilliant
last images are test images(rendered in 15 mins,'shopped in 2) ie setting the scene,using previous photoshop additions from my collection.
when i have this job worked out i will upload a hi res image .
most of my images on this site are for fun,trying out new visopt configurations,looking for ways to enhance/create new moods.i have previously done night,rainy day and snow images(see below) and am at the moment trying to finalise visopts for these along with background skies.i am currently working on an autumn scene but with right lighting and trees ,it is hard to get the mood i i want.
re this image
the walls are just white colour at the moment,again trying to get a texture i am happy with.
Once I get the lighting right I intend to upload a typical building with an overcast/summer/winter/night visopt along with a step by step photoshop tutorial of how I do it,if anyone is interested.
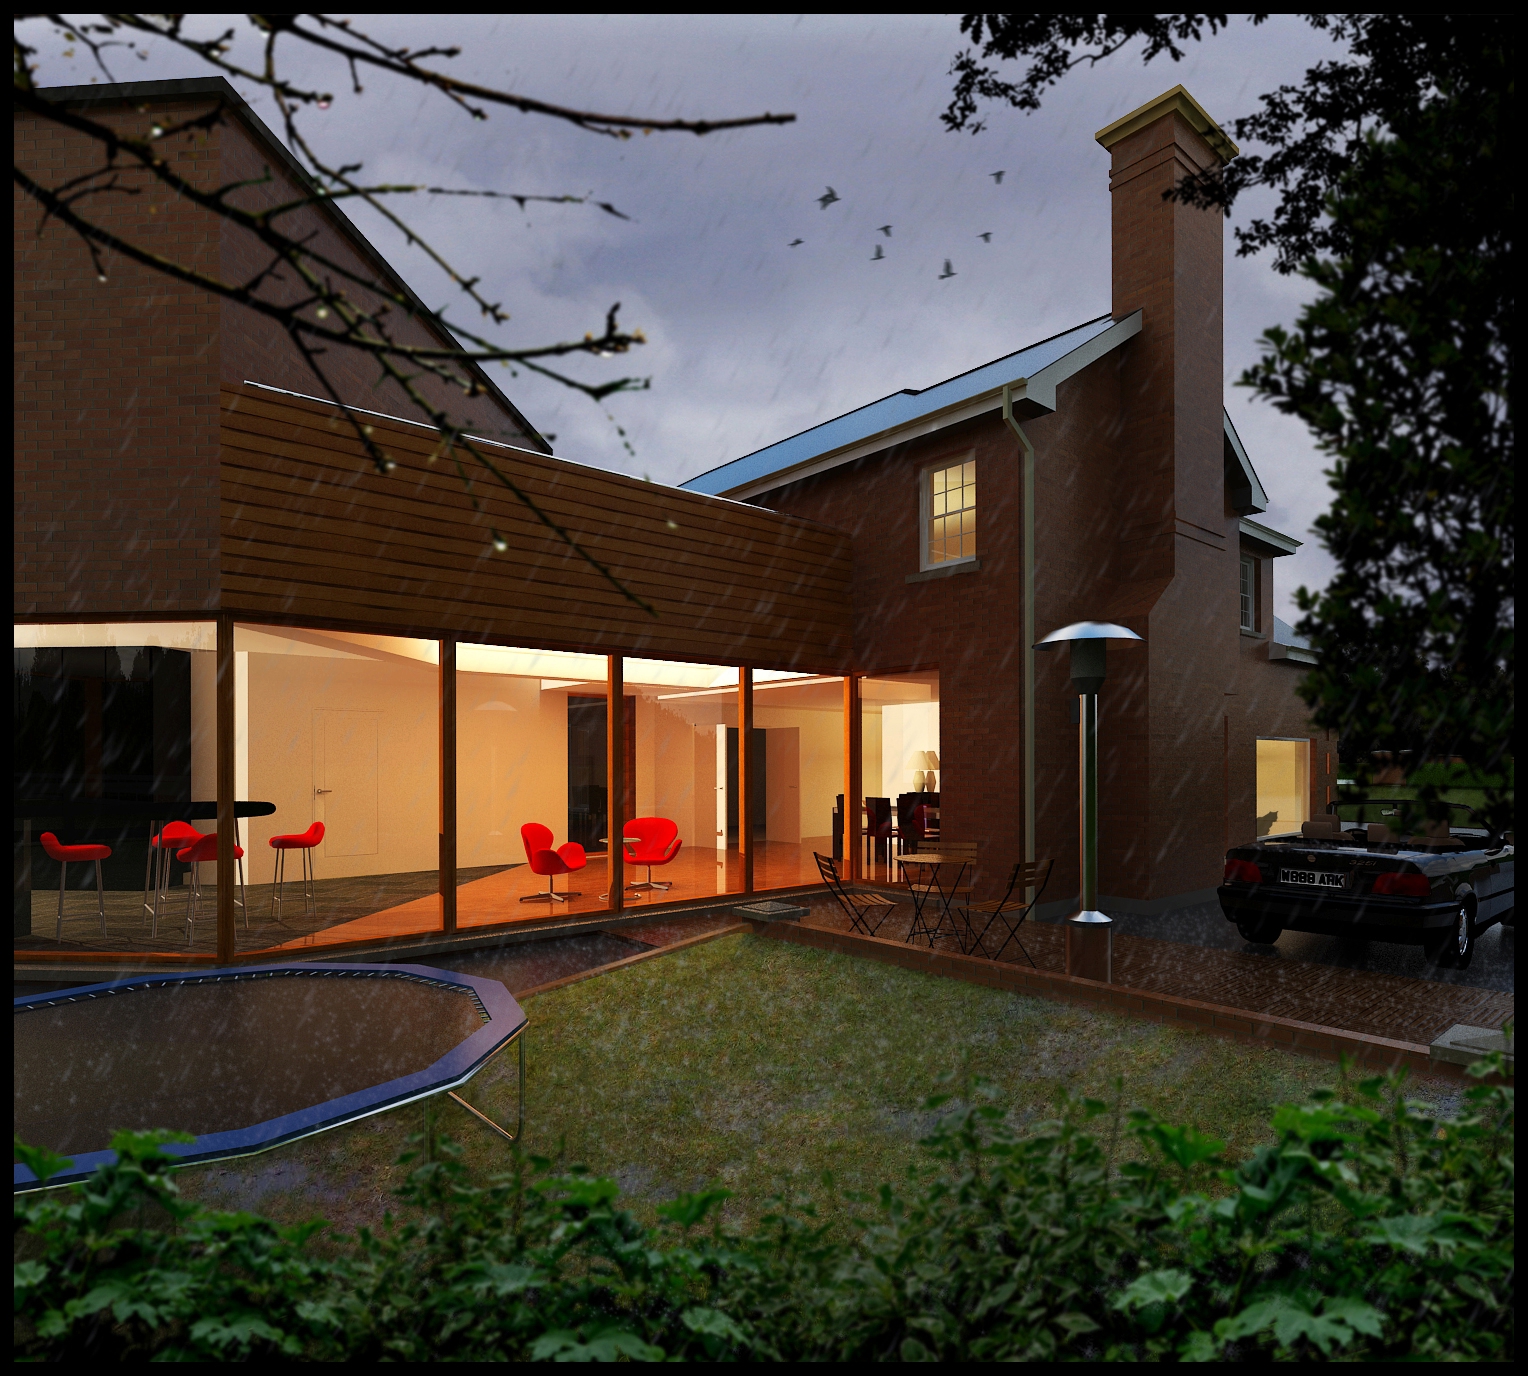
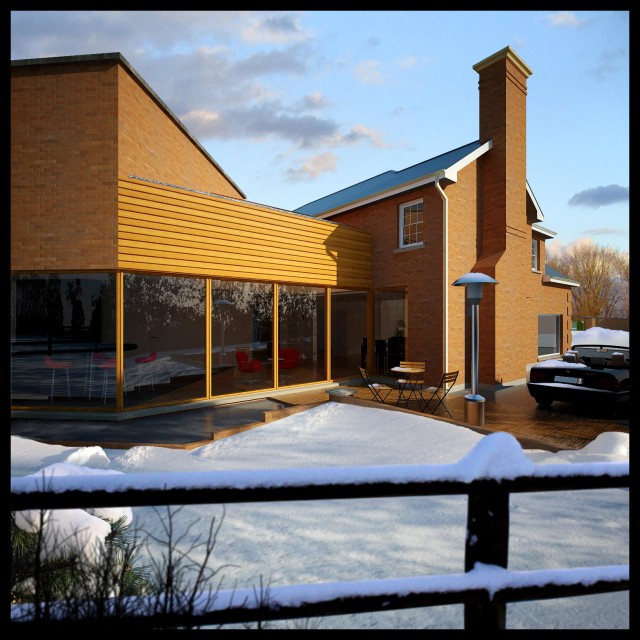
below are 2 images of the same building ,one a bright summer day,the other an overcast day.im trying to set up a night/late evening shot with internal lights and hope to post soon.
the images are low resolution and are test renders but i personally prefer the overcast look -it seems more real,apart from the grass out front which i hope to have sorted by the time i post the night shot.
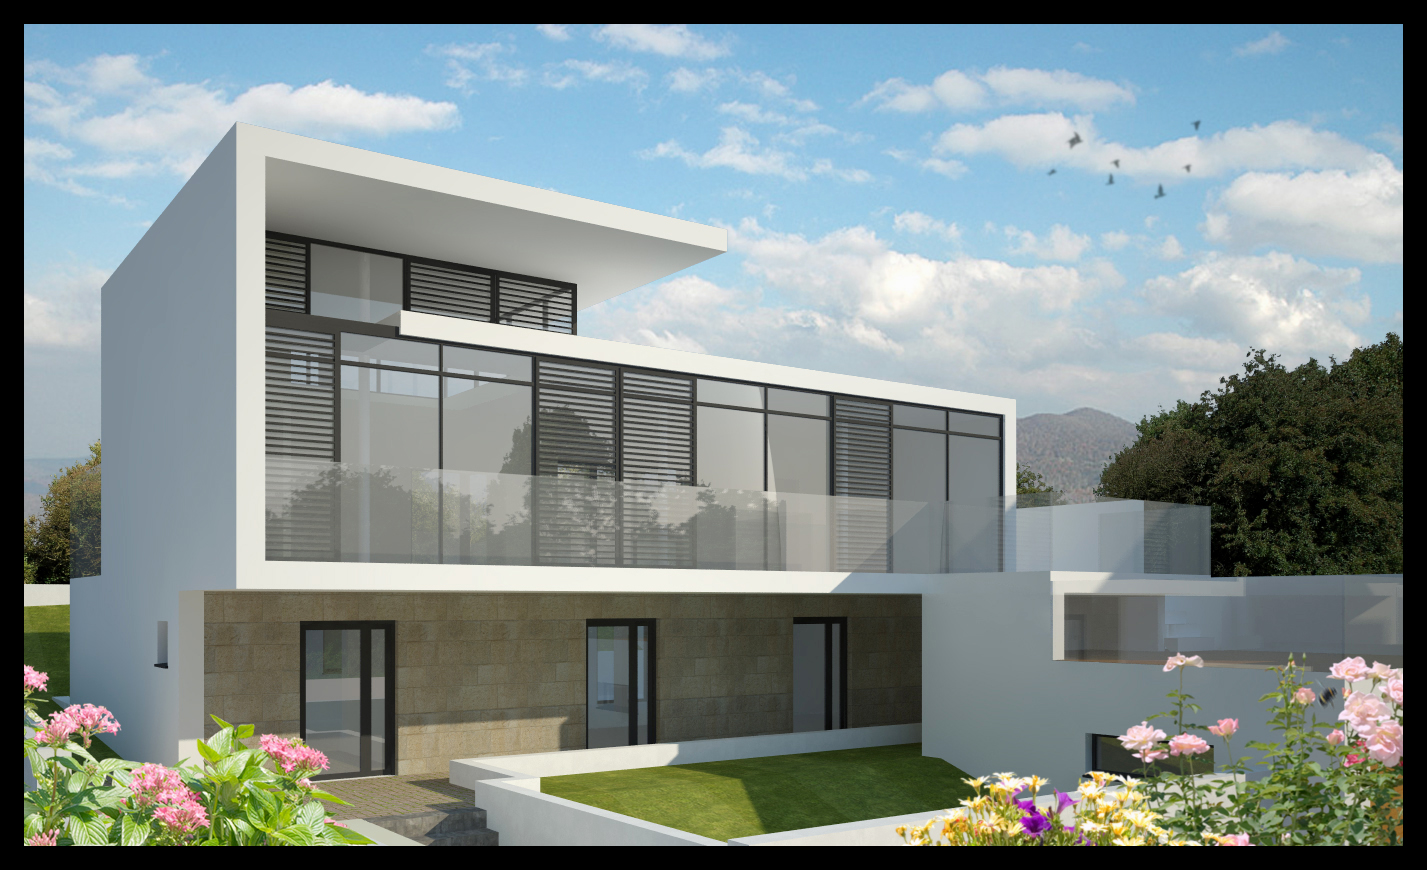
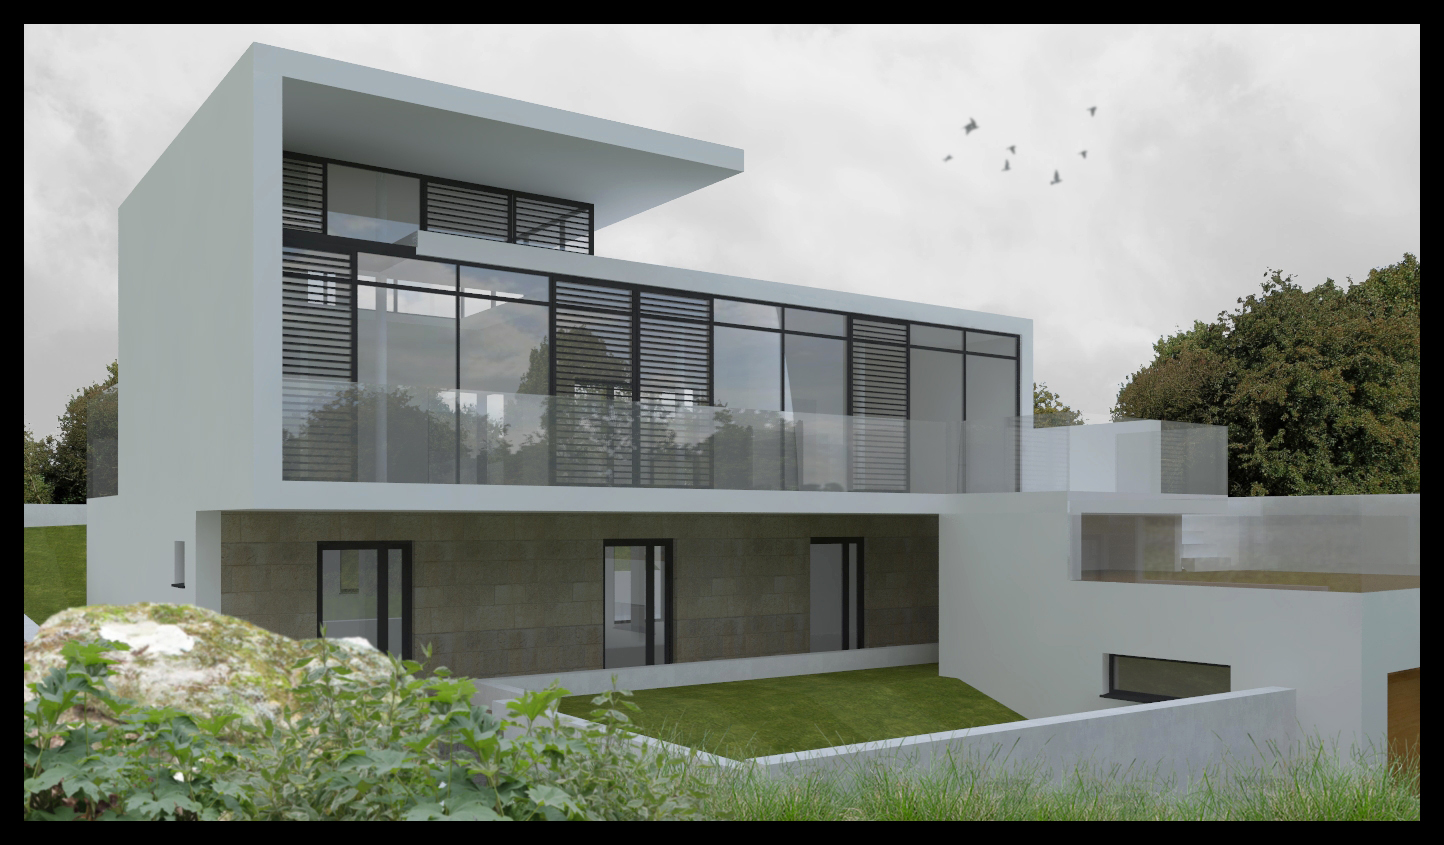
just added this to the twilight forum and saw the original scene was on this one too,so here it is.this is a "speed render" -2 minute render at 09 setting(interior progressive) and 3 mins post processing in photoshop increasing contrast,blend layers and addding star and snow.
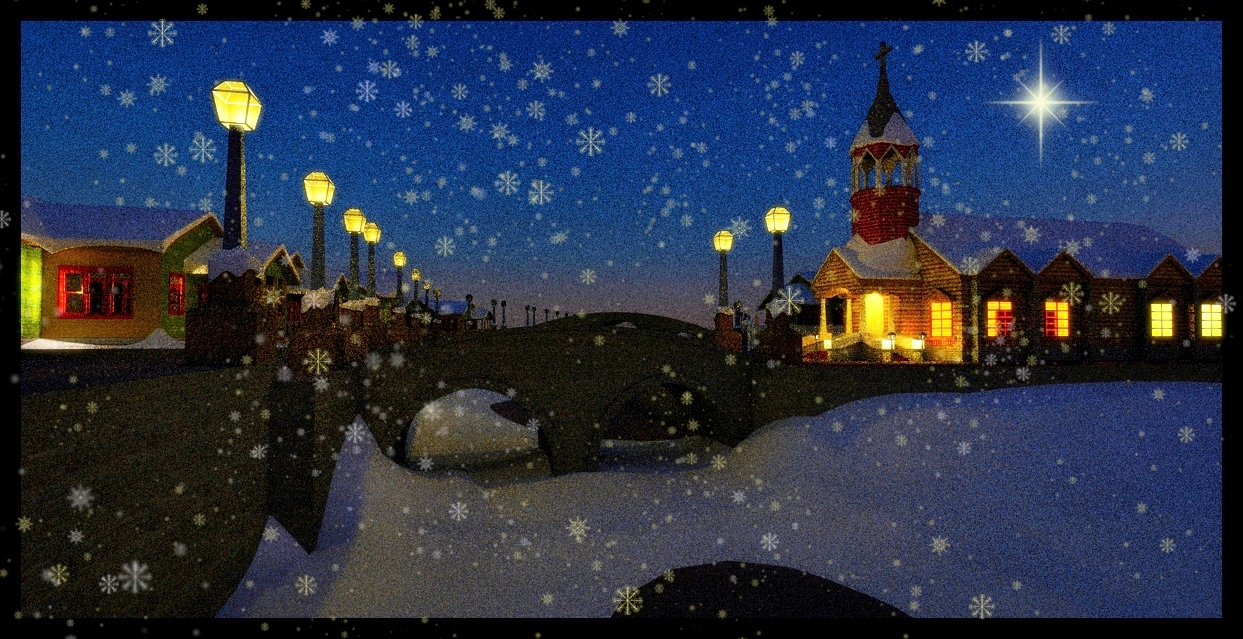
oli is right regarding the brushes,just drop them into the brush folder for photoshop and you can then access them from the brush presets.
I have attached the visopt for the night shot.because you cant upload visopts directly i have renamed it with a .rb suffix.simply rename it with a .visopt once you have downloaded and it will work fine.
I have also uploaded the environment image which goes in both GI and background slots.Dont worry that the image background renders out somewhat pixalated,just render out an alpha channel and place the original sky image back in and you have a building with the same blue colour cast as the background.
In photoshop what I always do is increase the colour saturation and play with curves/gamma to darken the image.then i copy the image to a second layer and blend it using overlay or softlight.this really brings out the colour and changes the image dramatically.
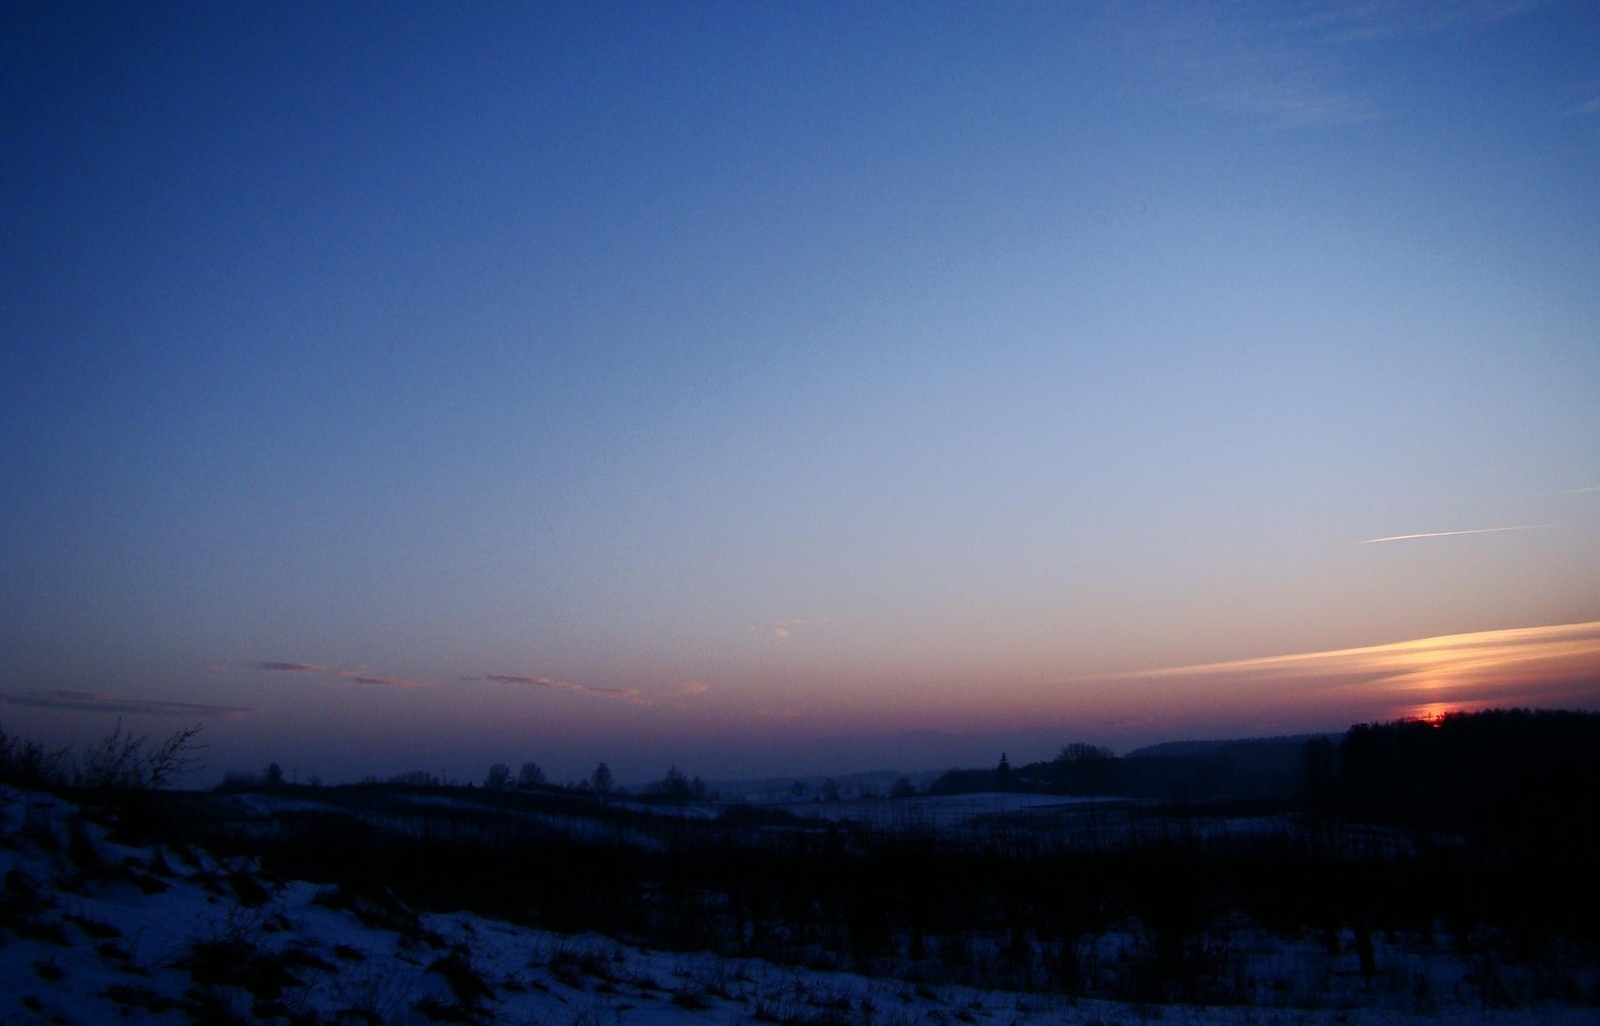
The final image with the original render from vray.In post processing I decided I didn't like the small lights at the front and cloned them out.The planting at the very front was originally very green when I placed them in photoshop but by adding a red tint in "VARIATIONS" in photoshop,they tie in better.
