Having been a long term contributor to this website,and uploading many images,I was wondering if there any room for a unique "post-processing" sub menu on the forum.I am thinking specifically for how to deal with individual ideas,i.e how you add wet grass,reflections,foreground elements.I have been guilty in uploading images that make sense to me,but look quite complicated to others.
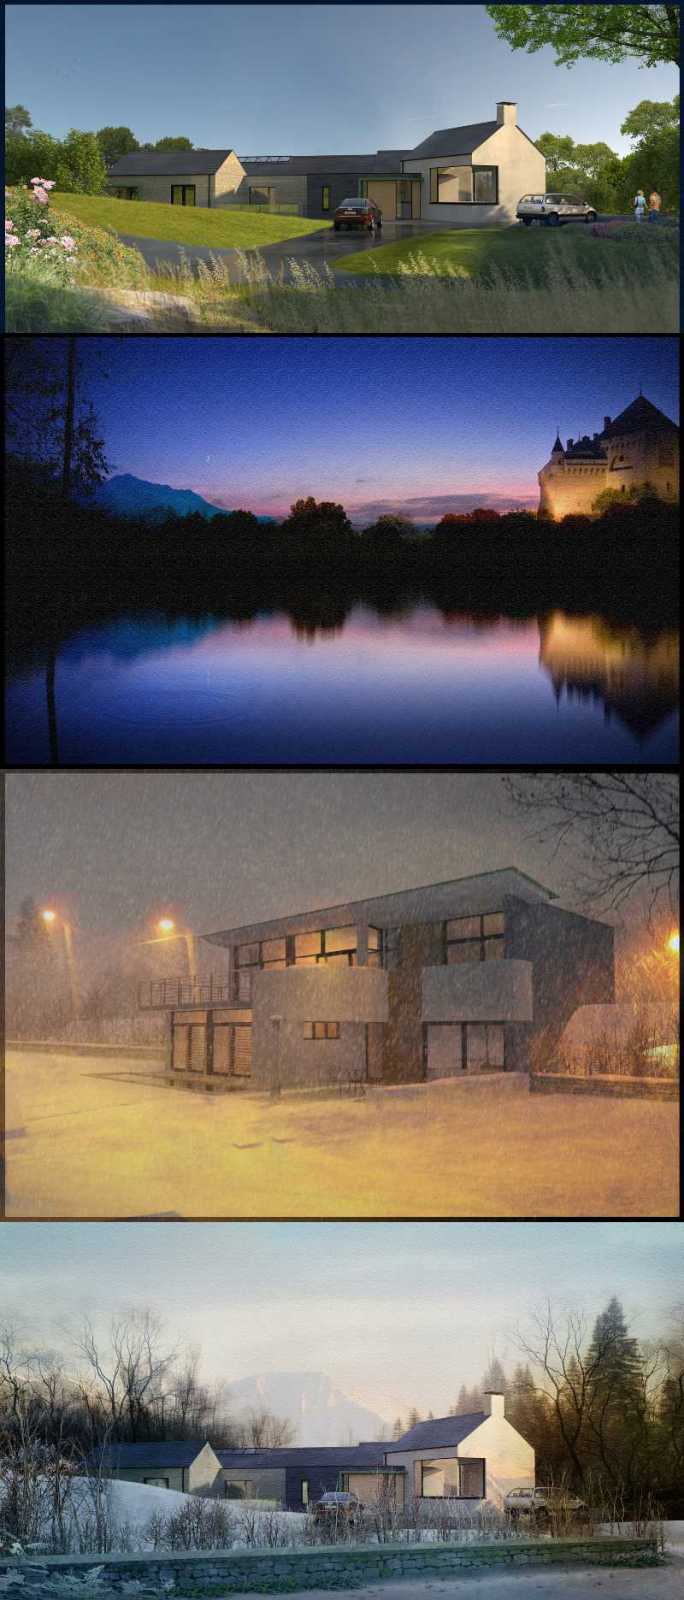
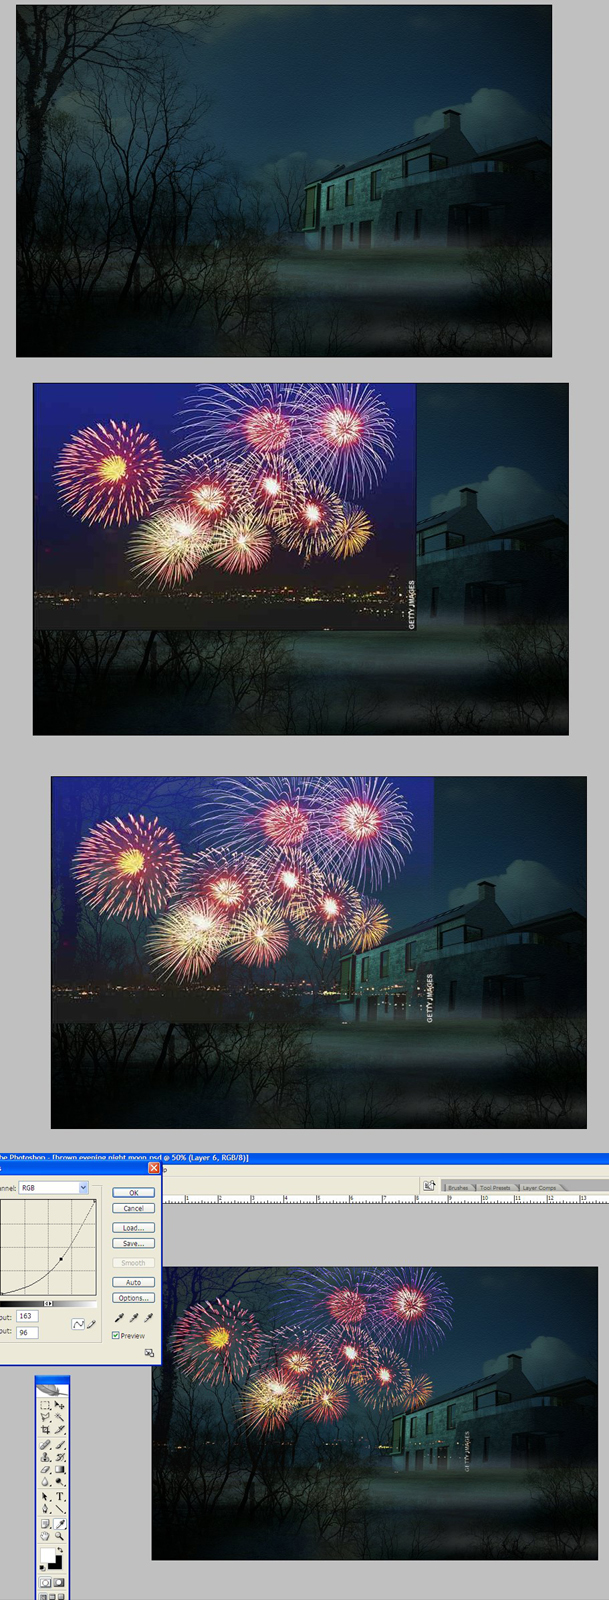
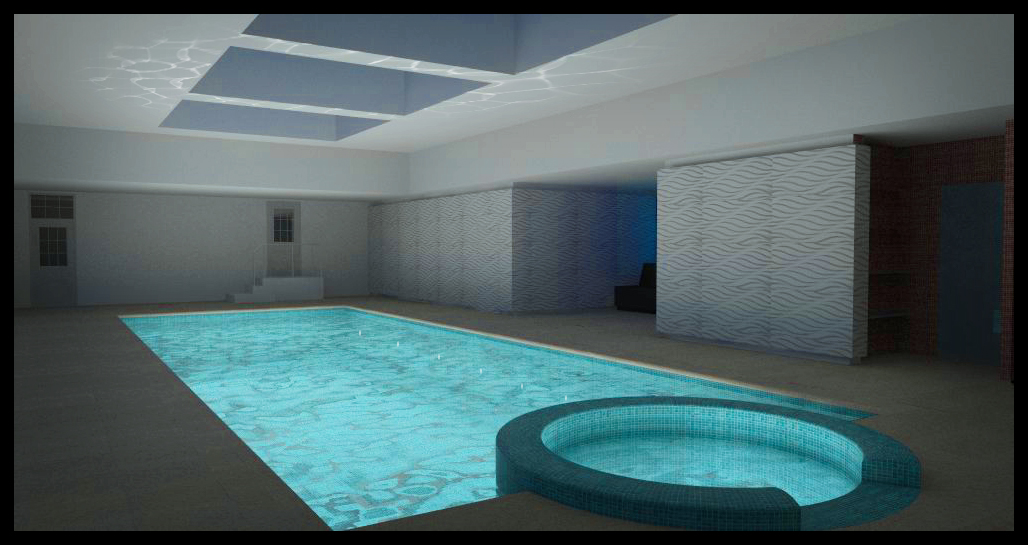
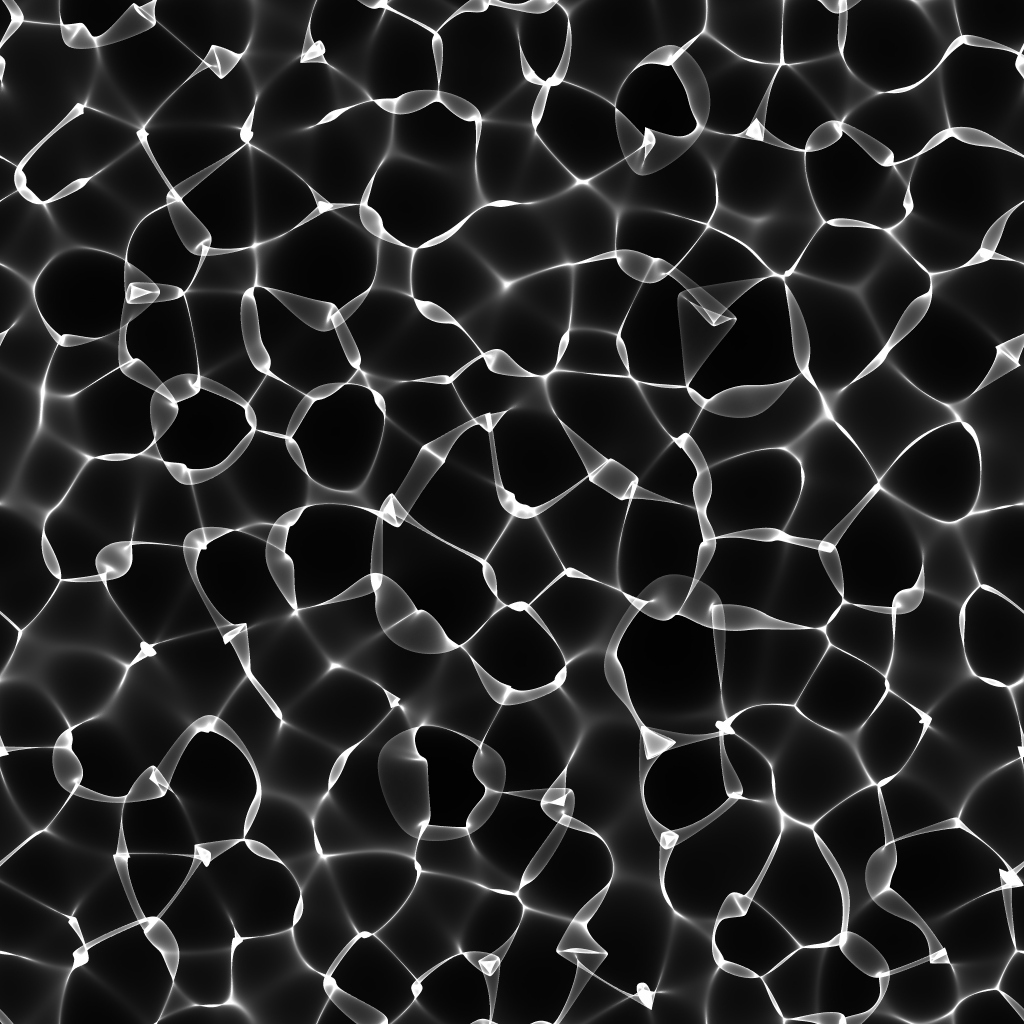
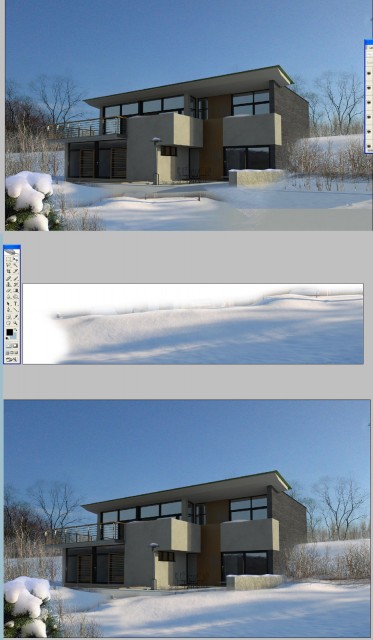
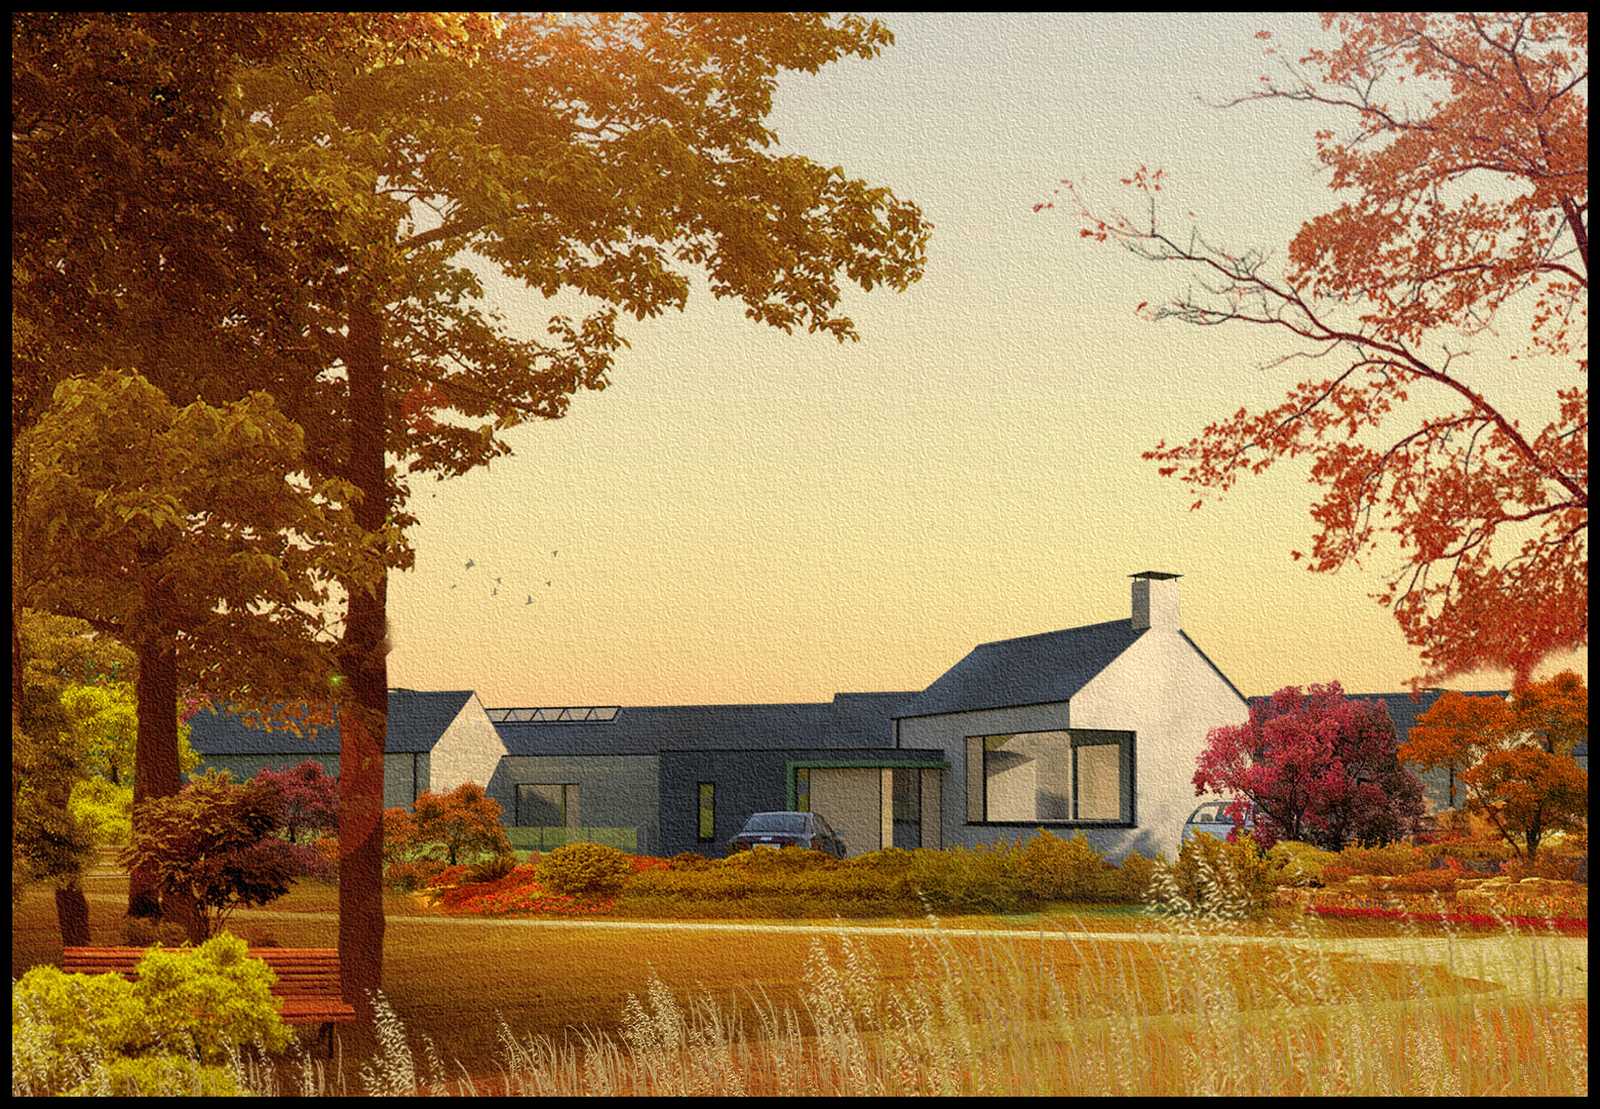
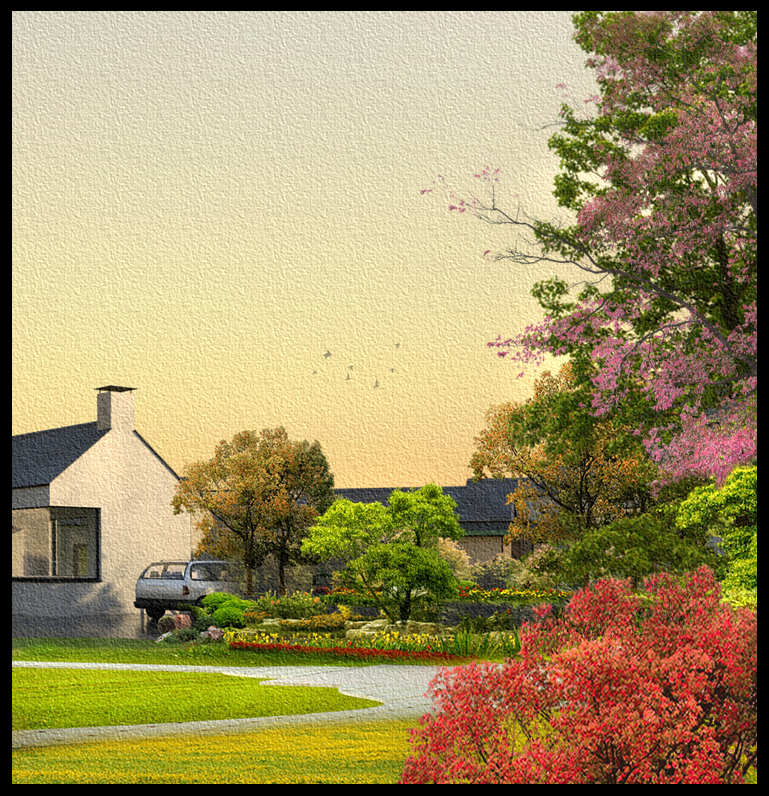
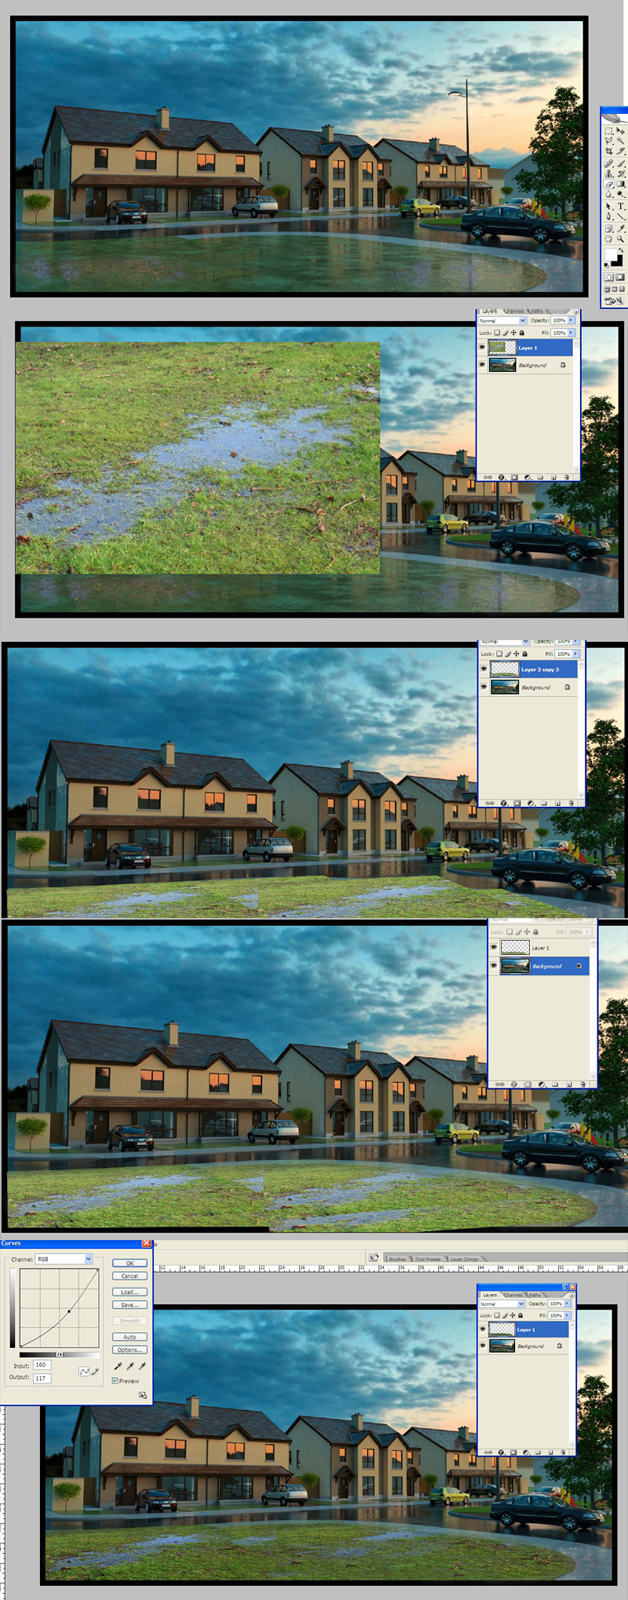
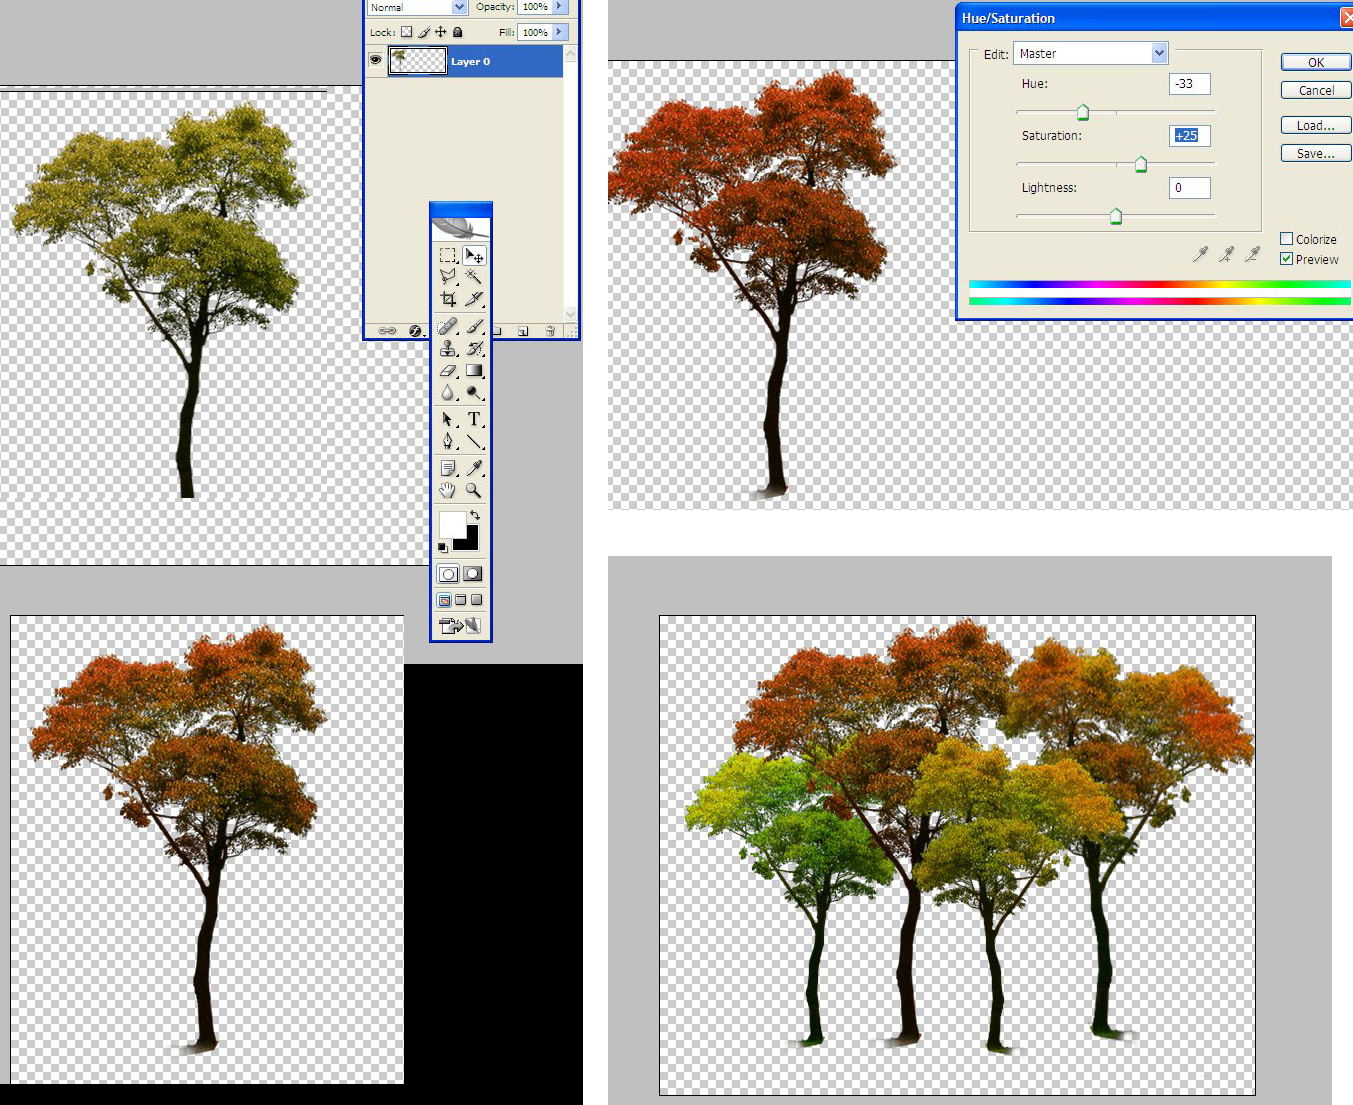
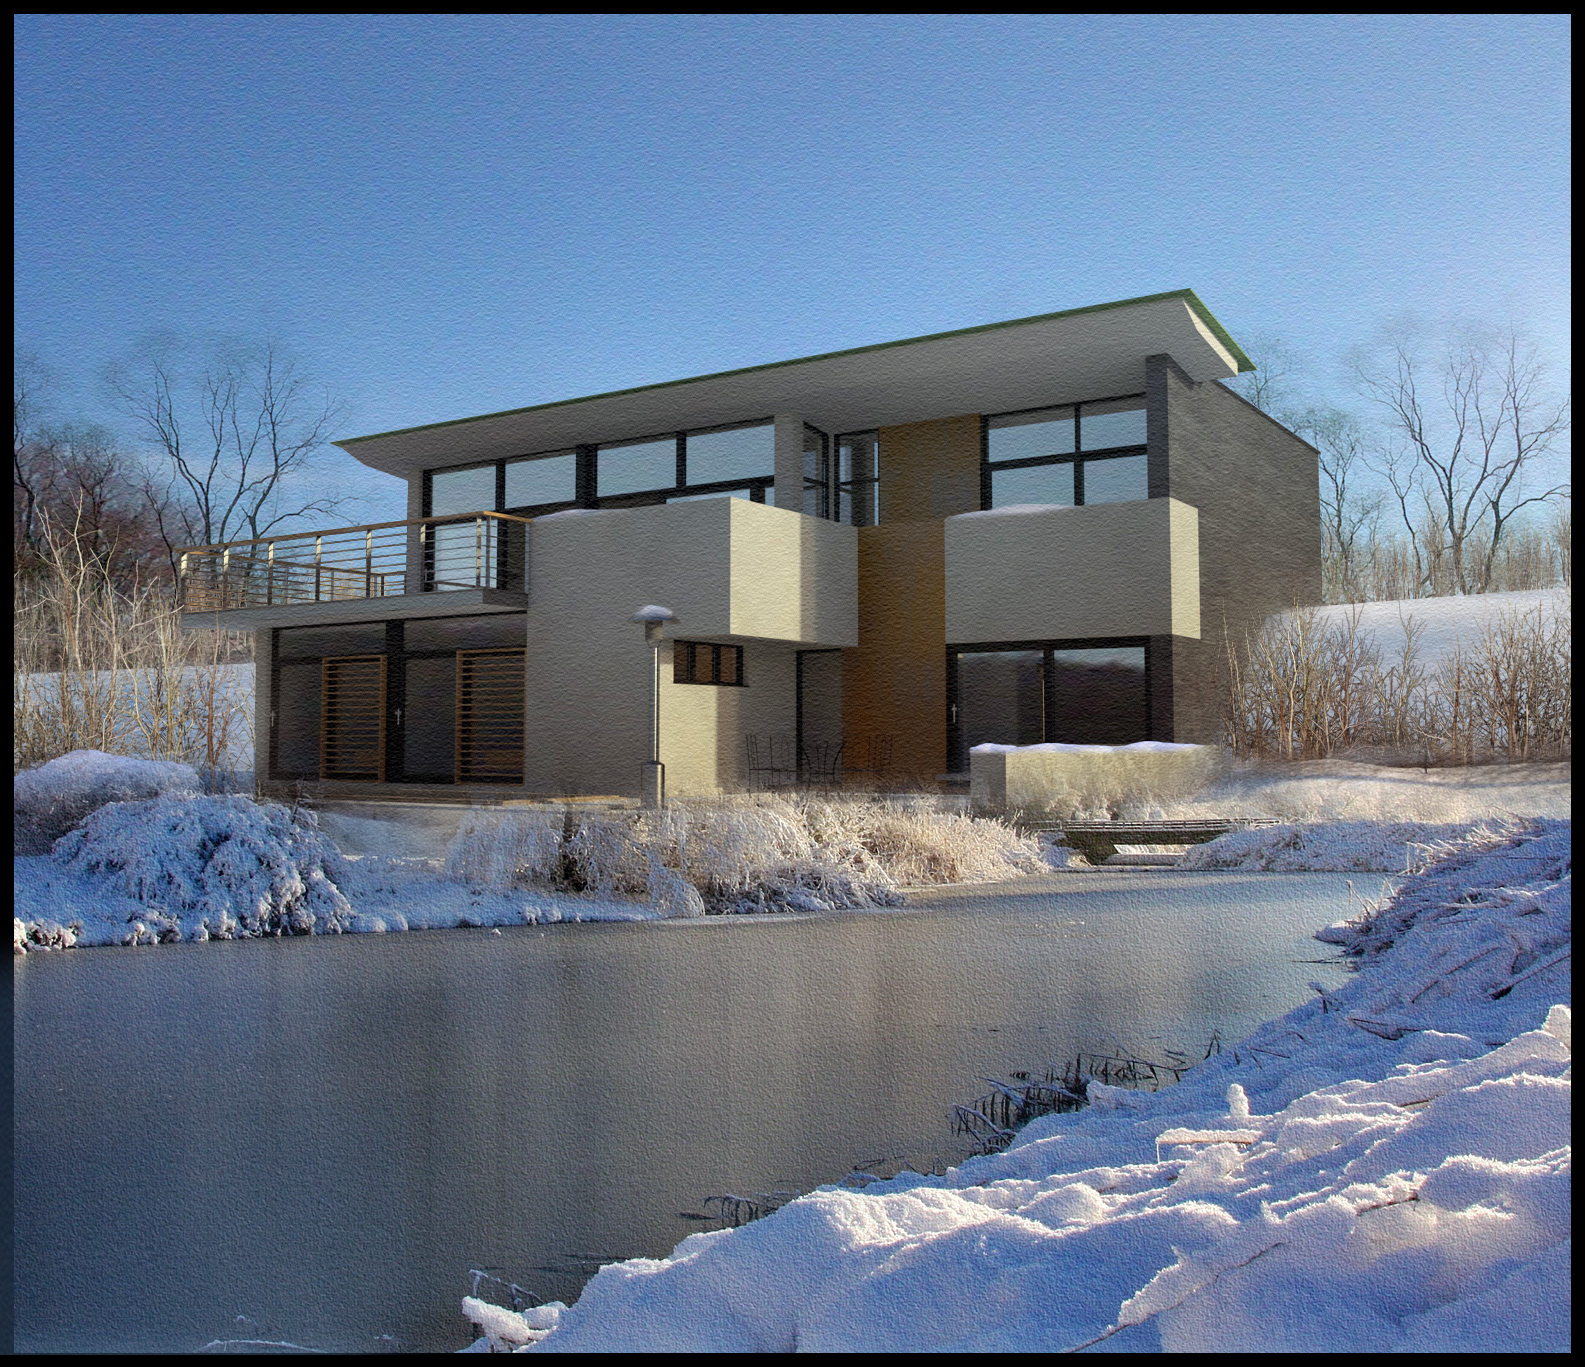
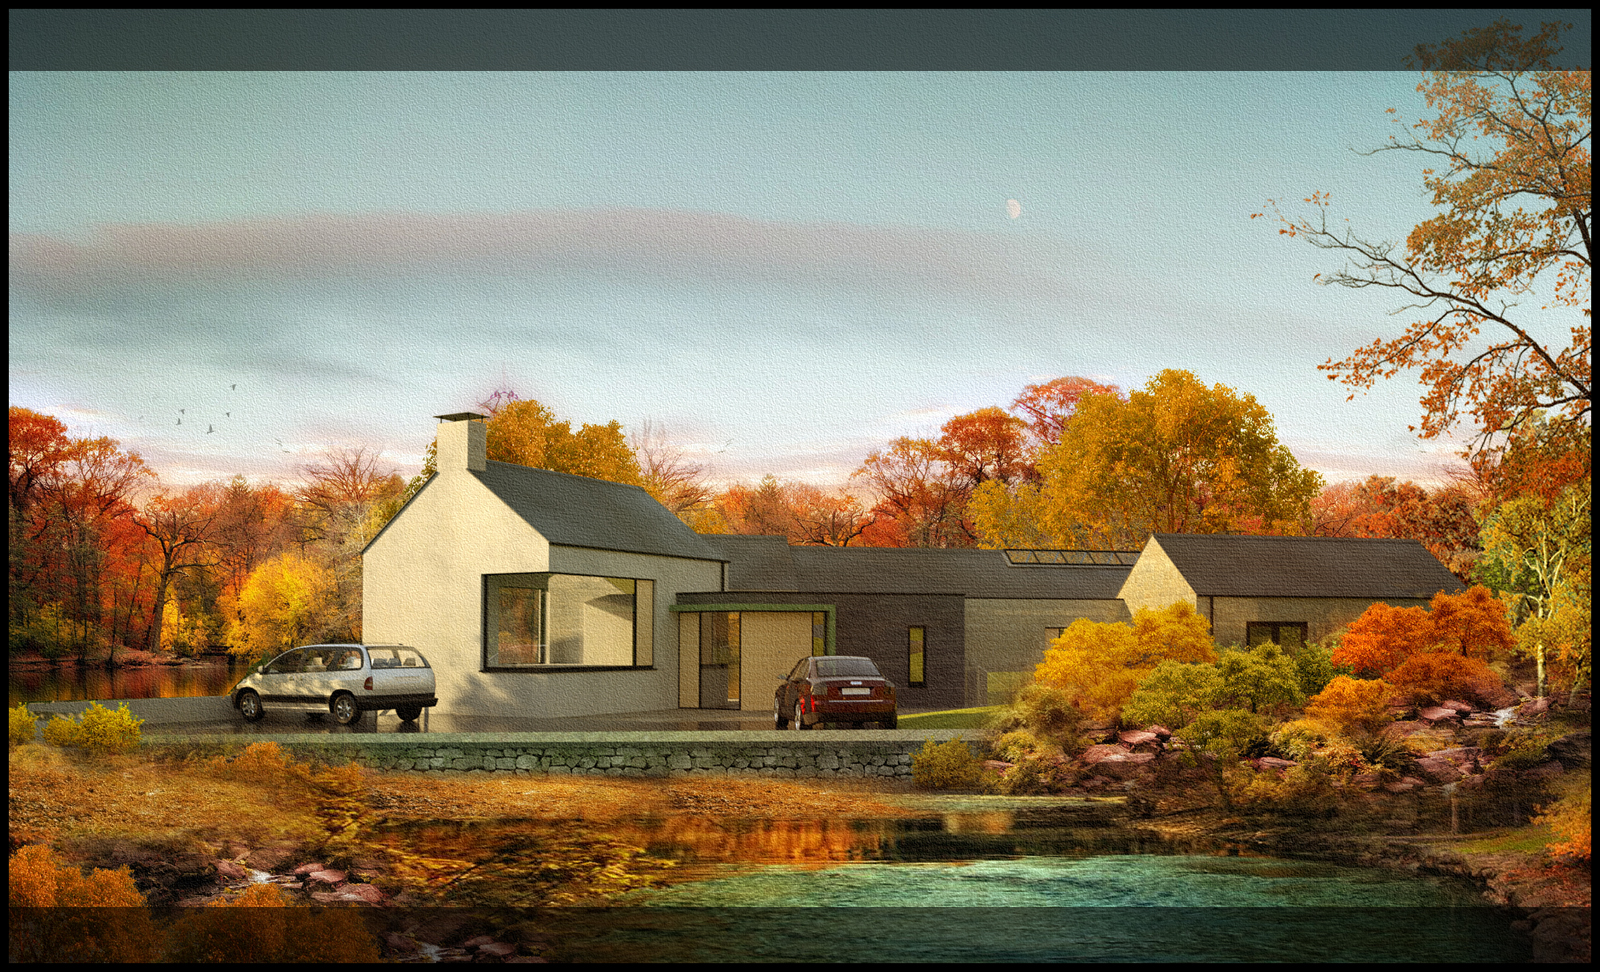
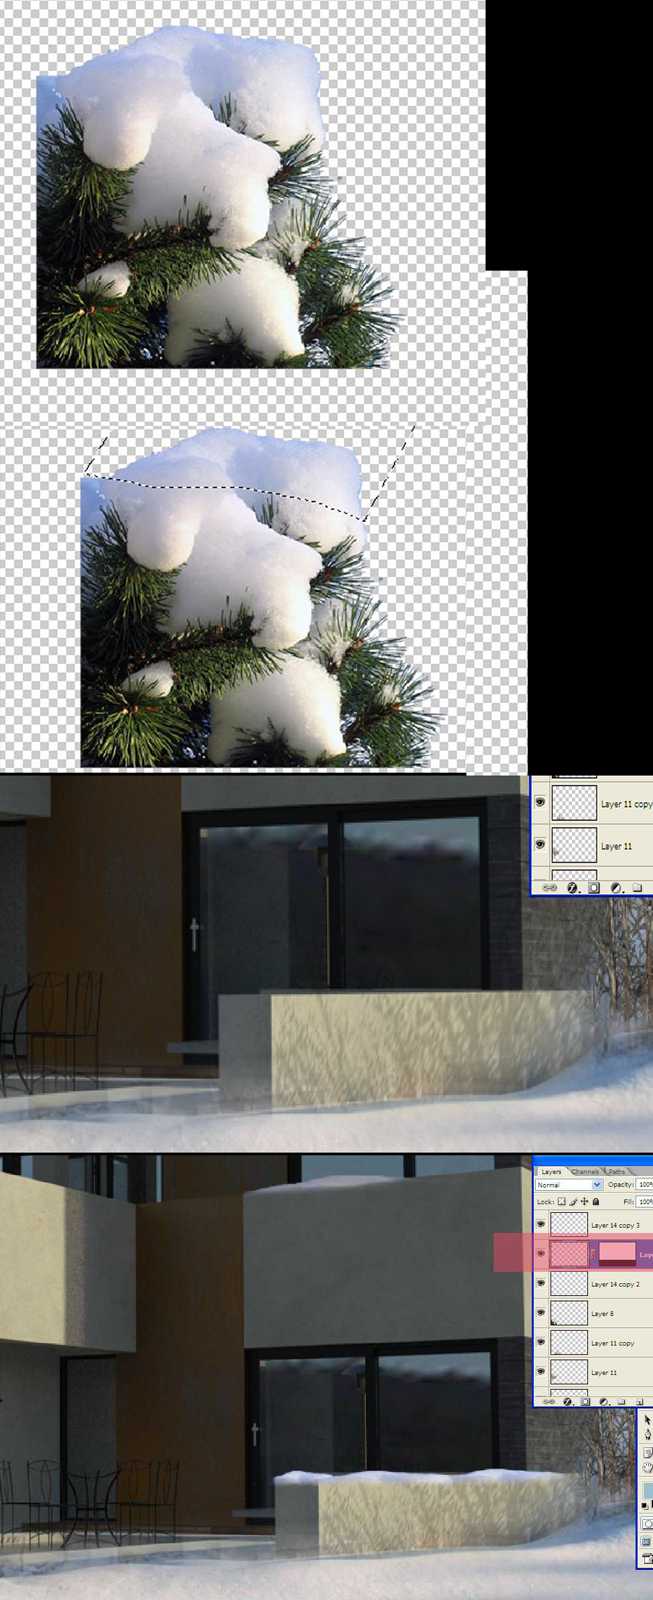
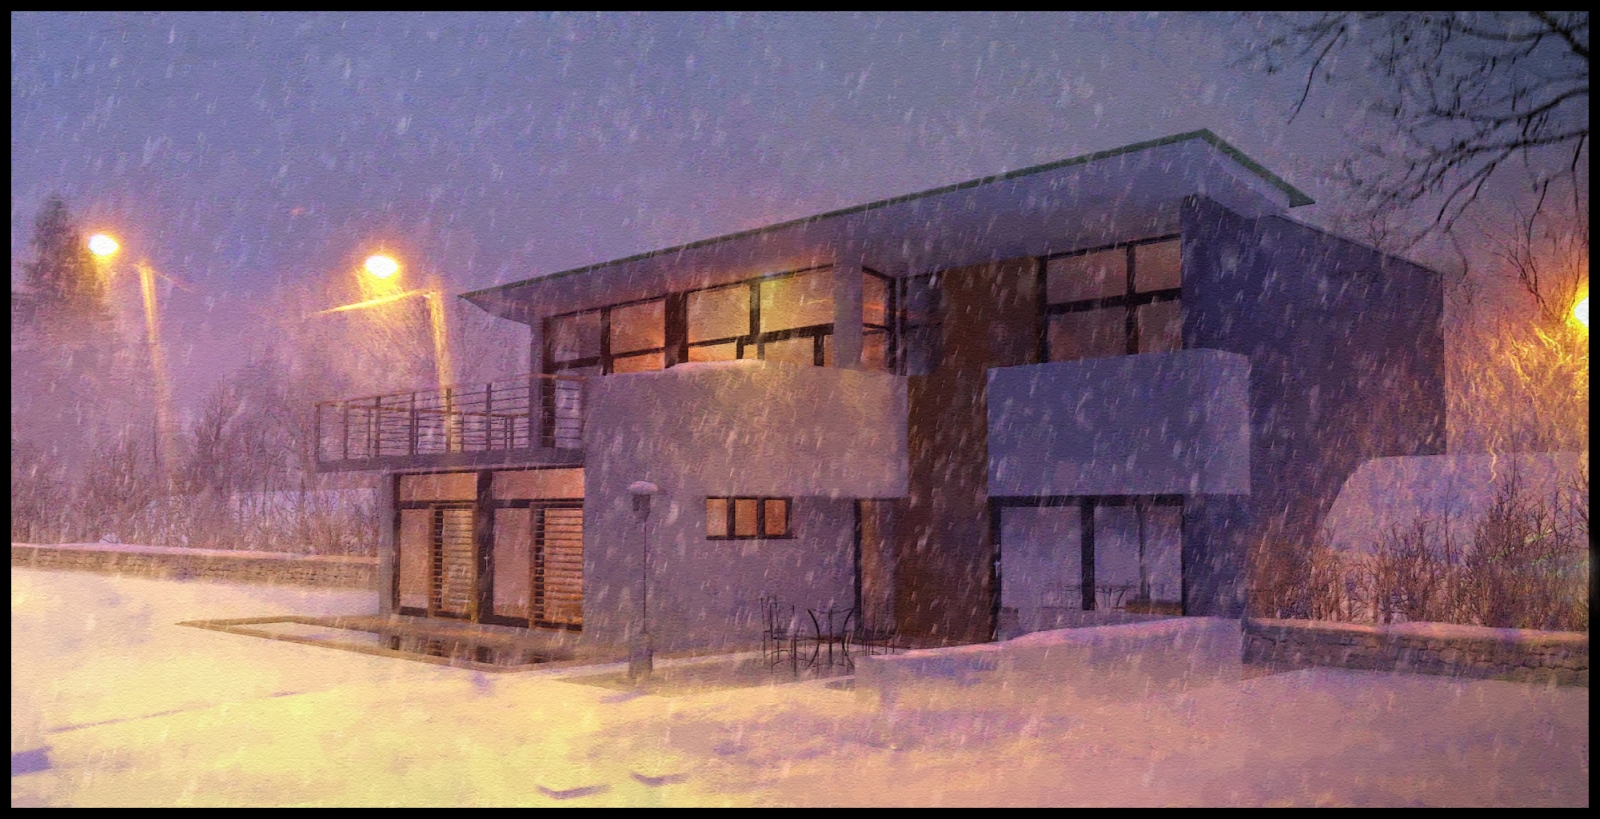
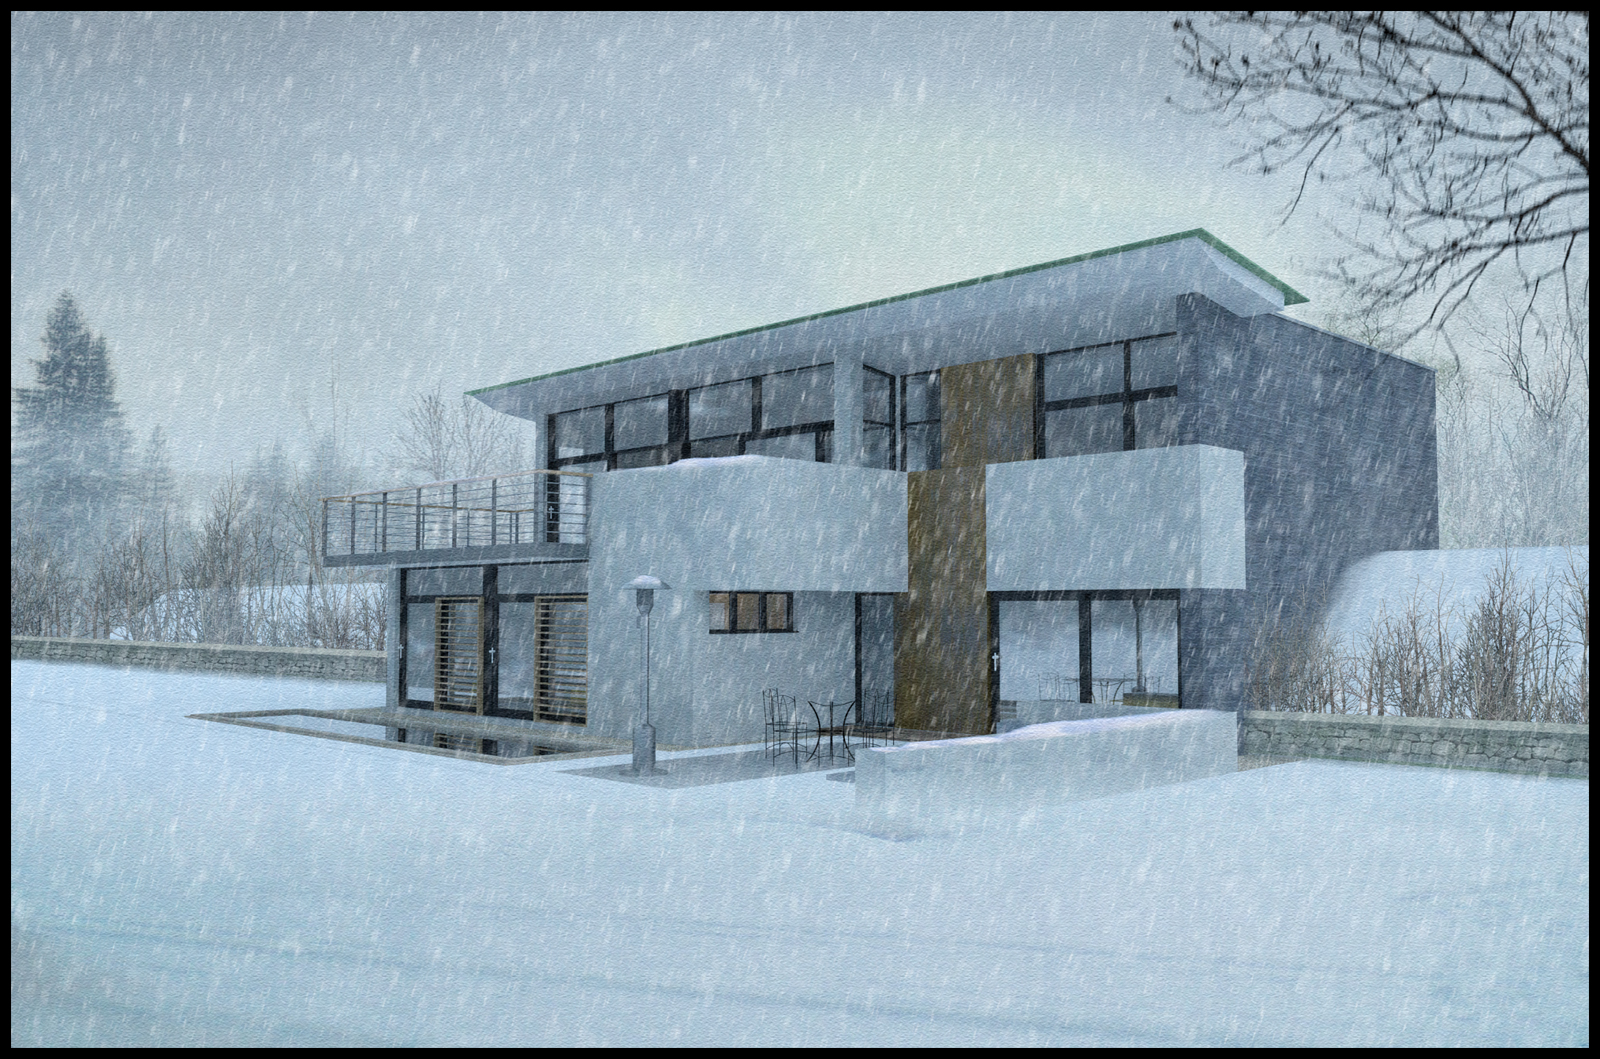
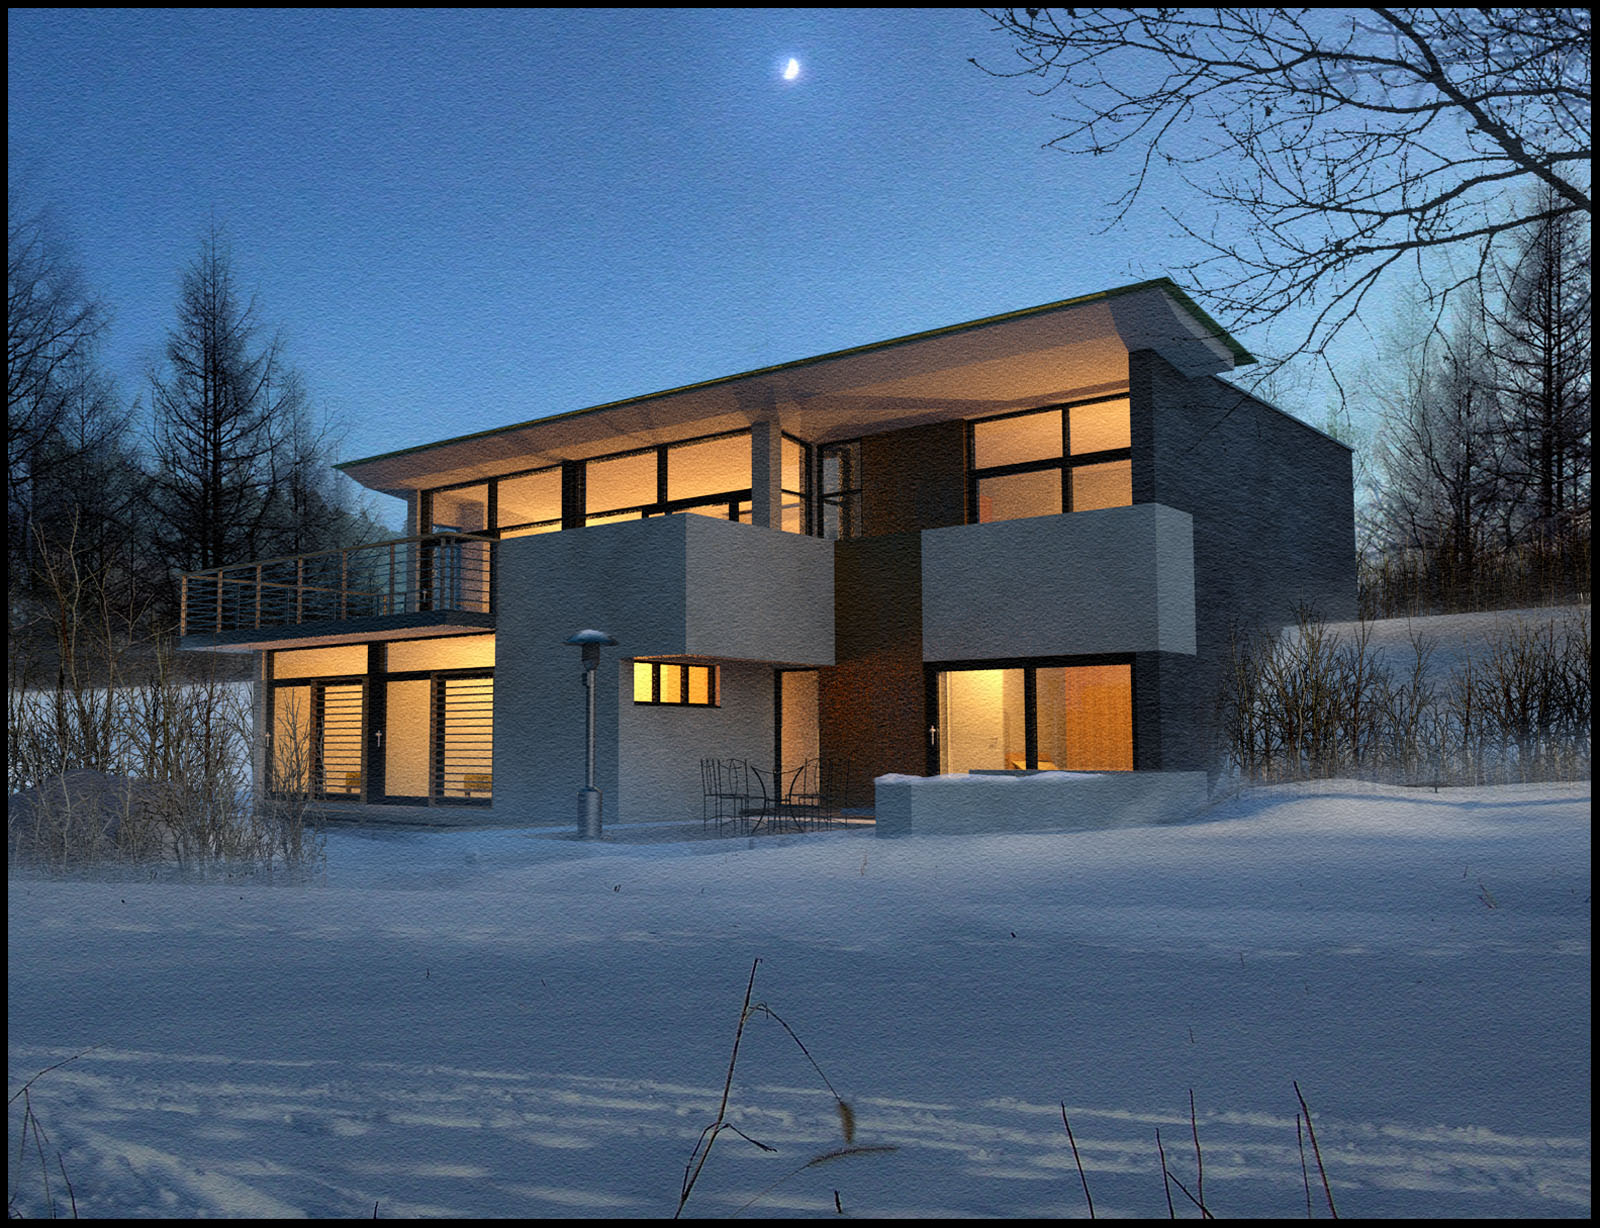
I have attached some low res images of renders I have completed in the last few months,but if you want to know how I do the snow,use reflection etc, then this would be the sub-forum.
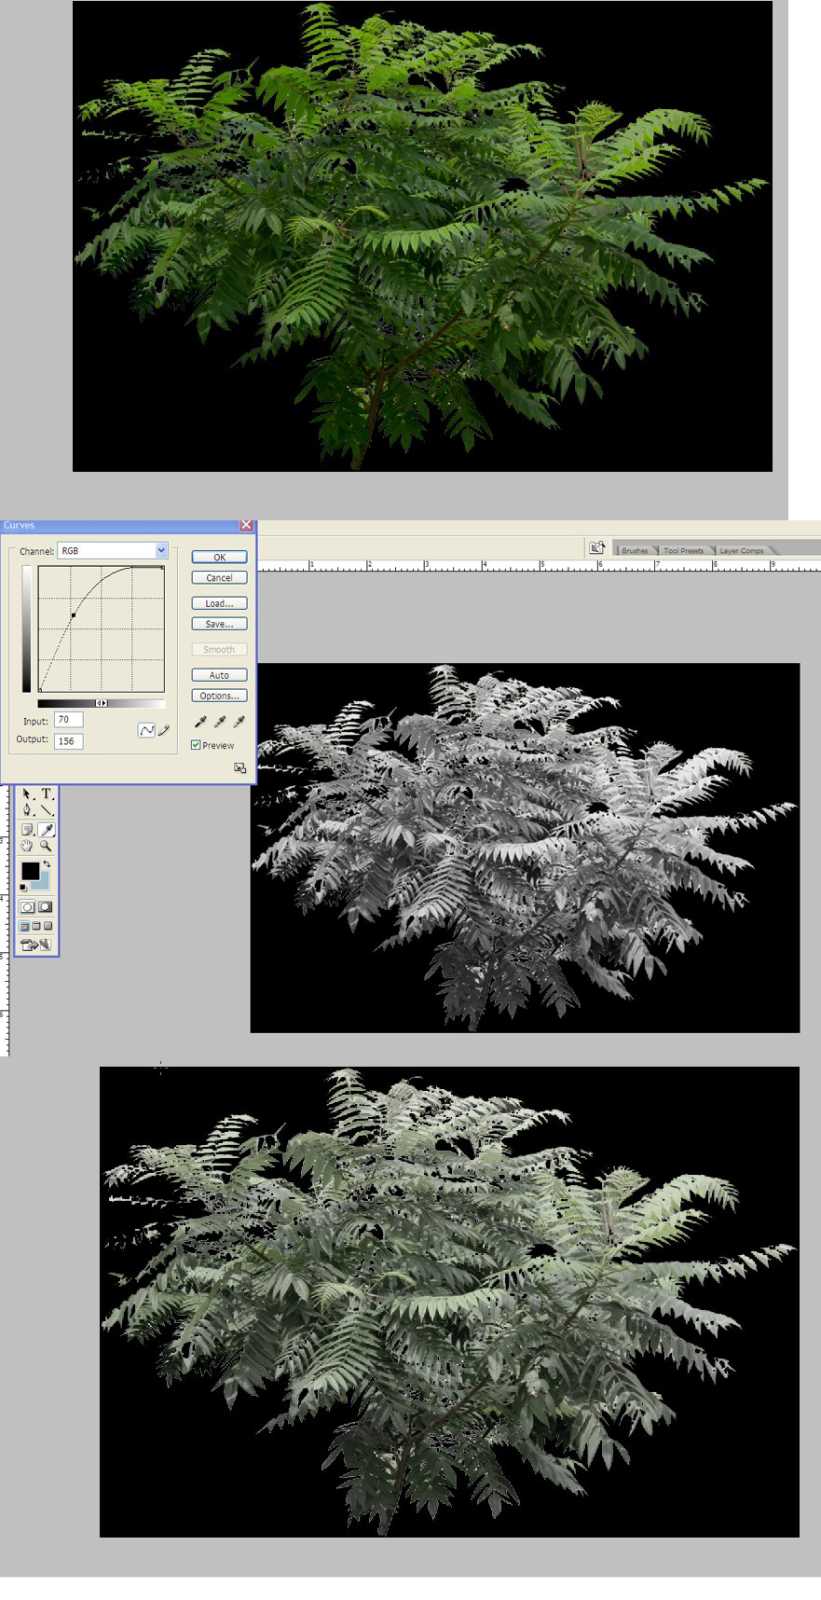
This would not be a full tutorial,just a quick screensnap,short explanation, i.e copy,paste,deform,blend etc.
EXAMPLE : Reflection in a winter day - copy,paste,flip vertical and motion blur at 90 degrees,40 strength.Ideally,it wouldnt get any more complicated than this.Maybe its a "Tips and Tricks".Anybody can upload,just keep it simple.