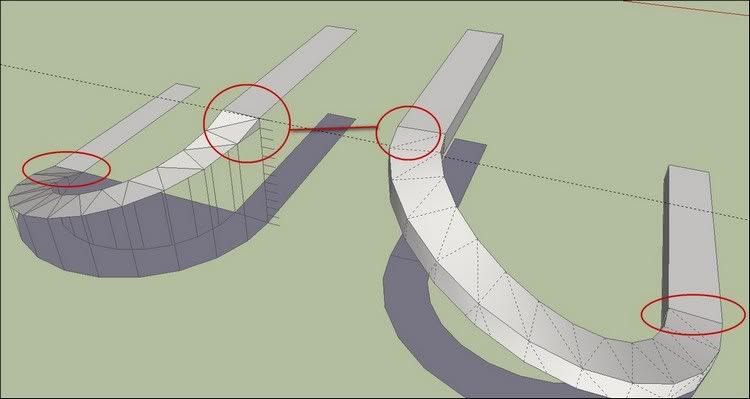
[Tutorial > Modeling] Slant Ramp Tut
-
Hi Folks,
This is a simple tut I made for a guy who wanted something like this for his model railways at home.
Major tools to use:- Push/pull
- Rotate
- Scale
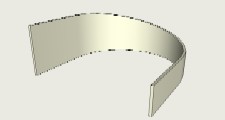
-
gai,
useful tut, thanks. my teacher experience asks me to question a few things, though. for ease of understanding's sake, that is. steps 4 and 5 are the crucial ones but they are not easy to grasp. perhaps my own limitation but i may as well tell you.
would you explain step 4 better? what exactly goes on there? you drew an arc joining 2 points at different heights, right? and then, what? i do not understant what you mean by snap and rotate.
step 5: i could not quite get what the text implies.
cheers.
-
Edson, thanks for pointing out the "weak" parts of the tut.
What I mean is that you start rotating the arc this way (step 4

- put the procractor to the left end of the arc
- make sure to lock the rotation axis (in thisparticular case) along the green axis (click first on the beginning of the arc, then before releasing, pull it along the straight line which is in this case aligned to the green axis - when you see the procractor turn green, release the button)
- grab the other end of the arc and start rotating downwards
- rotate until you can snap it to the end of the lower, straight line.
Now we have the arc pointing from the end of upper straight line to the end of lower straight line - except the arc is shorter than it should be to actually reach this latter one.
Thus comes step 5
- select the arc again,
- select the scale tool
- scale the arc to reach the end of the lower, straight line.
This point three needs a diagonal scaling (from the upper left to the lower right). So when you hover over the middle, green button of the scale box on the lower right edge, it will say "red blue scale about opposite point". Now grab it and pull your cursor to the point marked with the text tool.
You can snap the scale tool just as any other tool.
I hope, this helps. Maybe I'll take a couple of screenshots (and/or flash movies) to make it more clear.
-
gai,
now you are talking! as clear as crystal. very clear explanation.
perhaps instead of additional shots you could just add the written explanation to the ones you already have (and then replace the file).
congratulations.
edson
-
Thanks, Edson.
But I'm afraid no such long text could fit into that small space in the SU text field.
I1ll see though. -
@gaieus said:
Thanks, Edson.
But I'm afraid no such long text could fit into that small space in the SU text field.
I1ll see though.Since I had no idea that there was any character limit in SU, I just cut and pasted the additional comments instructions into this tutorial, updated the scenes and, viola!
Thanks for all your great tutorials,
EugeneRampTut-annotated.skp
-
Oh, Eugene, thanks for all this. I just totally forgot about this whole trhing...

as for the text length, it was partly a joke and also I just meant that the text is so long that it won't really fit on screen (I guess)

-
recently I saw this..... verrry useful and simple, but not accurate enough ( as the arc must be helix-ed shape when see from side, but it remains arc again)
thanx again Gai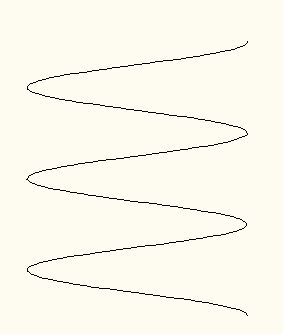
-
Hi guys,
Dear Gaieus,
It is always a pleasure to follow your tuts. (thank you to give a SU6 skp )
As an exercise I had tried to find another solution:Here is my alternate way:(SU6 skp)
Using:
Fredo's Curviloft and Joint PushPull++simon
-
Thanks guys...
Majid; maybe not accurate but back in 2007, there were not so many excellent plugins to skin a helix very easily...
Simon: this is also the reason why it is still v. 6 - version 7 came out later (I think).

-
"by Gaieus on Thu Nov 15, 2007 5:55 pm"
 I hadn't noticed the date
 simon
simon -
by the way, Simon, why don't you upgrade to 8?
-
I have SU6 free and SU7 Pro on my big PC and SU8 free on my laptop...
SU6 Is ok for everything I do; have never used dynamic component and I prefer the behavior of SU6 PushPull tool.
I have bought for long Whaat's BoolTools, and actually nothing in SU8 free grab me more: I'm very sorry for that.
 simon
simon -
Okay but now as the shadow bug is gone in SU 8, image export is possible at a much higher resolution etc., maybe it would still be useful.
Not to speak about some new generation plugins that may not work in earlier versions.
Sure I still have both version 6 and 7 installed, too.
-
And Ho!
I was forgetting the ability to record our toolbars position in 8: what had always put a lot of people and also me very out of serenity with the previous versions. simon
simon -
@gaieus said:
Thanks guys...
Majid; maybe not accurate but back in 2007, there were not so many excellent plugins to skin a helix very easily...
...

for sure your tut is veeeerrry handy and easy to follow

@ simon : thanx , but the non-accuracy exists here again -
Hi Majid,
@unknownuser said:
@ simon : thanx , but the non-accuracy exists here again
Can you explain a bit more I'm not sure to understand completely what is the problem.

++simon
-
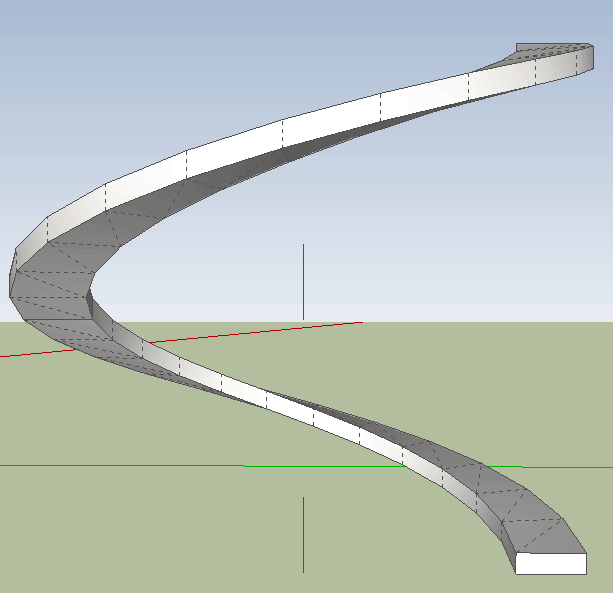
dear Simon
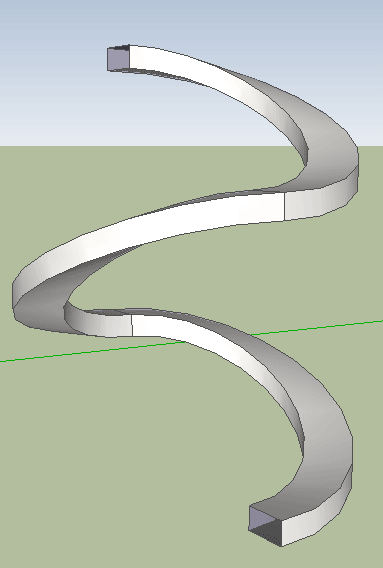
I've attached a file that shows a real pont to point modeled rapm, and a tricky fast way ramp on(Gai trick) that clearly shows the difference.
-
-
Hi Simon,
@simon le bon said:
But in our specific case, as we need the curves to be tangent to the horizontal planes this pure helix doesn't work very well. Am I once again missing something?
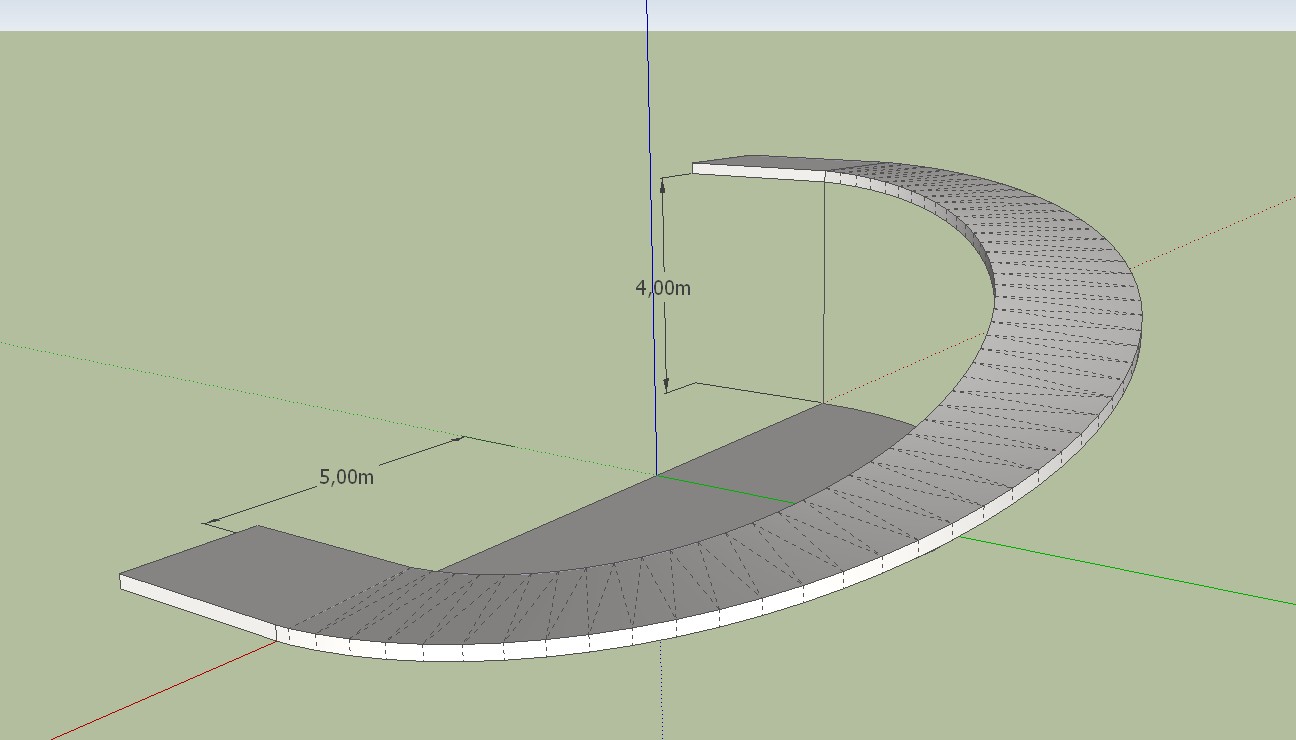
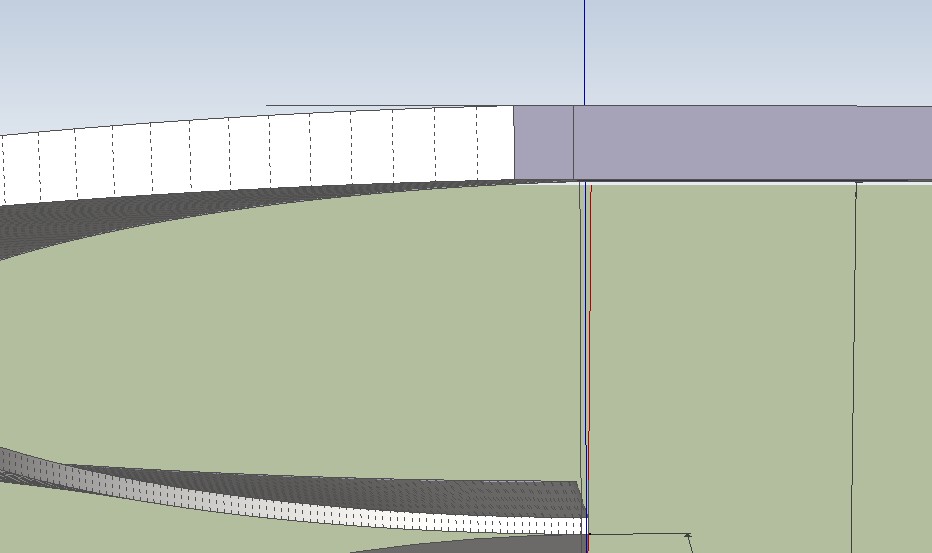
The best result I achieved with the Arc tool and followme and keep. The arc was divided to 48 sectors. The end of the ramp is then still not tangential but the transition to the horizontal is optimized.
Charly
Advertisement
