Belly Tank Racer
-
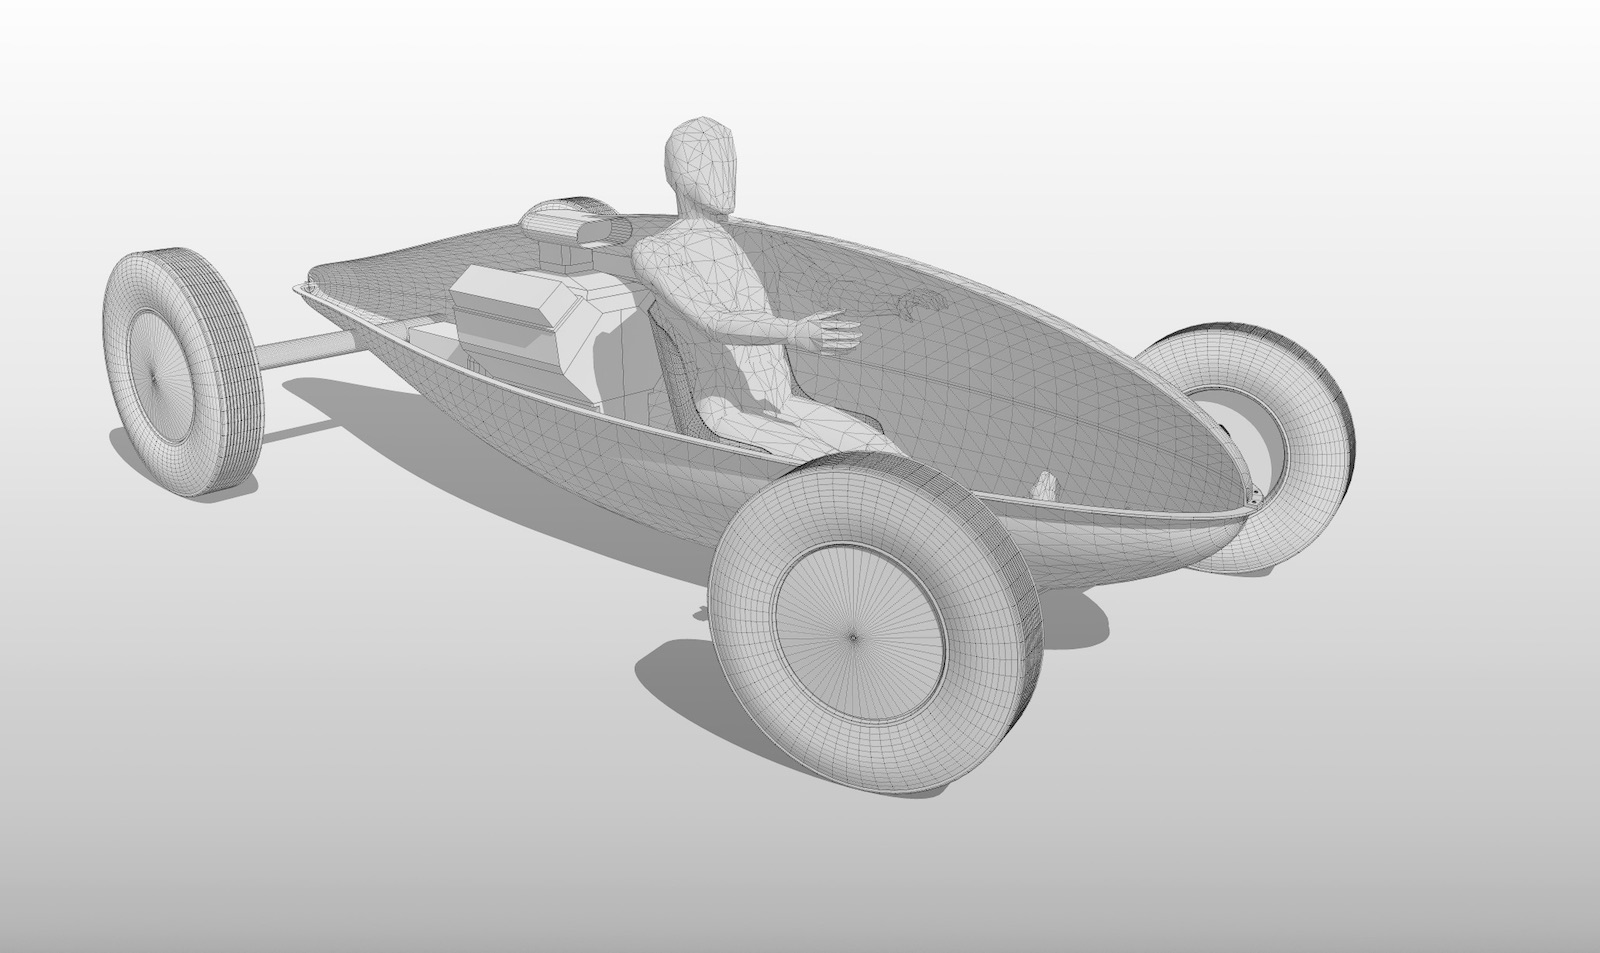
Going to try another salt flats car. Staying real old school ... body of the car is a P38 Lightning drop tank. The P38 belly tanks seemed to be the top choice for these post WW2 racers. Might have something to do with the planes being built in Burbank during the war. Am sure you could find them real easy and real cheap in southern Cal. after the war. Plan to recycle what bits and pieces I can from my first "salt flat racer". Got the body massed out , next to figure out the canopy and engine bay cuts and cowlings......


-
Looking good, V8?
-
Thanks Mike. Motor’s a roughed out small block Chevy . Hardest thing has been trying to find good dimensioned drawings of the motor and various small mechanical bits. I’d even be happy with a well detailed straight six in it. Plenty of different classes based on motor size for salt flat cars

-
I know what a belly tank racer is! This is looking good!
-
Thanks Bryan. I'll leave the modern - futuristic cars to you and Mike. Me .... I'll go back in my time machine

-
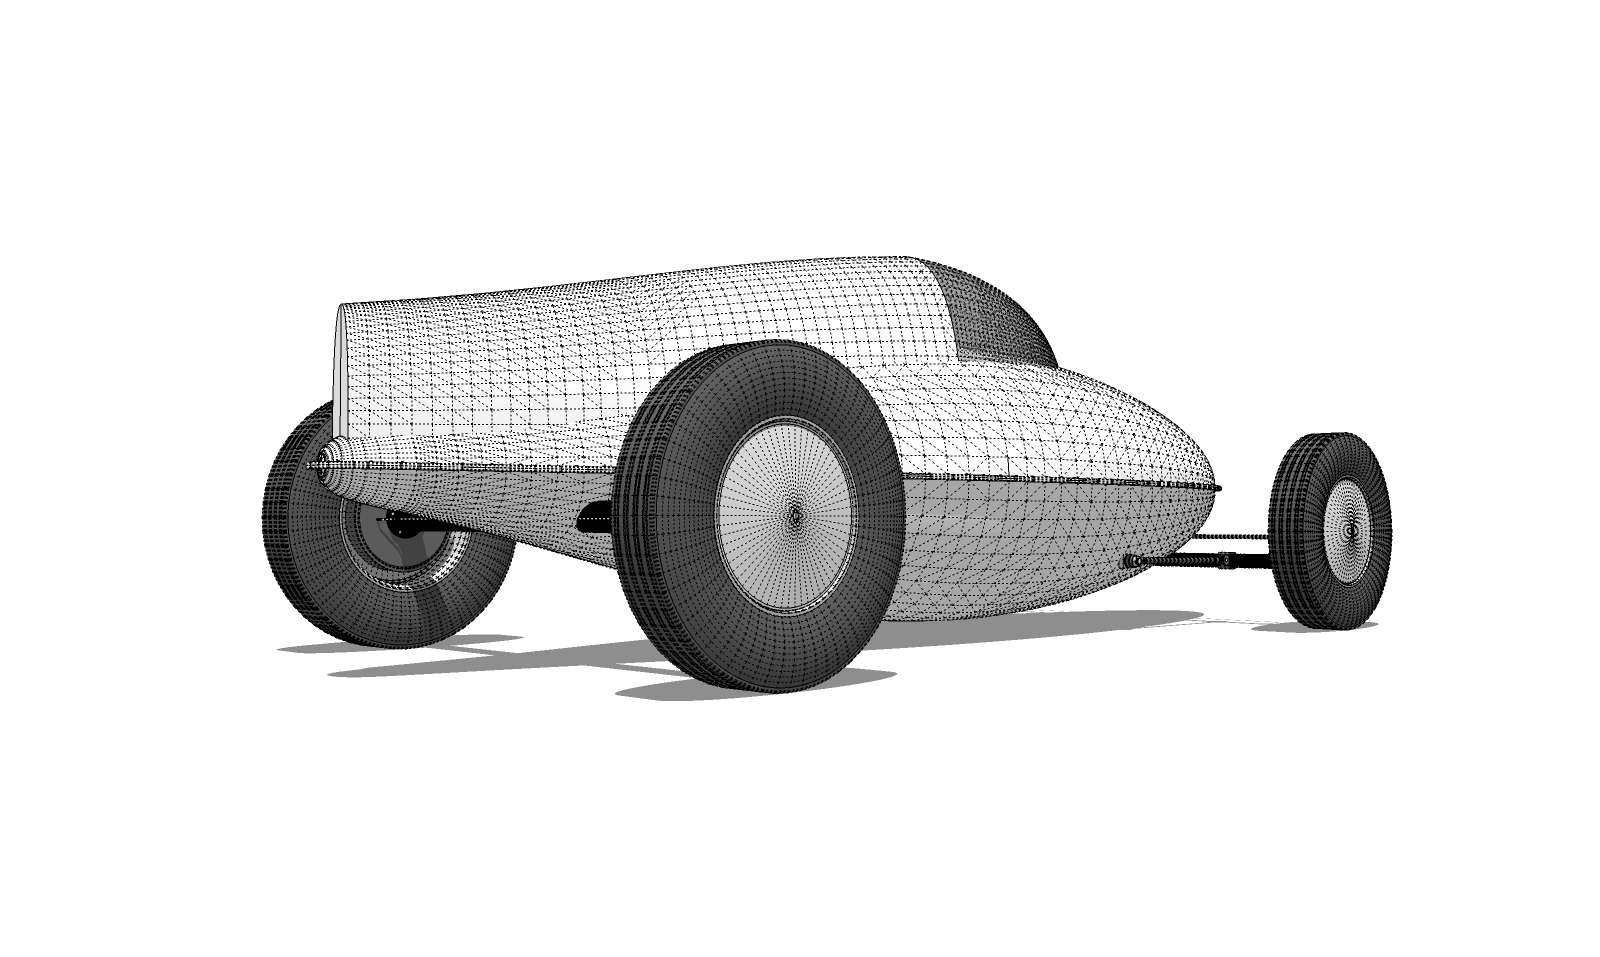
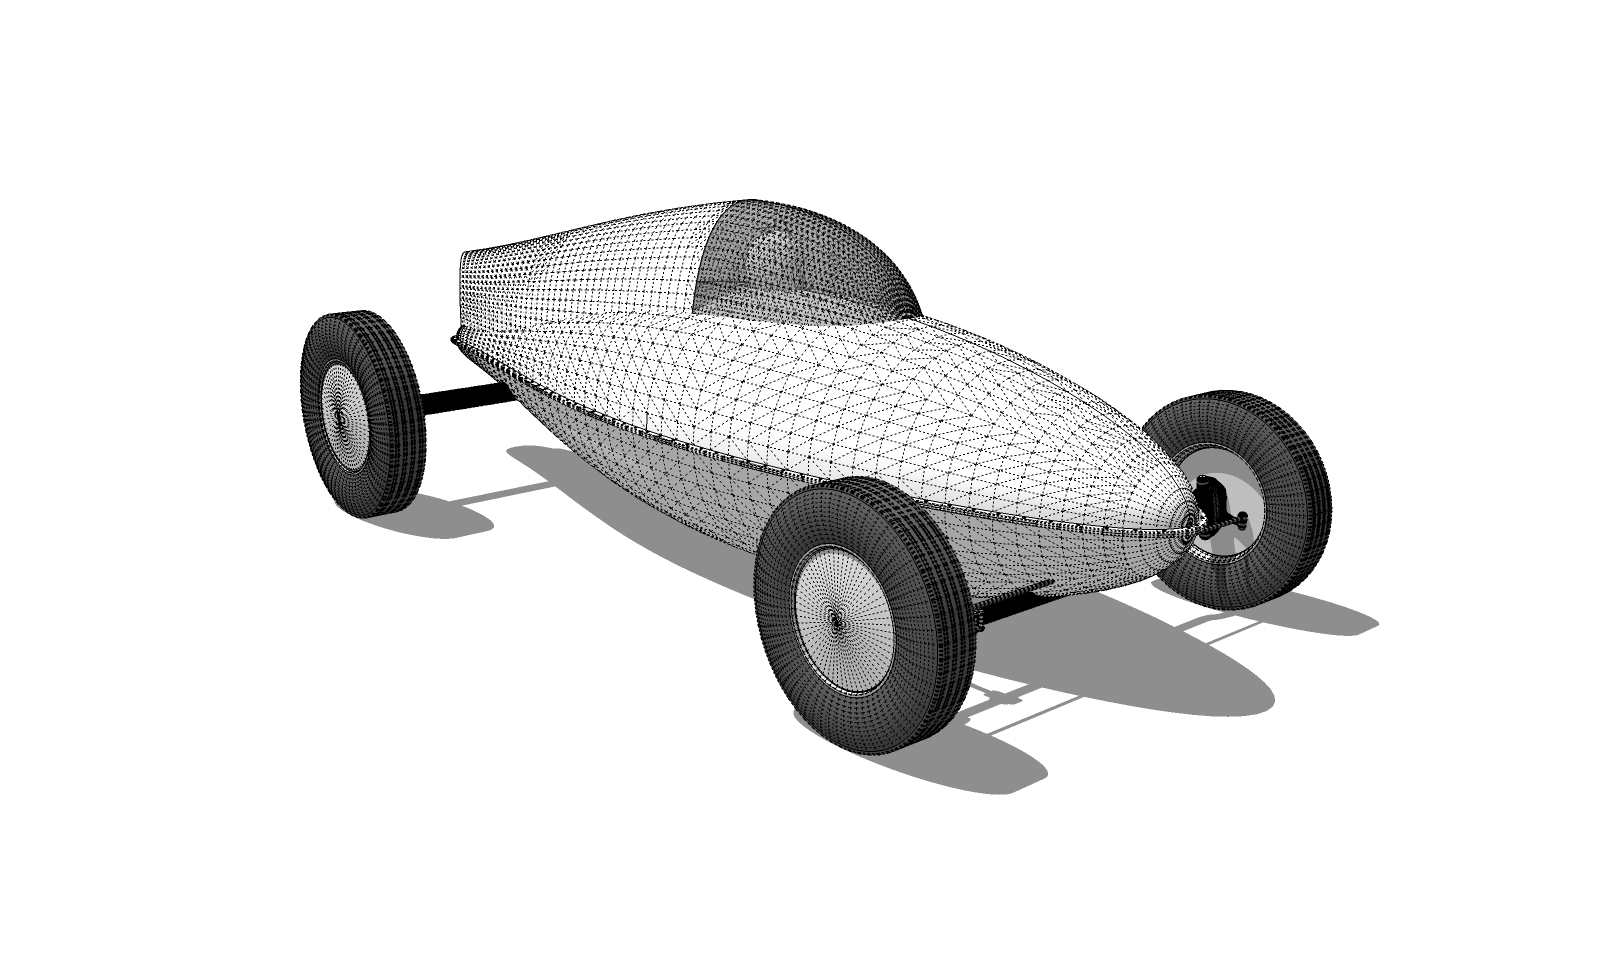
Well I think I've got the shapes for the body fairing and canopy worked out ! Now the fun part of breaking up the top half of the body to incorporate the rear fairing and detail out the canopy
 . I kind of wonder if you guys doing cars ever try to create "thickness" to your body panels ? Because I want to be able to crack open the various top pieces to show the "innards" I try to add thickness to the body skin parts... sure does add to the "pain in the ass" level for me anyway !
-
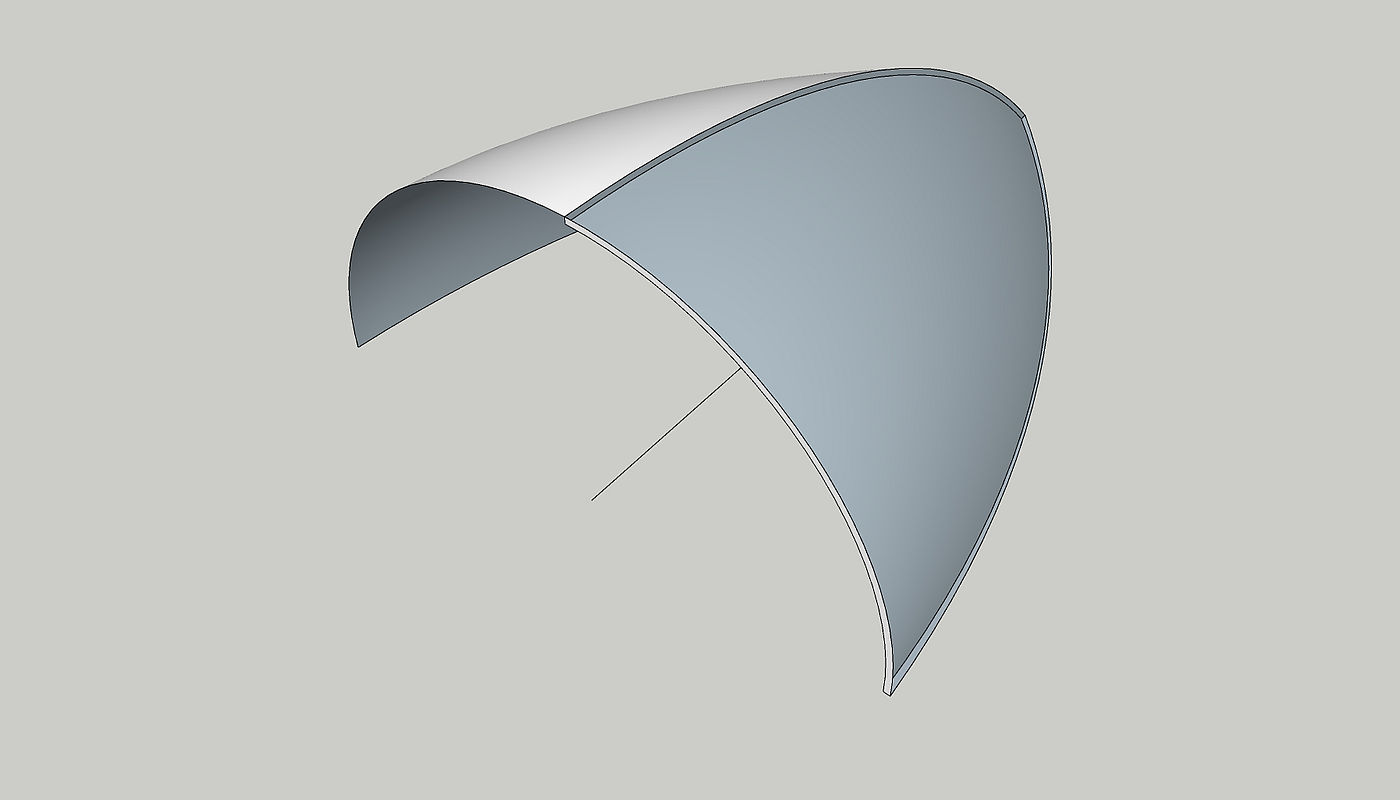
Great progress mate. I am doing the thickness of the panels right now and it is a pain. Best method I have found, with the hump behind your driver for example, would be to make a copy and a separate group. modify the group and delete the faces. Weld all the lines so you have the arcs and then allow for the thickness you want, move the arcs to these locations and remake the surface.
-
Better like this.
Picture shows inner and outer skins as mirrored which would not be the case but is easier to show.
The model is there I hope, just a quick example, with more complex shapes Sketchup does the 'cannot make a face so bogoff' thing.
-
You know you can generally make thickness by scaling a copy and joining the dots. Doesn't work for every shape and sometimes you need to trim back flush, but it's not difficult.

There is also good old Fredo's jpp as well for thickness.
-
Mike , Box , thanks for the tips. I do use all of the mentioned methods... for me anyway it can be somewhat of a struggle when working on parts that have pretty severe compound curves. Most usual when two very differently shaped panels have been intersected into one shape. Just takes patience on my part and sometimes a certain amount of fiddling about and trying different approaches until I get the result I want.
-
Looking great!
-
Thanks Bryan, hope to have some more progress pics later today....

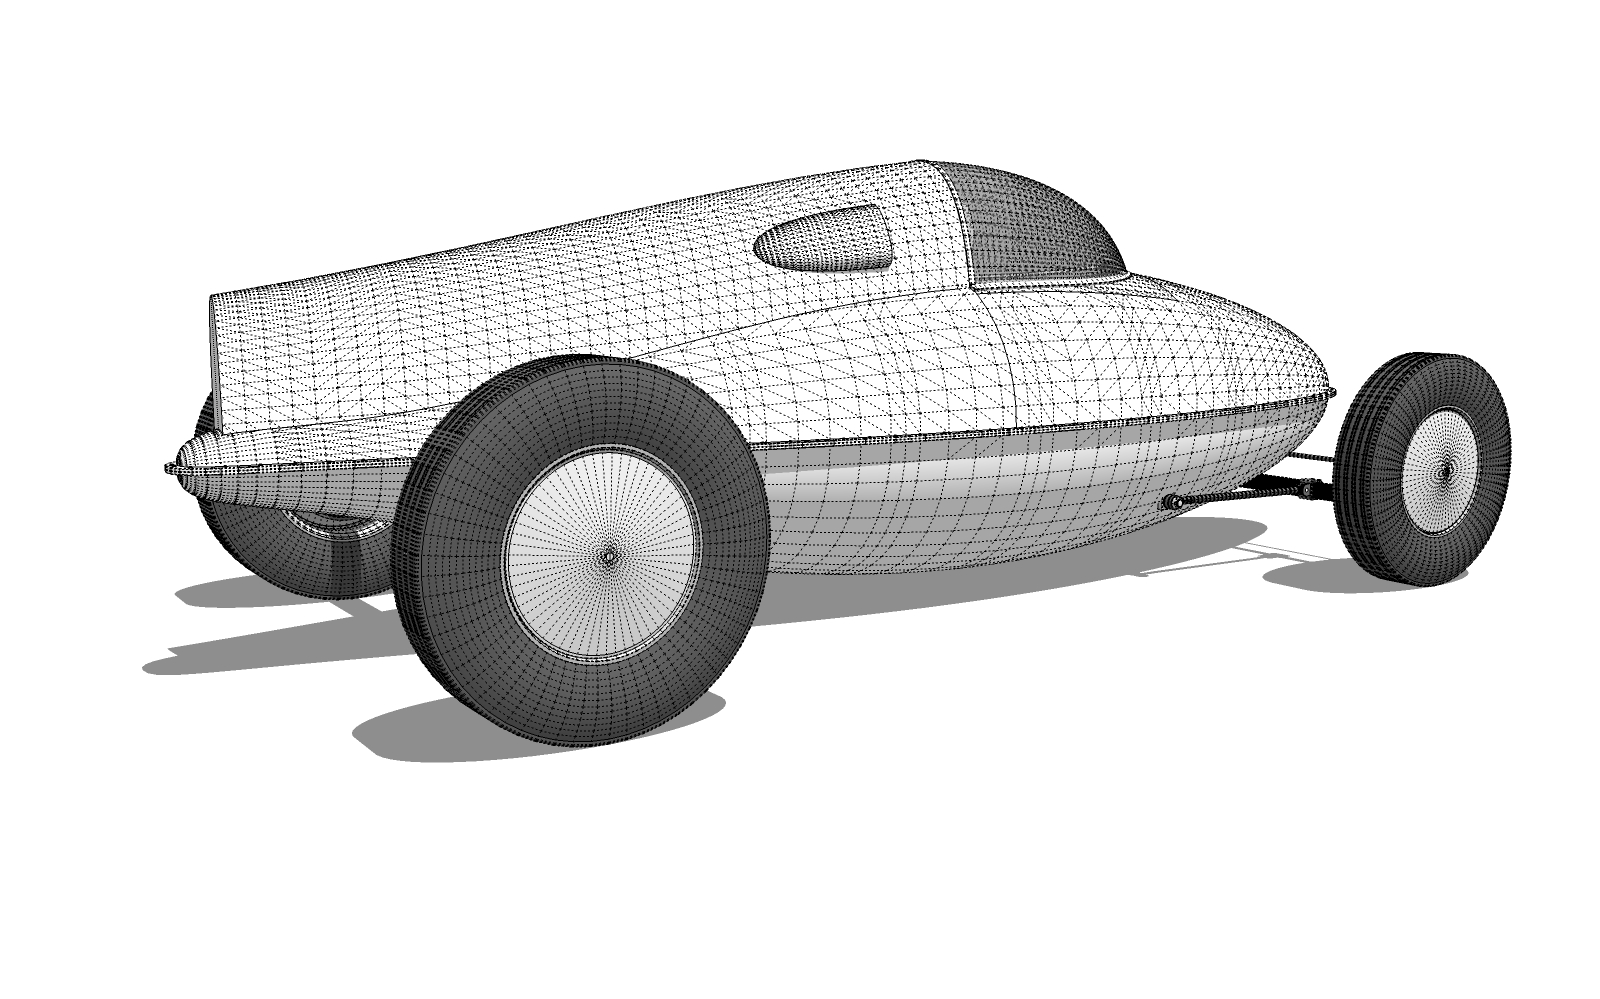
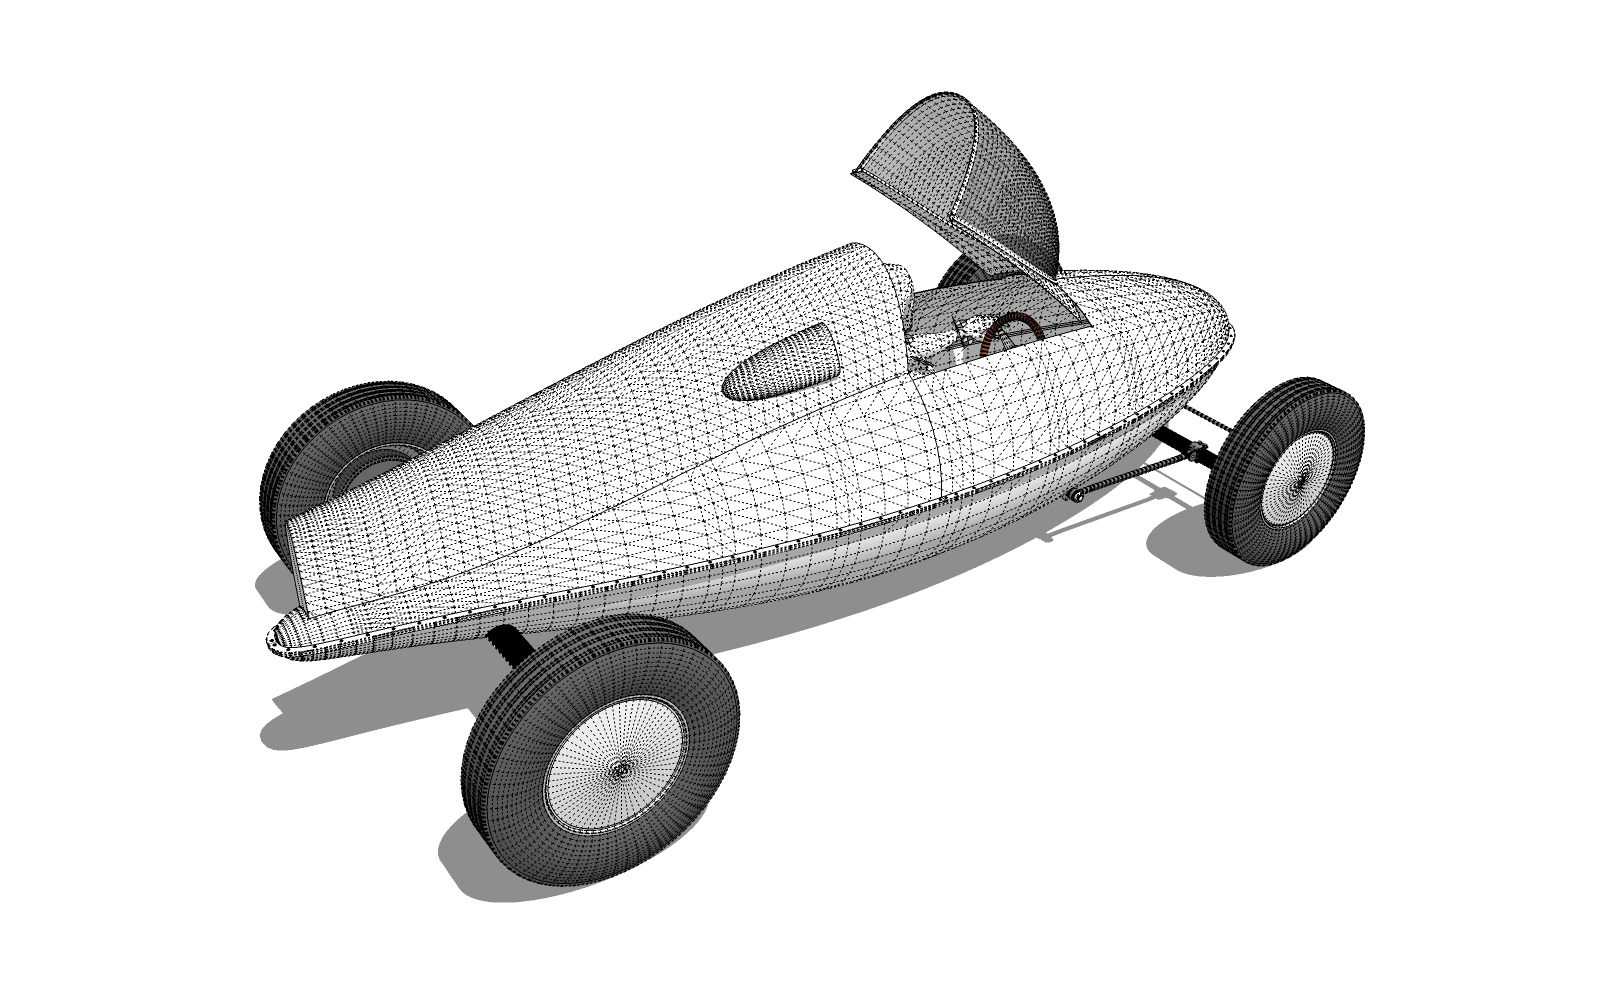
Edit.... A few more shots. Reworked some panels , got side scoops in the rear body Fairing. Canopy pretty well shaped up. Need to put on my driveway engineer hat and figure out some hinges for the canopy....

-
Marvelous, ready for the salt flats mate.
-
Coming along really good!
-
Mike, Thanks. Not quite flats ready yet . We would have to push. No motor
 .
.Bryan , Thanks and slow but sure it's moving along....
-
Maybe electric?
https://youtu.be/v68j01KiLG8 -
I'll give the link a nul point score, repeated ads to the point of nausea. The concepts is good tho' as is some of the tech used in the switch to electric power. Very little weight in that hotrod.
-
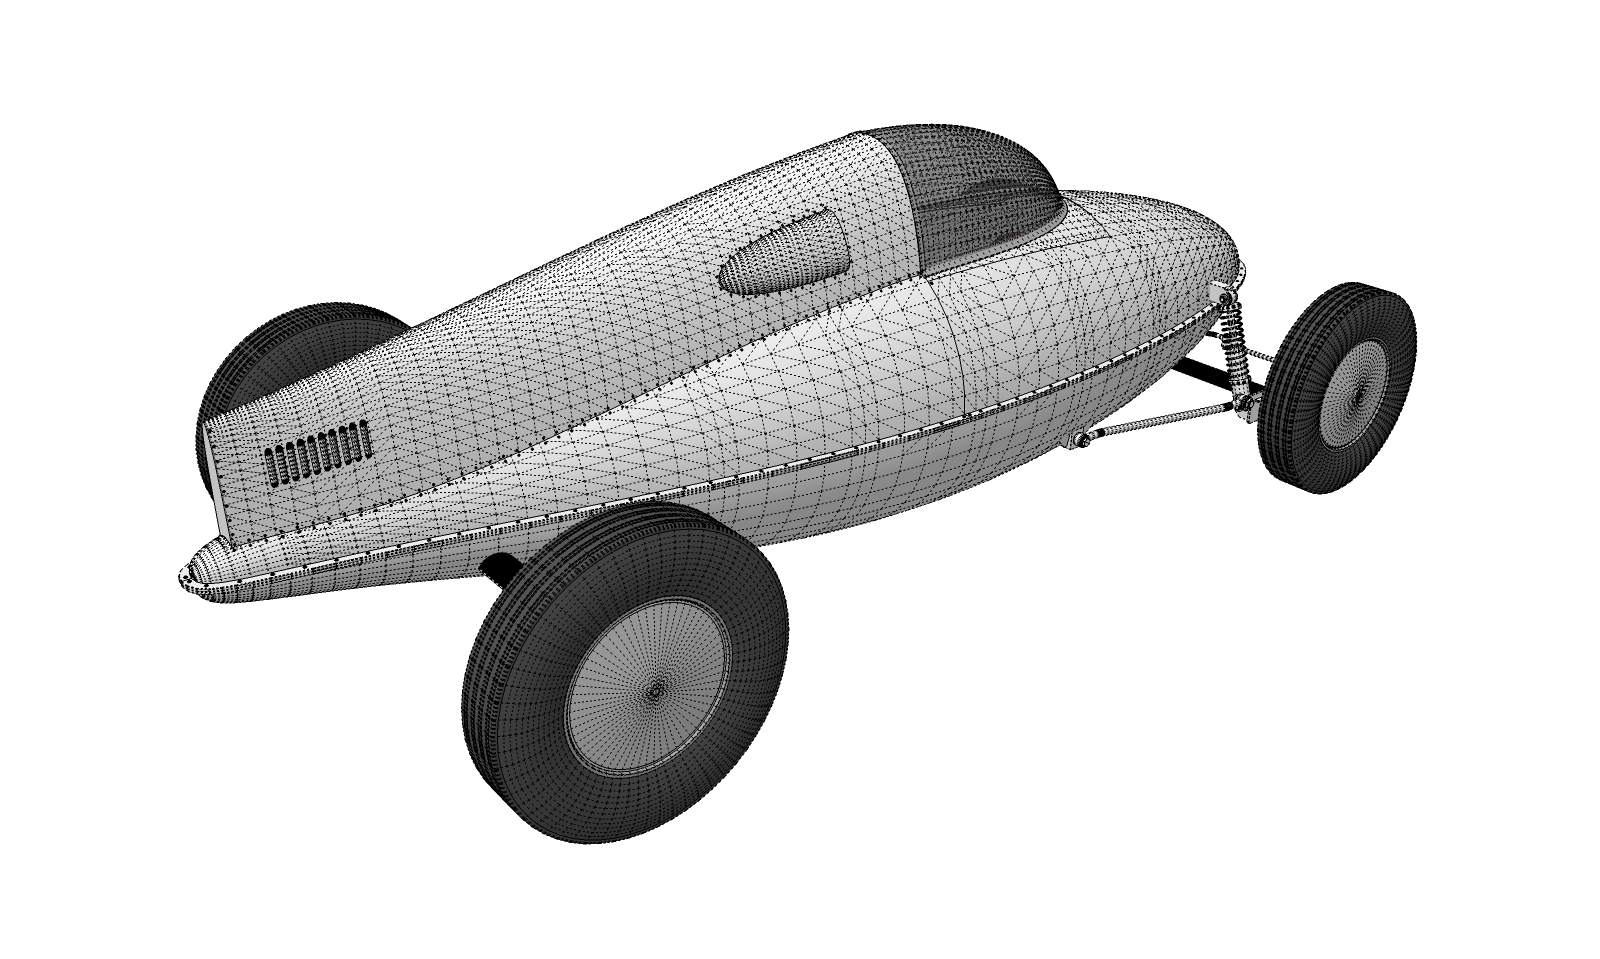
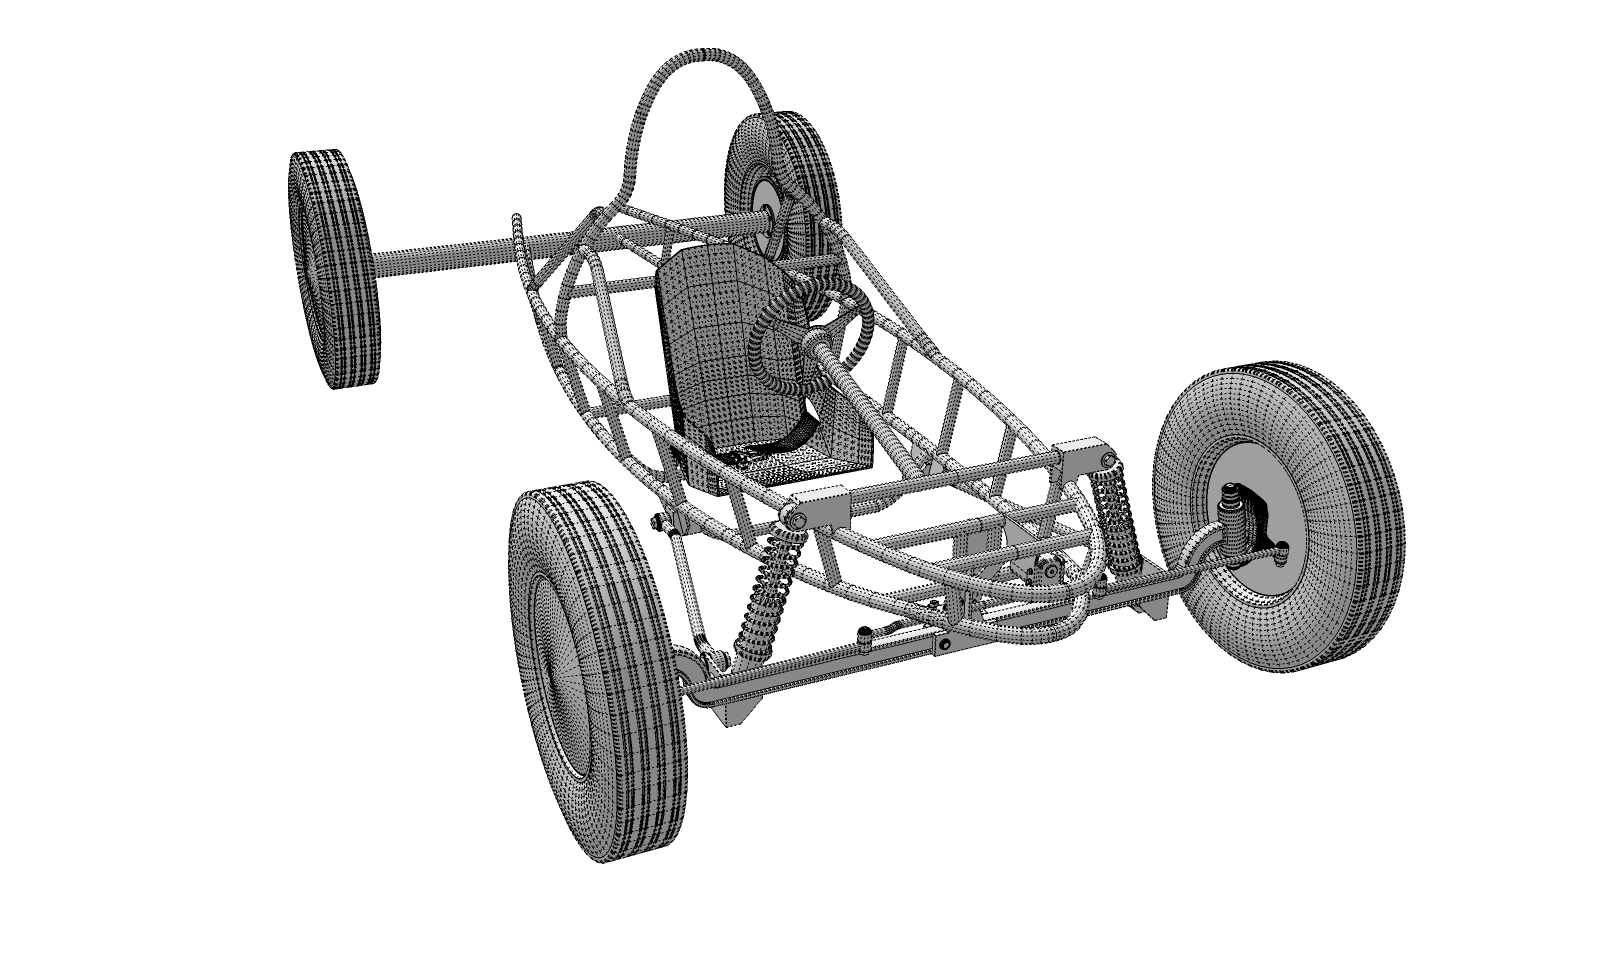
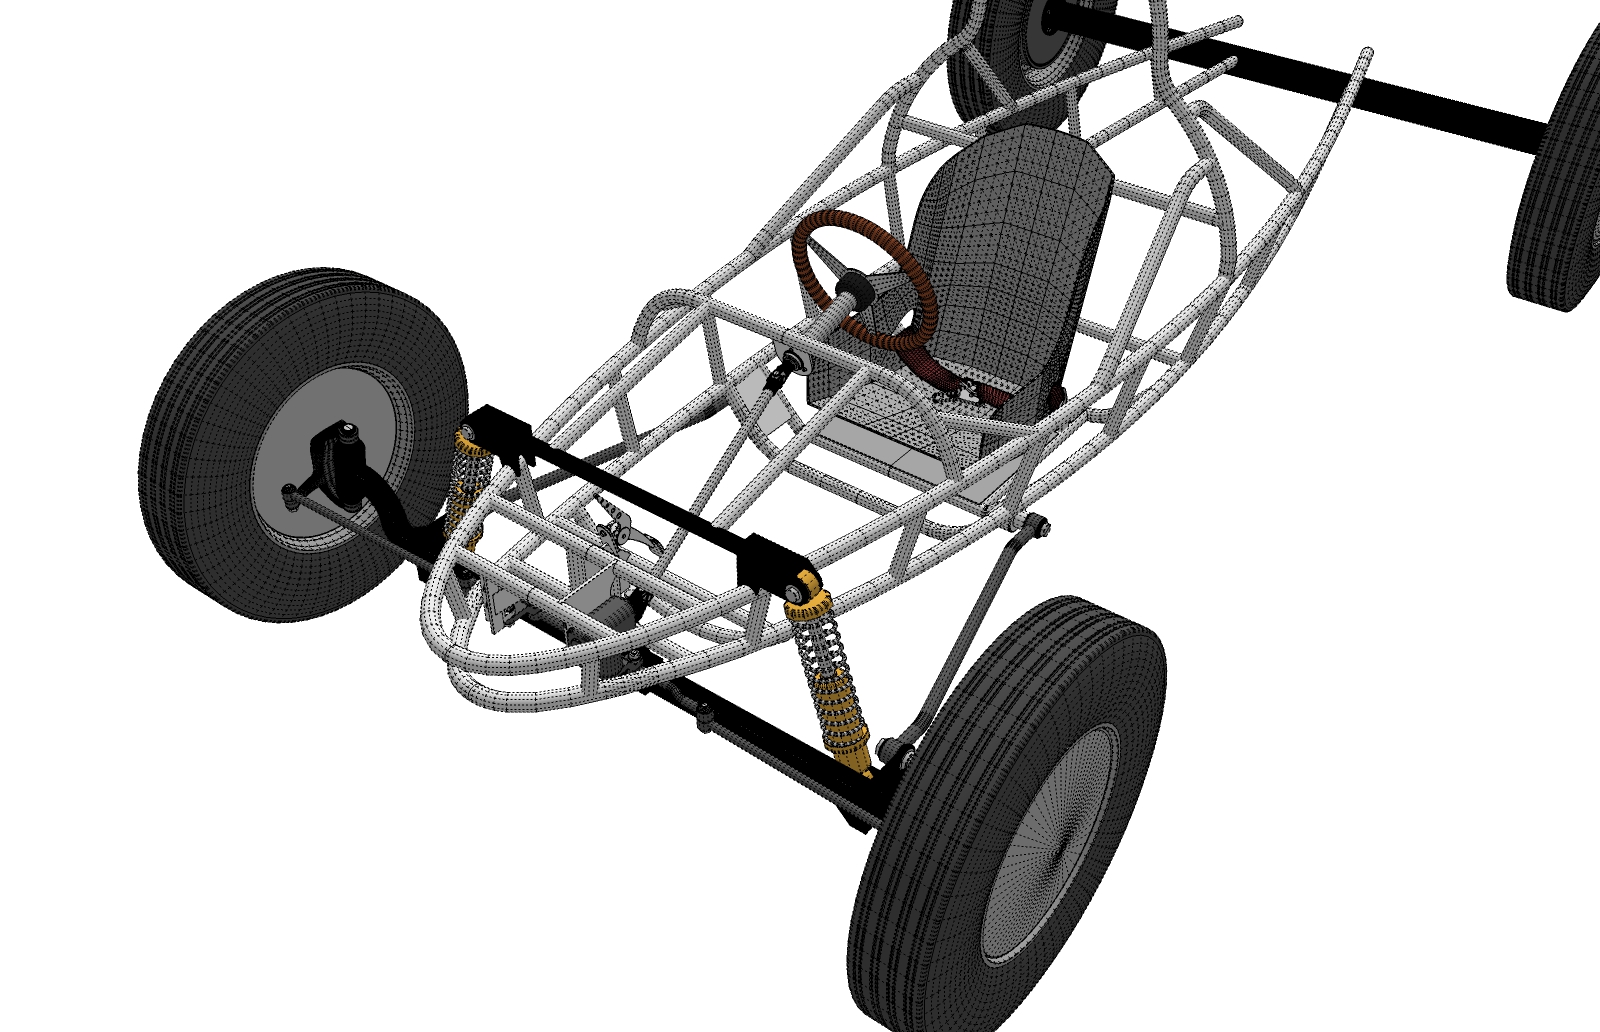
A little more progress. Have the body pretty well squared away..... I think .... Frame starting to come together. Figured I'd work from front to back. Front suspension worked out.for the most part. Going to leave cutting clearance holes in the body until all the drivetrain is in place.

-
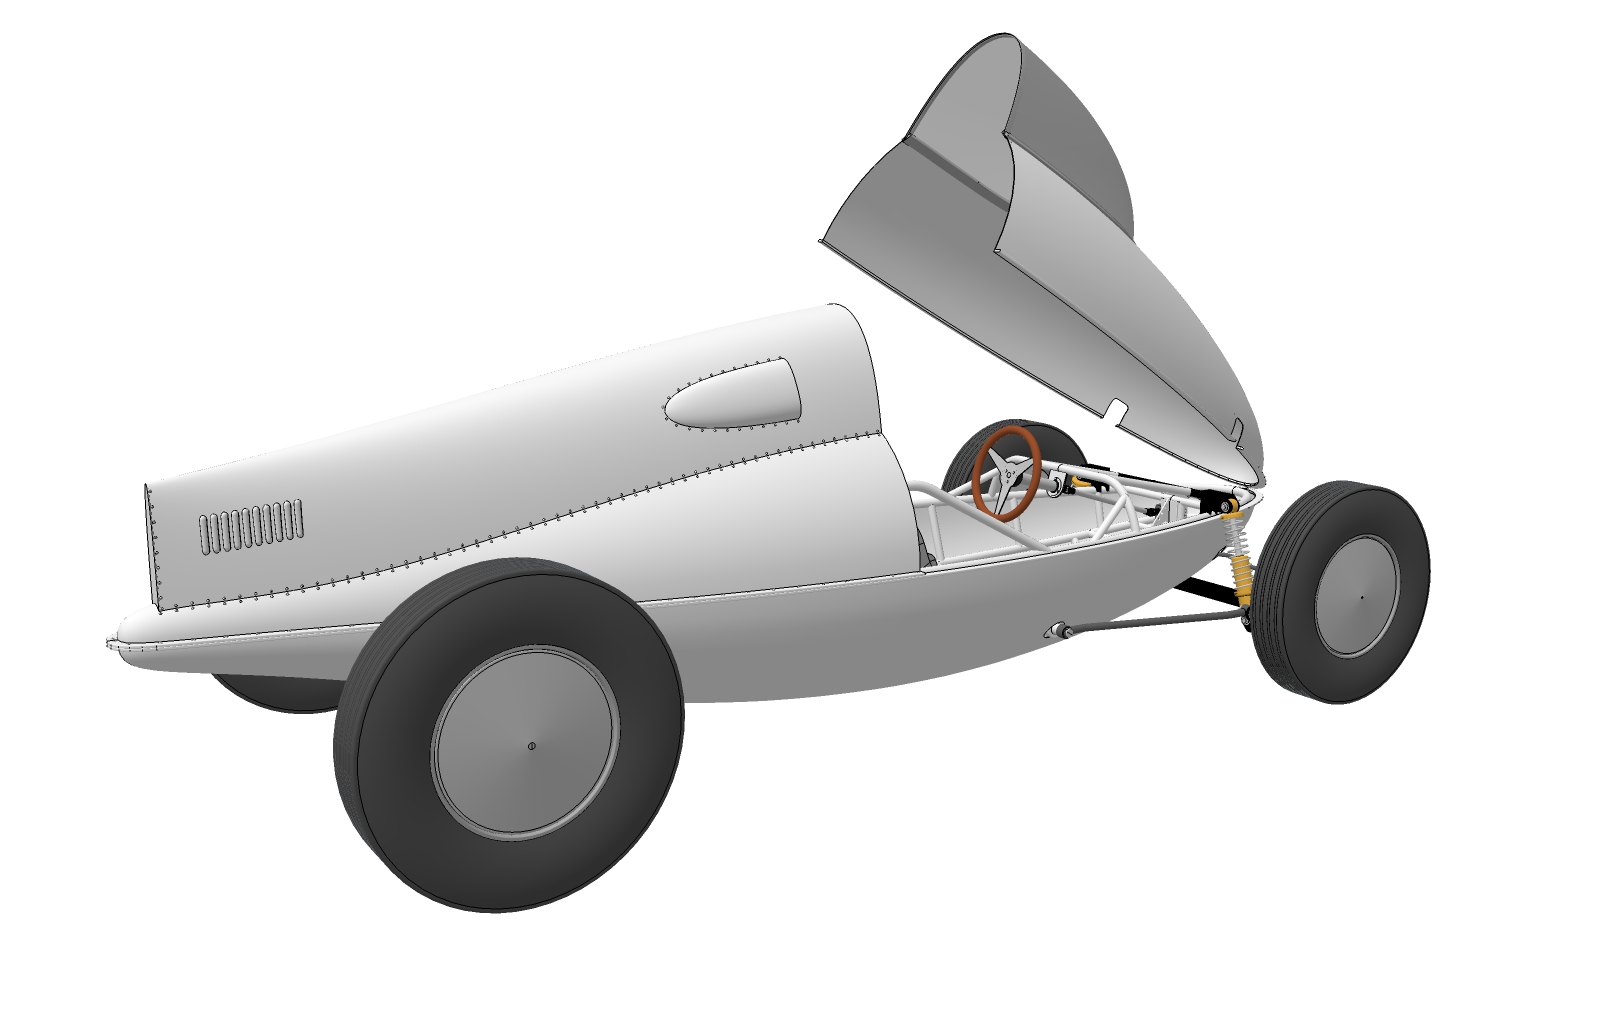
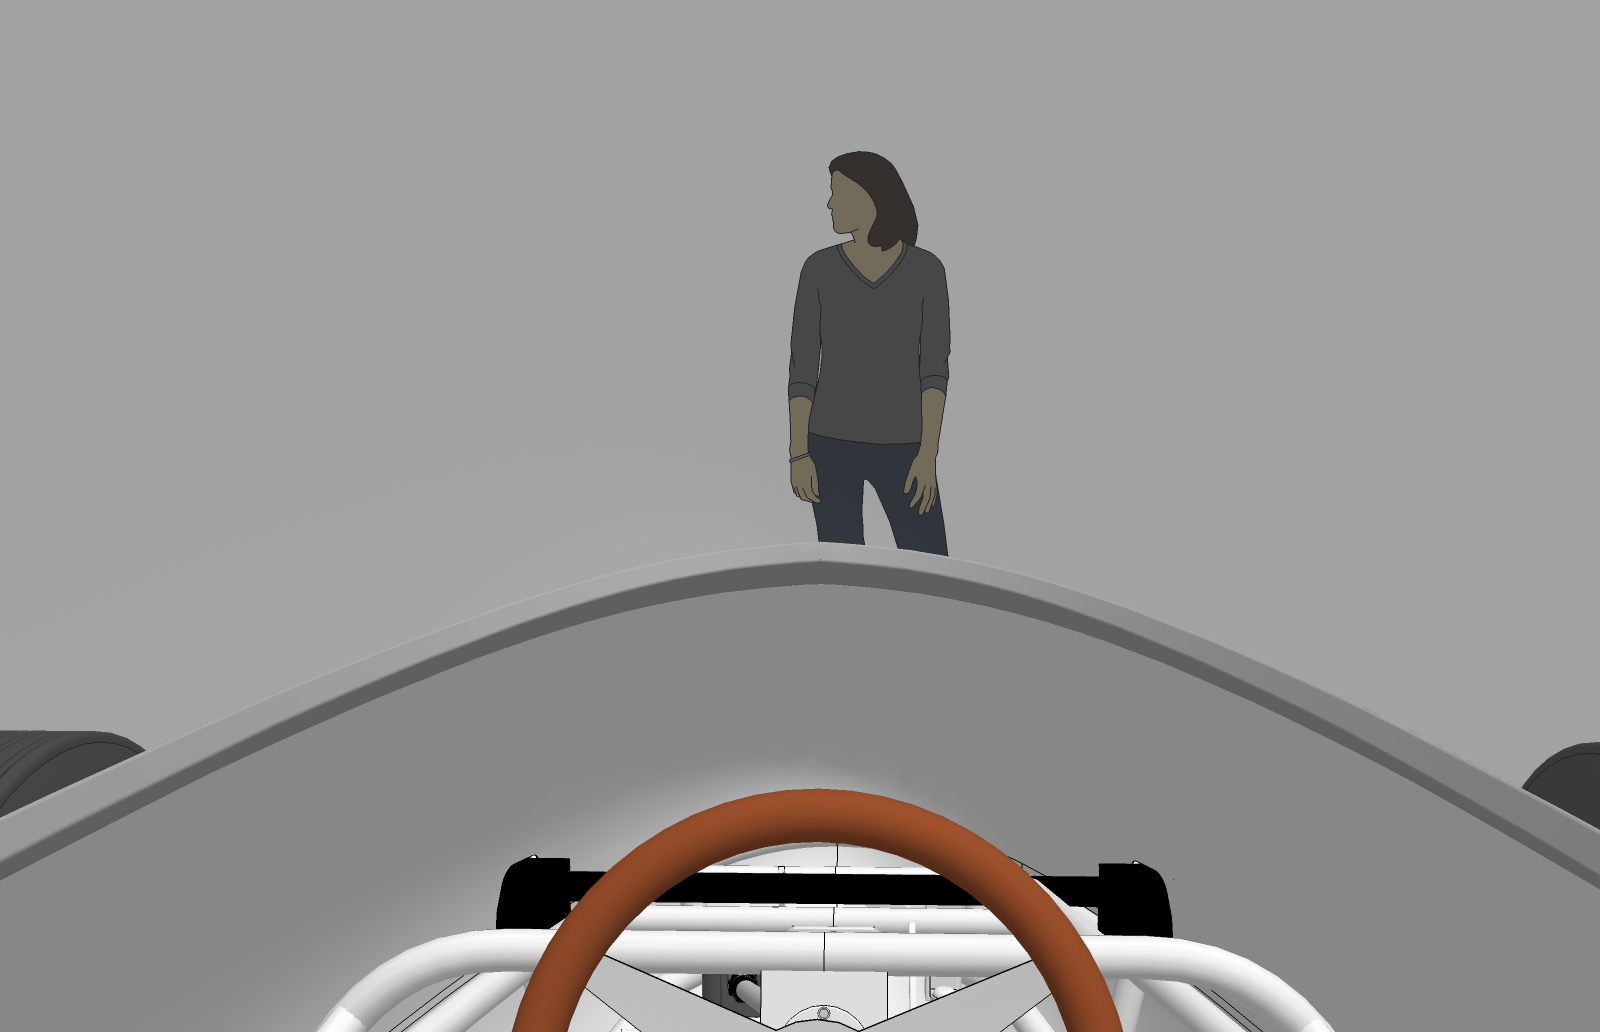
Slow but steady , piece by piece I might get there.... Changed how the front canopy works. Hinging the whole thing at the front. Inspired to change based on vintage pics I've dug up. A lot of the front end stuff in place. Sort of scratching my head over just how much detail to do. Darn I'm ready to drive this thing... Susan better get the heck out of the way , I'll darn sure run her over

-
Oh my. Looking damn good!
Advertisement


