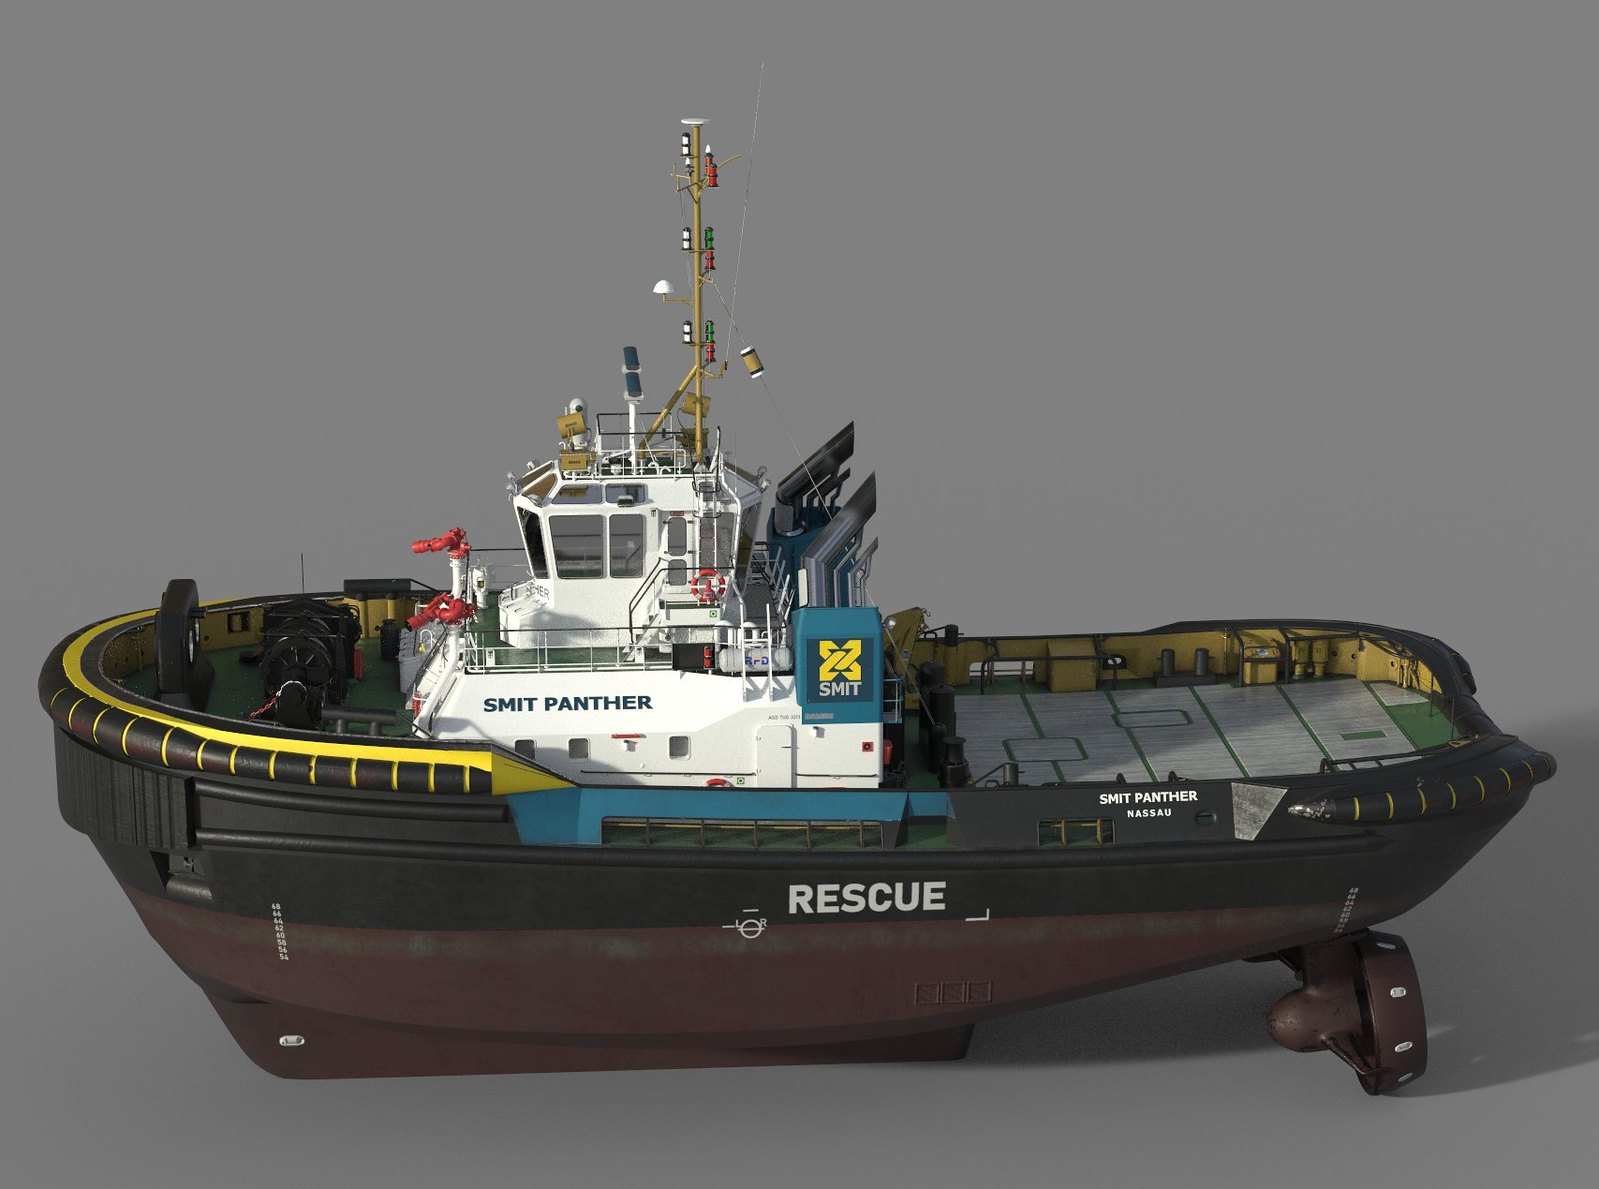
Smit Panther ASD Tug
-
"WOW" is very appropriate mate


 When all that goes together how many poly's do you expect and what file size?
 -
Awesome!
-
Amazing detail and dedication

-
Thanks Guys, wish I had more hours in a week to throw at this!
My Guess is with the full interior Complete she will be around a million Polys, with probably around 10 4096x4096 Textures ( Each with 6 Different layers, AO, Normals , Rougness etc. )
Completed the Fire Monitors,I was dreading thes,e but they weren't as bad as I thought, only took 4 hours.

Heres a Few Shots of the model where is is at the moment:


Currently 77 Hours 46 Minutes in
-
No doubt about it, you are simply put, very talented.
-
The level of detail is just mind altering !


-
Thanks guys, really enjoying this project!
Bridge frames, Starboard bridge entrance, maindeck windows, bell and bow hatches ad Stern deck port fittings arranged as they should be ( not mirrored ).
Railings, top deck fittings and mast coming soon!


Currently 89 Hours 04 Minutes in
-
speechless.....


-
Alot has been changed over the years ive noticed, many things were added everywhere it seems, keeps this project challenging! Bridge Deck Railings took much longer than I thought, sprinklers and lights are there as well, you will see pretty big differences between the 2 sides of the bridge and that aft platform also was added later. Nearing the 100 Hour Mark!
Exterior will be done soon then I can get cracking on the interior!


Currently 98 Hours 32 Minutes in
-
Insanely impressive!
-
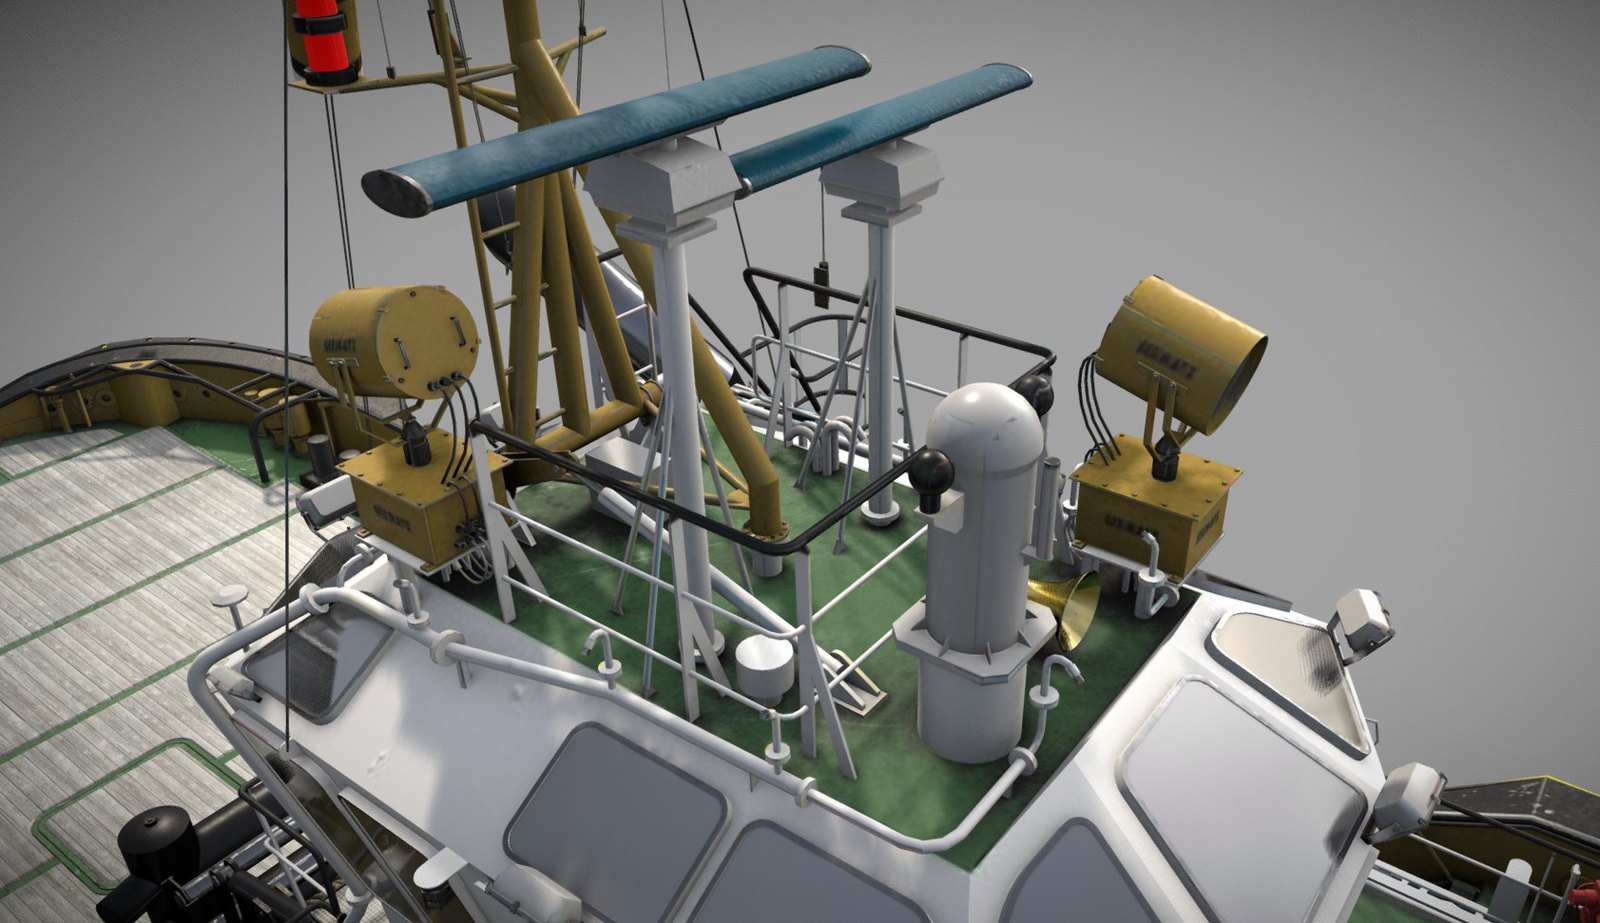
I thought this roof would take a hour or two and I could move on, well well Surprise! How much equipment can you cram into that tiny space! look no further!
The Top Deck is pretty much done, moving on to the mast next.


Currently 106 Hours 32 Minutes in
-
Superb work.
Where do you get your references?
Also, how did you create the hull?
-
Thanks Bryan, its an interesting process that ive tried to explain as best I could here:

Art Spotlight: Trawler “Sea Lady”
3D Artist and ship enthusiast Marius Moolman (aka Axeonalias) shares how he created his realistic Trawler “Sea Lady” model using Sketchup.

Sketchfab Community Blog (sketchfab.com)
I can give you a specific rundown on this hull if needed?
-
"I can give you a specific rundown on this hull if needed"?
That would be really cool and helpful.
-
Step 1: Gathering info

So step 1 is to be sure you have decent drawings (Side View and Front view is a must, top view is a bonus), rib plans are always the best but in the case I had a fairly simple hull with enough information on the drawings to create it, of course go searching for the images of the real ship out the water if you can find any!
Step 2: Subdiv Mesh

Creating the subdiv mesh is always fun, in this case I hard a few hard chine lines to deal with so I was sure to mark them out, I should have added the keel in at this stage, it would have made for a better looking mesh but with higher poly count for no reason apart from a better looking mesh.

Step 3. Seperating mesh for smoothing

This step is really quite dependent on the type of hull you are creating, a wooden ship for instance will not need this, to preserve the hard chine when smoothing is applied, I separate the meshs in their smoothing groups so that when it goes to blender for mapping and smoothing, it wont smoothen out the areas near the bow and stern that have less than a 35° angle. the tradeoff with this method is you will have separated areas on the UV for something that is essentially joined.
Hope this helps!
-
The Exterior for the most part is complete, the text will probably be removed later and replaced with textures, the Poly count currently is at 438k


Currently 110 Hours 46 Minutes in
-
Thanks very much for the TUT, looking fantastic.
-
I'm blown away by your modeling. And inspired. Hardly touched SU in two years, but I'm starting to get the itch again.
-
Thanks axeonalias.
That was a good explanation of your hull modeling.
When you subdivide and smooth, what are you using?
-
Alright I dragged my feet abit with this one, but shes finally done, the lack of accurate info for the interior left me demotivated, but after the birth of my first son I decided, I better get this one out while he is asleep!, it still took another 3 weeks to complete the exterior but im happy with the result, im going to fiddle with getting it into VSF but I have my doubts, she has 53 separate 4k textures ( made up of Diffuse, AO, Rough, Metallic, Spec and normals ) so I have my doubts that VSF will be able to render her correctly
If you want to have a look at her in 3d, heres the link : https://skfb.ly/6WAyG
Sorry for the oversize images, just zoom out with your browser to 75% and you will see the whole image.

71R by mariusmoolman, on Flickr

72R by mariusmoolman, on Flickr

73R by mariusmoolman, on Flickr

74R by mariusmoolman, on Flickr

75R by mariusmoolman, on Flickr

76R by mariusmoolman, on Flickr

77 by mariusmoolman, on Flickr
[url=https://flic.kr/p/2k8A9Xj:1m0fwj62]

[/url:1m0fwj62][url=https://flic.kr/p/2k8A9Xj:1m0fwj62]78[/url:1m0fwj62] by mariusmoolman, on Flickr
[url=https://flic.kr/p/2k8A9Rx:1m0fwj62]

[/url:1m0fwj62][url=https://flic.kr/p/2k8A9Rx:1m0fwj62]79[/url:1m0fwj62] by mariusmoolman, on Flickr
[url=https://flic.kr/p/2k8wjrz:1m0fwj62]

[/url:1m0fwj62][url=https://flic.kr/p/2k8wjrz:1m0fwj62]80[/url:1m0fwj62] by mariusmoolman, on Flickr
[url=https://flic.kr/p/2k8AEfZ:1m0fwj62]

[/url:1m0fwj62][url=https://flic.kr/p/2k8AEfZ:1m0fwj62]81[/url:1m0fwj62] by mariusmoolman, on Flickr
Advertisement


