Some tips and tricks from out of the Box
-
-
One of them is a shoulder. But you guys can look at things your own way.
-
@box said:
One of them is a shoulder. But you guys can look at things your own way.
Be buggered if I can see a shoulder...
-
-
Ok, enough renders for now.
How to make a twisted cable.
The plugin off screen is Fredo's Twisting.
-
Prima again !


after you have already twisted all the cables, about in the middle of the gif you delete 5 outer cables to copy the remainig outer one again around the middle axis 5x again - what makes this new copy step necessary? -
It's not technically necessary, but the twist has made them all unique components even though they are identical. By replacing them they become instances of one component rather than 6 separate components, this saves file size and makes it easier to modify them if I need to in future.
-
@box said:
Ok, enough renders for now.
How to make a twisted cable.
The plugin off screen is Fredo's Twisting.
Mmmmm, licorice.
Nice thinking, mate.

-
@utiler said:
Mmmmm, licorice


-
Here's a little demo of making a very smooth tapered spindle. The pitch, length and number of threads is up to you.
This is a single thread using four helices at 90deg. The method creates a large file size, so not for general work, more for 3d printing types of work where you want a very smooth surface.
There is one point where a menu item is off screen, it is just Explode, to put the helices and cylinder into the same context.
-
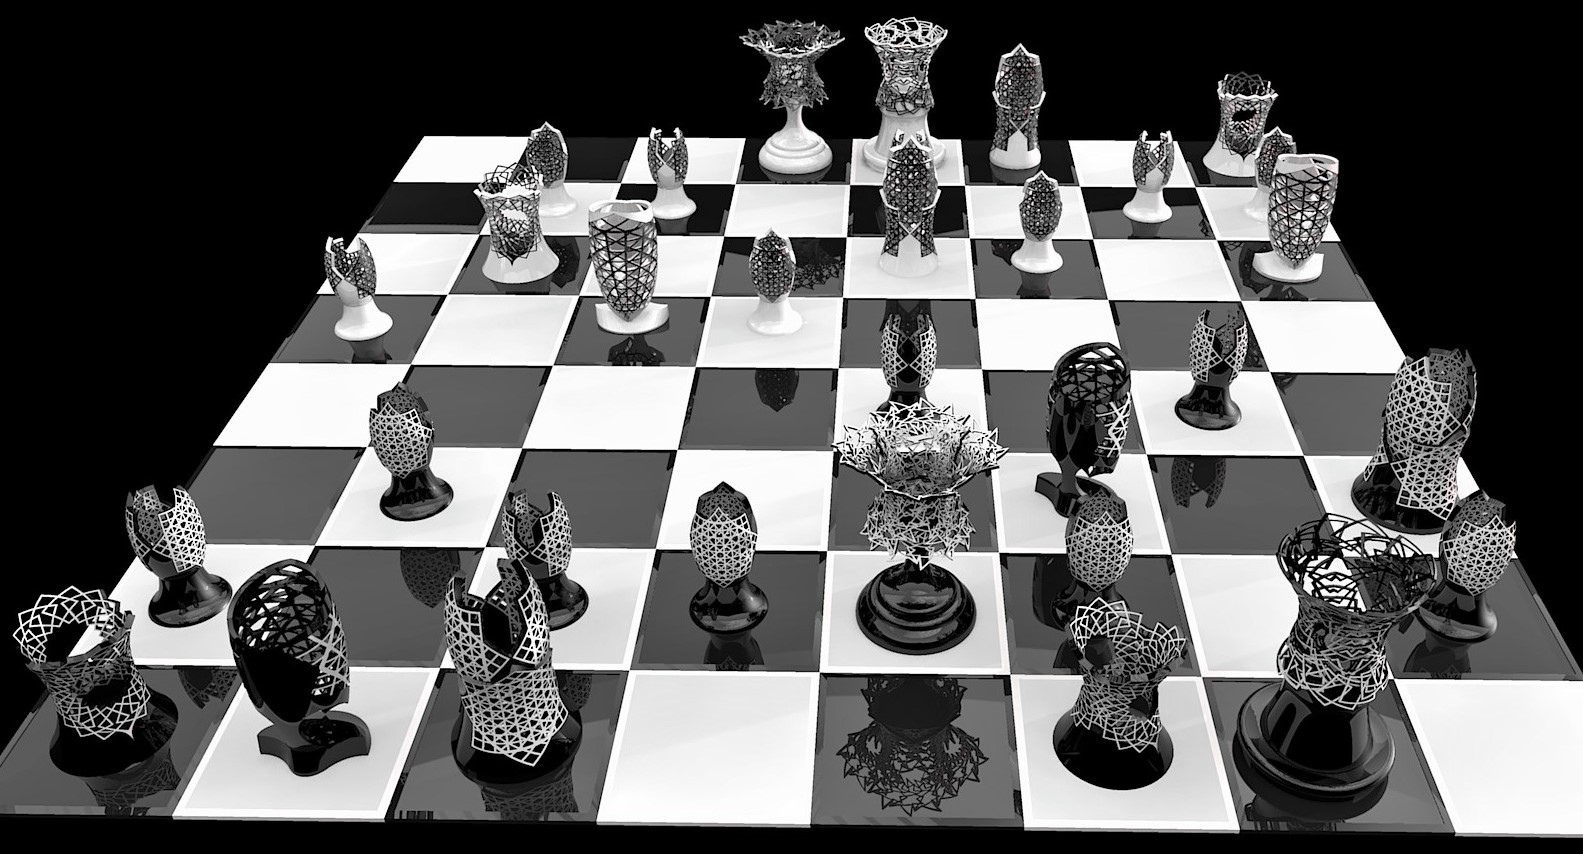
Haven't posted anything here for quite a while, so here is my 'Ikea Chess Set' and the basic method for creating them using Thomthom's Truebend.


-
I like the way you think, Box.!
-
I don't think the rest of the voices would agree with you.
-
@utiler said:
I like the way you think, Box.!
I agree !! (sorry Box )
) -
@hornoxx said:
(sorry Box)
I don't know about this, the rest of the voices in my head are arguing about it. -
... such a great and complex task again - truly admirable! (still I search unsuccessfully the IKEA context, did they sell this sometime?
 ) Somewhere you mentioned (more or less) that it is hard to distinguish black and white figures - that's true. I would love to see some more details?
and Utiler is right anyway !!


-
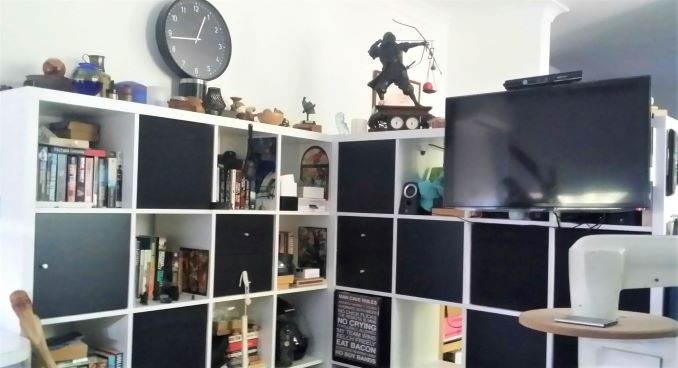
Sorry, no, the Ikea reference was more about the angularity and colours. I said something like 'I think of this as the Ikea version. Having recently moved into a tiny apartment, all Ikea’d in black and white, may have somewhat influenced this concept.'
The majority of the furniture, bedding, curtains, walls, blinds even the window frames are black or white and the only curves are in the folds of the bedding.
Here's a quick example.

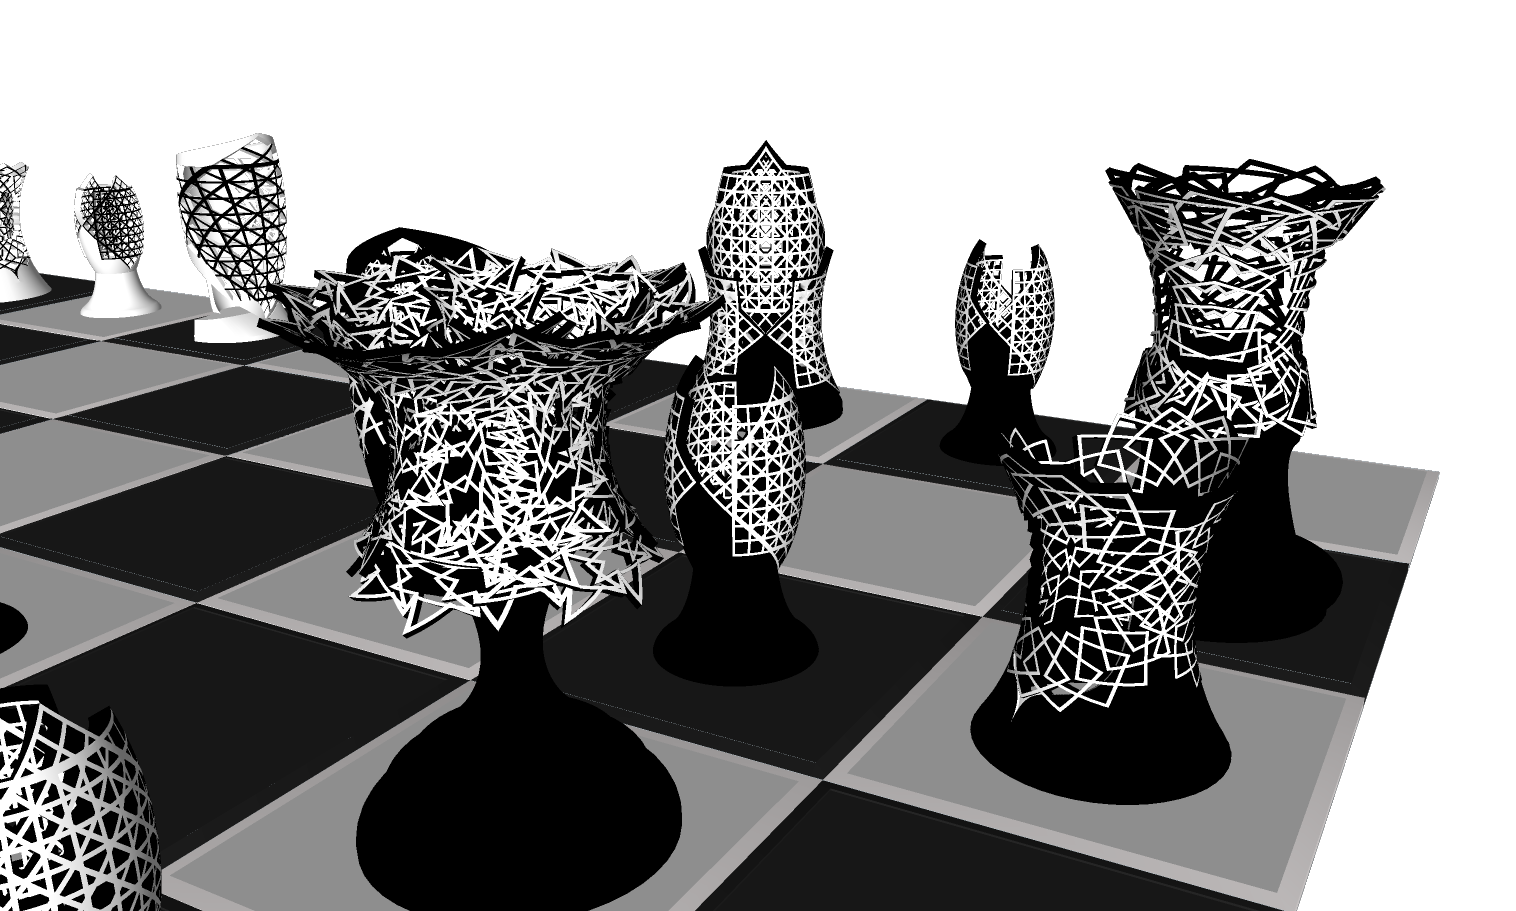
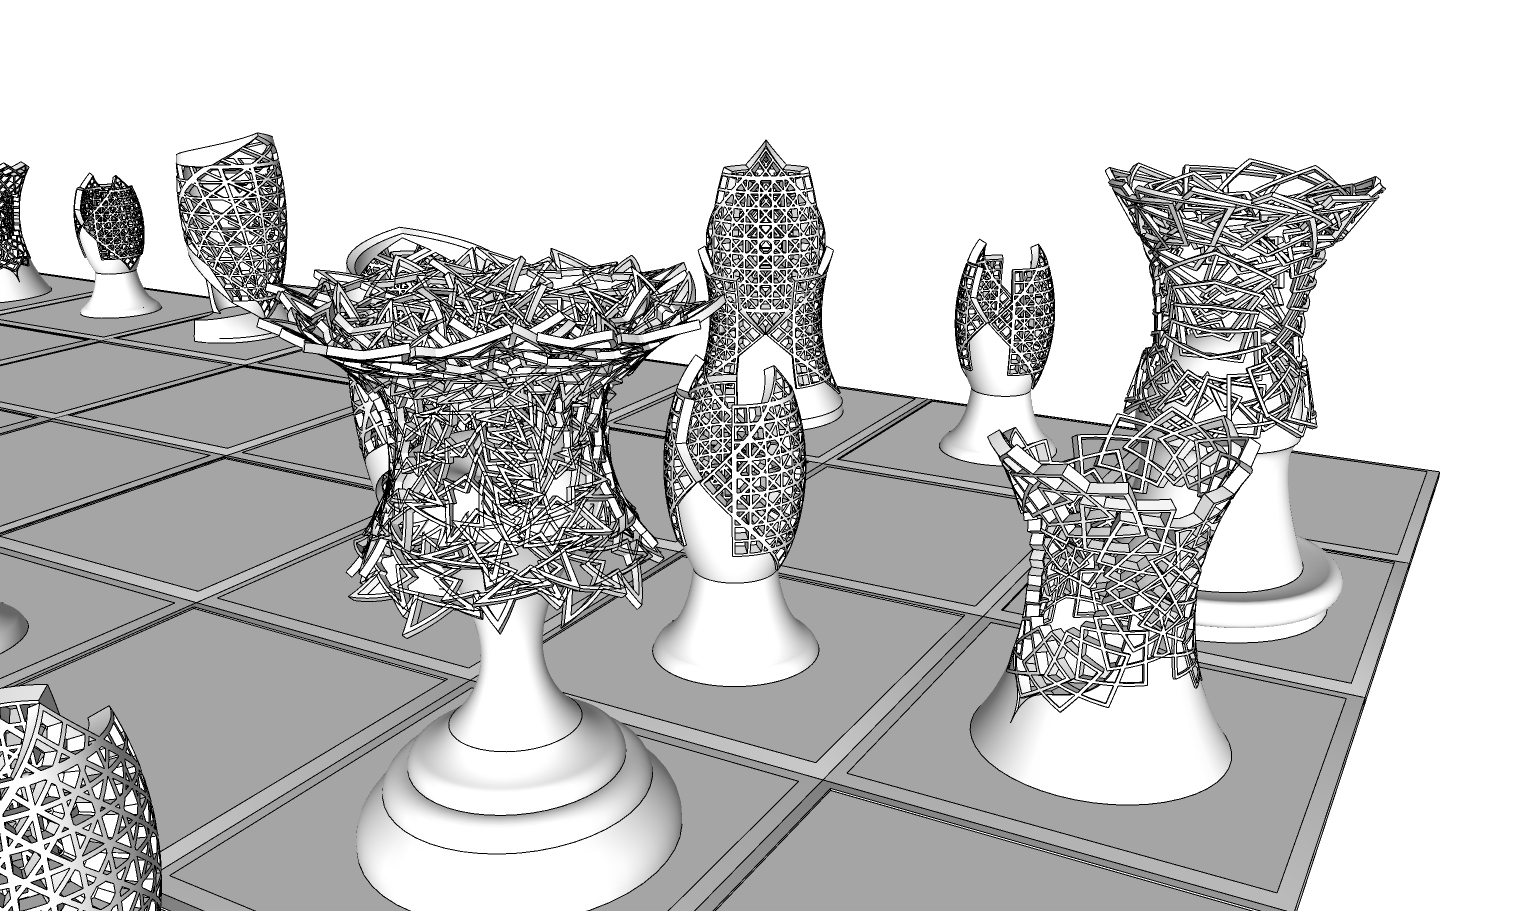
And an SU close up of some of them.

I'll throw in a Mono to make it easier to see whats going on.

-

 thanks for these additional infos! - unbelievable how far we are "furniture-synchronized" around the globe. After renovating a former children's room I had to spend 2 afternoons at IKEA last month by now which is always a maximum punishment for me
  and will only be surpassed by my wife's punishment if I do not join in

-
I rang my Ex in Germany from inside Ikea Sydney and said, I think I'm in Dresden, can you come and get me before I lose the will to live.
-
These are fantastic. After using SU since v2 I have learned a couple new tricks this morning I never knew. Keep them going.
Hello! It looks like you're interested in this conversation, but you don't have an account yet.
Getting fed up of having to scroll through the same posts each visit? When you register for an account, you'll always come back to exactly where you were before, and choose to be notified of new replies (either via email, or push notification). You'll also be able to save bookmarks and upvote posts to show your appreciation to other community members.
With your input, this post could be even better 💗
Register LoginAdvertisement


