Need help punching pattern into cylindrical object
-
@jql said:
I used shape bender using the arc of rhe pie.
I have used Shape Bender many times but not sure I fully get this part. Fully comprehend doing the curve to obtain the shape of the vessel but do not fully comprehend how to perform the taper.
-
@jql said:
I used shape bender using the arc of rhe pie.
In the end there's cleaning up to do to reach the last step as shape bender wasn't able to compress the bottom center part to an edge.
When I bend my shape many of my petal cutouts get messed up, do you think it could be because I am working in real scale and I should start larger and then shrink it down? Yours stayed so perfect!
My real scale is bottom c=22cm top c=64cm height 24cm

-
@maclee said:
When I bend my shape many of my petal cutouts get messed up, do you think it could be because I am working in real scale and I should start larger and then shrink it down? Yours stayed so perfect!
My real scale is bottom c=22cm top c=64cm height 24cm
That should be the issue. Try scaling it up by 10 and then 10 again until Shape Bender doesn't cause issues.
-
@ntxdave said:
@jql said:
I used shape bender using the arc of rhe pie.
I have used Shape Bender many times but not sure I fully get this part. Fully comprehend doing the curve to obtain the shape of the vessel but do not fully comprehend how to perform the taper.
The trick with shape bender is that the edge that is parallel with the component, must be in the vertical projection of the component's X axis. Then you can control the final result precisely like this (click the gif):

-
Using a single plugin: shape bender...[/quote]
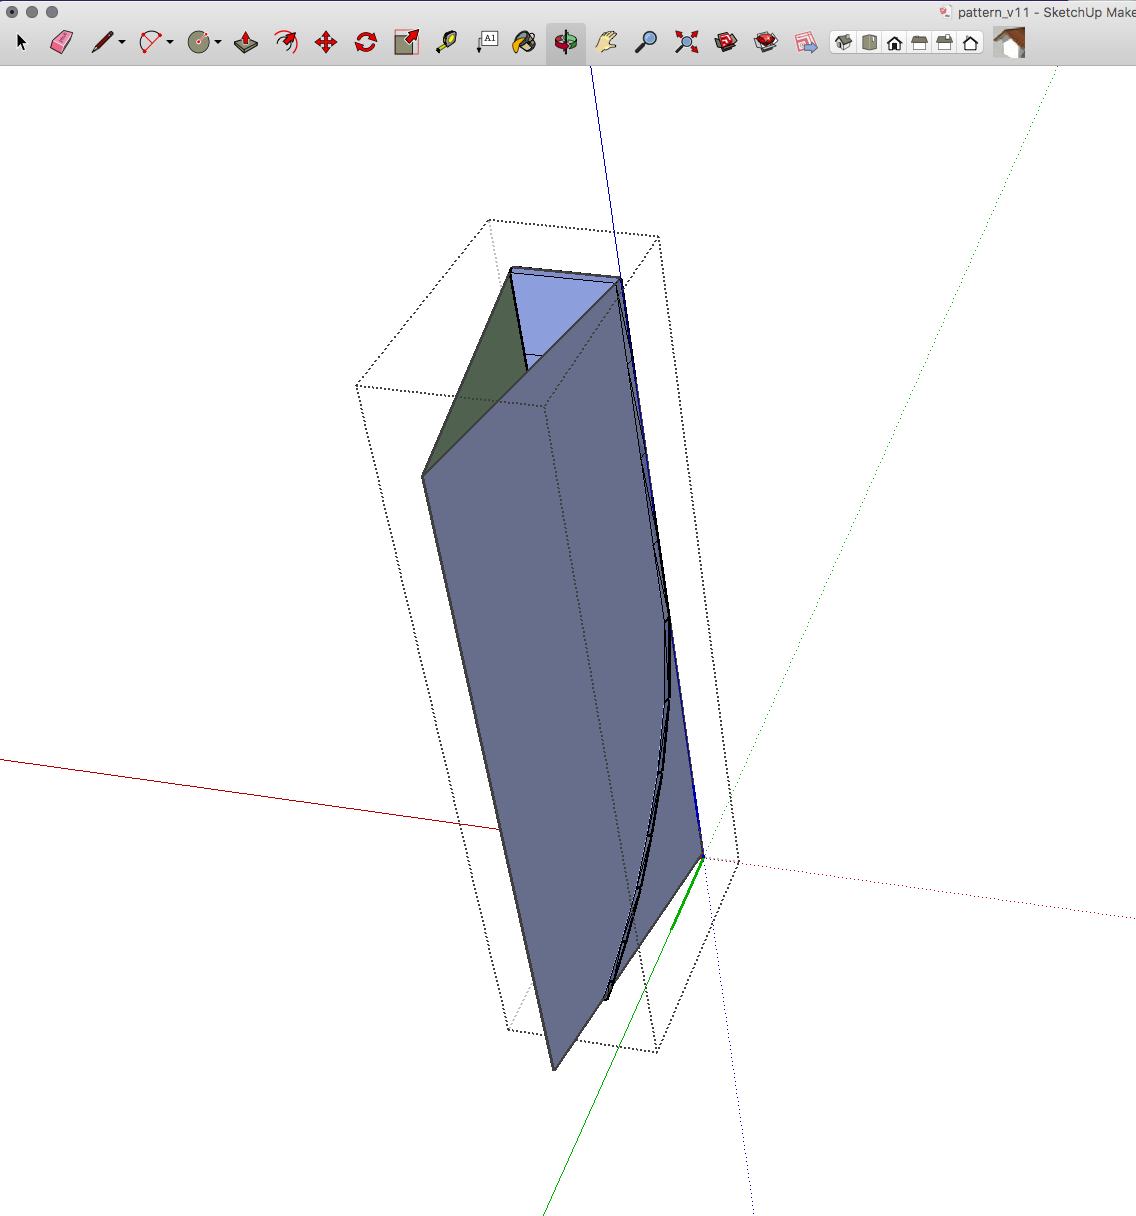
JQL, how did you go from the step on the right to the one on the left?
[attachment=1:3hjnzs8x]<!-- ia1 -->Capture.JPG<!-- ia1 -->[/attachment:3hjnzs8x]It looks like perhaps he scaled it to match the size of the triangle?
-
Check the following gif.

-
@jql said:
Check the following gif.
I was just struggling with that part. Great how you used the bend tool again to create that triangular shape at the end. Lets see if I can pull it off now... lol
-
@jql said:
Check the following gif.
This is great JQL however when you have to trim the edges because of the overlap the original pattern is destroyed. I have been struggling with the right angle to make the shape "wedge" to a point so no trimming is necessary.
-
@boofredlay said:
@jql said:
Check the following gif.
This is great JQL however when you have to trim the edges because of the overlap the original pattern is destroyed. I have been struggling with the right angle to make the shape "wedge" to a point so no trimming is necessary.
What if you trim the shape at the beginning with the original strip. Starting the trim at the same spot the shape starts to bend and then ending it at the width for the bottom circle ratio. It would possibly give a bit more control over the scaling of the pattern but the angle would only work if it was a uniform arc. Is this right?
-
@boofredlay said:
@jql said:
Check the following gif.
This is great JQL however when you have to trim the edges because of the overlap the original pattern is destroyed. I have been struggling with the right angle to make the shape "wedge" to a point so no trimming is necessary.
Share your model at the same stage boofredlay, I'm sure there is a solution.
-
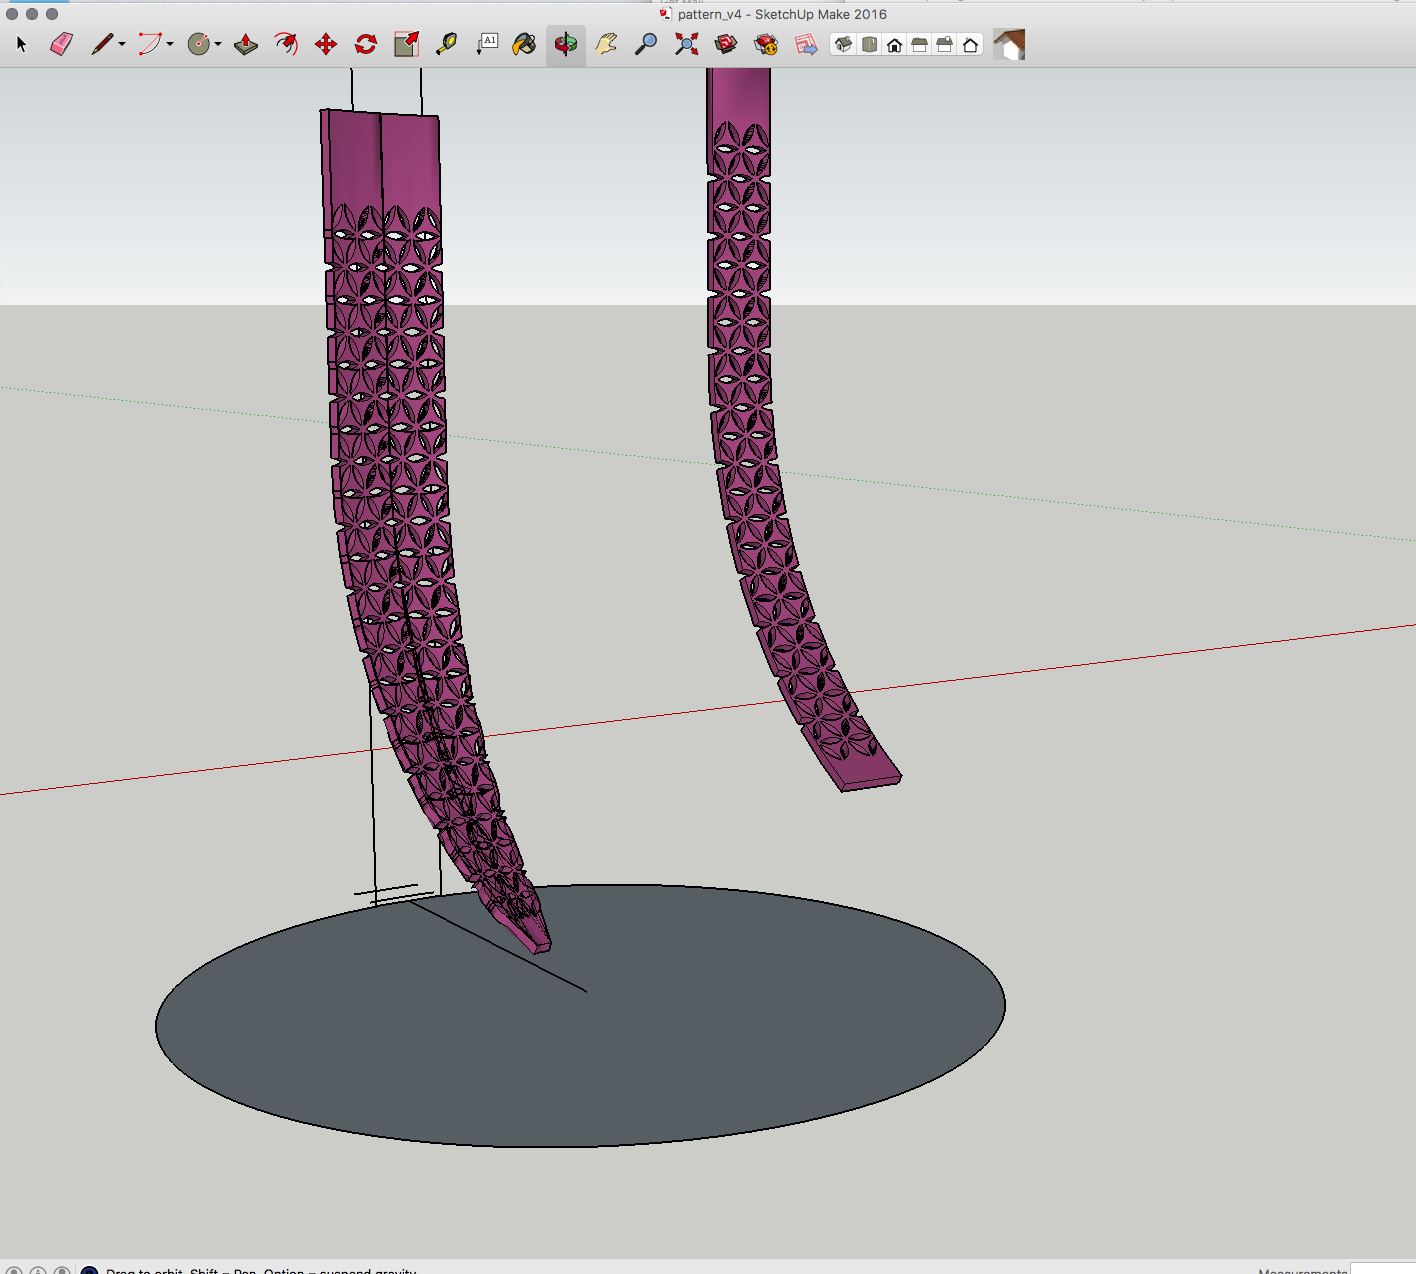
Well I am making progress but still issues that seem a bit too complicated for me to figure out. Maybe I need a more simple pattern.
Link to file: https://www.dropbox.com/s/zovsd033cyixims/pattern_v4.skp?dl=0
-
sorry I deleted this post and updated it below.
-
@jql said:
@boofredlay said:
@jql said:
Check the following gif.
This is great JQL however when you have to trim the edges because of the overlap the original pattern is destroyed. I have been struggling with the right angle to make the shape "wedge" to a point so no trimming is necessary.
Share your model at the same stage boofredlay, I'm sure there is a solution.
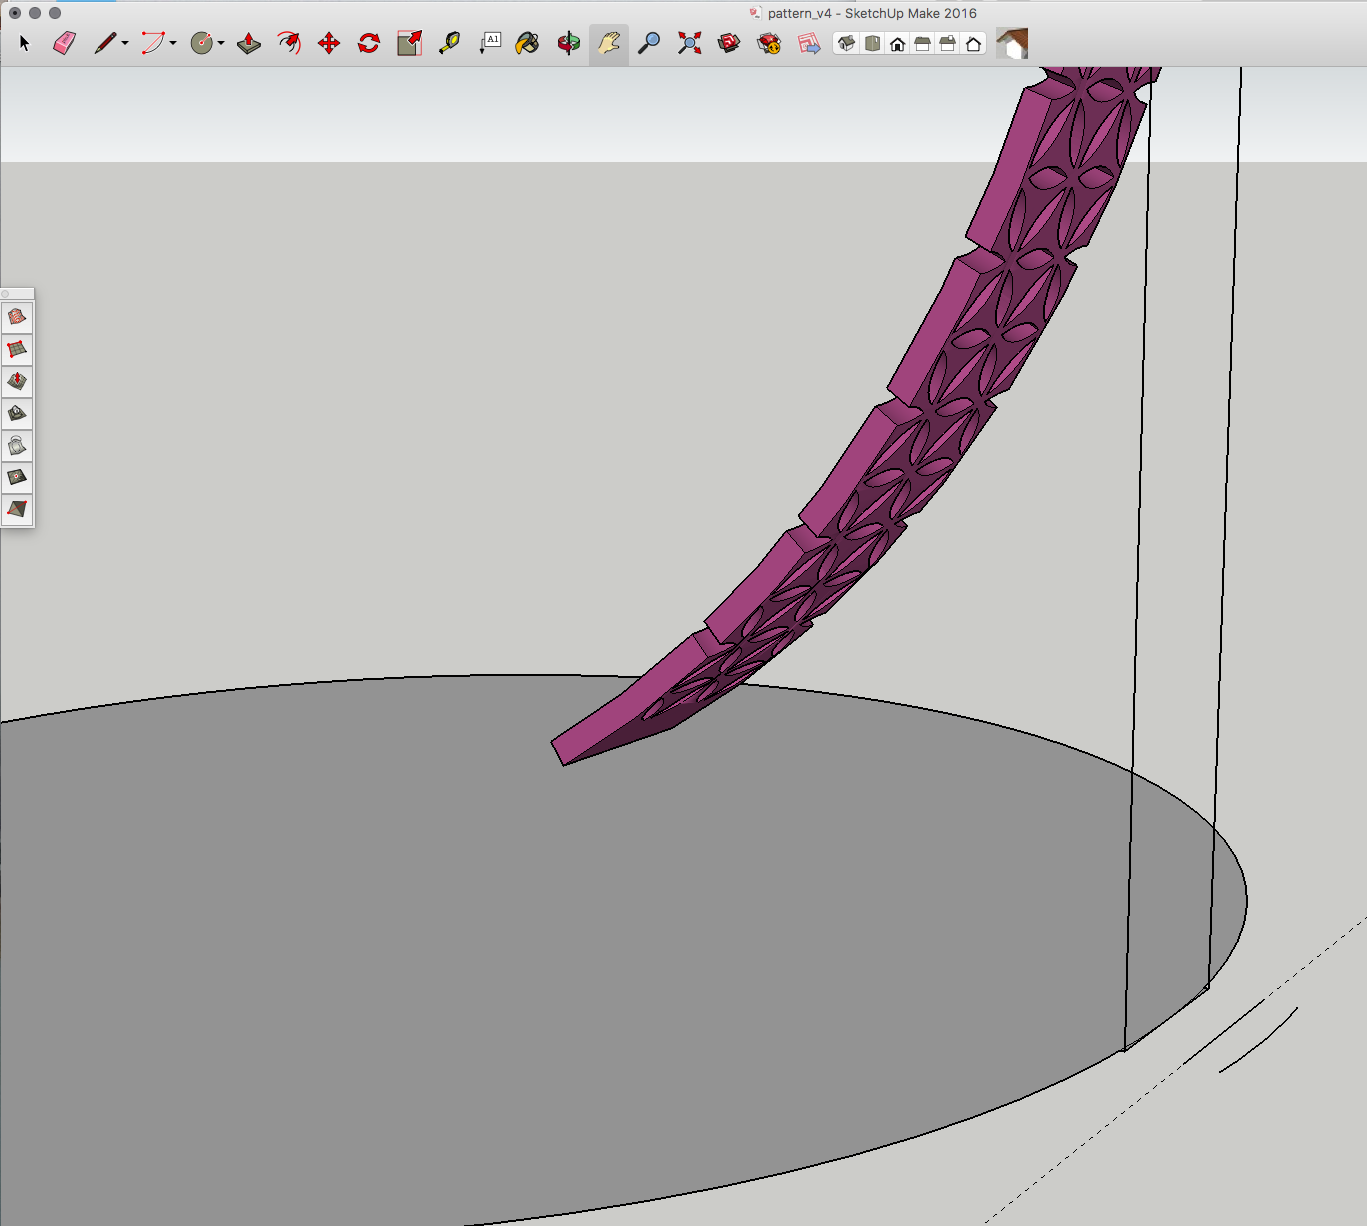
Here you go but as you can see, the edges will never taper properly to a point. The repeating pattern is destroyed each time. I think the method I used originally works much better, slower but more accurate.
-
@maclee said:
Well I am making progress but still issues that seem a bit too complicated for me to figure out. Maybe I need a more simple pattern.
I'd say you need a simpler section of that pattern. What you could do is probably make a section of half the pattern and then mirror it, create a section component and polar array it with the rotate tool.
-
@boofredlay said:
Here you go but as you can see, the edges will never taper properly to a point. The repeating pattern is destroyed each time. I think the method I used originally works much better, slower but more accurate.
I'm sure you're right, but I'll give it a shot anyway.
-
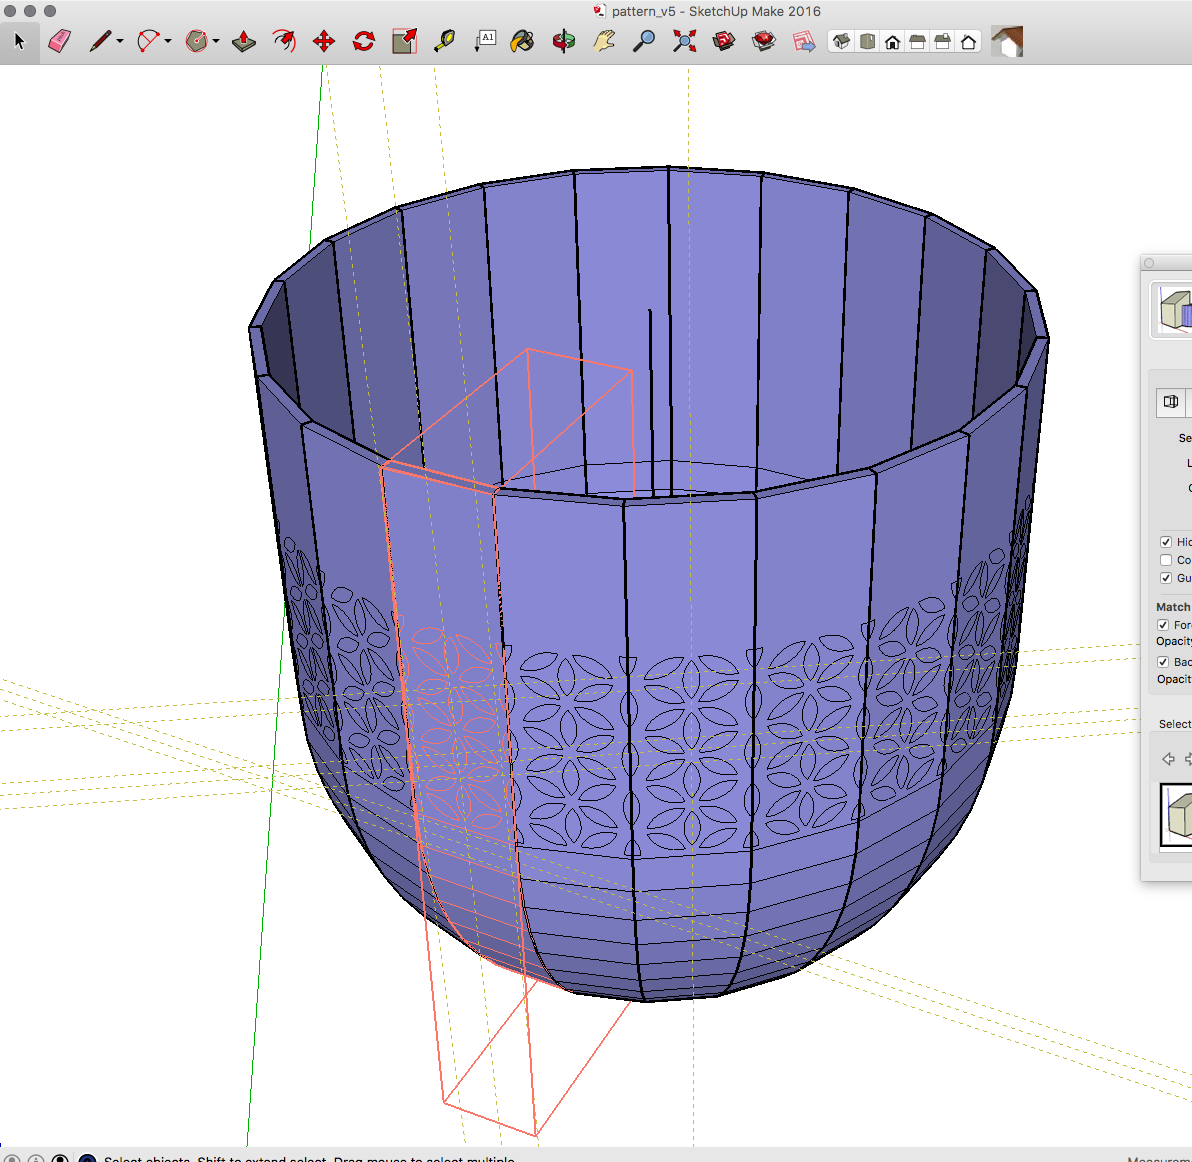
Still making progress, I got my geometry all figured out, just need to accept the fact that I have to change the pattern as I go down. Maybe just a few simple leaves going back and forth for design and then of course I have to punch the holes. I am happy I got the pattern even just 2 rows of it at the top. Also hoping that I can round it off after I am done so it doesn't look so jagged.
Thanks again for your help and ideas, they have been very helpful! Still not done but getting there!
-
Have you tried the method I used in the video I posted up. That way allows for you to have your pattern along the taper at the bottom.
-
@boofredlay said:
Have you tried the method I used in the video I posted up. That way allows for you to have your pattern along the taper at the bottom.
I started it but I couldn't get my pattern to match the top and bottom and have edges connect, I think I need to do the same pattern you did to make that work. I will try it!
-
[quote="boofredlay"]Here is the tutorial on Youtube: https://youtu.be/sQJoDYOCM0M
This is one way to do it. I am sure there are probably others.
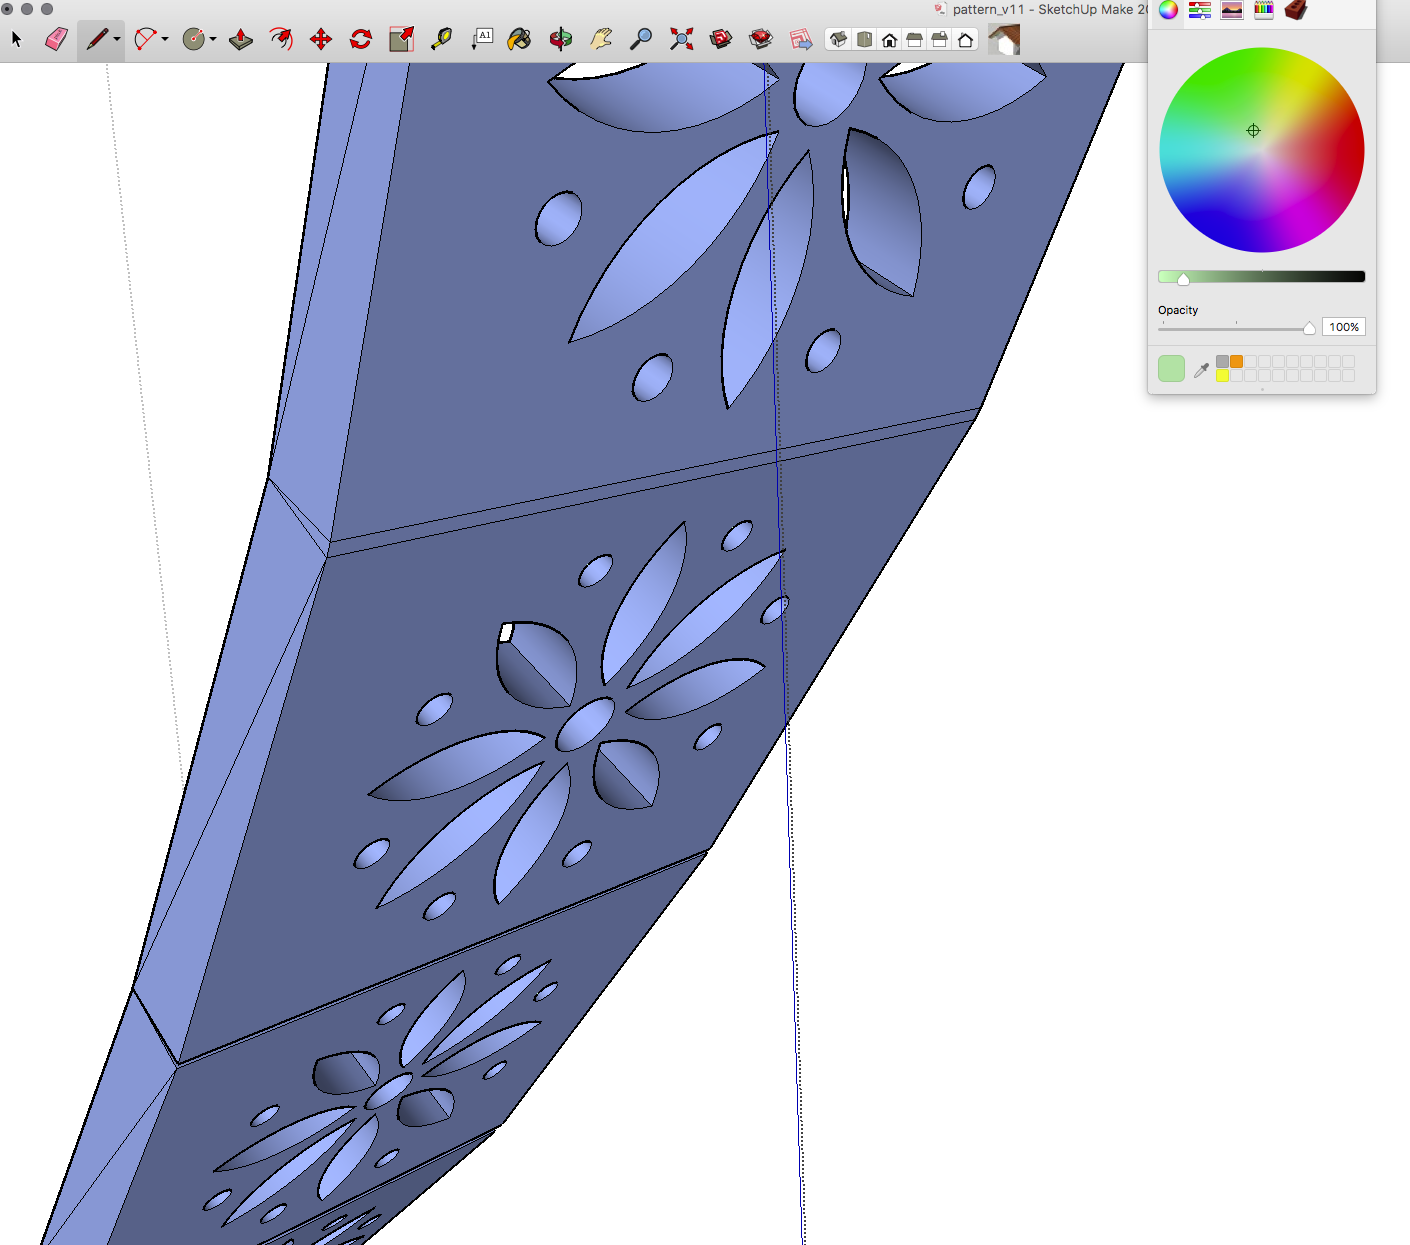
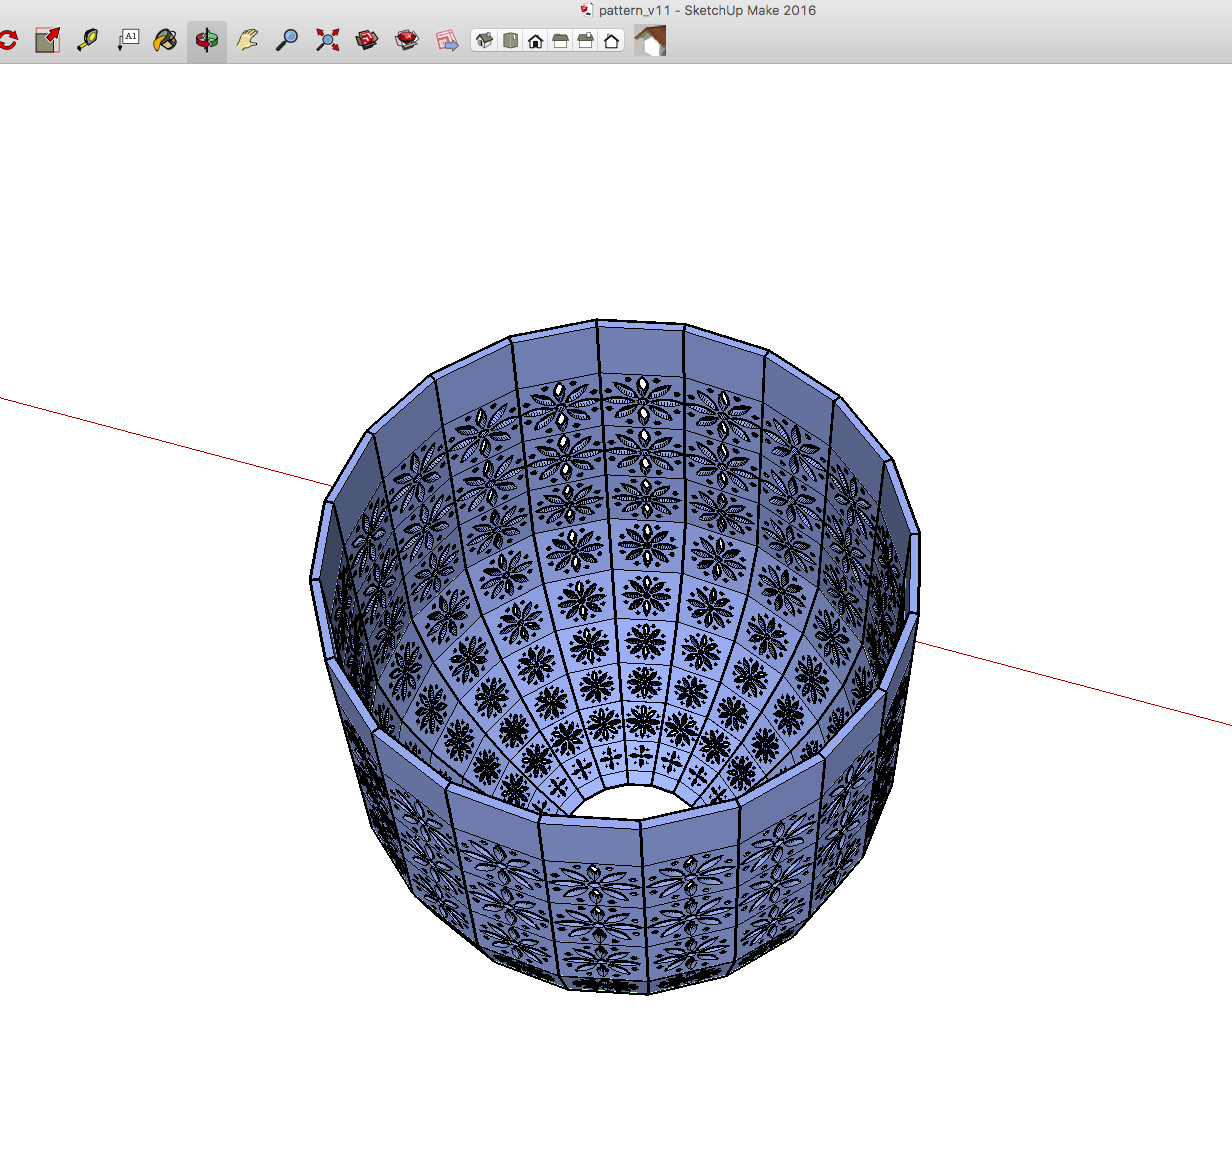
Well it took me a while but I think this is the best I can do! I ended up using your method boofredlay, as the other way created a distorted pattern at the bottom which I couldn't fix, although I did find using the curve tool easier to get the shape. In the end I just couldn't fix it.
With your method, I couldn't smooth the edges at the end like you did, it just distorted all the cutouts... any suggestions? The file is 22M yikes! Here is the link if that helps: https://www.dropbox.com/s/u9kzyhuvujywxho/pattern_v11_final.skp?dl=0
A huge thanks to you for your help and sharing ideas! I would never have even gotten this close without it!
Lee
-
You've simplified the hole's geometry to a plane. That simplifies everything but doesn't bend the shape as it should. So there's no actual aproximation to what it is in reality and in my opinion doesn't solve the true issue in discussion.
However if it fits your objectives it's a perfect solution and congratulations are in order.
Even so, you could try this plugin here:
Hello! It looks like you're interested in this conversation, but you don't have an account yet.
Getting fed up of having to scroll through the same posts each visit? When you register for an account, you'll always come back to exactly where you were before, and choose to be notified of new replies (either via email, or push notification). You'll also be able to save bookmarks and upvote posts to show your appreciation to other community members.
With your input, this post could be even better 💗
Register Login


Advertisement