Medeek Wall Plugin
-
could you also do a 10 year? i'm pretty sure i'll be gone in 8...

-
Version 3.2.9 - 09.14.2023
- Fixed a critical bug with loading wall presets in the wall edit menu (metric and imperial).
-
@gullfo said:
could you also do a 10 year? i'm pretty sure i'll be gone in 8...
What should I charge if I did a 10 year?
$280.00 X 2 = $560.00
I would probably be more inclined to charge this for a 5 year license.
-
I realize that for many of my older customers (myself included) a 30 year license really has no practical meaning and having to invest almost a thousand dollars is a lot for anyone.
For those that do not want to outlay as much money but still would like to get a multi-year discount I am also offering a 5 year license for $560.00, so basically you are getting five years for the price of two, which is still a fairly substantial discount, but not as deep as the 30 year discount rate. Basically it would be equivalent to paying $112.00 per year for the mdkBIM bundle for a total of five years.
-
To better fill the gaps in the mdkBIM Multi-year licensing I've decided to offer one additional licensing price point. The three permanent licensing options (multi-year) are:
5 Year - $560.00 (Discount Code: MDK5YEAR)
10 Year - $770.00 (Discount Code: MDK10YEAR)
30 Year - $980.00 (Discount Code: MDKLIFE)Each price point offers a progressively steeper discount as the number of years of licensing increases.
To purchase a lifetime license, login to the Account Manager and then click on the mdkBIM icon. Click on purchase mdkBIM Suite, then enter in one of the discount codes above. You will notice that the price will adjusted accordingly and the expiration update date will also reflect the multi-year license.
As mentioned previously if a multi-year license is purchased I am also willing to thrown in the Electrical plugin license at no additional cost and its license will also reflect the same number of years as whatever multi-year option was chosen.
-
Version 3.3.0 - 09.21.2023
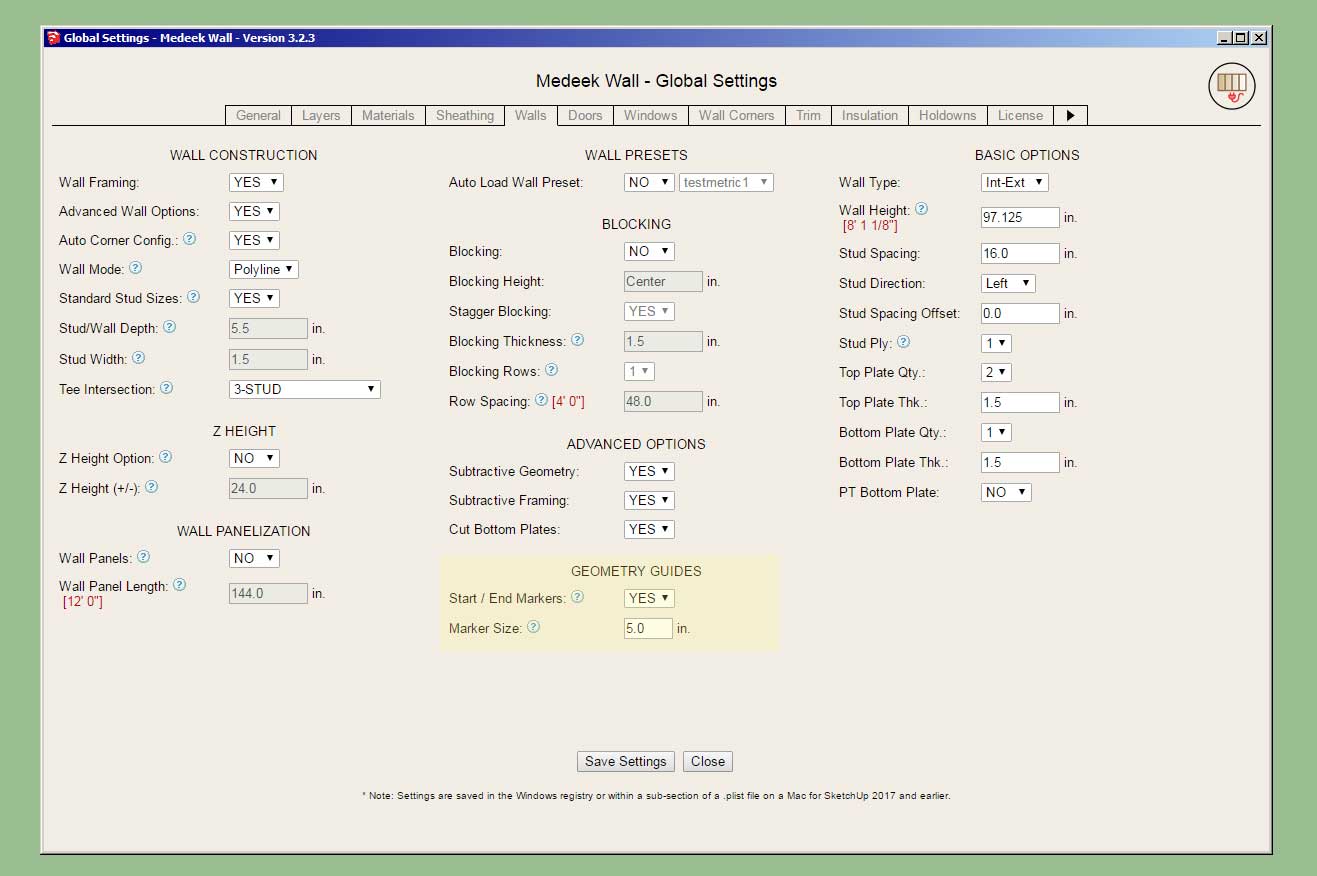
- Moved the Geometry Markers section from the General tab to the Walls tab in the Global Settings.
- Added a geometry marker size parameter to the Walls tab of the Global Settings.
The General tab of the Global Settings has become too large (or cluttered) and it made sense to move the geometry markers to the Walls tab. I also received a number of requests about making the geometry markers larger. So I figured, why not let the user customize them to the size they would like.
-
Version 3.3.1 - 09.27.2023
- Fixed a bug with the labeling algorithm for the molding module.
-
-
Version 3.3.2 - 10.10.2023
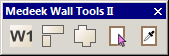
- Added the Draw Wall Perimeter tool to the Medeek Wall Tools II toolbar.
(The tool icon was added July 25th, but now it actually works)
Tutorial 42 - Wall Perimeter Tool (5:28 min.)
-
mdkBIM Tutorial 3 - Modeling a House Envelope from a Face (10:04 min.)
-
Version 3.3.3 - 10.18.2023
- Fixed a minor bug with the post module.
-
Version 3.3.6 - 10.20.2023
- Sheathing Vertical Offset parameters added for attic trusses.
- Cladding Vertical Offset parameters added attic trusses.
- Wall Cladding Gap parameter added for common, monopitch and attic trusses.
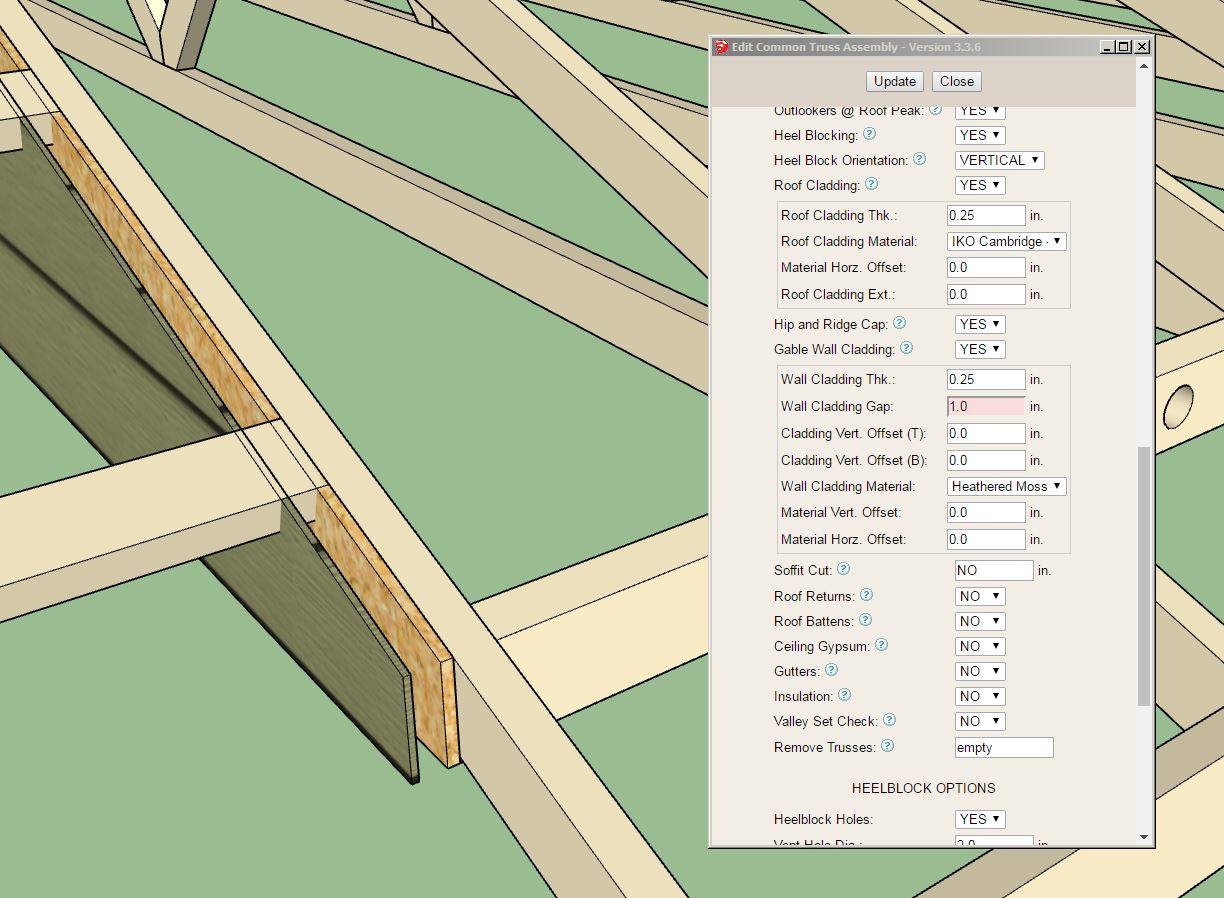
The wall cladding gap parameter was added to bring the Truss plugin inline more with the Wall plugin.
-
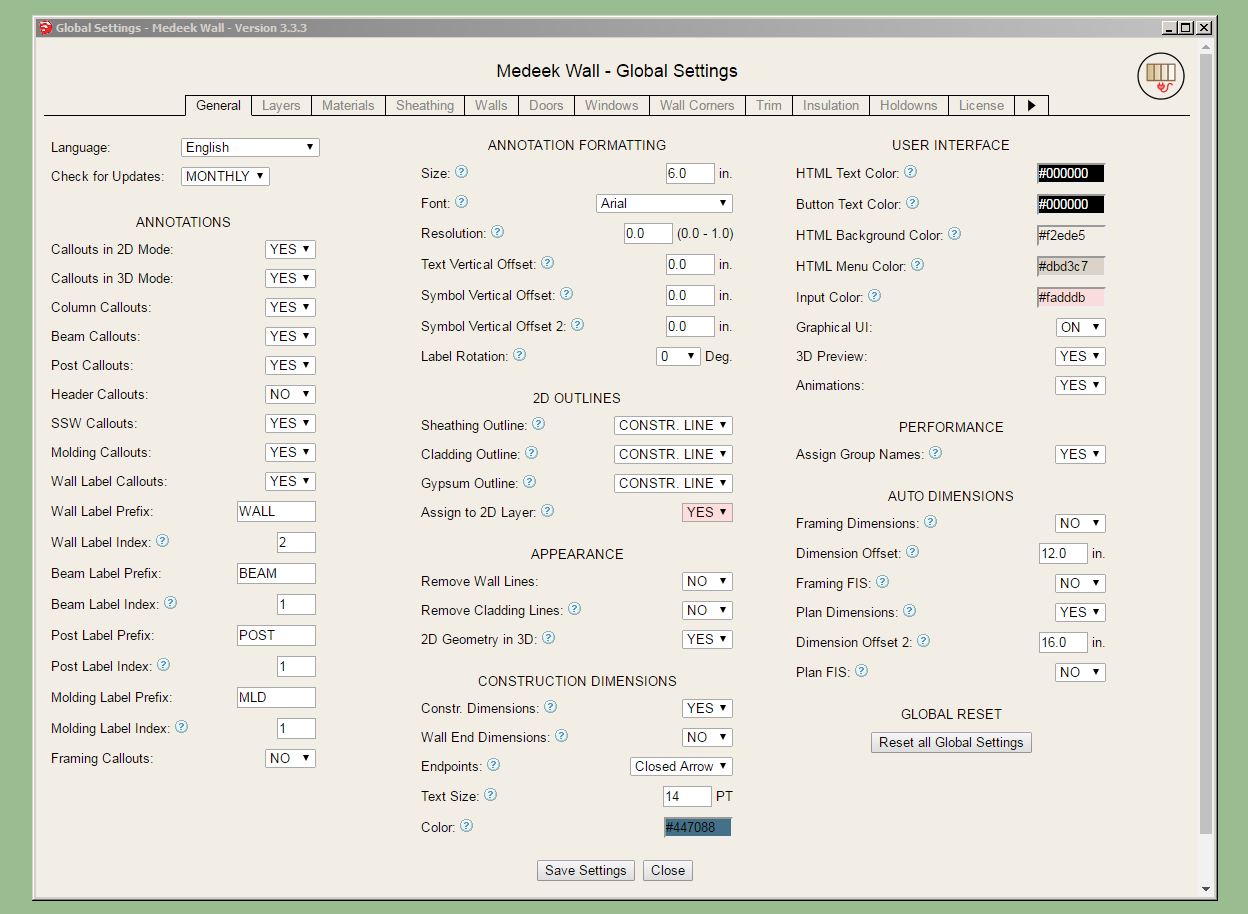
Version 3.3.4 - 10.23.2023
- Added a "Assign to 2D Layer" parameter for 2D Outlines within the General tab of the Global Settings.
- Added the Opening tool to the Medeek Wall Tools II toolbar.
The Opening Tool in its current state can be used only to toggle door swings. I will probably be adding additional functionality to this tool for windows and garage doors as well as regular man doors. This new tool is in response to feedback provided by Matt Donley of MasterSketchUp.
-
Version 3.3.4 - 10.25.2023
- Updated the Opening Tool to include Windows and Garage Doors.
-
Tutorial 43 - Opening Tool (6:01 min.)
-
Version 3.3.5 - 11.09.2023
- Added the Copy Opening Tool to the Medeek Wall Tools II toolbar.
- Enabled the Copy Opening Tool for Windows, Man Doors and Garage Doors.
- Enabled subtractive geometry for Beam Assemblies.
- Added additional W-Flange steel beam sizes.
-
Tutorial 44 - Opening Copy Tool (4:45 min.)
-
I will be running a Thanksgiving promotion beginning Nov. 12th until Dec. 1st. with 40% off of the regular mdkBIM bundle price (permanent license) using the coupon code GIVETHANKS23.
This will reduce the bundle price from $280.00 USD to $168.00 USD. This promo code does not apply to any of the extensions purchased separately or for the electrical plugin. The offer ends on Dec. 1 and no rain checks will issued thereafter.
Medeek Design Inc. - Garage, Shop, Shed and Barn Plans
Medeek Design Inc. - Garage, Shop, Shed and Barn Plans
(design.medeek.com)

-
First look at my attempts to simplify the look and feel of the Draw and Edit menus for walls:


I'm no UI expert but my idea is to create collapsible menus for certain sections that are not modified as commonly during regular use. The "wall start" and "wall end" sections are a good examples of such sections. Typically the parameters within these two sections are only modified in certain specific situations or when customization is required.
Thoughts?
-
After shuffling things around a bit:


I've created a new section for framing options/details. Notice that in this section I've also moved the stud removal parameter, which was formerly in the advanced options (I think it makes more sense to place it in this section).
The advanced options section is unchanged and still very busy with a ton of parameters but I really don't know what to do about it since all of those advanced options are necessary and need to be placed somewhere. (If you disable the Advanced Wall Options then that whole section is not shown.)
So currently, with the new UI update so far, there are three sections that can be toggled by the user manually. I should probably also add into the global settings some parameters which will control the default visibility for these sections.
Hello! It looks like you're interested in this conversation, but you don't have an account yet.
Getting fed up of having to scroll through the same posts each visit? When you register for an account, you'll always come back to exactly where you were before, and choose to be notified of new replies (either via email, or push notification). You'll also be able to save bookmarks and upvote posts to show your appreciation to other community members.
With your input, this post could be even better 💗
Register Login


Advertisement